Transform your drone footage with these 10 easy video editing tips for new pilots. Stabilize shaky shots, apply color grading to enhance aerial views, and trim clips effectively. Add smooth shifts between scenes and adjust video speed for dynamic effects. Use text overlays sparingly for essential information, and apply lens correction to polish your footage. Enhance your visuals with aerial LUTs for professional-looking results. Don't forget to export your masterpiece for various platforms, ensuring peak quality across different media. By mastering these simple techniques, you'll elevate your drone videos from amateur to impressive. Dive deeper to reveal the full potential of your aerial cinematography.
Key Takeaways
- Utilize stabilization tools to smooth out shaky footage and create professional-looking videos.
- Apply color grading and LUTs to enhance aerial shots, focusing on vibrant skies and landscapes.
- Trim footage effectively, removing shaky starts and stops while maintaining engaging content.
- Incorporate smooth transitions between scenes, using dissolves, fades, or natural shifts within drone shots.
- Adjust video speed for dramatic effects, using slow motion for highlights and faster speeds for energetic sequences.
Stabilize Shaky Footage
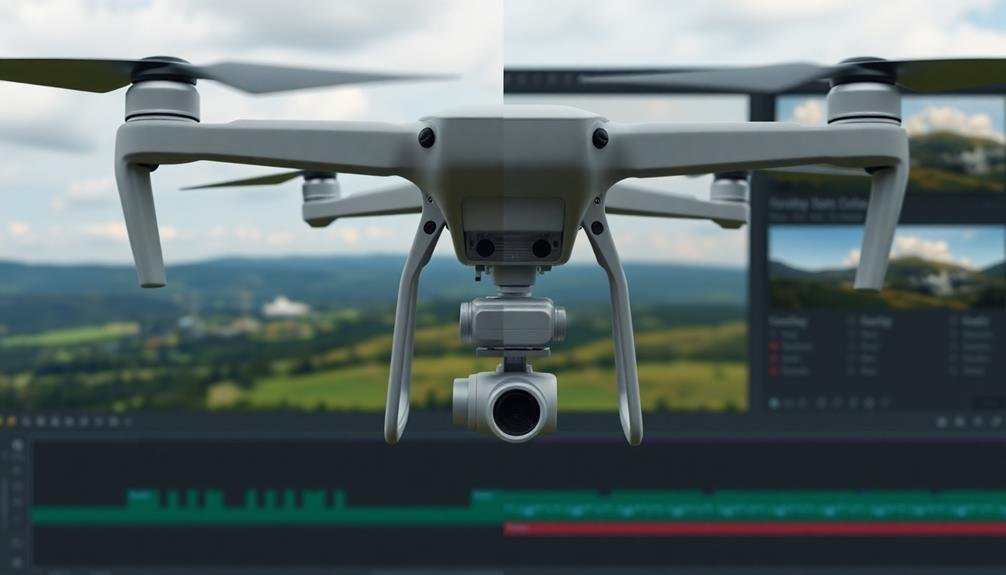
For new pilots, shaky footage is often the biggest hurdle in creating professional-looking drone videos. Fortunately, there are several ways to stabilize your shaky footage during the editing process.
First, use your video editing software's built-in stabilization tool. Most modern programs offer this feature, which analyzes your footage and smooths out unwanted movements.
If your software doesn't have a stabilization tool, or if you need more control, try using keyframes. Place keyframes at the beginning and end of shaky sections, then manually adjust the position, rotation, and scale of your footage to create a smoother motion. This technique requires more time and skill but can produce excellent results.
Another option is to use third-party stabilization plugins or software. These specialized tools often provide more advanced features and better results than built-in stabilizers. Some popular options include ReelSteady GO and Mercalli.
Lastly, consider using a shorter clip duration or adding subtle shifts between shots to mask minor shakiness. By combining these techniques, you'll be able to transform your wobbly footage into smooth, professional-looking video that showcases your aerial cinematography skills.
Color Grading for Aerial Shots
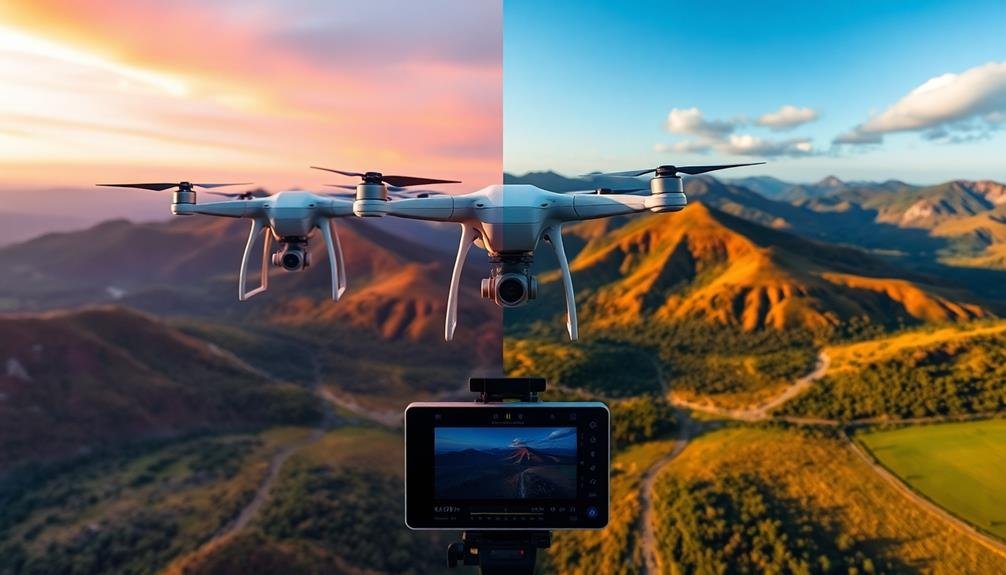
Color grading can dramatically enhance your aerial footage.
You'll want to focus on improving the sky and landscapes, making them more vibrant and enchanting.
Adjust the exposure and contrast to bring out the best in your shots, ensuring the details in both bright and shadowy areas are visible.
Enhance Sky and Landscapes
Many aerial shots capture breathtaking skies and landscapes, but they often need enhancement to truly shine. To bring out the best in your footage, start by adjusting the contrast and saturation. Boost the blues in the sky to make it pop, but be careful not to overdo it and create an unnatural look.
Use graduated filters to balance exposure between bright skies and darker landscapes. This technique helps prevent overexposed skies while maintaining detail in the ground. Adjust the highlights and shadows separately to reveal hidden details in both areas.
Don't forget to enhance the colors of natural elements like trees, water, and fields. Increase the greens and blues slightly to make these features more vibrant. For golden hour footage, warm up the color temperature to emphasize the beautiful orange and pink hues.
Consider using LUTs (Look-Up Tables) designed for aerial footage to quickly apply professional-looking color grades. Experiment with different presets, but always fine-tune the settings to suit your specific footage.
Lastly, add a subtle vignette to draw the viewer's eye to the center of the frame, enhancing the overall composition of your aerial shots.
Adjust Exposure and Contrast
While enhancing skies and landscapes sets the stage, proper exposure and contrast adjustments truly bring your aerial footage to life. Start by evaluating your footage's overall brightness. If it's too dark or bright, use the exposure slider to make global adjustments. Remember, it's easier to brighten slightly underexposed footage than to recover details from overexposed areas.
Next, fine-tune the contrast to add depth and dimension. Increase contrast to make your footage pop, but be careful not to crush the blacks or blow out the highlights. For a more nuanced approach, adjust the shadows and highlights separately.
Here's a quick guide to common exposure and contrast issues:
| Issue | Symptom | Adjustment | Result |
|---|---|---|---|
| Underexposed | Dark image | Increase exposure | Brighter overall |
| Overexposed | Washed out | Decrease exposure | Recover details |
| Low contrast | Flat look | Increase contrast | More depth |
| High contrast | Harsh look | Decrease contrast | Softer appearance |
Don't forget to use the histogram as a visual guide. It'll help you verify you're not clipping highlights or crushing shadows. Finally, consider using gradients or masks to selectively adjust exposure and contrast in specific areas of your frame, especially when dealing with challenging lighting conditions in aerial shots.
Trim and Cut Effectively
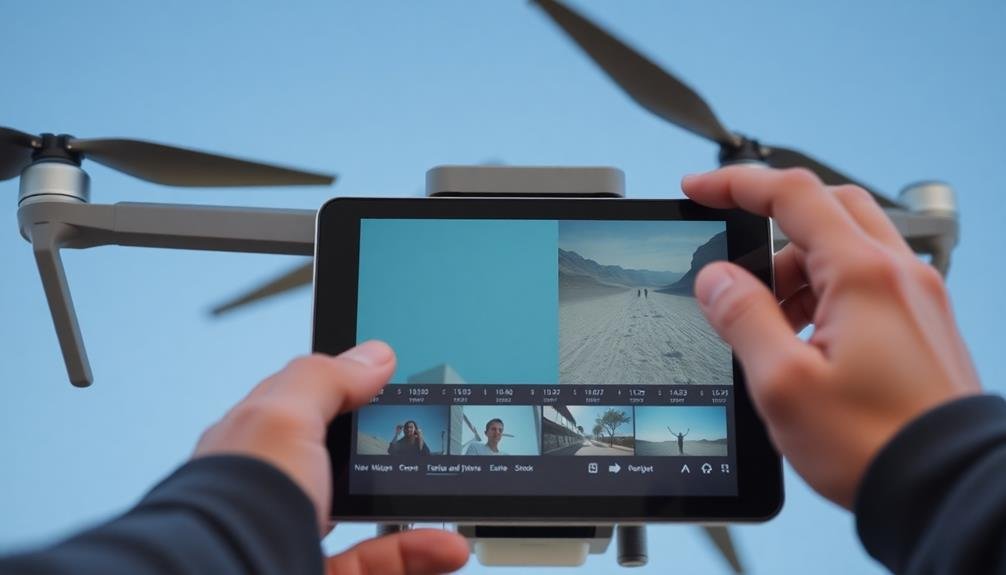
How do you transform raw drone footage into an enchanting video? One of the most essential skills is learning to trim and cut effectively. Start by reviewing your footage and identifying the best segments. Don't be afraid to cut liberally – it's better to have a short, engaging video than a long, boring one.
When trimming, focus on removing shaky starts and stops, as well as any moments where the drone's movements aren't smooth. Look for natural changeover points between scenes, such as when the drone changes direction or altitude. Use these moments to create seamless cuts between different shots.
Consider the pacing of your video. Alternate between longer, sweeping shots and shorter, dynamic ones to maintain viewer interest. Pay attention to the audio as well – if you're using music, try to time your cuts with the beat for a more polished feel.
Experiment with different cutting techniques, like J-cuts and L-cuts, to create smoother changeovers between scenes. These techniques can help maintain the flow of your video and keep your audience engaged throughout.
Add Smooth Transitions
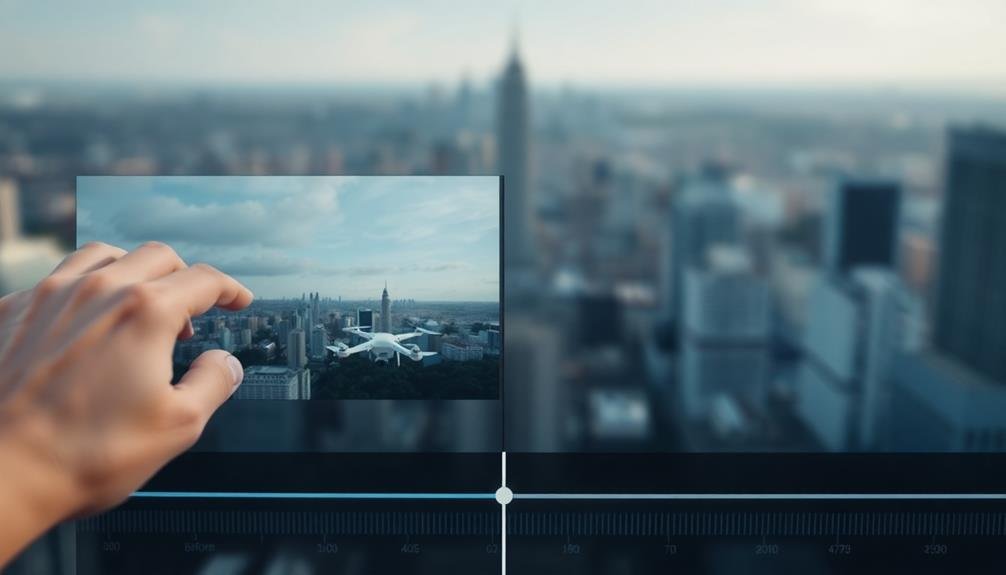
Once you've mastered the art of trimming and cutting, it's time to elevate your video's visual flow. Adding smooth shifts between clips can make your drone footage look more professional and engaging. Start by experimenting with basic transitions like dissolves and fades. These subtle effects can seamlessly blend one scene into another, creating a cohesive narrative.
For more dynamic shifts, try using wipes or slides. These work well when moving between different locations or time periods in your video. Don't overuse fancy transitions, though; they can become distracting if applied excessively. Instead, focus on matching the transition style to the mood and pace of your footage.
Consider using natural shifts within your drone shots. For example, fly behind an object to create a natural wipe effect, or use clouds passing in front of the camera as a creative transition.
You can also experiment with speed ramping, gradually slowing down or speeding up your footage to create smooth shifts between clips. Remember, the goal is to enhance your video's flow without drawing attention to the transitions themselves. With practice, you'll develop an intuitive sense of which shifts work best for your drone footage.
Adjust Video Speed
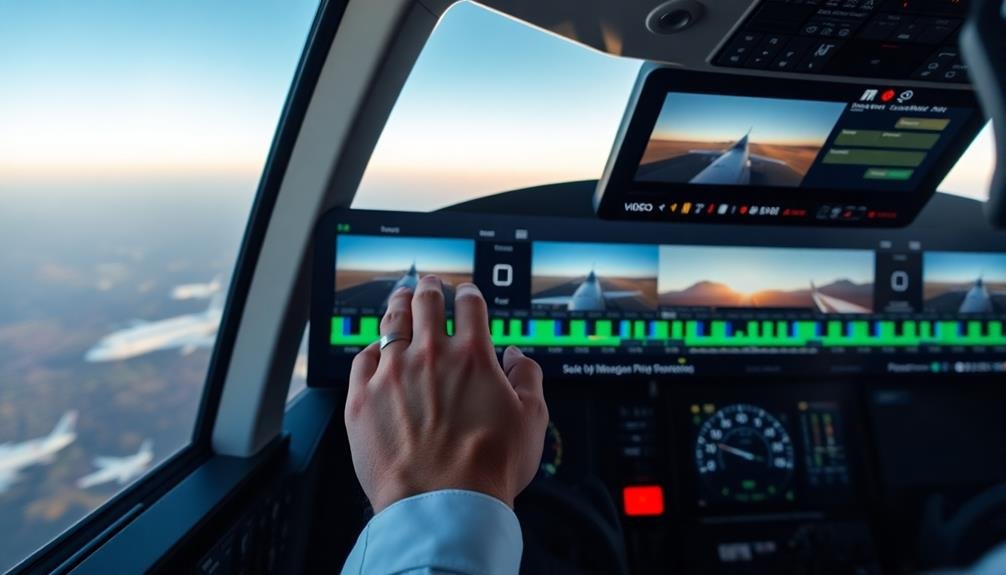
Adjusting video speed can dramatically enhance your drone footage. It allows you to create dynamic effects, emphasize key moments, and add a professional touch to your videos. You'll find that slowing down footage can make scenic shots more cinematic, while speeding up clips can add energy to action sequences.
Most video editing software offers speed adjustment tools. You can typically modify the speed by percentage or duration. Experiment with different speeds to find what works best for your footage. Remember, subtle changes often yield the most natural-looking results.
Here's a quick guide to common speed adjustments and their effects:
| Speed Adjustment | Effect | Best Used For |
|---|---|---|
| 50% (Slow Motion) | Dramatic, detailed | Highlight moments, landscapes |
| 75% (Slight Slow) | Smooth, graceful | Reveal shots, shifts |
| 200% (Double Speed) | Energetic, fast-paced | Time-lapses, travel montages |
When adjusting speed, pay attention to audio synchronization. You may need to remove or replace the original sound with music or ambient noise. Also, consider the frame rate of your footage; higher frame rates allow for smoother slow-motion effects without losing quality.
Incorporate Music and Sound Effects
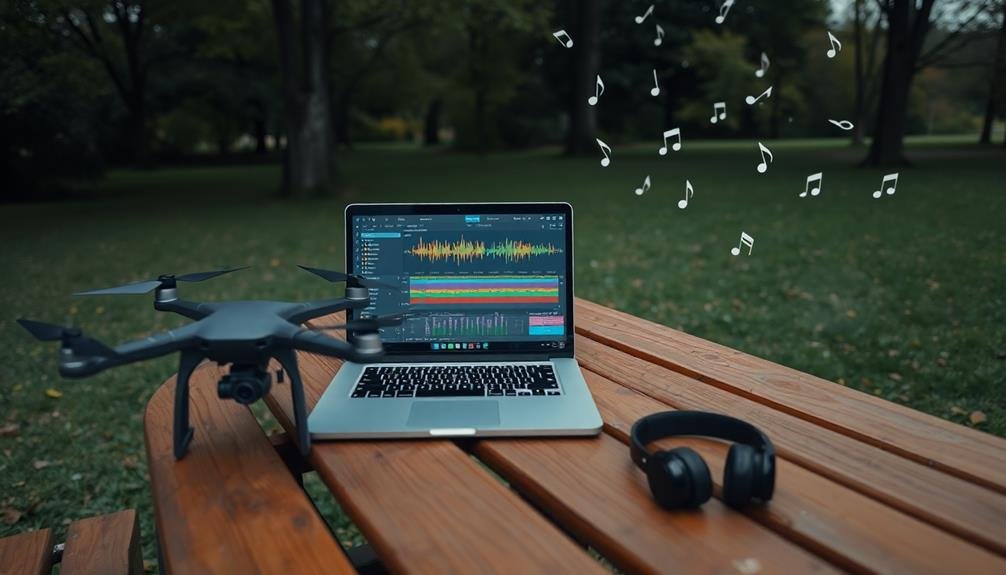
The power of sound in drone videos can't be overstated. It's crucial to choose the right music and sound effects to enhance your footage and create a more immersive experience for your viewers. When selecting music, consider the mood and pace of your video. Upbeat tracks work well for fast-paced aerial shots, while more ambient tunes complement slower, scenic footage.
Don't forget to adjust the volume levels of your music to make sure it doesn't overpower the natural sounds captured by your drone. You can fade music in and out at key moments to create a more dynamic audio experience.
Additionally, incorporate sound effects to add depth and realism to your video. Wind whooshes, bird calls, or water sounds can make your footage feel more authentic and engaging.
Remember to respect copyright laws when using music or sound effects. Look for royalty-free options or consider purchasing licenses for commercial tracks. Many online platforms offer a wide selection of audio content specifically designed for drone videos.
Use Text Overlays Sparingly
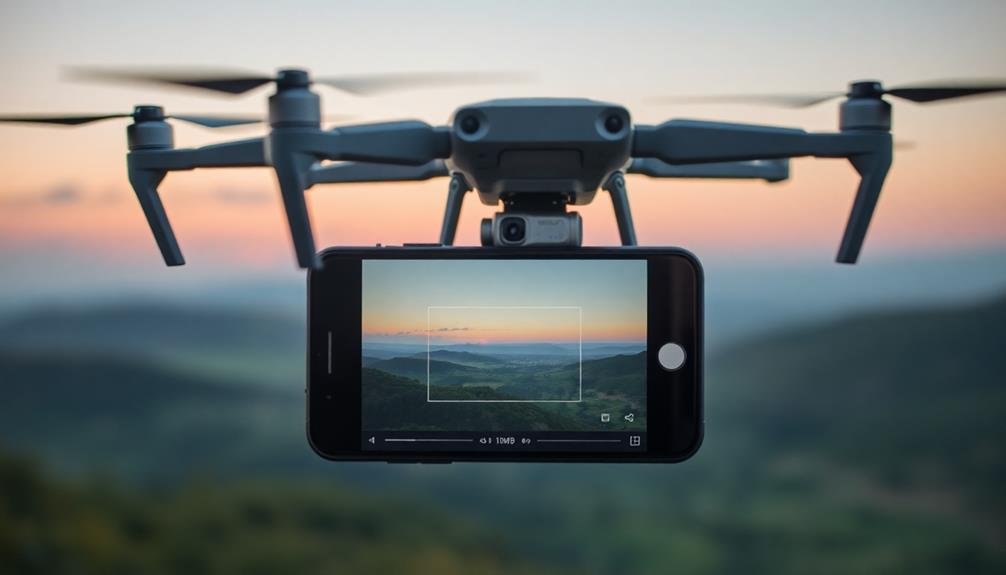
Text overlays can spice up your drone footage, but it's essential to use them judiciously. When adding text to your videos, remember that less is often more. Stick to essential information that enhances the viewer's understanding or provides context to your aerial shots.
Consider using text overlays for location names, timestamps, or brief explanations of what's happening in the scene. Keep the font style clean and easy to read, avoiding overly decorative or complex typefaces that might distract from your stunning visuals. Choose a color that contrasts well with your footage, ensuring the text remains legible throughout.
Don't let text linger on screen for too long. Give viewers enough time to read comfortably, then fade it out. Animate your text subtly to make it more engaging, but avoid flashy animations that could overwhelm your drone footage.
Place text strategically, typically in corners or along the edges of the frame, to avoid covering important elements in your shots. If you're including multiple pieces of information, stagger their appearance to prevent information overload.
Apply Lens Correction
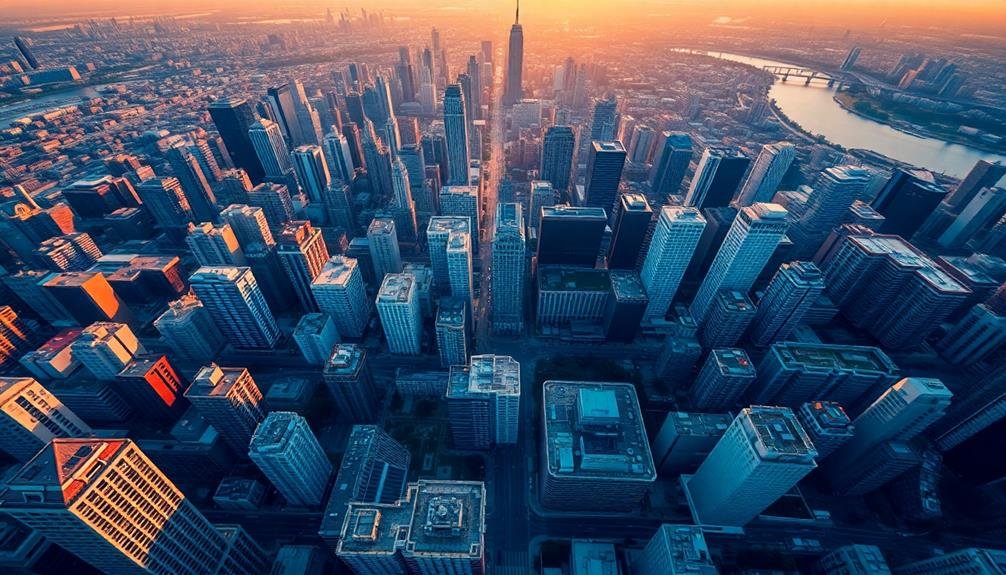
Lens correction is an essential step in refining your drone footage. Most drones use wide-angle lenses to capture expansive views, but these can introduce noticeable distortion, especially around the edges of your frame.
By applying lens correction in post-production, you'll achieve a more natural and professional look.
To effectively apply lens correction:
- Choose the right software: Many video editing programs offer built-in lens correction tools. Popular options include Adobe Premiere Pro, DaVinci Resolve, and Final Cut Pro.
- Select the correct lens profile: If available, choose the specific profile for your drone's camera. This guarantees the most accurate correction.
- Adjust manually if needed: Fine-tune the correction by tweaking settings like distortion, vignetting, and chromatic aberration.
- Preview before and after: Compare the original and corrected footage to verify you're not overcorrecting.
Enhance With Aerial LUTS
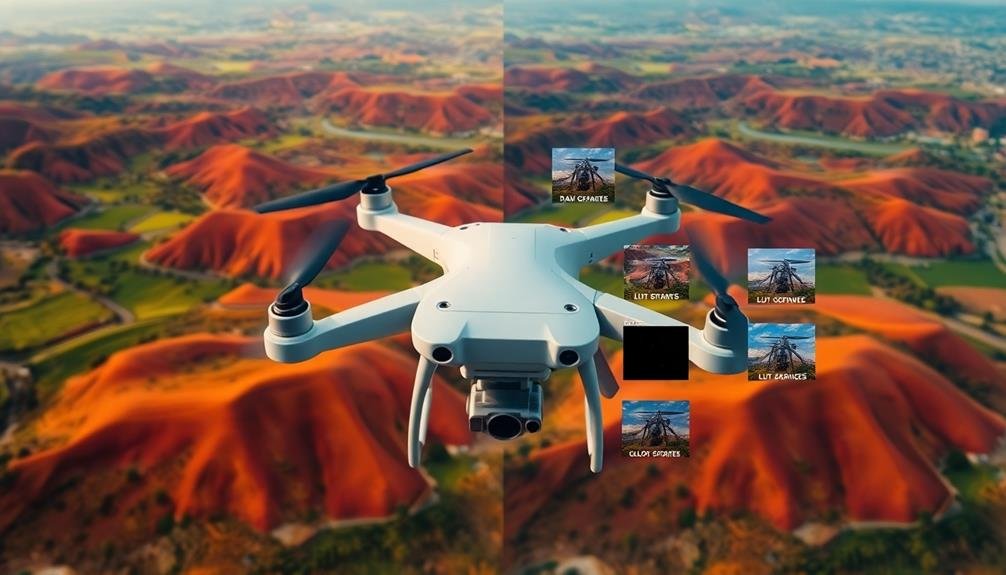
Aerial LUTs (Look-Up Tables) are powerful tools that can transform your drone footage's color and tone.
You'll want to select LUTs that complement your aerial scenes, whether you're capturing landscapes, cityscapes, or seascapes.
To apply LUTs effectively, start with a subtle application and adjust the intensity to achieve a balanced, professional look.
What Are Aerial LUTS?
In light of the rapidly evolving drone videography landscape, Aerial LUTs have become an essential tool for enhancing footage. LUT stands for Look-Up Table, a preset that adjusts the color grading of your aerial videos. These specialized LUTs are designed to address the unique challenges of drone footage, such as haze, color shifts, and exposure issues.
Aerial LUTs offer several advantages for new pilots:
- Consistency: They help maintain a uniform look across different shots and lighting conditions.
- Time-saving: You can apply professional-grade color grading with just a few clicks.
- Flexibility: Most LUTs are adjustable, allowing you to fine-tune the effect to suit your style.
- Compensation: They can correct for common issues in aerial footage, like blue color casts.
When you're editing your drone videos, you'll find that Aerial LUTs can dramatically improve the overall look of your footage.
They're particularly useful for enhancing flat or low-contrast images captured in log profiles. By applying an appropriate LUT, you can quickly transform your raw footage into cinematic, eye-catching visuals that will impress your audience and elevate your drone videography skills.
Choosing Appropriate Aerial LUTS
Selecting the right Aerial LUT can make or break your drone footage. When choosing an appropriate LUT, evaluate the lighting conditions and color palette of your original footage. For sunny, bright scenes, opt for LUTs that enhance warm tones and increase contrast.
If you're working with overcast or foggy footage, look for LUTs that boost clarity and add a touch of warmth to counteract the cool, flat appearance.
Pay attention to the mood you want to convey. For a cinematic look, choose LUTs with muted colors and a film-like grain. If you're aiming for a vibrant, eye-catching style, select LUTs that boost saturation and enhance specific color ranges.
Don't forget to assess your subject matter. Landscape footage often benefits from LUTs that enhance greens and blues, while urban scenes may look best with LUTs that accentuate architectural details and reduce color casts from artificial lighting.
Always preview the LUT on your footage before committing. What looks great on sample images mightn't suit your specific shots.
Adjust the intensity of the LUT to fine-tune its effect, and don't hesitate to layer multiple LUTs for a custom look.
Applying LUTS Effectively
Now that you've chosen the right LUTs for your footage, it's time to apply them effectively. Start by importing your LUTs into your editing software. Most programs allow you to drag and drop LUT files directly into your project or use a dedicated LUT folder.
Once imported, apply the LUT to your footage as an adjustment layer or directly to the clip, depending on your software's capabilities.
Remember that LUTs are meant to enhance your footage, not fix it entirely. Begin with properly exposed and color-balanced footage for the best results. When applying LUTs, adjust the intensity to achieve a natural look. Overdoing it can lead to unrealistic colors and loss of detail.
For ideal results, follow these steps:
- Apply the LUT at 50% intensity initially
- Fine-tune exposure and contrast before adjusting LUT strength
- Use masks to apply LUTs selectively to specific areas of your frame
- Experiment with blending modes to create unique looks
Don't be afraid to stack multiple LUTs or combine them with other color correction tools.
Export for Multiple Platforms
Your video's journey doesn't end with the final edit. To guarantee your drone footage reaches its intended audience, you'll need to export it for various platforms. Each platform has specific requirements, so it's vital to understand and meet these criteria.
For YouTube, export your video in 1080p or 4K resolution with a 16:9 aspect ratio. Use H.264 codec for ideal compatibility and file size.
When targeting Instagram, consider exporting in 1080×1080 for square posts or 1080×1920 for vertical stories. Facebook prefers H.264 codec with AAC audio, while Twitter has a 140-second limit for most users.
Don't forget about mobile devices. Export a version tailored for smaller screens, with a lower bitrate to reduce file size without compromising too much on quality.
For professional presentations, consider exporting in ProRes or DNxHD formats for the highest quality.
Always test your exports on the intended platforms before finalizing. This helps catch any issues with playback, resolution, or audio.
Frequently Asked Questions
How Do I Choose the Best Video Editing Software for Drone Footage?
You'll want to contemplate your skill level, budget, and specific needs. Look for software with robust color grading, stabilization, and 4K support. Popular options include Adobe Premiere Pro, DaVinci Resolve, and Final Cut Pro for Mac users.
What's the Ideal Length for a Drone Video on Social Media?
For social media, keep your drone videos short and engaging. Aim for 30-60 seconds on platforms like Instagram or TikTok. On YouTube, you can go longer, but try to stay under 3 minutes for ideal viewer retention.
How Can I Protect My Drone Footage From Copyright Infringement?
To protect your drone footage from copyright infringement, you'll want to watermark your videos, register them with the Copyright Office, and use licensing agreements. Don't forget to monitor online platforms for unauthorized use of your content.
Are There Specific File Formats Recommended for Editing Drone Videos?
You'll want to use MP4 or MOV formats for editing drone videos. They're widely compatible and maintain quality. If your drone records in a different format, convert it before editing to guarantee smooth workflow and better results.
How Do I Create Cinematic Drone Shots Without Advanced Piloting Skills?
You can create cinematic drone shots without advanced skills by using simple movements. Fly slowly, maintain steady altitude, and use gentle turns. Try basic patterns like orbits or reveals. Practice smooth takeoffs and landings for polished results.
In Summary
You've now got the tools to take your drone footage from amateur to pro. Remember, practice makes perfect, so don't be afraid to experiment with these techniques. As you refine your skills, you'll develop your own unique style. Keep exploring new editing tricks, stay updated with software advancements, and always prioritize safety while flying. With dedication and creativity, you'll soon be producing stunning aerial videos that captivate your audience. Happy editing!

As educators and advocates for responsible drone use, we’re committed to sharing our knowledge and expertise with aspiring aerial photographers.
Leave a Reply