Aerial image stitching transforms your sky-high captures into breathtaking panoramas, offering a bird's-eye view of the world below. You'll need a high-quality camera or drone, wide-angle lens, and stabilization equipment to start. Plan your flight path with 60-70% image overlap for ideal results. Preprocess your photos by adjusting exposure and color balance before using specialized stitching software. Align and blend images carefully, focusing on feature matching and seamless shifts. Correct any artifacts and enhance resolution for the final product. With the right techniques, you'll create stunning aerial panoramas that captivate viewers and showcase expansive landscapes. Discover how to elevate your aerial photography to new heights.
Key Takeaways
- Aerial image stitching combines overlapping photos to create high-resolution panoramas for mapping and monitoring purposes.
- Capture images with 60-70% horizontal overlap and 20-30% vertical overlap for effective stitching.
- Use feature matching algorithms like SIFT, SURF, and ORB to align overlapping images accurately.
- Apply color and exposure blending techniques to ensure seamless transitions between stitched images.
- Utilize gradient blending, multi-band blending, and content-aware fill to correct artifacts and enhance final panoramas.
Understanding Aerial Image Stitching
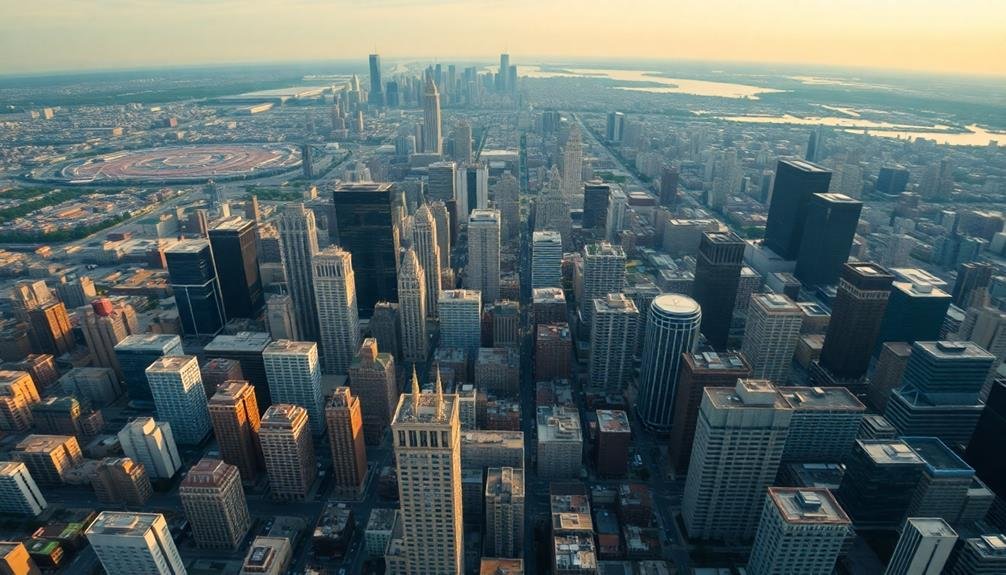
Aerial image stitching frequently revolutionizes how we capture and visualize large-scale landscapes. When you're working with aerial imagery, you're dealing with a unique set of challenges and opportunities. The process involves combining multiple overlapping images taken from an aircraft or drone to create a seamless, high-resolution panorama.
To understand aerial image stitching, you'll need to grasp key concepts like perspective distortion, georeferencing, and mosaicking. You'll encounter issues such as varying lighting conditions, changing terrain elevation, and camera movement that can affect image alignment. Advanced algorithms help overcome these obstacles by detecting and matching features across images, adjusting for differences in exposure and color, and blending overlapping areas.
The benefits of aerial image stitching are significant. You can create thorough views of large areas, monitor changes over time, and generate detailed maps for various applications.
Industries like agriculture, urban planning, and environmental monitoring rely heavily on this technology. As you explore deeper into aerial image stitching, you'll discover its potential to transform raw aerial data into valuable visual information, enabling better decision-making and analysis in numerous fields.
Essential Equipment for Sky-High Captures
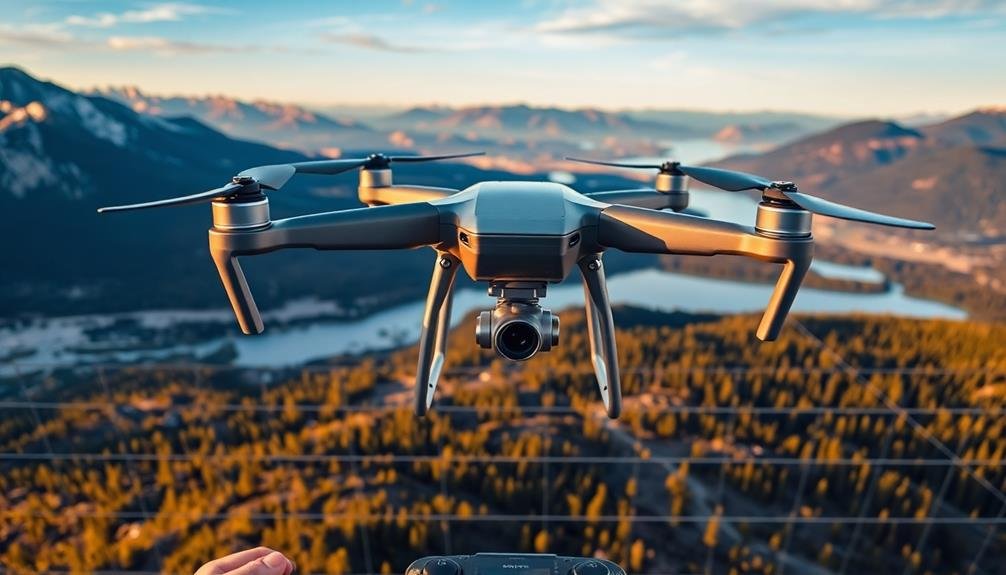
To capture stunning aerial images for stitching, you'll need the right gear. Start with a high-quality camera that offers manual controls and RAW image capture. DSLR or mirrorless cameras are ideal, but advanced point-and-shoot models can also work. Pair your camera with a wide-angle lens to capture more of the scene in each shot.
For aerial photography, you'll need a drone or aircraft. Consumer drones like the DJI Mavic series offer excellent image quality and stability. If you're shooting from a manned aircraft, invest in a gyro-stabilized mount to reduce vibration and motion blur.
Here's a quick overview of essential equipment:
| Equipment Type | Budget Option | Mid-Range Option | Professional Option |
|---|---|---|---|
| Camera | Sony RX100 VII | Fujifilm X-T4 | Sony A7R IV |
| Lens | 24-70mm f/4 | 16-35mm f/2.8 | 12-24mm f/2.8 |
| Aerial Platform | DJI Mini 2 | DJI Mavic 3 | RED Komodo + Helicopter |
Don't forget accessories like extra batteries, memory cards, and neutral density filters. A robust laptop for on-site image processing and a reliable hard drive for backup are also essential. With this equipment, you'll be well-prepared to capture breathtaking aerial panoramas.
Planning Your Panoramic Drone Flight
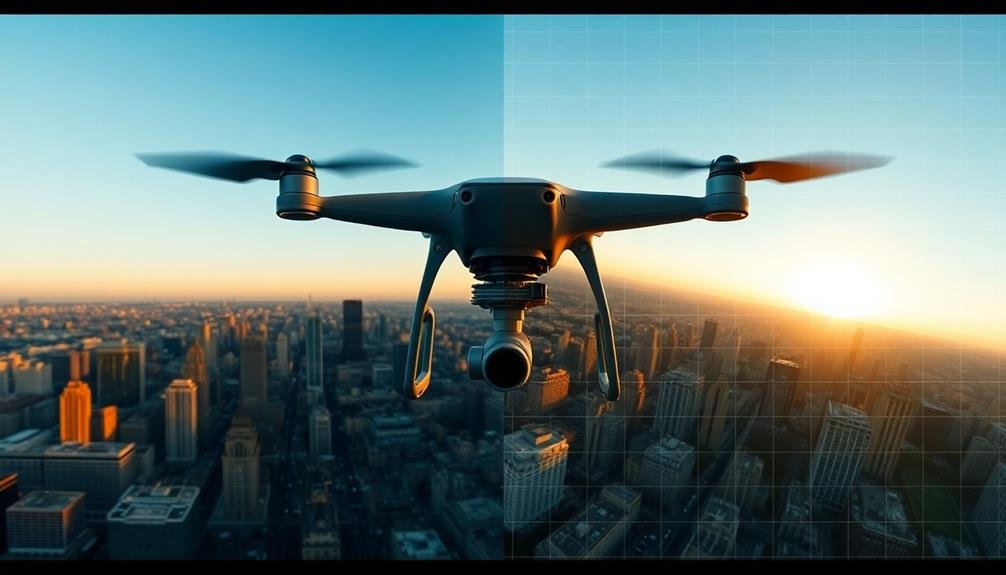
Before launching your drone, carefully plan your flight path to optimize image coverage.
You'll want to guarantee your drone captures overlapping images, typically with a 60-70% overlap between adjacent shots.
Flight Path Optimization
In light of creating stunning panoramic images, planning your drone's flight path is essential. You'll want to optimize your route to capture all necessary images while maximizing battery life and guaranteeing consistent lighting conditions.
Consider the landscape you're shooting and any potential obstacles that might interfere with your flight.
To optimize your flight path for panoramic image capture:
- Start with a test flight to assess the area and identify key points of interest.
- Plan a grid or circular pattern that covers the entire scene, with sufficient overlap between shots.
- Adjust your altitude to capture the desired perspective and level of detail.
- Set waypoints for your drone to follow, guaranteeing smooth shifts between capture points.
Remember to account for wind conditions and adjust your flight speed accordingly. You'll want to maintain a steady pace to guarantee consistent image quality across your panorama.
If you're shooting in changing light conditions, try to complete your flight as quickly as possible to maintain uniform exposure.
Don't forget to check local regulations and obtain necessary permissions before flying. With a well-planned flight path, you'll be on your way to capturing breathtaking panoramic images from the sky.
Overlapping Image Capture
The cornerstone of successful panoramic drone photography lies in mastering the art of overlapping image capture. You'll need to guarantee each photo overlaps with its neighbors by 60-70% horizontally and 20-30% vertically. This overlap is essential for the stitching software to accurately align and blend the images later.
When planning your flight, set your drone to capture images at regular intervals. Most modern drones have an automated panorama mode, but you can also use manual settings. Choose a consistent altitude and maintain a steady speed throughout the flight. This consistency helps create a uniform set of images for easier stitching.
Consider the scene you're capturing. For landscapes with distinct features, you might get away with less overlap. However, for scenes with repetitive patterns or few distinguishing elements, err on the side of more overlap.
Remember to account for wind conditions. Strong winds can affect your drone's stability, potentially causing gaps in your coverage. In such cases, increase your overlap percentage to compensate for any unexpected movements.
Capturing Overlapping Aerial Images
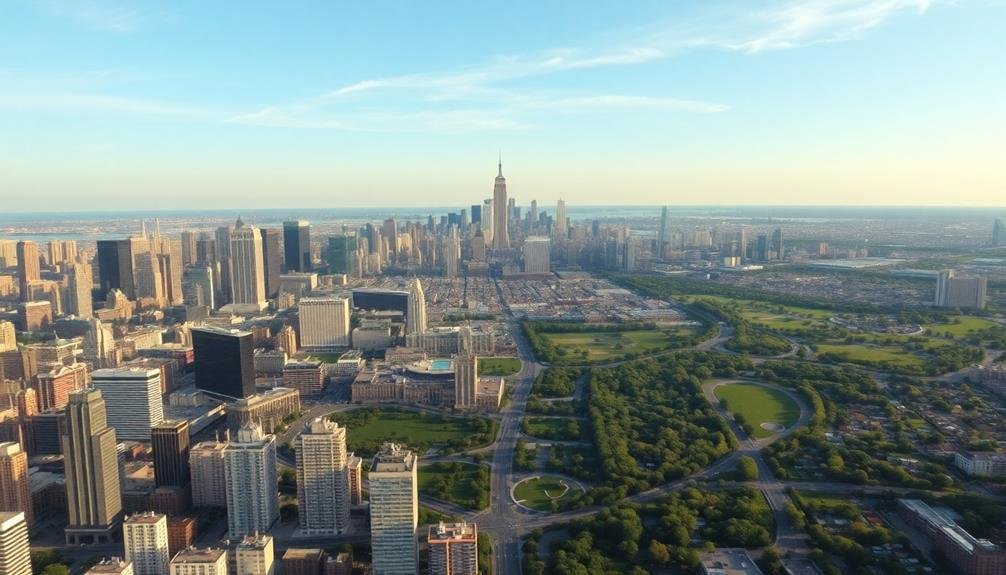
Aerial photographers face unique challenges when capturing overlapping images for panoramic stitching. You'll need to maintain a consistent altitude, speed, and flight path while guaranteeing each photo overlaps by at least 60%. This overlap is essential for successful stitching, as it provides enough shared information between images.
When planning your aerial shoot, consider the following:
- Flight altitude: Higher altitudes cover more ground but sacrifice detail.
- Camera settings: Use manual mode to maintain consistent exposure.
- Gimbal stabilization: Reduce shake and maintain a level horizon.
- Flight pattern: Plan a grid or parallel line pattern for complete coverage.
You'll want to use a drone or aircraft equipped with a high-resolution camera and GPS for precise positioning. Set your camera to shoot at regular intervals or use a remote trigger to capture images at specific waypoints.
Remember to adjust your flight speed to match your camera's shutter speed and guarantee sharp images. Wind and weather conditions can affect your flight stability, so choose calm days for the best results.
Preprocessing Raw Aerial Photographs
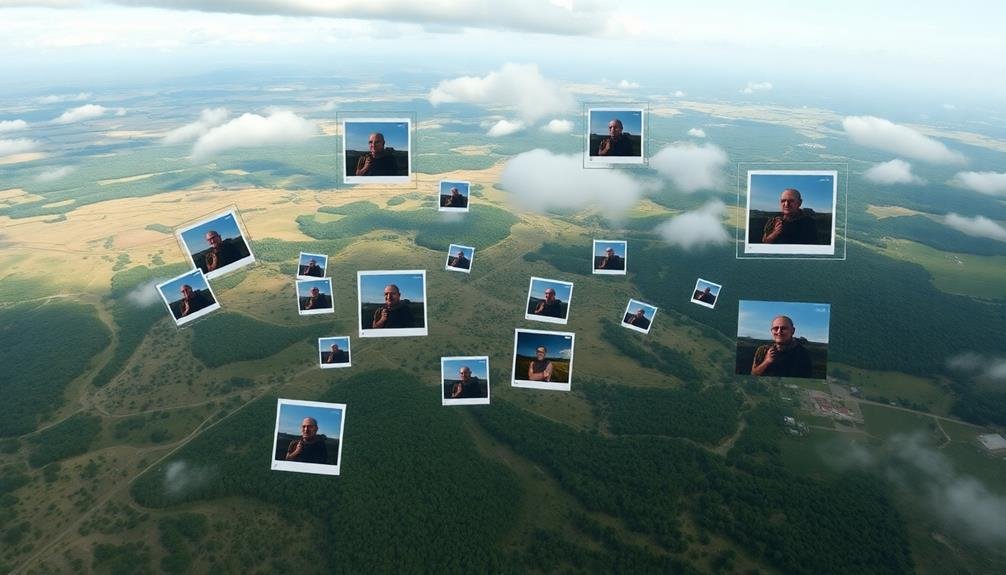
Once you've captured your overlapping aerial images, the next step is preprocessing the raw photographs. This essential stage prepares your images for seamless stitching. Start by importing your photos into image editing software.
Apply lens correction to remove any distortion, especially if you've used a wide-angle lens. Adjust the exposure and color balance across all images to guarantee consistency. This step is critical, as variations in lighting can create noticeable seams in your final panorama.
Next, sharpen your images to enhance details, but be careful not to overdo it. Remove any dust spots or artifacts that might interfere with the stitching process. If your aerial shots include unwanted elements like aircraft parts or propellers, crop them out now.
Consider aligning your horizon if it's visible in your shots. This can greatly improve the final result.
Finally, convert your images to a common file format, preferably one that retains maximum quality like TIFF. Save your preprocessed images in a dedicated folder, ready for the stitching process.
Selecting the Right Stitching Software
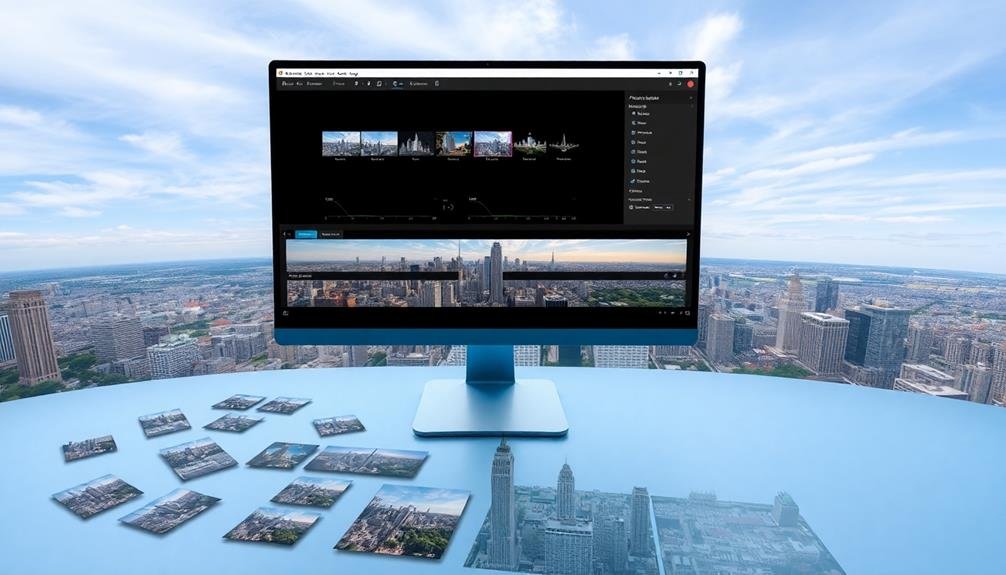
Choosing the ideal stitching software is essential for creating seamless panoramas. You'll want to take into account factors like ease of use, compatibility with your hardware, and the specific features that match your project requirements. Some software options excel at handling aerial imagery, while others are better suited for ground-level panoramas.
When selecting stitching software, look for these key features:
- Automatic alignment and blending capabilities
- Support for various image formats and RAW files
- Advanced color correction and exposure balancing tools
- Ability to handle large datasets efficiently
Don't forget to take into account your skill level and workflow preferences. If you're new to image stitching, you might prefer a user-friendly interface with automated processes. More experienced users may opt for software with greater manual control and customization options.
It's also worth checking if the software offers GPU acceleration, which can greatly speed up processing times for large panoramas.
Some popular options include PTGui, AutoPano Giga, and Adobe Photoshop's built-in panorama feature. Take advantage of free trials to test different software and find the one that best suits your needs and produces the highest quality results for your aerial panoramas.
Aligning and Merging Aerial Shots
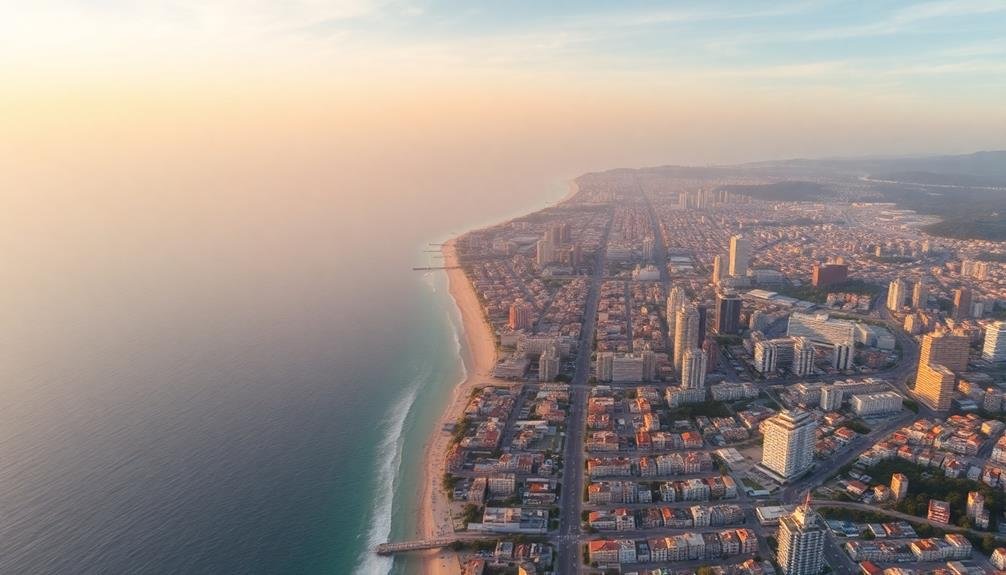
When aligning and merging aerial shots, you'll need to focus on matching overlapping image features.
You'll find that software algorithms can automatically detect and align common elements between photos, such as buildings, roads, or landmarks.
Once aligned, you'll need to blend the color and exposure of the images to create a seamless connection between shots, ensuring a cohesive final panorama.
Matching Overlapping Image Features
The cornerstone of successful image stitching lies in accurately matching overlapping features between aerial shots. You'll need to identify and align distinctive elements that appear in multiple images to create a seamless panorama. This process involves sophisticated algorithms that analyze pixel patterns, colors, and textures to find corresponding points across photos.
To match overlapping features effectively, you'll rely on:
- Scale-Invariant Feature Transform (SIFT) algorithms
- Speeded Up Robust Features (SURF) detection
- Oriented FAST and Rotated BRIEF (ORB) techniques
- Advanced Machine Learning models for feature recognition
These methods help you detect and describe local features in images, making it easier to find matches even when photos are taken from slightly different angles or under varying lighting conditions.
You'll use these identified features as anchor points to align and blend the images together.
Once you've matched the overlapping features, you'll apply geometric transformations to align the images precisely. This may involve rotating, scaling, or warping the photos to guarantee they fit together perfectly.
You'll then blend the overlapping regions, adjusting exposure and color to create a seamless shift between the stitched images.
Blending Color and Exposure
Blending color and exposure is a crucial step in creating seamless panoramas from aerial shots. After you've matched overlapping features, you'll need to tackle the challenges of varying lighting conditions and color inconsistencies across your images.
Start by adjusting the white balance of each photo to guarantee a consistent color temperature throughout the panorama. You can use histogram matching techniques to align the overall exposure levels between adjacent images.
Next, apply gradient blending to smooth out shifts between overlapping areas. This technique creates a gradual fade from one image to another, masking any abrupt changes in brightness or color.
For more complex scenes, you might need to use multi-band blending, which operates on different frequency bands of the image separately. This approach helps preserve fine details while smoothing out larger-scale differences.
Don't forget to address vignetting, a common issue in aerial photography where the edges of each frame are darker than the center. Apply vignette correction to each image before stitching to prevent noticeable seams in your final panorama.
Correcting Exposure and Color Differences
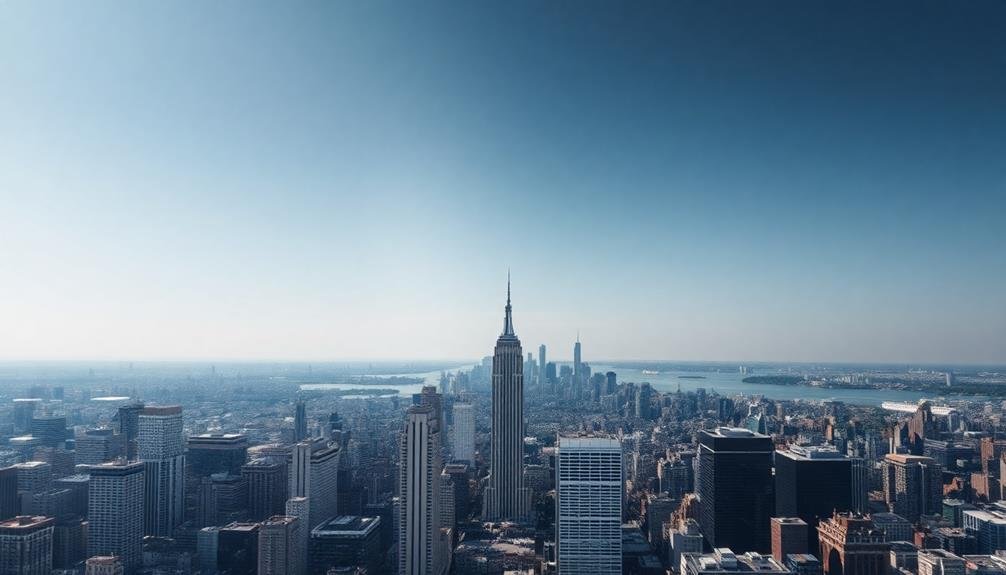
Despite careful camera settings, exposure and color differences often creep in between adjacent images in a panorama. These inconsistencies can disrupt the seamless look you're aiming for, but don't worry – there are effective techniques to correct them.
To address exposure differences, you'll need to analyze the overlapping areas between images. Use histogram matching to adjust the brightness levels, ensuring a smooth shift from one frame to the next. For color discrepancies, apply color transfer algorithms that match the color distribution of adjacent images.
Here's what you can expect when correcting exposure and color differences:
- Improved overall consistency in brightness and contrast
- Elimination of visible seams between stitched images
- Enhanced color harmony across the entire panorama
- Preservation of local details and textures
Advanced image editing software often includes automated tools for exposure and color correction. However, you may need to fine-tune the results manually for the best outcome.
Pay close attention to areas with significant variations, such as where the sky meets the landscape or in regions with dramatic lighting changes. By carefully addressing these issues, you'll create a more natural and visually appealing panoramic image that truly captures the essence of the scene.
Removing Visible Seams and Artifacts
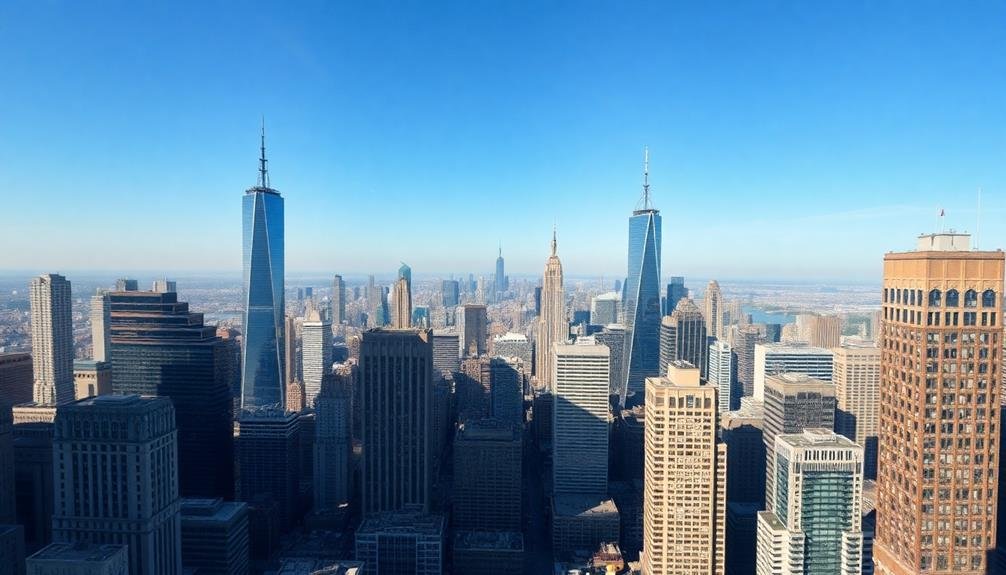
Seamless panoramas require more than just matching exposure and color. You'll often encounter visible seams and artifacts that can detract from your final image. To address these issues, you'll need to employ advanced blending techniques.
Start by using gradient blending, which smoothly shifts between overlapping areas. This helps reduce hard edges and visible seams. Next, apply feathering to soften the boundaries between stitched images, creating a more natural blend. You can also use alpha blending to gradually merge overlapping regions, further minimizing visible shifts.
For more complex situations, try multi-band blending. This technique separately blends different frequency bands of the image, effectively handling both large-scale differences and fine details.
If you're dealing with moving objects or misalignments, consider using content-aware fill or inpainting algorithms to seamlessly remove or replace problematic areas.
Don't forget to address ghosting artifacts caused by moving objects or slight misalignments. Use de-ghosting algorithms or manually select the best representation of each area from your source images.
Optimizing Final Panorama Resolution
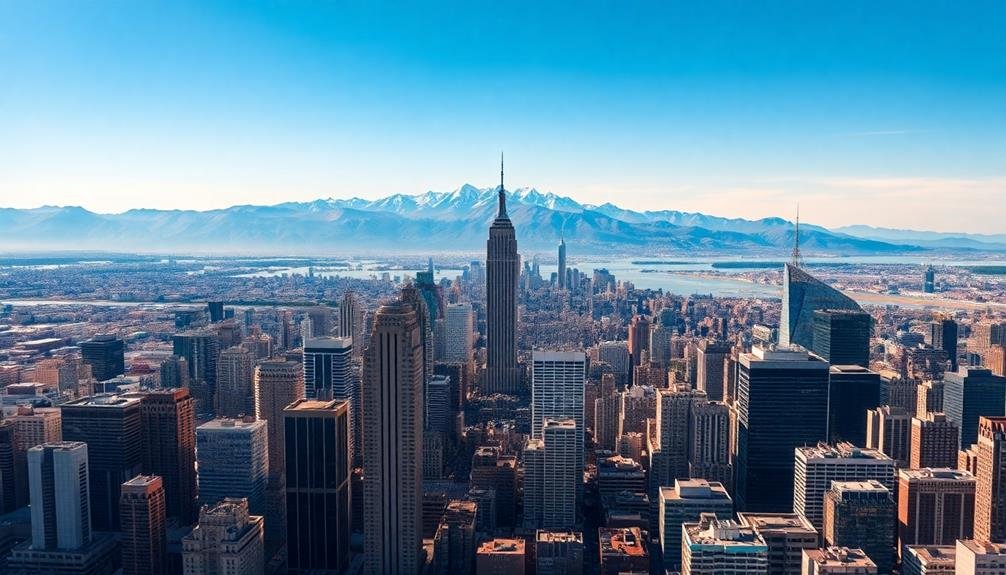
With your panorama seamlessly blended, it's time to focus on maximizing its resolution. You'll want to guarantee that your final image retains as much detail as possible while remaining manageable regarding file size and processing requirements.
Start by evaluating the resolution of your individual source images and determine the best output size for your panorama.
Consider these key factors when optimizing your panorama's resolution:
- Source image quality: Higher resolution input images will yield a sharper final result.
- Overlap percentage: More overlap between images allows for better alignment and detail preservation.
- Panorama dimensions: Wider panoramas may require higher resolutions to maintain clarity.
- Intended use: Different applications (print, web, large-format displays) have varying resolution needs.
Use your image editing software's resampling algorithms to adjust the resolution without introducing artifacts. Experiment with different settings to find the sweet spot between image quality and file size.
Remember that excessively high resolutions can lead to unwieldy file sizes and slower processing times, so aim for a balance that suits your needs.
Exporting and Sharing Aerial Panoramas
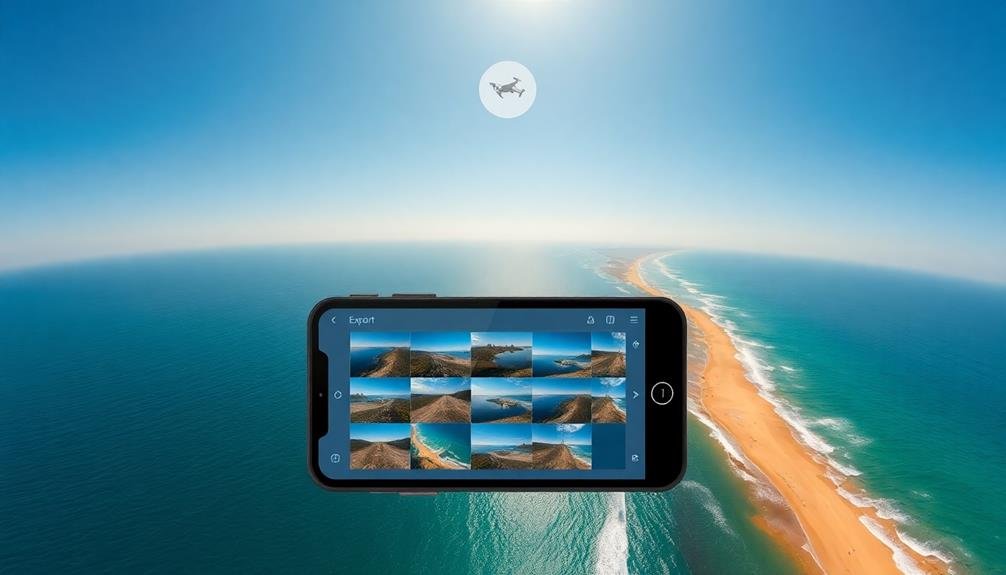
Once you've perfected your aerial panorama, it's time to share your breathtaking view with the world. Choose the right file format for your intended use. For web display, consider JPEG for its balance of quality and file size. If you need to preserve maximum detail, opt for TIFF or PNG formats.
When exporting, pay attention to color profiles. sRGB is ideal for online sharing, while Adobe RGB offers a wider color gamut for print. Adjust your export settings to maintain the panorama's quality while keeping file sizes manageable.
For social media sharing, you'll need to adapt your panorama. Instagram, for example, requires a 1:1 aspect ratio, so you might crop your image or use a triptych approach. Facebook and Twitter support wider aspect ratios, allowing you to showcase more of your panorama.
Consider interactive viewing options for a more immersive experience. Upload your panorama to platforms like 360cities.net or Google Street View, where viewers can explore your aerial capture in a virtual environment.
These platforms often require specific file formats or metadata, so check their guidelines before uploading.
Frequently Asked Questions
How Does Weather Affect Image Stitching Quality in Aerial Photography?
Weather can greatly impact your aerial image stitching quality. You'll face challenges with changing light conditions, cloud shadows, and wind-induced camera movement. Humidity and precipitation can also affect lens clarity and image sharpness during stitching.
Can Image Stitching Software Correct Lens Distortion in Drone Camera Images?
Yes, image stitching software can correct lens distortion in drone camera images. You'll find that most modern programs automatically detect and fix barrel or pincushion distortion, ensuring your stitched panoramas look more natural and accurate.
What Are the Legal Considerations for Creating Panoramas From Drone Footage?
You'll need to take into account drone flight regulations, privacy laws, and property rights. Verify you're licensed to fly commercially, respect no-fly zones, and obtain permission for footage of private property or identifiable individuals.
How Do You Handle Moving Objects When Stitching Aerial Images Together?
To handle moving objects in aerial image stitching, you'll need to use advanced software algorithms. They'll detect and remove inconsistencies, or you can manually mask out moving elements. Time your shots carefully to minimize motion between frames.
Are There Specialized Techniques for Stitching Nighttime or Low-Light Aerial Panoramas?
For nighttime or low-light aerial panoramas, you'll need specialized techniques. You can use longer exposures, higher ISO settings, and noise reduction algorithms. You'll also want to align images based on bright points like city lights or stars.
In Summary
You've now mastered the art of creating seamless aerial panoramas. With your new skills in flight planning, image capture, and post-processing, you'll be producing stunning sky-high vistas in no time. Remember to practice and experiment with different techniques. As you refine your craft, you'll discover unique ways to showcase the world from above. Keep pushing your boundaries, and don't forget to share your breathtaking creations with fellow enthusiasts and potential clients.

As educators and advocates for responsible drone use, we’re committed to sharing our knowledge and expertise with aspiring aerial photographers.


Leave a Reply