HDR blending can transform your aerial photography, taking your drone shots to new heights. You'll capture stunning images with enhanced detail in both bright skies and dark landscapes. Start by using a high-quality drone with a stabilized camera and shoot multiple exposures at different levels. Then, merge these shots using specialized software like Lightroom or Aurora HDR. You'll need to master exposure bracketing, tone mapping, and selective masking techniques to bring out the best in your sky-high images. With practice, you'll create breathtaking HDR photos that reveal intricate details in highlights and shadows. Discover how to balance colors and achieve realistic results that'll make your aerial photography soar.
Key Takeaways
- Capture multiple exposures with your drone, including underexposed, properly exposed, and overexposed images for a wide dynamic range.
- Use specialized HDR software like Lightroom or Aurora HDR to merge and align your bracketed exposures.
- Apply tone mapping techniques to enhance details in both highlights and shadows while maintaining a natural look.
- Utilize selective masking to target specific areas for detail enhancement, creating more impactful HDR images.
- Balance colors carefully to avoid oversaturation, using adjustment layers and gradual blending for realistic results.
Understanding HDR in Aerial Photography
In light of the rapid advancements in aerial photography, understanding HDR (High Dynamic Range) has become essential for capturing stunning images from above.
HDR blending allows you to combine multiple exposures of the same scene, creating a final image with a broader range of tones and details than a single exposure can capture.
When you're shooting from the sky, you'll often encounter extreme contrasts between bright skies and dark landscapes. HDR techniques help you overcome these challenges by preserving details in both highlights and shadows.
To create an HDR image, you'll need to capture several shots at different exposure levels, typically using your camera's auto-bracketing feature.
You'll then merge these exposures using specialized software, which analyzes the best parts of each image and combines them into a single, well-balanced photograph.
This process allows you to reveal intricate details in both the brightest and darkest areas of your aerial scenes.
Essential Equipment for Sky-High HDR
Successful sky-high HDR photography requires more than just a camera and a drone. You'll need a range of specialized equipment to capture stunning aerial HDR images.
First, invest in a high-quality drone with a gimbal-stabilized camera, like the DJI Mavic 3 or Autel EVO II Pro. These drones offer excellent image quality and stability for aerial shots.
Next, verify you have a remote controller with a built-in screen or smartphone mount for real-time view and control. Don't forget extra batteries and propellers to extend your flight time and handle unexpected situations.
For post-processing, you'll need a powerful computer with ample RAM and a dedicated graphics card. Software like Adobe Lightroom and Photomatix Pro are essential for merging and editing your HDR images.
A circular polarizing filter can help reduce glare and enhance colors in your sky-high shots. Consider neutral density filters to control exposure in bright conditions.
Capturing Bracketed Exposures With Drones
When capturing bracketed exposures with drones, you'll need to optimize your exposure bracket settings for the best HDR results.
Set your drone to capture at least three exposures: one properly exposed, one underexposed, and one overexposed.
To guarantee sharp, aligned images, employ drone stability techniques like hovering in place and using a fast shutter speed to minimize motion blur.
Optimal Exposure Bracket Settings
Capturing ideal exposure brackets with drones requires careful consideration of several key settings.
You'll want to start by setting your drone's camera to manual mode, giving you full control over the exposure parameters. Aim for a three-bracket sequence: one at the base exposure, one underexposed, and one overexposed.
For your base exposure, set your aperture to f/8 or f/11 for best sharpness across the frame. Adjust your ISO to the lowest possible setting, typically 100 or 200, to minimize noise. Then, select a shutter speed that properly exposes the mid-tones in your scene.
For your bracketed shots, adjust only the shutter speed. Underexpose by 2 stops for the darker image and overexpose by 2 stops for the brighter one. If your scene has extremely high contrast, consider expanding to a five-bracket sequence with -3 and +3 EV shots.
Remember to use your drone's burst mode or AEB (Auto Exposure Bracketing) function if available. This allows rapid capture of your brackets, minimizing movement between shots and facilitating easier blending in post-processing.
Drone Stability Techniques
To guarantee sharp, well-aligned HDR images from your drone, maintaining stability during bracketed exposures is essential.
Start by choosing a calm day with minimal wind to reduce unwanted movement. Enable your drone's obstacle avoidance system to prevent sudden shifts in position. Use the drone's built-in GPS hold function to maintain a fixed location during the bracketing process.
Set your drone to capture bracketed exposures automatically, reducing the need for manual input that could cause instability. If your drone doesn't have this feature, use the intervalometer function to take shots at predetermined intervals.
Opt for faster shutter speeds to minimize motion blur, even if it means increasing your ISO slightly. Consider using neutral density filters to allow for longer exposures without overexposing highlights, which can help smooth out minor movements.
If your drone has a mechanical shutter, use it instead of the electronic shutter to reduce rolling shutter effects. Finally, shoot in RAW format to give yourself more flexibility in post-processing, allowing you to correct minor alignment issues and maximize dynamic range.
With these techniques, you'll greatly improve your chances of capturing perfectly aligned bracketed exposures for stunning HDR drone images.
Merging Exposures: Software and Techniques
At the heart of HDR blending lies the process of merging multiple exposures into a single, well-balanced image. You'll need specialized software to combine these exposures effectively. Popular options include Adobe Lightroom, Photomatix Pro, and Aurora HDR. These tools offer automated merging and manual control for fine-tuning your results.
When merging exposures, you'll typically work with three main images: underexposed, properly exposed, and overexposed. The software aligns these shots and combines the best-exposed areas from each to create a high dynamic range image. You can then tone map this HDR image to produce a visually appealing result that captures the full range of light in your drone scene.
| Software | Key Features | Best For |
|---|---|---|
| Lightroom | Built-in HDR merge | Beginners |
| Photomatix | Advanced tone mapping | Professionals |
| Aurora HDR | AI-powered blending | Creative editing |
| Enfuse | Command-line tool | Technical users |
| SNS-HDR | Noise reduction | Low-light scenes |
To achieve the best results, shoot in RAW format and use a tripod or gimbal for your drone. Experiment with different exposure bracketing settings to capture a wide range of light. Remember, subtlety is key in HDR blending – aim for a natural look rather than an over-processed appearance.
Enhancing Details in Highlights/Shadows
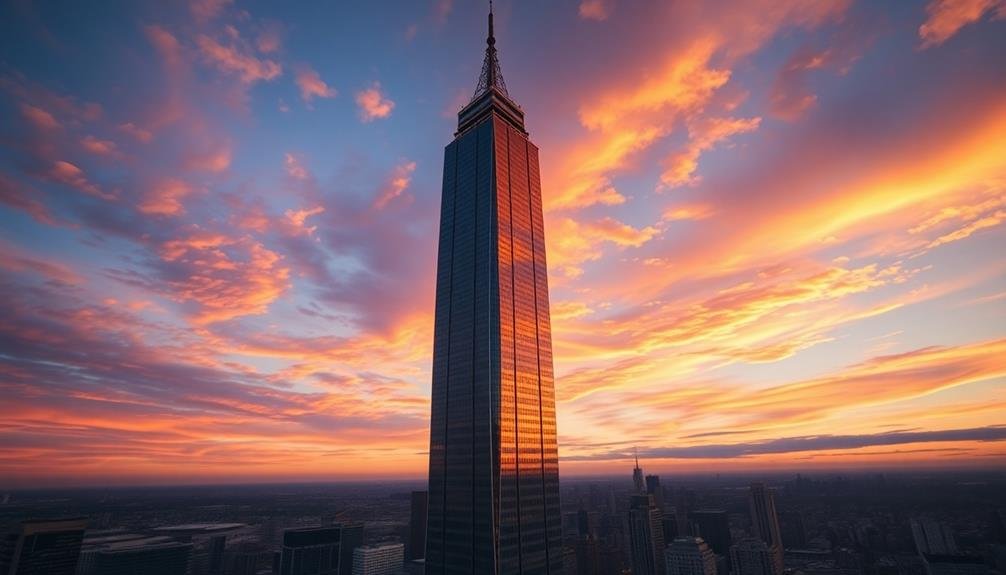
To enhance details in highlights and shadows, you'll need to bracket your exposures effectively, capturing a range of light levels.
Once you've merged your images, adjust the tone mapping to fine-tune the balance between light and dark areas.
For more precise control, employ selective masking techniques to target specific regions, allowing you to bring out hidden details in both bright and shadowy parts of your image.
Bracket Exposures Effectively
Mastery of exposure bracketing is essential for successful HDR blending. To bracket effectively, you'll need to capture a range of exposures that encompass the entire dynamic range of the scene. Start by setting your camera to Aperture Priority mode and enabling Auto Exposure Bracketing (AEB).
For most scenes, a three-shot bracket with exposures at -2, 0, and +2 EV will suffice. However, high-contrast scenes may require five or more shots. Begin with the middle exposure, then capture underexposed and overexposed images. Use a tripod to guarantee perfect alignment between shots.
Pay attention to your histogram. The darkest shot should have details in the highlights without clipping, while the brightest shot should reveal shadow details without introducing noise. Adjust your bracketing range if necessary to cover the entire tonal range.
Don't forget to take into account your camera's base ISO and its dynamic range capabilities. Lower ISOs generally provide better image quality and wider dynamic range.
If possible, use your camera's electronic shutter to minimize vibrations during bracketing.
Adjust Tone Mapping
Once you've captured your bracketed exposures, it's time to plunge into tone mapping. This essential step allows you to enhance details in both highlights and shadows, creating a balanced and visually striking image. Start by adjusting the overall exposure to achieve a natural look, then fine-tune the highlights and shadows separately.
Pay close attention to the sky, as it's often the focal point in HDR images. Carefully adjust the highlights to reveal cloud details without making them appear unnatural. For shadows, gradually increase the brightness to bring out details in darker areas without introducing noise.
Use the following table as a guide for adjusting tone mapping parameters:
| Parameter | Low Value | Medium Value | High Value | Effect |
|---|---|---|---|---|
| Exposure | -2 | 0 | +2 | Overall brightness |
| Highlights | -100 | 0 | +100 | Detail in bright areas |
| Shadows | -100 | 0 | +100 | Detail in dark areas |
| Contrast | -50 | 0 | +50 | Image punch |
| Saturation | -50 | 0 | +50 | Color intensity |
Selective Masking Techniques
Selective masking techniques elevate your HDR blending to the next level by allowing you to enhance specific areas of your image with precision.
These techniques enable you to target highlights, shadows, and mid-tones independently, giving you greater control over the final result.
To begin, create separate layers for your highlights, shadows, and mid-tones. Use luminosity masks to isolate these areas accurately.
For highlights, focus on retaining details in bright areas like clouds or reflections. Adjust the exposure and contrast to bring out subtle textures without blowing out the whites.
In shadow areas, you'll want to reveal hidden details without introducing noise. Carefully increase the exposure and adjust the contrast to maintain a natural look.
Pay special attention to dark foregrounds or shaded areas in landscapes.
For mid-tones, fine-tune the color and contrast to achieve a balanced overall appearance. This is where you can enhance the vibrancy of your image without affecting the highlights or shadows.
Don't forget to blend the edges of your masks to guarantee seamless shifts between different exposure areas.
Use the brush tool with a soft edge to refine your masks and create a natural-looking final image.
Balancing Colors for Realistic Results
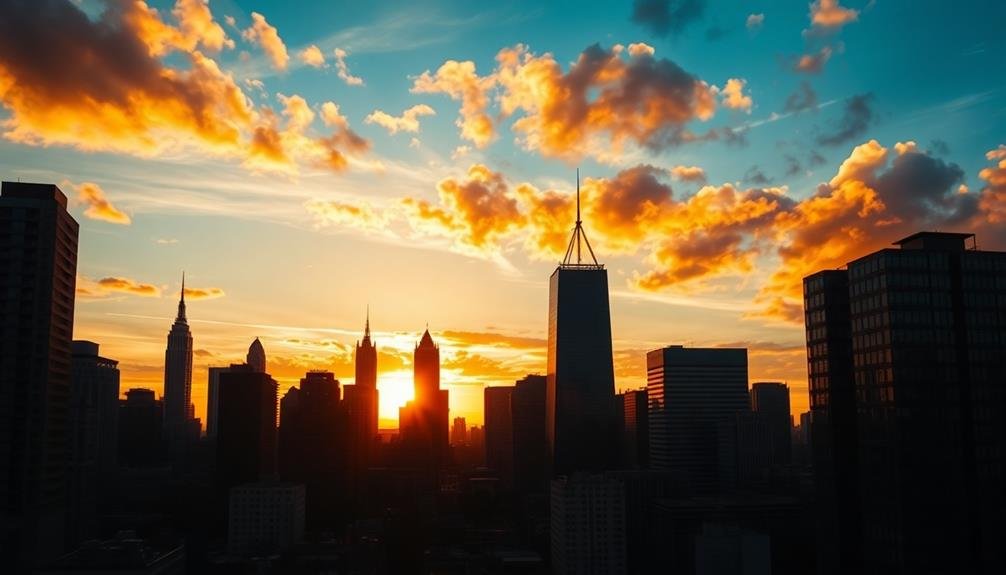
A key challenge in HDR blending is achieving natural-looking colors that don't appear oversaturated or artificial. To balance colors for realistic results, you'll need to pay close attention to each exposure's color temperature and tint.
Start by selecting a neutral reference point in your image, such as a gray or white area, and use it to adjust the white balance across all exposures.
Next, carefully examine the color saturation in different parts of your image. You may need to selectively reduce saturation in areas that appear too vibrant, especially in shadows and highlights.
Use adjustment layers or masking techniques to target specific regions without affecting the entire image.
Pay special attention to the blending areas between exposures, as these can often reveal color inconsistencies. Gradually blend these areas using soft brushes or gradient masks to create seamless blends.
Frequently Asked Questions
How Does HDR Blending Affect File Sizes for Aerial Photography?
HDR blending typically increases your aerial photography file sizes. You'll find that blended images contain more data, resulting in larger files. However, the trade-off is worth it for the enhanced dynamic range and image quality you'll achieve.
Can HDR Techniques Be Applied to Existing Single-Exposure Drone Images?
Yes, you can apply HDR techniques to existing single-exposure drone images. You'll use software to create multiple exposures from one image, then blend them. However, results won't be as good as true multi-exposure HDR shots.
What Are the Legal Considerations When Using HDR for Commercial Aerial Photography?
When using HDR for commercial aerial photography, you'll need to take into account copyright laws, property rights, and privacy regulations. You should also guarantee you're complying with drone regulations and have proper licenses for commercial use.
How Does HDR Blending Impact Battery Life on Drones During Shoots?
You'll notice HDR blending consumes more battery power on your drone. It requires multiple shots at different exposures, which increases processing and flight time. Plan for shorter sessions or bring extra batteries to compensate for this drain.
Are There Specific Weather Conditions That Work Best for HDR Aerial Photography?
You'll get the best HDR aerial shots in partly cloudy conditions. They provide dynamic lighting and contrast. Early morning or late afternoon offer softer light. Avoid harsh midday sun or completely overcast skies for ideal results.
In Summary
You've now mastered the art of HDR blending for aerial photography. With the right equipment, techniques, and software, you'll transform your sky-high images into breathtaking masterpieces. Remember to capture bracketed exposures, merge them effectively, and fine-tune the details. Don't forget to balance colors for a realistic look. Keep practicing, and you'll soon be creating stunning HDR aerial shots that showcase the world from above in all its glory.

As educators and advocates for responsible drone use, we’re committed to sharing our knowledge and expertise with aspiring aerial photographers.
Leave a Reply