When it comes to color correcting your aerial footage, you've got a range of powerful tools at your disposal. DaVinci Resolve, Adobe Premiere Pro, and Final Cut Pro X lead the pack with thorough grading features. The Lumetri Color Panel offers intuitive controls, while LUTs designed for aerial shots can quickly enhance your visuals. Magic Bullet Colorista provides easy-to-use presets and advanced tools, while Neat Video tackles noise reduction. For on-the-go editing, there's Premiere Rush, and DJI's LookUp Tables are perfect for drone-specific enhancements. These top tools will help you transform your sky-high captures into stunning cinematic experiences. Dive deeper to reveal the full potential of your aerial masterpieces.
Key Takeaways
- DaVinci Resolve offers extensive color correction tools with node-based workflow for precise adjustments in aerial footage.
- Adobe Premiere Pro's Lumetri Color panel provides comprehensive grading with efficient presets for professional aerial videographers.
- LUTs designed for aerial footage address haze and color balance, enhancing sky-high shots consistently.
- FilmConvert Nitrate simulates film stocks and balances harsh lighting conditions common in drone footage.
- Neat Video Noise Reduction plugin effectively eliminates digital noise in high-ISO aerial shots and low-light scenes.
DaVinci Resolve
With DaVinci Resolve, you'll find a powerhouse of color correction tools at your fingertips. This professional-grade software offers a thorough suite of features designed to enhance your sky-high footage. You'll have access to primary and secondary color correction tools, allowing you to make precise adjustments to specific areas of your image.
DaVinci Resolve's node-based workflow gives you unparalleled control over your color grading process. You can create complex grades by layering multiple adjustments, each contained within its own node. The software's powerful scopes, including waveform, vectorscope, and histogram, help you analyze and fine-tune your footage with precision.
You'll appreciate the intuitive color wheels and curves that let you adjust lift, gamma, and gain effortlessly. The software's HDR tools enable you to work with high dynamic range footage, ensuring your sky shots look stunning across various display technologies.
DaVinci Resolve also offers AI-powered features like face recognition and smart filters, streamlining your workflow. With its robust tracking capabilities, you can easily follow moving objects in your aerial footage, applying targeted color corrections that stay locked in place.
DaVinci Resolve's extensive plugin support further expands its capabilities, allowing you to integrate third-party tools seamlessly.
Adobe Premiere Pro
Adobe Premiere Pro offers three vital color correction tools that make it a popular choice for aerial footage editing. The Lumetri Color panel is your go-to feature for thorough color grading. It provides intuitive controls for adjusting exposure, contrast, saturation, and color balance. You'll find it easy to enhance your sky-high shots and create stunning visual effects.
The Three-Way Color Corrector is another powerful tool at your disposal. It allows you to fine-tune the shadows, midtones, and highlights of your aerial footage independently. This level of control is essential when dealing with varying light conditions often encountered in drone videography.
Lastly, don't overlook the HSL Secondary tool. It enables you to isolate specific colors in your footage and adjust them without affecting the rest of the image. This is particularly useful when you need to enhance the blue of the sky or the green of landscapes in your aerial shots.
Premiere Pro's color correction tools are designed with efficiency in mind. You can easily save and apply presets, use keyboard shortcuts, and leverage the software's GPU acceleration for real-time playback.
These features make it an excellent choice for professional aerial videographers who need to deliver high-quality results quickly.
Final Cut Pro X
When working with Final Cut Pro X, you'll find a robust set of color correction tools at your fingertips.
The software offers powerful built-in effects that allow you to quickly enhance your footage's color and tone.
You can fine-tune your adjustments using the intuitive Color Wheels interface, which provides precise control over shadows, midtones, and highlights.
Powerful Built-In Effects
Final Cut Pro X boasts an impressive array of built-in color correction effects that'll transform your footage. You'll find a wide range of tools to enhance your sky-high shots, from basic adjustments to advanced color grading options.
Start with the Color Board, which gives you intuitive control over exposure, saturation, and color balance. You can quickly adjust highlights, midtones, and shadows to achieve the perfect look.
For more precise adjustments, use the Color Curves tool to fine-tune individual color channels. The Color Wheels feature allows you to make targeted adjustments to specific tonal ranges, while the Hue/Saturation Curves let you tweak individual colors without affecting others.
You'll also find powerful tools like Color Masks and Shape Masks to isolate specific areas of your footage for localized corrections.
Don't overlook the Match Color feature, which can automatically match the look of one clip to another, saving you time on consistency across shots.
Color Wheels Interface
The Color Wheels interface in Final Cut Pro X offers a powerful and intuitive way to adjust your footage's color balance and tone.
You'll find three color wheels representing shadows, midtones, and highlights, allowing you to fine-tune each tonal range independently. By dragging the center puck of each wheel, you can shift the color balance, while the outer ring controls the saturation.
Alongside the color wheels, you'll see sliders for adjusting brightness and contrast. These tools work together seamlessly, giving you precise control over your footage's look.
The Color Wheels interface also includes:
- A global color correction wheel for overall adjustments
- Temperature and tint sliders for quick white balance corrections
- Hue and saturation controls for targeted color adjustments
- A color curves panel for advanced tonal manipulation
- Eyedropper tools for sampling and matching colors
You'll appreciate the real-time updates as you make changes, allowing you to see the effects immediately.
The interface's visual nature makes it easier to understand and apply color theory principles, even if you're new to color grading.
With practice, you'll find the Color Wheels interface becomes an indispensable tool for achieving the perfect look for your sky-high footage.
Lumetri Color Panel
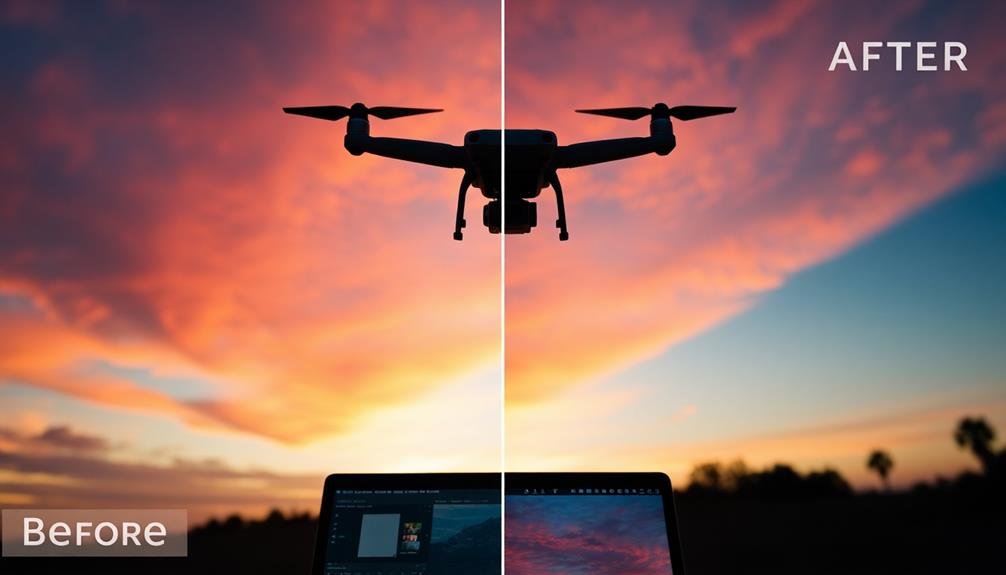
The Lumetri Color Panel in Adobe Premiere Pro offers you a user-friendly interface for color grading your footage.
You'll find intuitive controls for adjusting basic color properties, as well as more advanced tools for fine-tuning your image.
The panel's curve adjustments allow you to precisely modify hue, saturation, and luminance values, giving you powerful control over your footage's final look.
Intuitive Color Grading Interface
At the heart of Adobe Premiere Pro's color correction toolset lies the Lumetri Color Panel, an intuitive interface designed to streamline your color grading workflow. This powerful tool offers a user-friendly approach to enhancing your sky-high footage, allowing you to make precise adjustments with ease.
The Lumetri Color Panel's interface is logically organized, guiding you through the color correction process step-by-step. You'll find a range of features that help you achieve professional-looking results quickly:
- Basic Correction: Adjust exposure, contrast, and white balance
- Creative: Apply LUTs and stylized looks
- Curves: Fine-tune specific color channels
- Color Wheels: Control shadows, midtones, and highlights
- HSL Secondary: Target and adjust specific color ranges
As you work with the Lumetri Color Panel, you'll appreciate its real-time previews and the ability to create custom presets. This saves you time and guarantees consistency across your projects.
The panel's integration with other Premiere Pro tools, such as scopes and the Lumetri Scopes panel, provides a thorough color grading experience. You'll find that the Lumetri Color Panel's intuitive design makes it accessible for beginners while offering the depth and control that professional colorists demand.
Advanced Curve Adjustments
Diving deeper into the Lumetri Color Panel, you'll find the Advanced Curve Adjustments section, a powerful tool for precise color manipulation. This feature allows you to fine-tune individual color channels, giving you granular control over your footage's look.
You'll see four curve options: RGB, Red, Green, and Blue. The RGB curve affects overall brightness and contrast, while the individual color curves let you adjust specific hues. To use these curves, simply click and drag points along the diagonal line. Moving a point up brightens that part of the tonal range, while moving it down darkens it.
For more nuanced adjustments, you can add multiple points to create complex curves. This technique is especially useful for balancing skin tones or enhancing specific color elements in your sky footage.
Don't forget the Hue vs. Saturation, Hue vs. Hue, and Hue vs. Luma curves, which offer even more targeted control. Experiment with S-curves to boost contrast or inverse S-curves for a flatter look.
LUTs for Aerial Footage

When working with aerial footage, LUTs (Look-Up Tables) can be invaluable tools for enhancing your shots and achieving a consistent look across your project.
These pre-made color presets allow you to quickly apply professional-grade color grading to your aerial footage, saving time and ensuring a polished final product.
To make the most of LUTs for your aerial footage, consider these key points:
- Choose LUTs specifically designed for aerial shots to address common issues like haze and color balance
- Experiment with different LUTs to find the best fit for your footage and desired aesthetic
- Apply LUTs as adjustment layers to maintain flexibility in your editing process
- Fine-tune the intensity of the LUT effect to avoid over-processing your footage
- Create custom LUTs based on your preferred color grading settings for future use
When selecting LUTs for your aerial footage, look for options that enhance natural colors, improve contrast, and reduce atmospheric haze.
You'll find that many LUT packages offer presets tailored to different lighting conditions and environments, such as sunrise, sunset, or overcast skies.
FilmConvert Nitrate
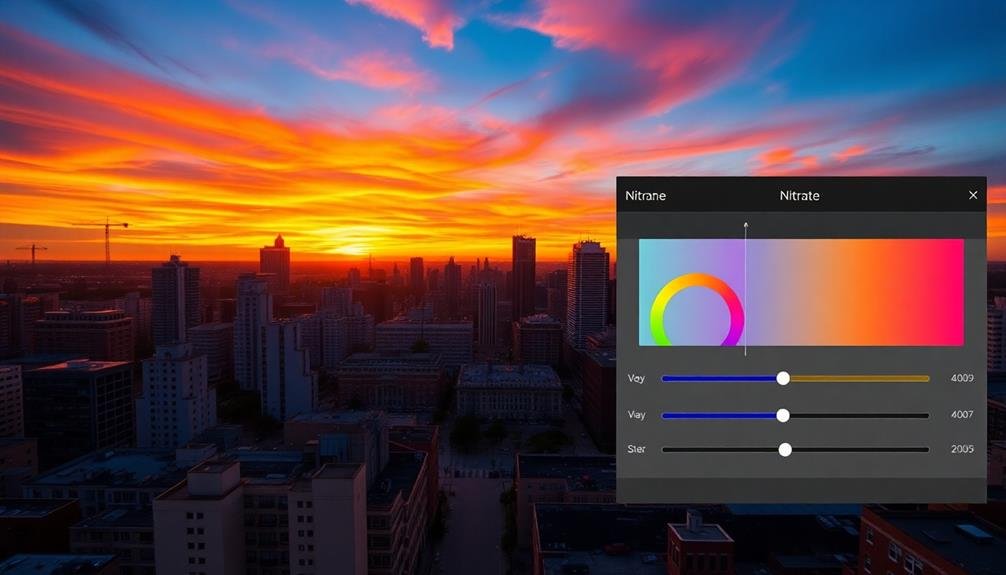
While LUTs offer a quick way to enhance aerial footage, FilmConvert Nitrate takes color correction to the next level. This powerful plugin simulates the look of various film stocks, giving your aerial shots a cinematic quality that's hard to achieve with standard color grading tools.
You'll find FilmConvert Nitrate particularly useful for drone footage, as it can help balance out the often-harsh lighting conditions encountered in aerial cinematography. It offers precise control over film grain, color temperature, and exposure, allowing you to fine-tune your footage to match specific film aesthetics.
One of FilmConvert Nitrate's standout features is its camera-specific color science. It's designed to work with the unique color profiles of different camera models, ensuring accurate color reproduction regardless of your drone's camera type. You can easily apply film emulation presets or create your own custom looks.
The plugin's intuitive interface makes it accessible for beginners while offering advanced features for experienced colorists. You'll appreciate its real-time rendering capabilities, which allow you to see changes instantly as you work.
FilmConvert Nitrate integrates seamlessly with popular editing software, making it a versatile addition to your post-production workflow for aerial footage.
Magic Bullet Colorista

Magic Bullet Colorista offers you a range of easy-to-use presets to quickly enhance your footage's look.
You'll find advanced color grading tools that allow for precise adjustments to hues, saturation, and luminance.
With its real-time rendering capabilities, you can see your changes instantly, streamlining your color correction workflow.
Easy-To-Use Presets
Often, novice editors and filmmakers seek quick solutions for color grading their footage. Magic Bullet Colorista's easy-to-use presets offer a perfect starting point for those who want to enhance their sky-high shots without diving deep into complex color correction techniques.
You'll find a wide range of presets designed specifically for aerial footage, allowing you to quickly apply professional-looking color grades with just a few clicks. These presets can dramatically transform your shots, giving them a polished and cinematic feel.
Here are some benefits of using Colorista's presets:
- Time-saving: Apply complex color grades in seconds
- Consistency: Maintain a uniform look across your entire project
- Inspiration: Explore different styles and moods for your footage
- Customization: Use presets as a starting point and fine-tune as needed
- Learning tool: Analyze preset adjustments to understand color grading techniques
While presets shouldn't replace learning proper color correction skills, they're an excellent way to jumpstart your editing process. You can always tweak the settings to achieve your desired look, making Colorista's presets a valuable tool for both beginners and experienced editors working with aerial footage.
Advanced Color Grading Tools
Beyond presets, Magic Bullet Colorista offers a robust suite of advanced color grading tools for editors who want to take their aerial footage to the next level. You'll find an extensive set of features that allow for precise control over every aspect of your sky-high shots.
With Colorista, you can fine-tune your footage using:
| Tool | Function |
|---|---|
| 3-Way Color Corrector | Adjust shadows, midtones, and highlights |
| Curves | Control color and luminance with precision |
| Keyer | Isolate specific colors for targeted adjustments |
| Vignette | Add depth and focus to your shots |
| LUT Support | Apply industry-standard look-up tables |
These tools enable you to create stunning looks that capture the essence of your aerial footage. You'll be able to enhance the sky's hues, bring out subtle details in landscapes, and create a cohesive color palette across your entire project.
Colorista's intuitive interface makes it easy to experiment with different color grades without sacrificing quality. You can quickly switch between looks, compare versions, and fine-tune your adjustments in real-time. This flexibility allows you to achieve professional-grade results efficiently, even when working with challenging aerial footage.
Real-Time Rendering Capabilities
Speed is the name of the game when it comes to Magic Bullet Colorista's real-time rendering capabilities. You'll experience lightning-fast performance as you apply color corrections and grades to your footage. This tool allows you to see changes instantly, eliminating the need for time-consuming rendering processes.
With Magic Bullet Colorista, you can:
- Adjust color parameters in real-time
- Preview complex grades without lag
- Apply LUTs and presets instantly
- Fine-tune adjustments on the fly
- Experiment with different looks quickly
The real-time rendering feature empowers you to work more efficiently and creatively. You'll spend less time waiting and more time perfecting your color grade. This immediacy allows for rapid experimentation and decision-making, ultimately leading to better results in less time.
Magic Bullet Colorista's GPU acceleration guarantees smooth performance even when working with high-resolution footage or complex color grades. You'll appreciate the responsiveness of the software as you make subtle tweaks or dramatic changes to your footage.
Whether you're working on a tight deadline or simply want to maximize your productivity, the real-time rendering capabilities of Magic Bullet Colorista will revolutionize your color correction workflow.
Neat Video Noise Reduction
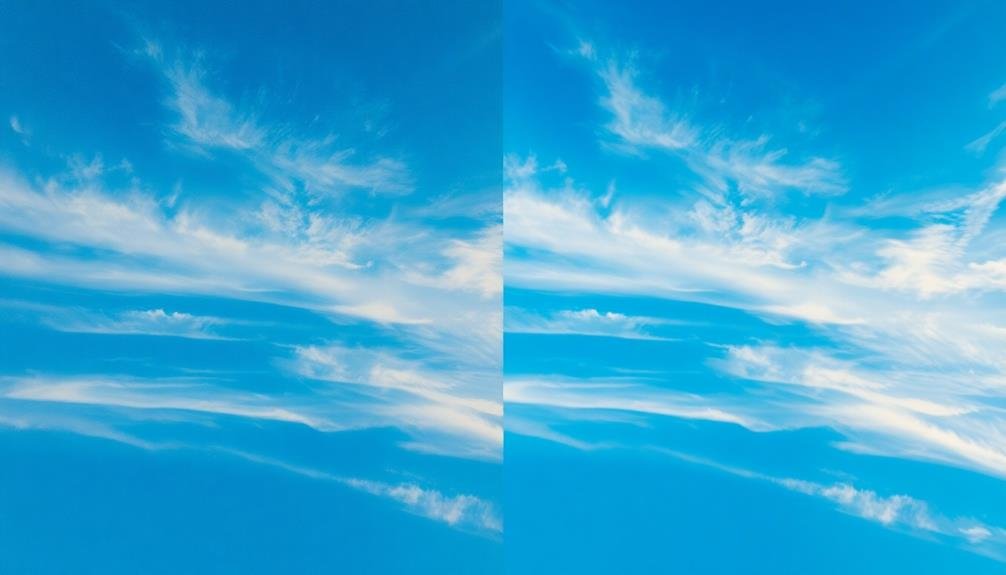
Neat Video Noise Reduction stands out as a powerful plugin for eliminating digital noise and grain from footage. You'll find it particularly useful when working with high-ISO aerial shots or low-light scenes. This tool uses advanced algorithms to analyze and reduce noise while preserving important details in your video.
When you're color correcting sky-high footage, you'll often encounter noise issues due to atmospheric conditions or camera limitations. Neat Video helps you combat these problems effectively. It offers automatic noise analysis, which saves you time by identifying noise patterns without manual adjustments. You can also fine-tune the settings for ideal results.
The plugin supports various video editing software, including Adobe Premiere Pro, Final Cut Pro, and DaVinci Resolve. It's GPU-accelerated, ensuring faster processing times for your high-resolution aerial footage. You'll appreciate its ability to handle different types of noise, from luminance to chrominance, giving you cleaner, more professional-looking results.
Neat Video's temporal filtering feature allows you to reduce noise across multiple frames, resulting in smoother motion and improved overall quality. This makes it an essential tool for enhancing your sky-high footage and achieving polished, noise-free visuals.
Premiere Rush for Mobile Editing
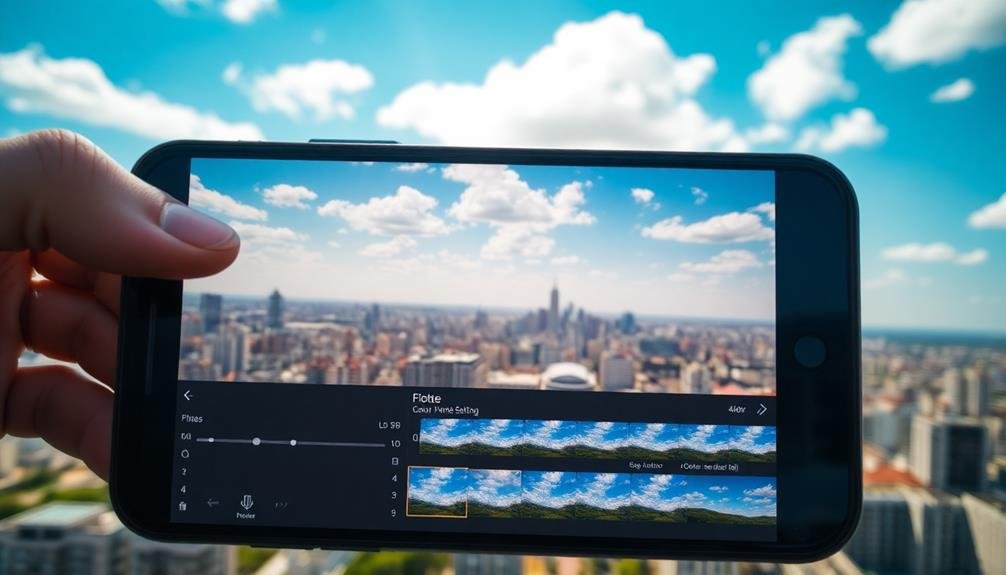
Adobe Premiere Rush offers a lightweight, mobile-friendly solution for color correcting your sky-high footage on the go. This app provides essential tools to enhance your aerial shots without the need for a powerful desktop computer.
You'll find a range of features tailored for quick edits, including basic color correction options and presets.
With Premiere Rush, you can:
- Adjust exposure, contrast, and saturation
- Apply color presets for instant looks
- Fine-tune highlights and shadows
- Correct white balance issues
- Sync edits across devices for seamless workflow
The app's intuitive interface makes it easy to navigate, even on smaller screens. You'll appreciate the ability to make quick adjustments to your drone footage while still in the field.
Although it doesn't offer the advanced capabilities of its desktop counterpart, Premiere Rush excels in providing efficient color correction tools for time-sensitive projects.
Whether you're a content creator, vlogger, or amateur filmmaker, this mobile editing solution can help you achieve professional-looking results with minimal effort.
DJI LookUp Tables
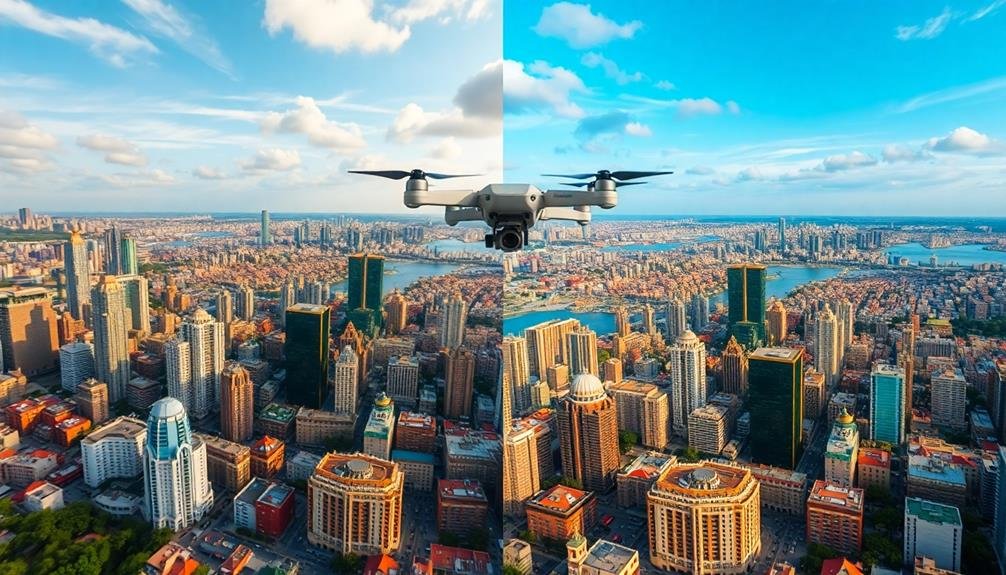
DJI's color-grading powerhouse, LookUp Tables (LUTs), offers drone pilots a quick and effective way to enhance their aerial footage. These pre-set color profiles allow you to instantly transform your raw drone shots into visually stunning scenes with professional-grade color grading.
You'll find a wide range of LUTs tailored specifically for DJI drones, including options for different lighting conditions and environments. Whether you're capturing cityscapes, landscapes, or seascapes, there's a LUT designed to bring out the best in your footage.
| LUT Type | Best For | Effect |
|---|---|---|
| Cinematic | Dramatic scenes | Rich, film-like tones |
| Vibrant | Nature shots | Enhanced colors |
| Moody | Overcast days | Ethereal atmosphere |
To use DJI LUTs, simply import them into your preferred video editing software. They're compatible with popular programs like Adobe Premiere Pro, Final Cut Pro, and DaVinci Resolve. You can adjust the intensity of the LUT to fine-tune the look of your footage, ensuring it matches your creative vision.
Frequently Asked Questions
How Do Color Correction Tools Affect the File Size of Aerial Footage?
Color correction tools can increase your file size as they add layers and adjustments to your aerial footage. However, you'll find that many tools offer compression options to minimize this impact while maintaining quality.
Can Color Correction Tools Fix Overexposed or Underexposed Sky Footage?
Yes, color correction tools can fix overexposed or underexposed sky footage. You'll be able to adjust brightness, contrast, and highlights to recover details in washed-out skies or bring out hidden elements in dark areas. It's a powerful way to enhance your aerial shots.
What Hardware Specifications Are Recommended for Smooth Color Correction Performance?
For smooth color correction performance, you'll need a powerful CPU, ample RAM (at least 16GB), a dedicated GPU, and fast storage. Don't forget a color-accurate monitor. These specs will guarantee you're working efficiently with high-resolution footage.
Are There Any Free Alternatives to the Professional Color Correction Tools Mentioned?
You'll find several free alternatives for color correction. Consider DaVinci Resolve's free version, Hitfilm Express, or VSDC Free Video Editor. They offer powerful tools without cost. You can also try OpenShot or Shotcut for basic color adjustments.
How Do Different Weather Conditions Impact Color Correction for Aerial Footage?
You'll find that weather greatly affects aerial footage colors. Overcast days can mute tones, while bright sunlight increases contrast. Fog and haze soften images, and rain alters reflections. You'll need to adjust your correction techniques accordingly.
In Summary
You've now got a powerful arsenal of color correction tools for your aerial footage. Whether you're using professional software like DaVinci Resolve or mobile apps like Premiere Rush, you'll be able to enhance your sky-high shots with ease. Don't forget to experiment with LUTs and noise reduction plugins to take your visuals to the next level. With practice, you'll master these tools and create stunning, cinematic aerial footage that'll captivate your audience.

As educators and advocates for responsible drone use, we’re committed to sharing our knowledge and expertise with aspiring aerial photographers.


Leave a Reply