To eliminate lens flare in your photos, start by using a lens hood to block stray light. Adjust your shooting angle to minimize direct light hitting the lens, and try using nearby objects as shields. Apply post-processing techniques like spot healing and contrast adjustments to reduce flare effects. Utilize gradient filters, such as neutral density or polarizing filters, to control light intensity and reflections. For challenging situations, employ HDR blending methods by capturing multiple exposures and merging them. These five methods offer powerful solutions to combat lens flare, but mastering them requires understanding their nuances and applications in various scenarios.
Key Takeaways
- Use a lens hood to block stray light and prevent lens flare, improving contrast and color saturation.
- Adjust your shooting angle to minimize lens flare by changing perspective or using objects as shields.
- Apply post-processing techniques like spot healing, clone stamping, and exposure adjustments to remove or reduce flare.
- Utilize gradient filters, especially neutral density and polarizing filters, to control light intensity and minimize glare.
- Employ HDR blending methods by capturing multiple exposures and merging them to select areas least affected by flare.
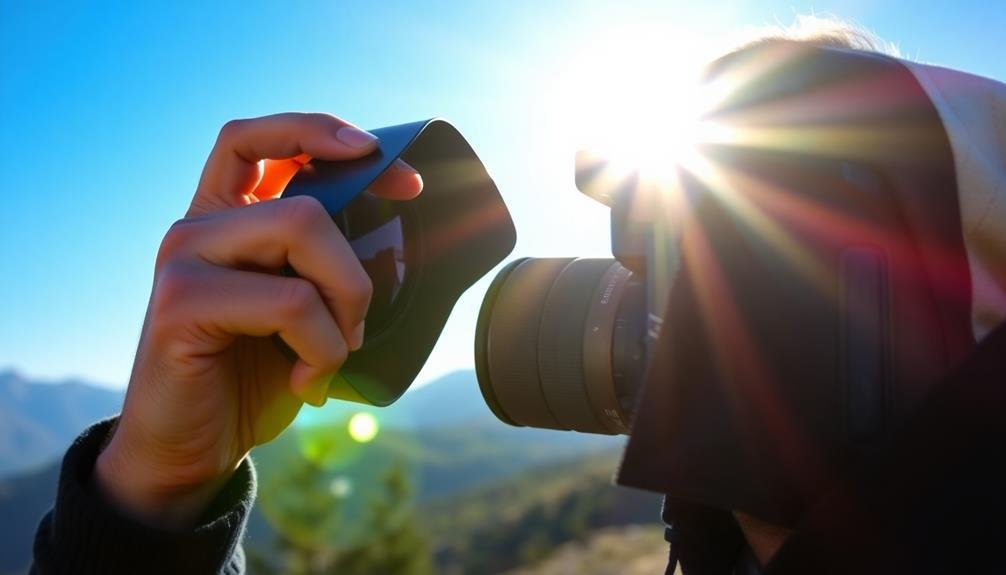
Use a Lens Hood
Snap on a lens hood to instantly combat lens flare. This simple accessory is your first line of defense against unwanted light entering your lens.
Lens hoods come in various shapes, including petal and cylindrical designs, each tailored to specific lens types and focal lengths. They're designed to block stray light from hitting the front element of your lens, which can cause those pesky flares and ghosting effects.
When using a lens hood, you'll notice improved contrast and color saturation in your images, especially when shooting in bright conditions. It's essential to choose the right hood for your lens to guarantee maximum effectiveness without causing vignetting. Most manufacturers provide lens-specific hoods, but third-party options are also available.
Don't forget that lens hoods offer an added bonus: physical protection for your lens. They act as a buffer, shielding the front element from accidental bumps and scratches.
Even when shooting indoors or in overcast conditions, it's a good practice to keep your lens hood attached. You'll be prepared for any lighting situation and have that extra layer of protection at all times.
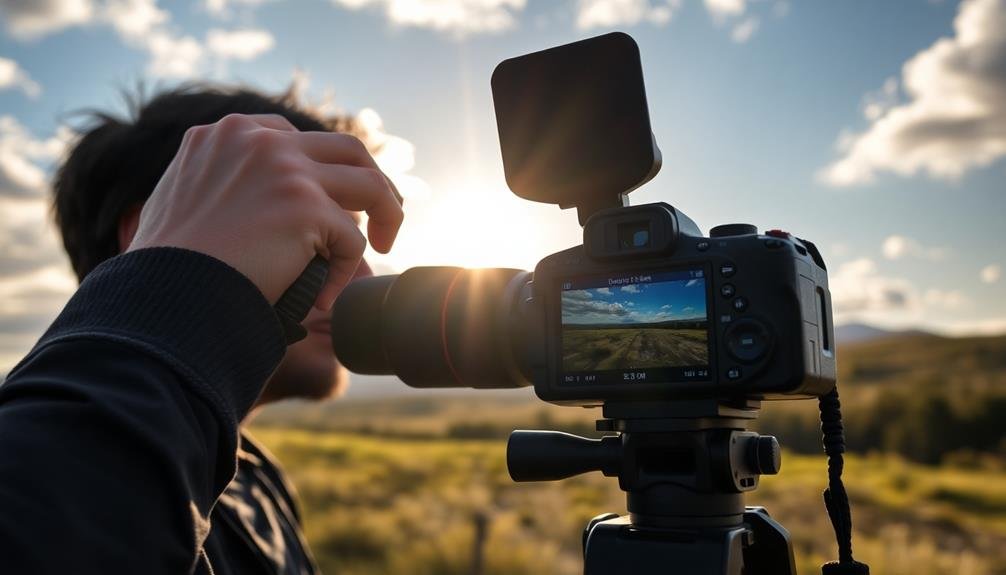
Adjust Shooting Angle
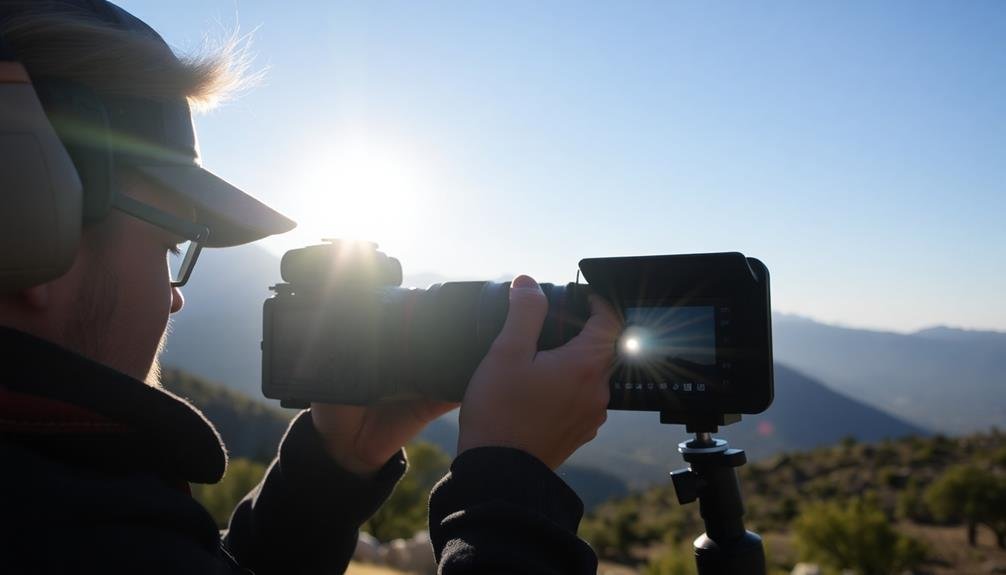
While lens hoods offer great protection, sometimes you'll need to take a more hands-on approach. Adjusting your shooting angle is a simple yet effective method to combat lens flare. By changing your position relative to the light source, you can often eliminate or minimize unwanted flare.
Move around and experiment with different angles. You'll find that even slight adjustments can make a significant difference. If possible, use objects in your environment to block the light source. Trees, buildings, or even your own hand can serve as makeshift shields.
Consider the following scenarios and their solutions:
| Light Source | Problem | Solution |
|---|---|---|
| Sun | Direct glare | Shoot from shade |
| Streetlights | Multiple flares | Change perspective |
| Reflections | Scattered light | Adjust camera height |
| Studio lights | Unwanted highlights | Reposition lights |
Apply Post-Processing Techniques
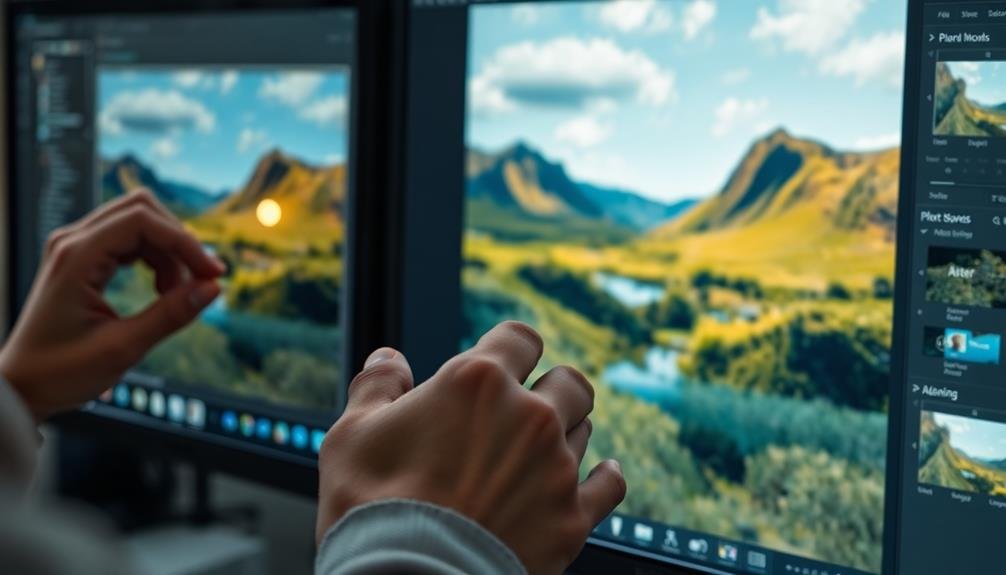
Even with careful shooting techniques, some lens flare may persist in your images. Fortunately, you can use post-processing techniques to reduce or eliminate unwanted flare. Start by using the spot healing brush or clone stamp tool in your editing software to remove smaller flare spots.
For larger areas, try using the healing brush or content-aware fill tools. Adjust your image's exposure, contrast, and highlights to minimize the appearance of flare. Lowering highlights and increasing shadows can help balance out bright spots caused by lens flare.
You can also use the dehaze tool to reduce the overall haziness often associated with flare. For more precise control, create a layer mask and use brushes to selectively reduce flare in specific areas. Experiment with different blend modes, such as "screen" or "overlay," to fine-tune your results.
If color fringing is present, use the chromatic aberration correction tool to address this issue. In some cases, you might need to combine multiple exposures of the same scene to create a flare-free composite image. This technique works well when you have a series of shots with varying flare intensities.
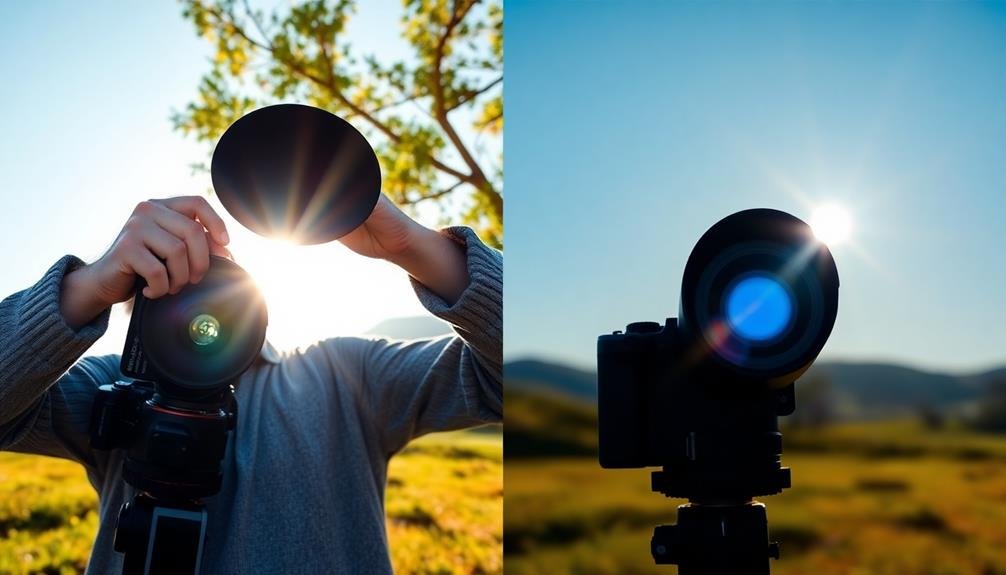
Utilize Gradient Filters
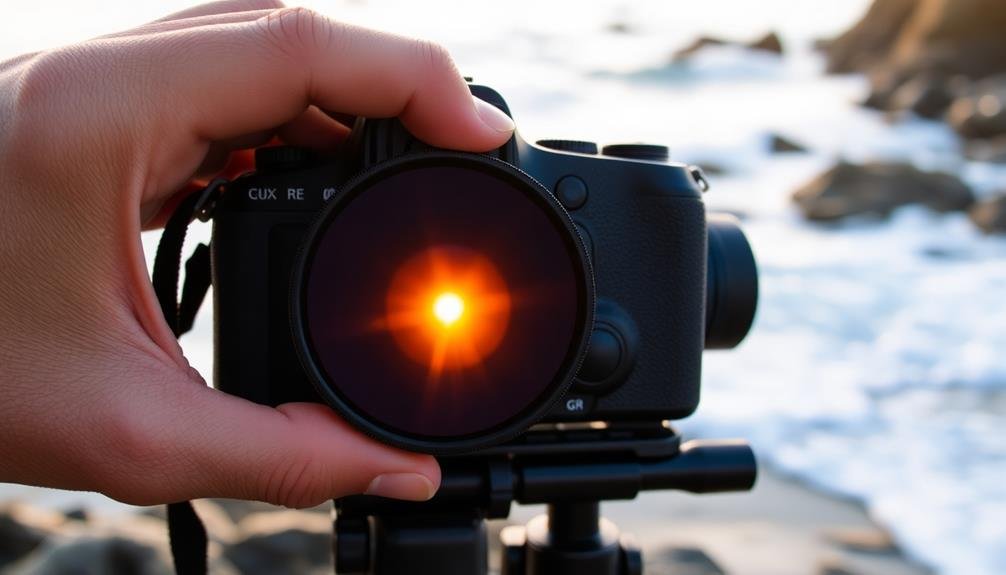
Beyond post-processing, you can take proactive steps to prevent lens flare during shooting. One effective method is to utilize gradient filters. These filters are designed to reduce the intensity of light entering your lens, particularly from bright sources like the sun.
Gradient filters come in various types, including neutral density (ND) and polarizing filters. ND gradient filters darken specific areas of your frame, allowing you to balance exposure between bright skies and darker foregrounds. This can help minimize lens flare caused by extreme brightness differences.
Polarizing filters, on the other hand, reduce glare and reflections, which can contribute to lens flare.
To use gradient filters effectively, position them in front of your lens, aligning the gradient with the horizon or the area where you want to control light. Adjust the filter's position to achieve the desired effect. You can stack multiple filters for more control, but be cautious as this may introduce unwanted artifacts.
Remember that gradient filters work best when the light source is near the edge of your frame. For central light sources, you might need to combine this technique with other methods like lens hoods or strategic positioning.
Employ HDR Blending Methods
Harnessing the power of High Dynamic Range (HDR) blending can effectively combat lens flare while preserving image quality. This technique involves capturing multiple exposures of the same scene and combining them to create a single image with a wider range of tones and details.
To employ HDR blending, you'll need to take at least three shots of your subject: one underexposed, one properly exposed, and one overexposed. Confirm your camera is on a tripod to maintain consistency between shots.
When processing, use specialized HDR software or your preferred editing tool's HDR merge function to blend the exposures. The key to eliminating lens flare with HDR is to select the areas from each exposure that are least affected by the flare. You can manually mask these areas or let the software's algorithms do the work.
Pay special attention to highlights and shadows, as these are often where lens flare is most noticeable. Fine-tune the merged image by adjusting contrast, saturation, and sharpness. Be careful not to overprocess, as this can lead to an unnatural look.
With practice, you'll find that HDR blending not only reduces lens flare but also enhances overall image quality and dynamic range.
Frequently Asked Questions
Can Lens Flare Be Intentionally Created for Artistic Effect?
Yes, you can intentionally create lens flare for artistic effect. You'll achieve this by pointing your camera towards bright light sources, using wide-angle lenses, or removing lens hoods. It's a popular technique for adding atmosphere to photos.
How Does Lens Coating Affect the Occurrence of Lens Flare?
Lens coatings greatly reduce flare by minimizing light reflections inside your lens. They're designed to repel stray light, decreasing ghosting and unwanted artifacts. You'll notice improved contrast and color accuracy in your photos with well-coated lenses.
Are Certain Camera Brands More Prone to Lens Flare Issues?
You'll find that lens flare isn't brand-specific. It's more about lens quality and design. However, some brands may have better anti-reflective coatings or lens hood designs, which can reduce flare. Always test lenses before buying.
Does Weather or Atmospheric Conditions Impact the Likelihood of Lens Flare?
Yes, weather and atmospheric conditions can affect lens flare. You'll notice more flare on bright, sunny days or in hazy conditions. Moisture, dust, and pollution in the air can also increase the likelihood of unwanted flare in your photos.
Can Lens Flare Occur When Using Smartphones or Compact Cameras?
Yes, you'll find that lens flare can occur when using smartphones or compact cameras. It's not exclusive to professional equipment. Your phone's camera lens can catch and scatter light, creating those characteristic flares in your shots.
In Summary
You've now got the tools to combat lens flare like a pro. Whether you're using physical solutions like lens hoods and filters, or post-processing techniques, you'll be able to capture stunning images without unwanted glare. Remember, sometimes lens flare can add a creative touch, so don't always rush to eliminate it. Experiment with these methods, and you'll soon develop an instinct for when to fight flare and when to embrace it.
As educators and advocates for responsible drone use, we’re committed to sharing our knowledge and expertise with aspiring aerial photographers.


Leave a Reply