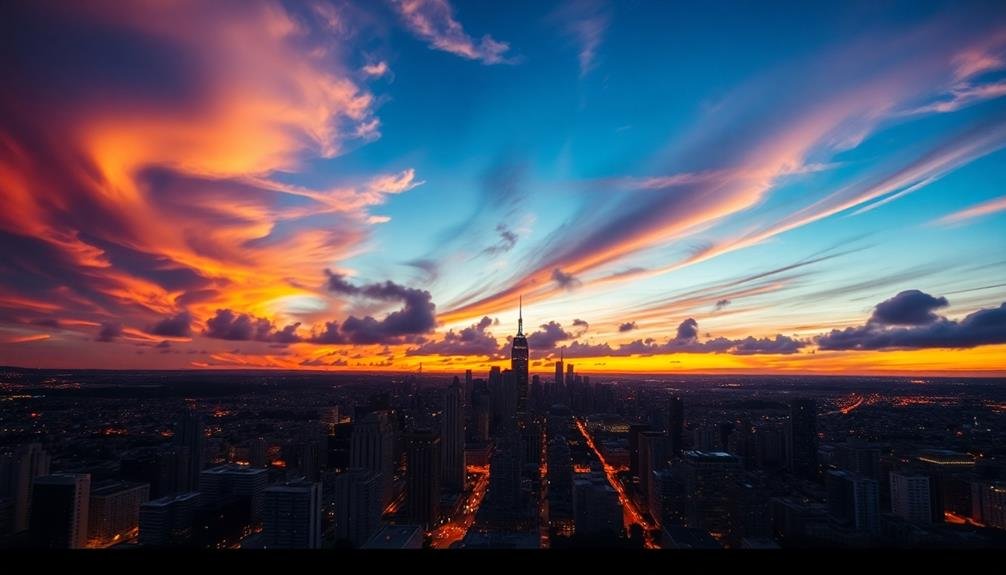
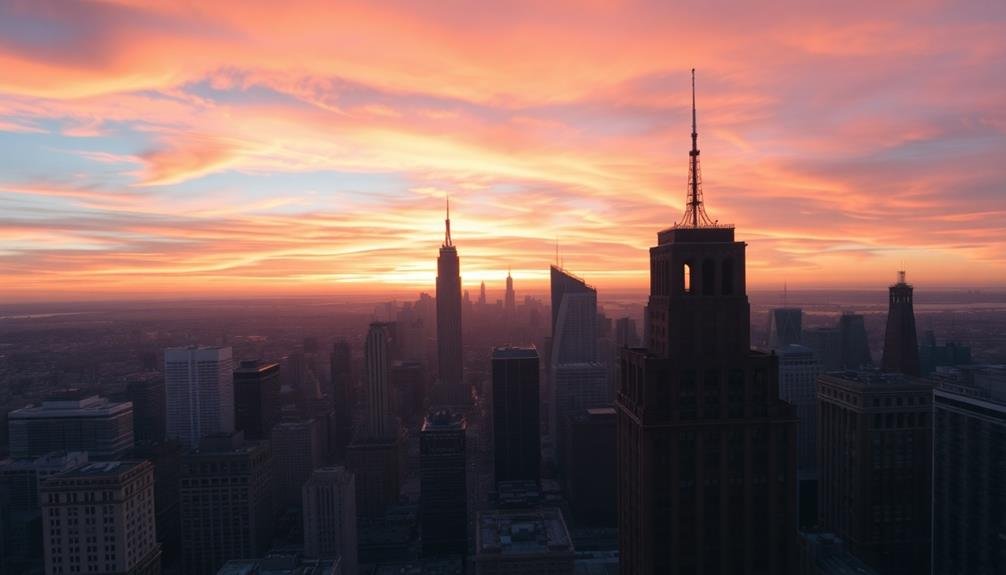
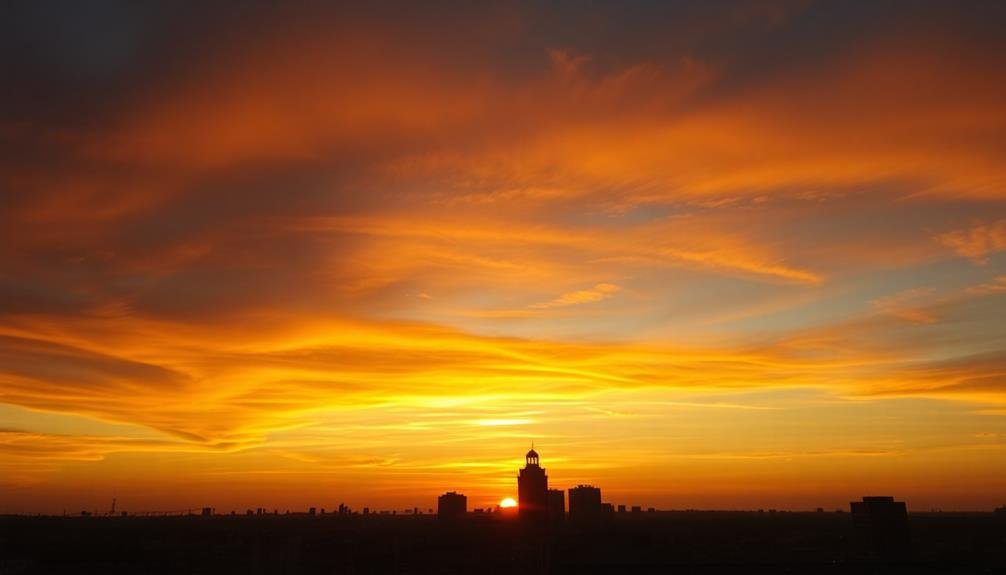
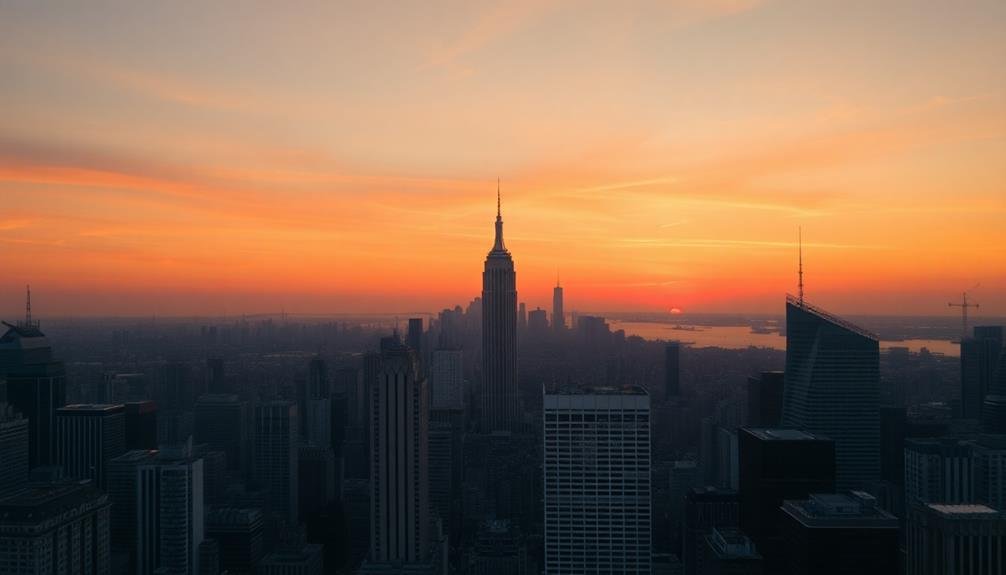
To elevate your sky-high photography, master these exposure blending techniques: manual layering and masking, luminosity masks for sky blending, graduated filters in post-processing, HDR merging, exposure fusion, Orton effect for dreamy skies, focus stacking for aerial shots, tone mapping for balanced exposures, and bracketing with multi-raw processing. These methods will help you capture the full dynamic range of high-contrast scenes, ensuring detail in both bright skies and darker foregrounds. You'll create images with seamless shifts, ethereal qualities, and consistent sharpness. By combining these techniques, you'll transform ordinary aerial shots into extraordinary masterpieces. Explore each method to reveal your sky-high photography's full potential.
Key Takeaways
- Manual layering and masking form the foundation of exposure blending, using multiple shots at different exposures for balanced sky-ground images.
- Luminosity masks enable precise sky blending by creating selections based on brightness values for targeted adjustments.
- HDR merging captures extreme contrasts, retaining details in bright skies and dark foregrounds through multiple exposures.
- Exposure fusion techniques combine best-exposed parts of multiple images for natural-looking, balanced aerial photographs.
- Focus stacking addresses depth of field challenges in high-altitude photography, ensuring consistent sharpness across the image.
Manual Layering and Masking
Mastery of manual layering and masking forms the foundation of exposure blending in photography.
You'll start by taking multiple shots of the same scene at different exposures. In post-processing, import these images as layers in your editing software. Begin with the darkest exposure as your base layer, then add lighter exposures on top.
Next, you'll create layer masks for each image. Use a soft brush to paint black on areas you want to hide and white on areas you want to reveal. Focus on blending the sky with the foreground seamlessly.
Pay close attention to edges and shifts between light and dark areas. Adjust your brush's opacity and flow for more subtle blending. You might need to zoom in and use smaller brushes for intricate details.
Don't hesitate to switch between layers, fine-tuning each mask as you go. Remember, the goal is to create a final image that looks natural and balanced.
Experiment with different blending modes like "Lighten" or "Screen" to achieve desired effects. Finally, make global adjustments to contrast, saturation, and sharpness to polish your blended image.
Luminosity Masks for Sky Blending
Luminosity masks offer a powerful way to blend skies in your images with precision.
You'll start by creating selections based on the brightness values in your image, then refine the mask edges to guarantee smooth shifts.
Once you've established your masks, you can apply targeted adjustments to different luminosity ranges, giving you fine-tuned control over the sky's exposure and details.
Creating Luminosity Mask Selections
The key to seamless sky blending lies in creating precise luminosity mask selections. To start, open your image in Photoshop and duplicate the background layer.
Go to the Channels panel and create a new alpha channel by clicking on the "Load channel as selection" icon at the bottom. This will select the brightest areas of your image.
Next, refine your selection by using the Levels adjustment. Press Ctrl+L (Cmd+L on Mac) and move the middle slider to the right to narrow the selection. Create a new channel from this refined selection.
Repeat this process, moving the middle slider further right each time, to create a series of increasingly targeted luminosity masks.
For darker areas, invert your initial selection (Ctrl+Shift+I) and follow the same process, moving the middle slider left instead. You'll end up with a set of channels representing different brightness levels in your image.
To use these masks, simply Ctrl-click (Cmd-click on Mac) on the desired channel in the Channels panel. This loads it as a selection, allowing you to blend your exposures precisely based on brightness values.
Refining Mask Edges
Refining mask edges is essential for achieving seamless sky blending with luminosity masks. Once you've created your initial luminosity mask selection, you'll often need to fine-tune the edges to guarantee a natural change between the sky and foreground elements.
Start by using the Refine Edge tool in your photo editing software. This allows you to adjust the radius and smoothness of the mask's edges. Increase the radius to capture more detail along the borders, and adjust smoothness to reduce jagged edges. You can also use the Feather option to soften the change between masked and unmasked areas.
For more precise control, switch to the Brush tool and paint along the mask's edges with varying opacity levels. Use a soft-edged brush to gradually blend the mask into complex areas like tree lines or buildings.
Don't forget to zoom in and work at high magnification for intricate details. Consider using the Dodge and Burn tools to selectively lighten or darken areas of the mask, further refining the blend.
Applying Targeted Adjustments
Photographers can harness the power of targeted adjustments to elevate their sky blending techniques using luminosity masks. These masks allow you to selectively apply adjustments to specific tonal ranges in your image, creating seamless shifts between the sky and foreground.
To create luminosity masks, start by duplicating your base layer and converting it to black and white. Then, use the Channels panel to generate masks based on different brightness levels. You'll typically work with three main types of masks: highlights, midtones, and shadows.
| Mask Type | Tonal Range | Common Uses |
|---|---|---|
| Highlights | Bright areas | Sky, clouds |
| Midtones | Middle tones | Shift zones |
| Shadows | Dark areas | Foreground elements |
| Brights | Very bright areas | Sun, specular highlights |
| Darks | Very dark areas | Deep shadows, silhouettes |
Once you've created your masks, apply them to adjustment layers to fine-tune exposure, contrast, and color in specific areas of your image. You can further refine these masks using brush tools or gradient adjustments to achieve a natural-looking blend between your sky and foreground elements.
Graduated Filters in Post-Processing
In post-processing, you can use graduated filters to adjust brightness and contrast selectively across your image.
You'll find these tools particularly useful for balancing exposure between bright skies and darker foregrounds.
Adjusting Brightness and Contrast
Graduated filters in post-processing offer a powerful way to adjust brightness and contrast selectively across your image. They allow you to target specific areas, such as the sky or foreground, without affecting the entire photo. To use this technique effectively, start by identifying the areas that need adjustment.
Once you've selected your graduated filter tool, drag it across the image to define the gradient area. You can adjust the filter's size, angle, and feathering to blend it seamlessly with the rest of the photo.
Next, fine-tune the brightness and contrast settings within the filter's range. Increase the exposure for darker areas or decrease it for brighter sections. Boost contrast to add depth and dimension to flat-looking skies or landscapes.
Don't be afraid to use multiple graduated filters in a single image. You can stack them to create more complex adjustments or target different areas independently.
Remember to keep your adjustments subtle and natural-looking. Overdo it, and your photo may appear artificial.
Masking for Seamless Transitions
While graduated filters offer powerful adjustment capabilities, masking takes your control to the next level. You can create precise selections of specific areas in your image, allowing for targeted adjustments that blend seamlessly with the rest of the photo. Start by using the quick selection tool or the pen tool to outline the areas you want to adjust, such as the sky or foreground.
Once you've created your selection, refine the edges to guarantee a smooth shift between the masked and unmasked areas. Use the feather option to soften the mask's edges, preventing harsh lines that could give away your edits. You can then apply adjustments like exposure, contrast, or color balance to the masked area without affecting the rest of the image.
Here's a comparison of different masking techniques:
| Technique | Precision | Ease of Use | Time Required | Best For |
|---|---|---|---|---|
| Quick Selection | Medium | High | Low | Simple shapes |
| Pen Tool | High | Low | High | Complex edges |
| Luminosity Masks | High | Medium | Medium | Tonal ranges |
| Color Range | Medium | High | Low | Specific colors |
Remember to use layer masks in your editing software, allowing you to make non-destructive adjustments that you can fine-tune or remove at any time. This flexibility is essential for achieving natural-looking results in your exposure blending work.
HDR Merging for Dynamic Range
HDR merging frequently serves as a powerful tool for photographers seeking to capture scenes with extreme contrasts. When you're faced with a sky that's much brighter than the foreground, HDR can help you retain details in both areas.
To create an HDR image, you'll need to shoot multiple exposures of the same scene, typically one underexposed, one properly exposed, and one overexposed.
Once you've captured your bracketed shots, you'll use specialized software to merge them into a single high dynamic range image. Popular options include Adobe Lightroom, Photomatix, and Aurora HDR. These programs align your images and combine the best-exposed parts of each shot.
When merging, pay attention to ghosting artifacts caused by moving objects. Most software offers deghosting options to minimize these issues.
After merging, you'll need to tone map the HDR image to make it suitable for display on standard devices. This process compresses the extended dynamic range while maintaining a natural look.
Be careful not to overprocess your HDR images. Aim for a realistic result that closely resembles what your eyes saw in the scene.
With practice, you'll master HDR merging to create stunning sky-high photographs with incredible dynamic range.
Exposure Fusion Techniques
In contrast to HDR merging, exposure fusion techniques offer a more subtle approach to blending multiple exposures. You'll find that these methods produce more natural-looking results, preserving the original tones and colors of your sky-high photographs.
When using exposure fusion, you're fundamentally combining the best-exposed parts of each image into a single, well-balanced photo. This technique works particularly well for aerial and drone photography, where you're often dealing with extreme contrast between bright skies and darker landscapes.
To apply exposure fusion, you'll need to capture a series of bracketed exposures, typically three to five shots with varying shutter speeds. Then, using specialized software or plugins, you'll blend these images based on criteria such as contrast, saturation, and exposure.
One popular method is weight-based fusion, where you assign different weights to each exposure based on its quality.
Another approach is pyramid-based fusion, which analyzes images at multiple scales to create a seamless blend.
Blend-If Sliders in Photoshop

For those who prefer to work directly in Photoshop, the Blend-If sliders offer a powerful tool for exposure blending.
You'll find these sliders in the Layer Style dialog box, under the "Blending Options" section. They allow you to blend layers based on their luminosity values, making them ideal for combining exposures with different brightness levels.
To use Blend-If sliders effectively, you'll want to:
- Start with two or more exposures of the same scene on separate layers
- Open the Layer Style dialog for the top layer
- Adjust the "This Layer" slider to reveal darker areas from the underlying layer
- Split the slider by holding Alt/Option to create a smooth shift
Orton Effect for Dreamy Skies
The Orton Effect can transform your sky photos into dreamy, ethereal masterpieces.
You'll soften sky details while enhancing the glow around clouds, creating a enchanting atmosphere.
Applying the Orton Effect
Dreamy, ethereal skies can transform your landscape photographs into enchanting works of art. The Orton Effect, named after photographer Michael Orton, is a powerful technique to achieve this dreamy look.
To apply the Orton Effect, you'll need to create two versions of your image: one sharp and one blurred. By blending these layers, you'll create a soft, glowing appearance that enhances the sky's beauty.
Here's how to apply the Orton Effect in Photoshop:
- Duplicate your base layer twice
- Apply a Gaussian blur to the top layer
- Set the blurred layer's blend mode to "Screen"
- Adjust the opacity of the blurred layer to taste
Start with a subtle effect and gradually increase the intensity until you achieve the desired look. Remember, the goal is to enhance the sky's ethereal quality without losing all detail.
You can also use layer masks to apply the effect selectively, focusing on the sky while preserving sharpness in other areas of your image. Experiment with different blur amounts and opacity levels to find the perfect balance for your photograph.
Softening Sky Details
While the Orton Effect enhances overall dreaminess, you can focus specifically on softening sky details to create even more ethereal landscapes. This technique works particularly well for sunset and sunrise shots, where you want to emphasize the gentle color gradients in the sky.
To soften sky details, start by duplicating your base sky layer. Apply a Gaussian blur to the duplicate layer, adjusting the radius to achieve the desired softness. Typically, a radius between 20-50 pixels works well, depending on your image resolution.
Next, change the blending mode of this blurred layer to "Screen" or "Soft Light" for a subtle glow effect. Fine-tune the opacity of the blurred layer to control the intensity of the softening effect. You can also use a layer mask to selectively apply the softening to specific areas of the sky, preserving detail in other parts of the image.
For added control, try using multiple blurred layers with different blur radii and blending modes. Remember to maintain a balance between softness and detail. Overdoing the effect can result in an unrealistic, overly processed look.
Experiment with different settings to find the perfect blend for your image.
Enhancing Cloud Glow
Often, photographers seek to create ethereal, glowing skies that captivate viewers and evoke a sense of wonder. The Orton Effect, named after photographer Michael Orton, is a powerful technique for enhancing cloud glow and creating dreamy skies. You'll blend a sharp image with an out-of-focus version to achieve this ethereal look.
To apply the Orton Effect and enhance cloud glow:
- Duplicate your base layer in Photoshop.
- Apply a Gaussian blur to the top layer.
- Change the blending mode to Screen or Soft Light.
- Adjust the opacity to control the intensity.
Start with a subtle effect and gradually increase it until you achieve the desired glow. Focus on enhancing the highlights in the clouds while maintaining some texture.
You can also use layer masks to apply the effect selectively, concentrating on the brightest areas of the sky. Don't overdo it, as too much glow can look artificial.
Experiment with different blur amounts and blending modes to find the perfect balance for your image. With practice, you'll master this technique to create stunning, ethereal skies that draw viewers into your photographs.
Focus Stacking for Aerial Shots
Focus stacking for aerial shots presents unique challenges and opportunities. When you're capturing images from high altitudes, depth of field becomes a critical factor. To guarantee sharpness throughout your frame, you'll need to employ focus stacking techniques.
Start by taking multiple shots of the same scene, adjusting your focus point for each image. Begin with the foreground elements and gradually move to the background. You'll want to use a tripod or stabilizer to maintain consistent framing across all shots.
In post-processing, align your images and blend them using specialized software. Programs like Photoshop, Helicon Focus, or Zerene Stacker can automate much of this process. Pay close attention to changeover areas between focus points, as these can sometimes require manual adjustments.
When shooting from aircraft or drones, vibration and movement can complicate focus stacking. To counteract this, use faster shutter speeds and higher ISOs. If possible, shoot in RAW format to preserve maximum detail for later blending.
Remember that focus stacking works best for static scenes. For dynamic subjects like cityscapes with moving traffic, you may need to combine focus stacking with other exposure blending techniques for best results.
Tone Mapping for Balanced Exposures
Tone mapping is a powerful technique for creating balanced exposures in high-contrast scenes. When you're shooting aerial photographs, you'll often encounter situations where the sky is much brighter than the ground. Tone mapping allows you to blend multiple exposures, capturing details in both highlights and shadows that a single exposure can't achieve.
To use tone mapping effectively, you'll need to shoot bracketed exposures, capturing the same scene at different exposure levels. Then, use specialized software to combine these images, creating a high dynamic range (HDR) photo. Finally, apply tone mapping to compress this extended range into a visually pleasing result.
Here are four key benefits of tone mapping for aerial photography:
- Preserves details in both bright skies and shadowy landscapes
- Enhances color and contrast across the entire image
- Reduces the need for graduated neutral density filters
- Allows for greater creative control in post-processing
When applying tone mapping, be careful not to overdo it. Subtle adjustments often yield the most natural-looking results.
Experiment with different tone mapping algorithms and settings to find the style that best suits your artistic vision and the specific challenges of each aerial scene.
Bracketing and Multi-Raw Processing
Bracketing and multi-raw processing are two essential techniques that complement tone mapping in exposure blending.
When you're shooting high-contrast scenes, bracketing allows you to capture multiple exposures of the same composition. You'll typically take at least three shots: one properly exposed, one underexposed, and one overexposed. This guarantees you have detail in both highlights and shadows.
Multi-raw processing takes advantage of the raw file format's flexibility. You'll process a single raw file multiple times, adjusting exposure settings for different parts of the image. This technique works well when you couldn't bracket in the field or when dealing with moving subjects.
To bracket effectively, use your camera's auto-exposure bracketing (AEB) feature if available. Set it to capture at least 1-stop increments between shots.
For multi-raw processing, open your raw file in your preferred editing software and create virtual copies. Adjust each copy for different exposure levels, focusing on preserving details in specific areas like the sky or foreground.
Both techniques provide you with a range of exposures to blend seamlessly, resulting in a final image with improved dynamic range and balanced lighting throughout the frame.
Frequently Asked Questions
How Do Weather Conditions Affect Exposure Blending for Sky Photography?
Weather conditions greatly impact your exposure blending for sky photography. You'll need to adjust for clouds, sunlight intensity, and atmospheric haze. Clear skies require less blending, while dynamic weather demands more attention to capture the full range of detail.
What Camera Settings Are Optimal for Capturing Sky Detail?
You'll want to use a low ISO, small aperture (f/8-f/11), and fast shutter speed. Set your white balance to daylight, shoot in RAW, and bracket exposures. Don't forget to use a polarizing filter for enhanced sky detail.
Can Exposure Blending Techniques Be Applied to Smartphone Photography?
Yes, you can apply exposure blending techniques to smartphone photos. You'll need to take multiple shots at different exposures, then use editing apps to combine them. It's not as advanced as DSLR blending, but it's definitely possible.
How Do Different Lens Types Impact Sky-High Photography Results?
You'll find that wide-angle lenses capture expansive skyscapes, while telephoto lenses compress distant elements. Fisheye lenses create unique distortions, and prime lenses offer sharpness. Each lens type impacts your sky-high photos differently, so choose wisely for desired effects.
What Software Alternatives Exist for Photographers Who Don't Use Adobe Products?
You'll find several Adobe alternatives for photo editing. Consider Capture One, DxO PhotoLab, or Affinity Photo for professional-level tools. For beginners, try Pixlr, GIMP, or Darktable. They're all capable of handling exposure blending and other advanced techniques.
In Summary
You've now got a powerful toolkit for creating stunning sky-high photography. Remember, practice makes perfect, so don't be afraid to experiment with these techniques. Whether you're blending exposures manually or using advanced HDR methods, your aerial shots will reach new heights. Keep pushing your boundaries, and you'll soon master the art of capturing breathtaking skies. The sky's the limit for your photography—so go out there and shoot for the stars!
As educators and advocates for responsible drone use, we’re committed to sharing our knowledge and expertise with aspiring aerial photographers.


Leave a Reply