To perfect your 360° panoramas, you'll need to master several post-processing techniques. Start by selecting the right stitching software and preparing your raw files. Focus on color correction, white balance, and exposure blending to achieve a balanced look. Address lens distortions and apply sharpening and noise reduction carefully. Enhance your panorama with filters and effects, but don't overdo it. Pay attention to projection adjustments for a seamless viewing experience. Finally, export your panorama in the appropriate format for your intended platform. By honing these skills, you'll elevate your 360° images from good to breathtaking.
Key Takeaways
- Choose appropriate stitching software with features like automatic alignment, exposure blending, and ghost removal.
- Prepare raw files by adjusting white balance, correcting lens distortions, and addressing exposure inconsistencies before stitching.
- Apply color correction and exposure blending techniques to achieve balanced dynamic range across the entire panorama.
- Correct lens distortions, particularly fisheye effects, to improve realism and straighten architectural elements in the image.
- Refine the panorama by straightening the horizon and removing unwanted objects like tripods or shadows.
Stitching Software Selection
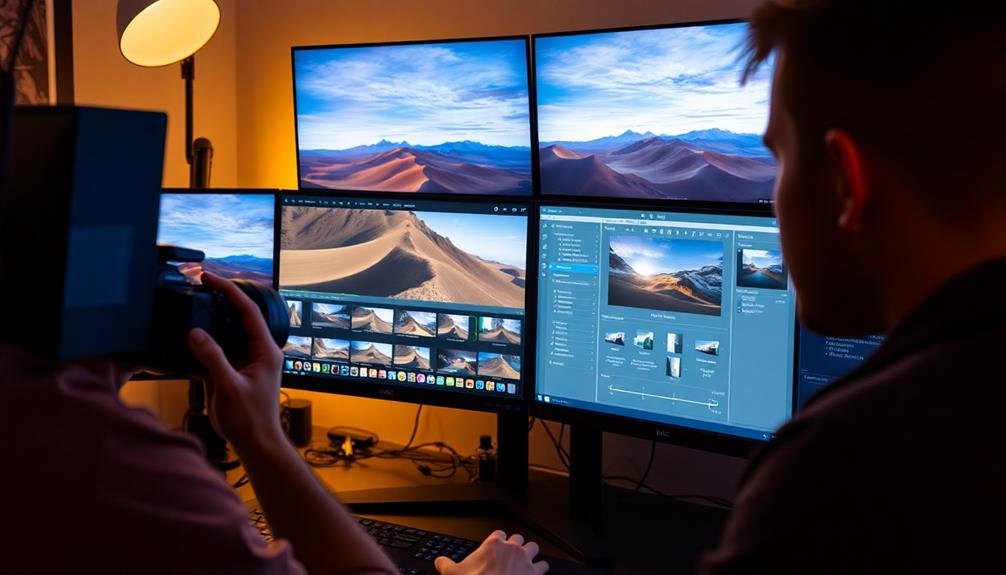
For stitching software selection, choosing the right tool is essential to creating high-quality 360° panoramas. You'll find numerous options available, ranging from free to professional-grade software. Reflect on your specific needs, budget, and skill level when making your choice.
Popular free options include Microsoft ICE and Hugin, which offer basic stitching capabilities suitable for beginners. If you're looking for more advanced features, commercial software like PTGui or AutoPano Pro might be better suited. These paid options often provide superior control over alignment, blending, and color correction.
When selecting your software, look for features such as automatic image alignment, exposure blending, and ghost removal. You'll also want to ascertain the software can handle your camera's raw files if you shoot in that format.
Check if the program supports batch processing, which can save time when working with multiple panoramas.
Don't forget to reflect on the learning curve associated with each software. Some programs are more intuitive, while others may require more time to master. Test out trial versions before committing to a purchase, and read user reviews to gauge the software's reliability and performance.
Raw File Preparation
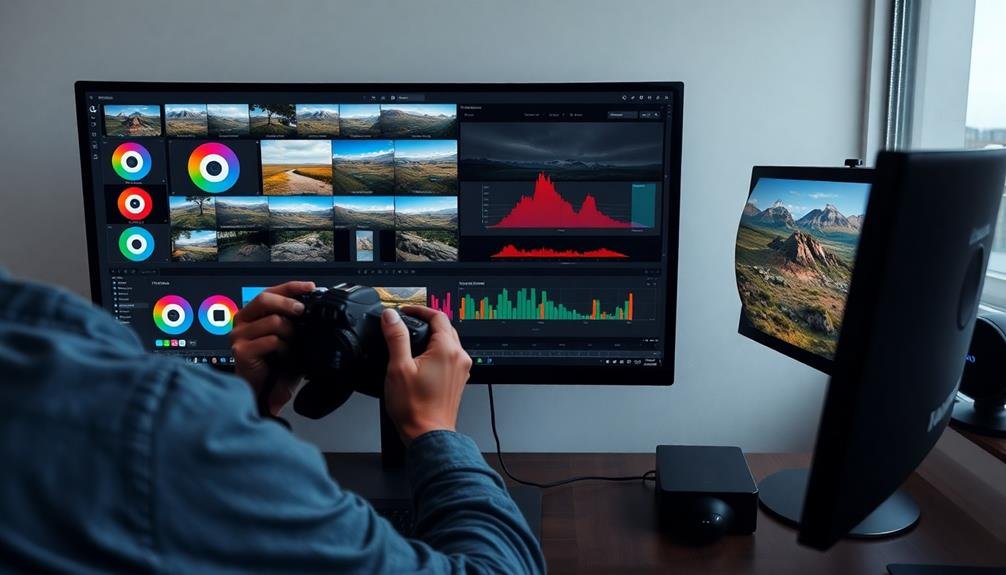
Before diving into the stitching process, you'll need to prep your raw files carefully. Start by importing your images into your preferred raw processing software. Adjust the white balance consistently across all images to guarantee color uniformity.
Next, apply lens corrections to combat distortion and vignetting, which are especially essential for wide-angle shots used in panoramas. Correct any exposure inconsistencies between frames, paying particular attention to highlights and shadows. You'll want to maintain detail in both bright and dark areas.
Apply noise reduction if necessary, but be cautious not to overdo it, as this can affect detail and sharpness. Avoid sharpening at this stage, as it's best done after stitching. Instead, focus on adjusting contrast and saturation subtly to enhance the overall look without creating discrepancies between images.
If your panorama includes the sky, consider using graduated filters to balance exposure between the sky and foreground. Export your processed files in a high-quality format, such as 16-bit TIFF, to preserve maximum detail for the stitching process.
This careful preparation will greatly improve the final result of your 360° panorama.
Color Correction and White Balance
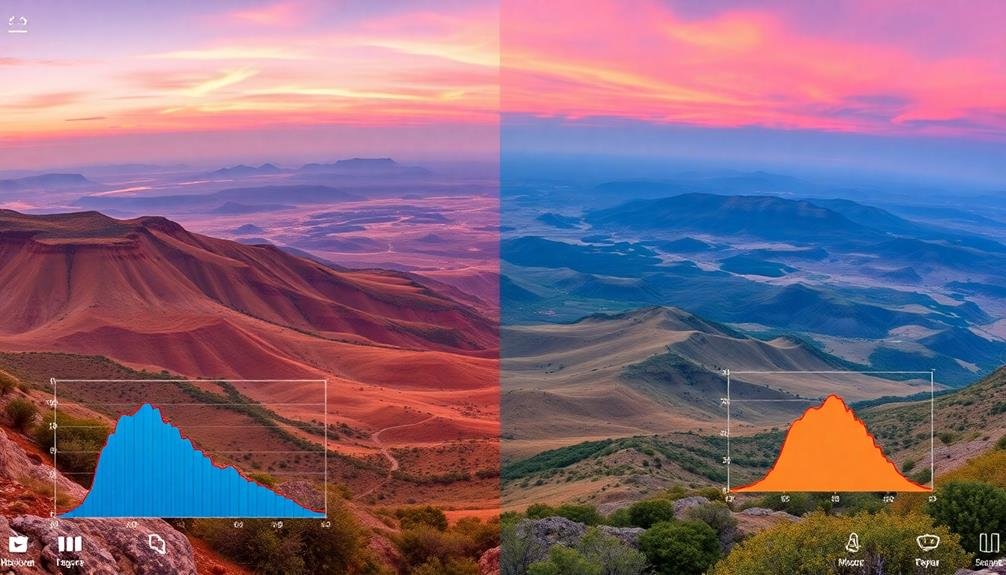
With your raw files prepared, it's time to focus on color correction and white balance for your 360° panorama. These vital steps guarantee your image accurately represents the scene's colors and lighting conditions.
Start by setting a neutral white balance, using the eyedropper tool to select a neutral gray or white area in your image. This will correct any color casts caused by different light sources.
Next, adjust the overall exposure and contrast of your panorama. Use the histogram as a guide to confirm you're not clipping highlights or shadows.
Fine-tune the colors using the saturation and vibrance sliders, but be careful not to oversaturate. Pay special attention to skin tones and natural elements like grass and sky.
For seamless color shifts between stitched images, use adjustment brushes or graduated filters to blend any noticeable differences.
Don't forget to check for consistency in different areas of your 360° image, as lighting conditions may vary greatly across the entire scene.
Exposure Blending Techniques
Exposure blending techniques are essential for creating balanced 360° panoramas with ideal dynamic range.
You'll find manual HDR blending and luminosity masking techniques particularly useful for fine-tuning exposure across different areas of your image.
For quicker results, you can also employ bracketed exposure merging, which combines multiple shots taken at different exposure levels to capture a wider range of light and shadow detail.
Manual HDR Blending
Manual HDR blending stands as a powerful technique for enhancing 360° panoramas. This method allows you to combine multiple exposures of the same scene, capturing a wider dynamic range than a single shot can achieve.
To begin, you'll need to shoot bracketed exposures of your panorama, typically capturing underexposed, properly exposed, and overexposed images.
In post-processing software like Photoshop, start by aligning your exposures. Create layers for each exposure and use layer masks to blend them seamlessly. Focus on bringing out details in highlights from the underexposed shots and recovering shadow information from the overexposed frames.
Use brushes with varying opacities to paint in or erase parts of each layer, gradually revealing the best-exposed areas from each shot. Pay close attention to shifts between exposures, ensuring they're smooth and natural-looking.
Use adjustment layers to fine-tune contrast, saturation, and color balance across the blended image. Don't forget to address potential issues like ghosting or movement between shots.
Luminosity Masking Techniques
Photographers seeking advanced control over their 360° panoramas often turn to luminosity masking techniques. These powerful tools allow you to selectively adjust exposure and blend multiple images based on their brightness levels. By creating masks that target specific tonal ranges, you can achieve seamless blending and enhance dynamic range without introducing artifacts.
To start, you'll need to generate luminosity masks for your panorama. These masks are created by selecting different brightness levels in your image. You can then refine these masks to target specific areas more precisely. Once you've created your masks, apply them to adjustment layers to selectively modify exposure, contrast, and color.
When working with 360° panoramas, pay special attention to the equatorial regions and zenith/nadir points. Use luminosity masks to balance exposure across these areas, ensuring a consistent look throughout the entire sphere. You can also leverage these masks to blend multiple exposures, recovering details in both highlights and shadows.
Experiment with different mask combinations and opacity levels to achieve the desired result. Remember to work non-destructively, using adjustment layers and masks that you can fine-tune as needed.
Bracketed Exposure Merging
Building on the concept of blending multiple exposures, bracketed exposure merging takes this technique to the next level for 360° panoramas. You'll capture a series of images at different exposure levels, typically ranging from underexposed to overexposed. This method allows you to preserve details in both highlights and shadows that might be lost in a single exposure.
To merge bracketed exposures, you'll use specialized software or manual blending techniques in photo editing programs. The process involves aligning the images, then selectively combining the best-exposed parts of each frame. This results in a final image with a wider dynamic range and more balanced exposure across the entire panorama.
| Exposure Level | Shutter Speed | Aperture | ISO |
|---|---|---|---|
| Underexposed | 1/500 sec | f/8 | 100 |
| Normal | 1/125 sec | f/8 | 100 |
| Overexposed | 1/30 sec | f/8 | 100 |
| Very Overexposed | 1/8 sec | f/8 | 100 |
When applying this technique to 360° panoramas, you'll need to be consistent with your bracketing across all angles of the scene. This guarantees a seamless blend when stitching the panorama together. Pay special attention to areas with high contrast, such as interiors with bright windows or outdoor scenes with deep shadows, as these will benefit most from exposure blending.
Lens Distortion Correction
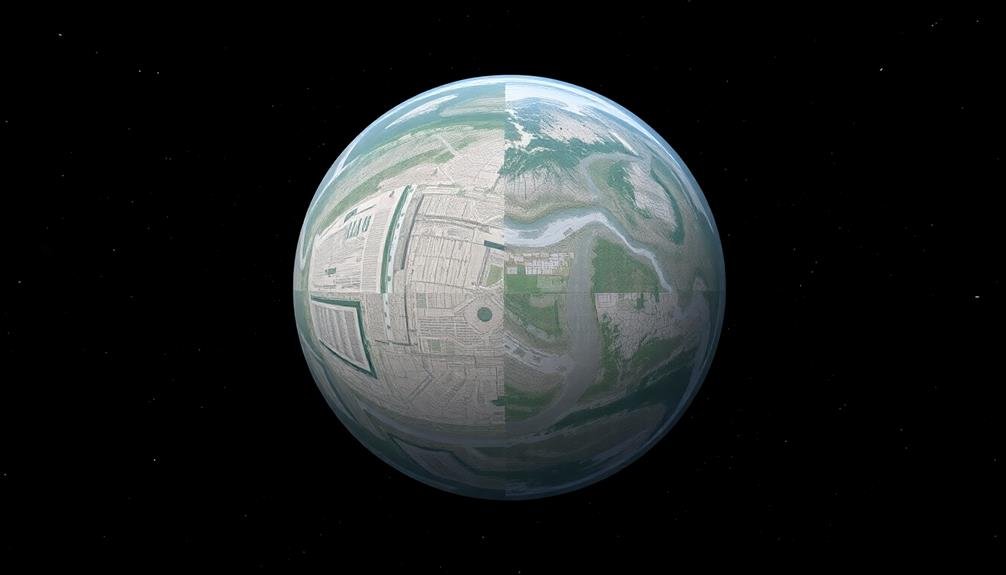
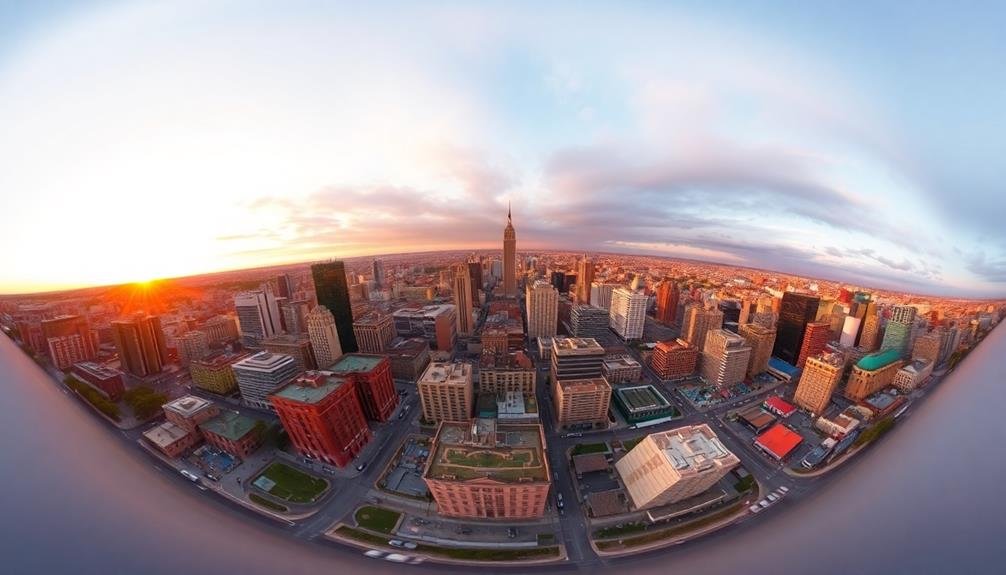
When correcting lens distortion in 360° panoramas, you'll often need to address fisheye effects that can warp straight lines and distort objects near the edges.
To fix these issues, you'll find specialized software tools that can automatically detect and correct lens distortion based on your camera's profile.
These software-assisted corrections can greatly improve the overall quality and realism of your panoramic images, ensuring that architectural elements and horizons appear straight and natural.
Fixing Fisheye Effects
Despite their immersive qualities, 360° panoramas often suffer from fisheye effects, which can distort the image and create an unnatural look. To fix these distortions, you'll need to apply specialized software tools designed for correcting fisheye effects in panoramic images.
Start by analyzing your image to identify areas of extreme curvature, typically near the edges or in architectural elements. Then, use your chosen software to apply correction algorithms that straighten lines and reduce the bulging effect. Many programs offer presets for common fisheye lenses, which can serve as a starting point for your adjustments.
To achieve the best results when fixing fisheye effects, follow these steps:
- Adjust the field of view to match your original capture settings.
- Fine-tune the curvature correction parameters incrementally.
- Apply local adjustments to problem areas that resist global corrections.
Remember that overcorrection can lead to stretching or warping in other parts of the image. Aim for a natural look that balances distortion correction with the panorama's overall composition.
With practice, you'll develop an eye for subtle adjustments that greatly improve your 360° panoramas without compromising their immersive qualities.
Software-Assisted Lens Correction
Software-assisted lens correction takes the process of fixing distortions in 360° panoramas to the next level. It leverages advanced algorithms and specialized software to automatically detect and correct lens-induced distortions. These tools analyze the image's metadata and geometry to apply precise corrections, ensuring a more accurate representation of the scene.
When using software-assisted lens correction, you'll typically start by selecting your camera and lens model from a database. This allows the software to apply pre-configured correction profiles tailored to your specific equipment. You can then fine-tune parameters such as focal length, distortion, and vignetting to achieve ideal results.
Many popular photo editing applications, like Adobe Lightroom and DxO PhotoLab, offer built-in lens correction features. For more advanced control, you might opt for dedicated panorama stitching software like PTGui or Hugin, which provide thorough lens correction tools alongside their stitching capabilities.
Remember that while software-assisted correction can greatly improve your 360° panoramas, it's not infallible. You'll often need to make manual adjustments to achieve the best results, especially in complex scenes or when using non-standard lenses.
Always review your corrected images carefully and be prepared to make additional tweaks as needed.
Horizon Straightening
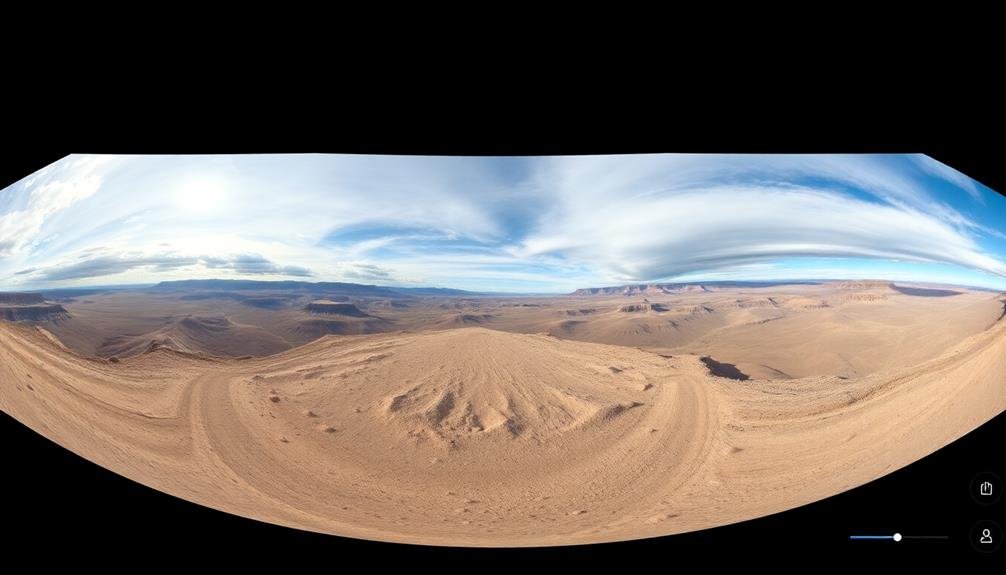
As one of the most essential steps in 360° panorama post-processing, horizon straightening guarantees your image appears level and natural. Without proper alignment, your panorama can look tilted or distorted, detracting from the immersive experience you're aiming to create. Most photo editing software offers tools specifically designed for horizon straightening in 360° images.
To straighten your panorama's horizon effectively:
- Identify the true horizon line in your image, which may not always be apparent in complex scenes.
- Use the software's horizon straightening tool to align this line perfectly horizontal.
- Fine-tune the adjustment by checking different areas of the image, as some scenes may require compromises.
Keep in mind that straightening the horizon can sometimes crop parts of your image, so it's vital to capture a slightly wider field of view than necessary during shooting.
If you're dealing with scenes that lack a clear horizon, such as indoor spaces or dense forests, look for vertical elements like walls or tree trunks to guide your alignment.
Removing Unwanted Objects
Removing unwanted objects from 360° panoramas can be a challenging yet essential step in post-processing. You'll often encounter elements like tripods, camera shadows, or unwanted people that detract from your immersive image. To tackle this, you'll need to use advanced editing techniques specific to 360° panoramas.
Start by identifying the objects you want to remove. Use the clone stamp or healing brush tools in your editing software, but be mindful of the image's spherical nature. Work in small sections to maintain consistency across the entire panorama.
For larger objects, you might need to reconstruct parts of the scene using content-aware fill or by patching in elements from other parts of the image. Pay close attention to lighting and shadows when removing objects. You'll need to adjust the surrounding areas to maintain a natural look.
Don't forget to check the seams of your panorama, as removed objects near these areas can create noticeable distortions. Finally, always zoom in and out to verify your edits blend seamlessly with the rest of the image. With practice, you'll master the art of creating clean, professional 360° panoramas.
Sharpening and Noise Reduction
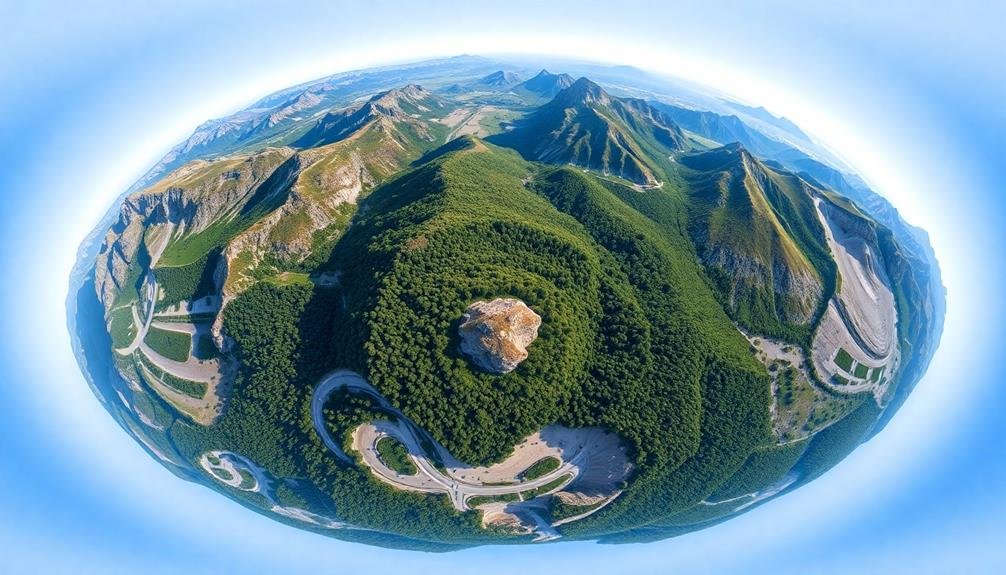
After cleaning up unwanted elements, your 360° panorama might need some fine-tuning to enhance its overall quality. Sharpening and noise reduction are vital steps in this process, helping to create a crisp, clean image without sacrificing detail.
Start by applying sharpening to your panorama. Use a high-pass filter or unsharp mask to enhance edge contrast and bring out fine details. Be careful not to overdo it, as excessive sharpening can introduce artifacts and make the image look unnatural.
Next, tackle noise reduction. This step is especially important for panoramas shot in low-light conditions or with high ISO settings. Use noise reduction software or your editing program's built-in tools to reduce both luminance and color noise.
To achieve the best results, follow these tips:
- Work on a duplicate layer to preserve your original image.
- Zoom in to 100% to accurately assess sharpening and noise reduction effects.
- Use a mask to selectively apply adjustments to different areas of the panorama.
Applying Filters and Effects
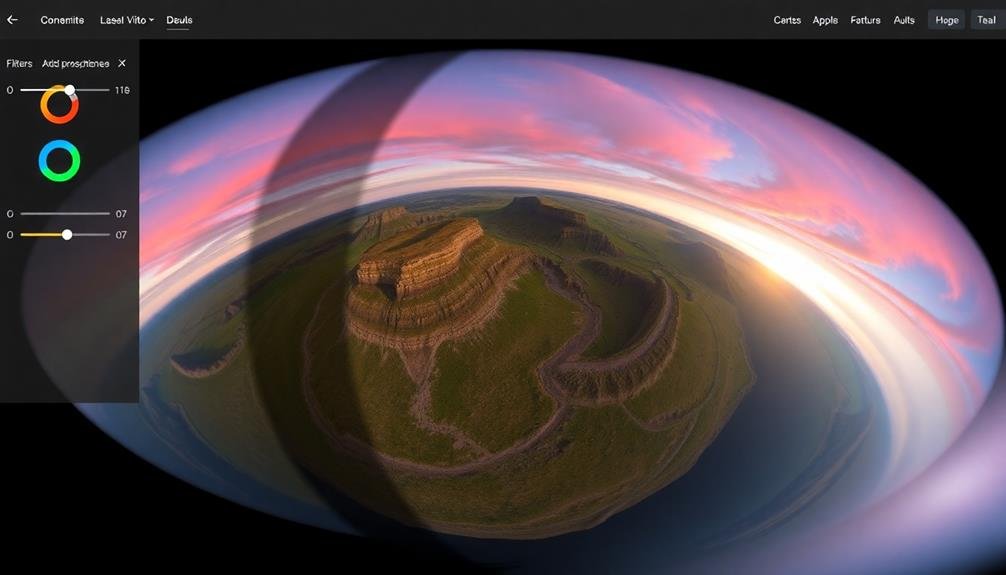
You can enhance your 360° panoramas by adjusting color and contrast to make them more vibrant and visually striking.
Consider applying filters to create unique moods or atmospheres that complement the scene you've captured.
For artistic flair, you might experiment with creative effects like selective colorization or stylized overlays to give your panoramas a distinctive look.
Enhancing Color and Contrast
Enhancing color and contrast is a crucial step in post-processing 360° panoramas. It can breathe life into your images, making them more vibrant and engaging. Start by adjusting the overall exposure to guarantee a balanced look across the entire scene.
Then, fine-tune the highlights and shadows to recover detail in bright skies or dark foregrounds.
Next, focus on color correction. Use white balance tools to neutralize any color casts and achieve accurate hues. Boost saturation selectively to make specific elements pop without oversaturating the entire image. Pay special attention to skin tones if people are present in your panorama.
To further improve your 360° panorama's visual impact, consider these contrast enhancement techniques:
- Adjust the overall contrast using curves or levels
- Apply local contrast adjustments to enhance texture and detail
- Use graduated filters to balance exposure between sky and ground
Remember that subtle adjustments often yield the most natural-looking results. Avoid over-processing, which can lead to unrealistic images.
Always compare your edits to the original to guarantee you're enhancing the scene without compromising its authenticity. With practice, you'll develop an eye for balancing color and contrast in your 360° panoramas.
Creative Artistic Touches
While enhancing color and contrast forms the foundation of post-processing, adding creative artistic touches can elevate your 360° panoramas to new heights. Experiment with filters and effects to create unique atmospheres and moods in your images.
Try applying a vintage filter to give your panorama a nostalgic feel, or use a dramatic black and white conversion to emphasize textures and shapes. Consider selective colorization to draw attention to specific elements within your 360° scene. You can desaturate the entire image except for one vibrant object, creating a striking visual impact.
Experiment with light leaks or lens flares to add a dreamy quality to your panoramas, especially in outdoor scenes. For a more surreal effect, try using double exposure techniques by blending two 360° images together. This can create intriguing juxtapositions and tell a compelling visual story.
Don't shy away from adding textures or overlays to your panoramas, such as grunge effects or subtle patterns, to add depth and interest. Remember to use these artistic touches judiciously. The goal is to enhance your 360° panorama, not overpower it.
Always consider the mood and message you want to convey with your final image.
Projection Adjustments
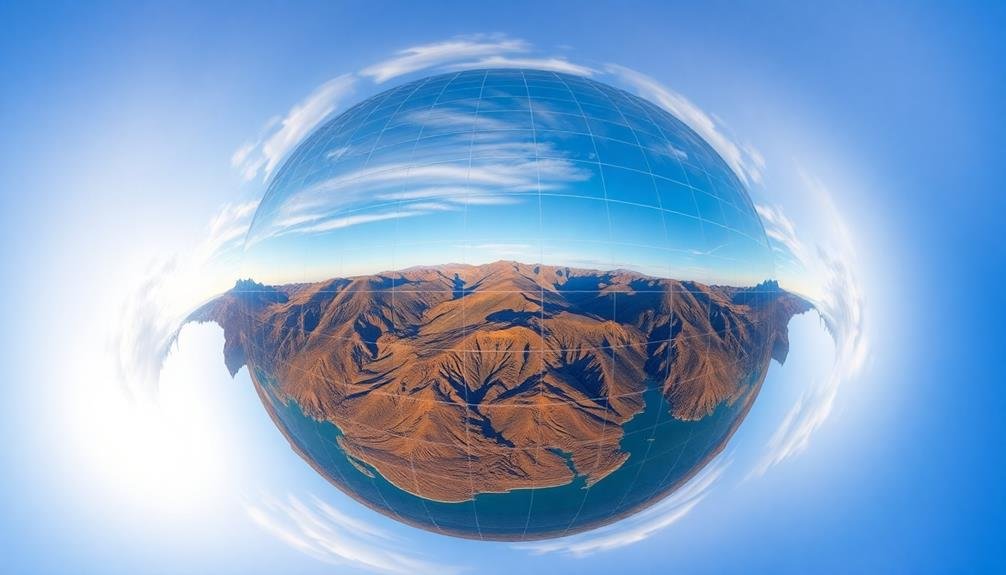
Projection adjustments form an essential step in refining 360° panoramas. These modifications allow you to alter how your spherical image is displayed on a flat surface, impacting the viewer's perception and overall experience. By tweaking the projection, you can minimize distortions, emphasize specific areas, or create unique visual effects.
When working with projection adjustments, consider these key techniques:
- Equirectangular to rectilinear conversion: This transformation helps create a more natural-looking perspective for architectural shots or interior scenes, reducing the curved appearance of straight lines.
- Little planet effect: By manipulating the projection, you can create a striking "little planet" view, where the entire 360° scene wraps around itself in a circular format.
- Stereographic projection: This adjustment creates a fish-eye effect, ideal for highlighting dramatic skies or expansive landscapes.
To achieve the best results, experiment with different projection types and settings in your chosen editing software. Pay close attention to how each adjustment affects the image's proportions, details, and overall composition.
Remember that the goal is to enhance the viewer's immersion and showcase your panorama's most compelling elements while maintaining a sense of realism and coherence.
Exporting for Various Platforms
Once you've perfected your 360° panorama, it's crucial to export it properly for various platforms. Different platforms have specific requirements for 360° content, so you'll need to adjust your export settings accordingly.
For social media platforms like Facebook and YouTube, export your panorama as an equirectangular JPEG or MP4 file. These platforms automatically recognize and display 360° content when uploaded correctly. Verify your image resolution meets the platform's requirements for peak viewing quality.
When exporting for virtual reality headsets, consider the specific format needed. Oculus devices typically prefer ODS (Over-Under Stereo) format, while other VR platforms may require cube map projections.
For web-based viewers, export your panorama as an equirectangular JPEG or a set of cube map faces. Many web-based 360° viewers support both formats, but check the specific requirements of your chosen viewer.
If you're creating a mobile app, you might need to export your panorama as a series of tiles or in a compressed format to enhance loading times and reduce file size.
Always test your exported panorama on the intended platform to verify proper display and interactivity before final publication.
Frequently Asked Questions
How Do I Capture 360° Panoramas Without Visible Seams?
To capture seamless 360° panoramas, you'll need to overlap your shots by 30-50%. Use a tripod, maintain consistent exposure, and avoid moving objects. Shoot in manual mode and utilize specialized stitching software for best results.
What Equipment Is Essential for Creating High-Quality 360° Panoramas?
You'll need a DSLR or mirrorless camera, wide-angle lens, sturdy tripod, panoramic head, and remote shutter release. Don't forget a level and compass for precise alignment. Software like PTGui or Hugin is essential for stitching.
How Can I Minimize Ghosting Effects in Moving Subjects?
To minimize ghosting in moving subjects, you'll want to shoot quickly and use a fast shutter speed. Try bracketing your shots, and if possible, capture the moving elements separately. In post-processing, carefully blend or remove problematic areas.
What's the Best Way to Handle Extreme Lighting Conditions?
To handle extreme lighting conditions, you'll want to use HDR techniques. Shoot multiple exposures, then blend them in post-processing. Don't forget to use graduated filters and adjust highlights and shadows for a balanced final image.
How Do I Create Virtual Tours Using Multiple 360° Panoramas?
To create virtual tours using multiple 360° panoramas, you'll need to stitch your images together, add hotspots for navigation, and use specialized software or platforms. Consider incorporating interactive elements and ensuring smooth shifts between panoramas for a seamless experience.
In Summary
You've now mastered the key post-processing techniques for creating stunning 360° panoramas. By carefully selecting your stitching software, preparing raw files, and fine-tuning color, exposure, and distortion, you'll achieve professional-quality results. Don't forget to sharpen, reduce noise, and apply filters as needed. Adjust projections for the best viewer experience, and export your panorama in the appropriate format for your intended platform. With practice, you'll create immersive panoramas that captivate your audience.

As educators and advocates for responsible drone use, we’re committed to sharing our knowledge and expertise with aspiring aerial photographers.
Leave a Reply