To optimize video frame rates in post-processing, start by understanding frame rate basics and choosing an appropriate output rate. Match your shutter speed to the fps and consider motion blur effects for smooth movement. Use frame blending techniques to enhance visual quality, and avoid frame rate conflicts by maintaining consistency across clips. Export with proper settings, ensuring you've selected the right format and bitrate. Always test your videos on multiple devices to catch any playback issues. By mastering these techniques, you'll create professional-looking videos that engage viewers across platforms. Dive deeper to reveal even more advanced frame rate optimization strategies.
Key Takeaways
- Match output frame rate to source footage for smooth playback and natural motion preservation.
- Apply the 180-degree shutter rule by setting shutter speed to roughly double the frame rate.
- Use higher frame rates (60fps+) for slow-motion footage to ensure smooth, detailed playback.
- Test exported videos on multiple devices and platforms to identify and resolve playback issues.
- Balance visual quality with file size by optimizing bitrate settings during export.
Understand Frame Rate Basics
Frame rate, measured in frames per second (fps), is the cornerstone of video quality. It determines how smoothly your video plays and affects its overall look and feel. Common frame rates include 24fps for cinematic content, 30fps for standard video, and 60fps for smooth motion.
You'll need to understand how frame rate impacts your footage. Higher frame rates capture more detail and create smoother motion, but they require more storage and processing power. Lower frame rates can create a more traditional film look but may result in motion blur or choppy playback.
Consider your project's purpose when choosing a frame rate. For film-like content, stick to 24fps. If you're shooting fast-moving subjects or sports, opt for 60fps or higher. For general video content, 30fps is often a good compromise.
Be aware of your camera's capabilities and limitations. Some cameras can shoot at higher frame rates but may sacrifice resolution or low-light performance.
Always test different frame rates before your main shoot to guarantee you're getting the desired results.
Choose Appropriate Output Frame Rate

When choosing your video's output frame rate, you'll need to take into account your target platform's requirements first.
It's often best to match your source footage's frame rate if possible.
You'll want to strike a balance between visual quality and file size, as higher frame rates can increase both.
Consider Target Platform Requirements
An essential step in enhancing your video's frame rate is considering the requirements of your target platform. Different platforms have varying specifications for frame rates, and adhering to these can greatly impact your video's performance and viewer experience.
For social media platforms like Instagram and Facebook, 30 fps is often ideal, as it balances smooth playback with file size limitations. YouTube supports a wide range of frame rates, but 24, 30, or 60 fps are most common.
If you're targeting traditional television, you'll need to match the broadcast standard: 29.97 fps for NTSC or 25 fps for PAL.
Streaming services like Netflix typically require 24 fps for cinematic content, while gaming platforms may benefit from higher frame rates of 60 fps or more. Mobile devices can handle various frame rates, but consider potential playback issues on older models.
When creating content for multiple platforms, you might need to export different versions of your video. Always check the most up-to-date guidelines for each platform, as requirements can change.
Match Source Footage Rate
Choosing the right output frame rate often comes down to matching your source footage. When you're editing and exporting your video, it's essential to maintain the original frame rate whenever possible. This approach preserves the natural motion and feel of your footage, guaranteeing the final product looks as intended.
If you've shot your video at 24fps, stick with that frame rate throughout post-production. The same goes for 30fps or 60fps footage. By matching the source, you'll avoid introducing artifacts or unnatural motion that can occur when converting between frame rates. This is especially important for cinematic content, where the 24fps look is often desired.
However, there are exceptions. If you're mixing footage from different sources with varying frame rates, you'll need to choose a common output rate. In these cases, consider the dominant frame rate in your project or the requirements of your delivery platform.
Balance Quality and Filesize
While matching source footage is often ideal, you'll sometimes need to contemplate the balance between video quality and file size when selecting an output frame rate. Higher frame rates generally produce smoother motion and better overall quality, but they also result in larger file sizes.
Consider your project's requirements and distribution method when making this decision. For web content, you might opt for lower frame rates like 24 or 30 fps to reduce file size and improve streaming performance. However, if you're creating content for high-end displays or slow-motion footage, higher frame rates like 60 or 120 fps may be necessary.
Keep in mind that drastically changing the frame rate from your source footage can lead to artifacts or choppy playback. If you must reduce the frame rate, use frame blending or optical flow techniques to smooth out the motion.
For most general-purpose video content, 30 fps strikes a good balance between quality and file size. It's widely supported and provides smooth motion for most applications.
When in doubt, test different frame rates with your specific content and playback devices to find the most effective balance for your project.
Match Shutter Speed to FPS

One key principle for achieving smooth, professional-looking video is matching your camera's shutter speed to your chosen frame rate. This relationship is known as the 180-degree shutter rule. To apply it, set your shutter speed to roughly double your frame rate. For example, if you're shooting at 24 fps, use a 1/48 or 1/50 second shutter speed.
This technique creates natural-looking motion blur, which mimics how our eyes perceive movement. It's especially important for fast-moving subjects or panning shots. If your shutter speed is too slow, you'll get excessive blur. Too fast, and your footage may appear choppy or stuttery.
There are times when you might want to break this rule. For stylistic effects, you can use a faster shutter speed to create crisp, staccato-like motion, or a slower speed for dreamy, blurred movement. However, for most situations, sticking to the 180-degree rule will give you the most natural-looking results.
Remember to adjust your shutter speed if you change your frame rate mid-shoot. This consistency will make your footage easier to work with in post-processing and guarantee a cohesive look throughout your project.
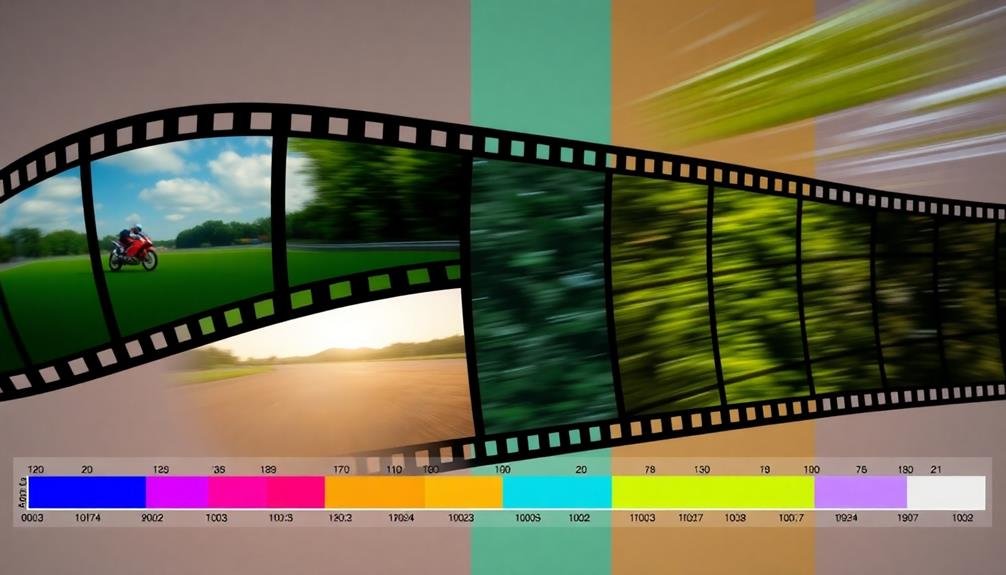
Consider Motion Blur Effects

When it comes to motion blur, your frame rate plays a crucial role. Higher frame rates tend to reduce motion blur, resulting in crisper, more detailed images. However, this isn't always desirable. Sometimes, you'll want to embrace motion blur for artistic effect or to create a more cinematic look.
Consider these factors when deciding on motion blur:
- Subject movement: Fast-moving subjects may benefit from less blur for clarity
- Scene atmosphere: Motion blur can enhance the feeling of speed or chaos
- Viewer comfort: Excessive blur can cause eye strain or disorientation
You can adjust motion blur in post-processing, but it's best to capture it correctly in-camera.
If you're shooting at 24fps for a film-like look, use a 180-degree shutter angle (1/48th second shutter speed) to achieve natural-looking motion blur. For 30fps, use 1/60th second, and for 60fps, use 1/120th second.
Use Frame Blending Techniques

Frame blending techniques can greatly enhance your video's visual quality by smoothing motion shifts between frames.
You'll find this approach particularly useful for reducing visual artifacts that often occur in lower frame rate footage.
Smoothing Motion Transitions
Smooth motion is the hallmark of high-quality video content. When you're working with footage that has varying frame rates or choppy shifts, smoothing motion adjustments becomes essential. By using advanced frame blending techniques, you can create a more fluid viewing experience for your audience.
To effectively smooth motion adjustments, start by analyzing your footage and identifying areas that need improvement. Look for jerky movements, sudden shifts, or inconsistent pacing. Once you've pinpointed these issues, apply frame blending algorithms to interpolate between existing frames, creating new intermediate frames that bridge the gaps.
Consider these key points when smoothing motion adjustments:
- Use optical flow analysis to accurately predict motion between frames
- Adjust blending strength based on the complexity of the movement
- Apply selective blending to preserve sharp details in static areas
Remember that over-smoothing can result in a loss of natural motion and create an artificial look. Aim for a balance between smoothness and authenticity.
Experiment with different settings and preview your results frequently to achieve the ideal level of motion smoothing for your specific project.
Reducing Visual Artifacts
To achieve professional-looking video content, you'll need to tackle visual artifacts that can detract from your footage's quality. Frame blending techniques are effective tools for reducing these unwanted visual elements. By merging multiple frames, you can smooth out motion and minimize stuttering or choppy playback.
Start by experimenting with motion blur. This technique simulates the natural blur that occurs when objects move quickly, helping to create a more fluid appearance. Adjust the blur strength to find the right balance between smoothness and clarity.
Another powerful method is optical flow interpolation. This technique analyzes the movement between frames and generates new intermediate frames, effectively increasing your frame rate and reducing judder. Be cautious when using this method, as it can sometimes create artifacts in complex scenes.
For slow-motion footage, consider using frame sampling. This technique combines information from multiple frames to create a single, higher-quality frame. It's particularly useful for reducing noise and improving detail in low-light situations.
Lastly, don't overlook the importance of proper keyframing. By carefully setting keyframes for your shifts and effects, you can guarantee smoother motion and minimize jarring visual artifacts throughout your video.
Optimize for Slow Motion

When capturing slow-motion footage, higher frame rates are essential. You'll want to shoot at a minimum of 60 fps, but 120 fps or higher is ideal for truly smooth slow-motion effects. Remember, the higher the frame rate, the more you can slow down your footage without losing quality.
To optimize your slow-motion shots, consider these factors:
- Lighting: Higher frame rates require more light, so guarantee your scene is well-lit.
- Shutter speed: Use a faster shutter speed to reduce motion blur.
- Subject matter: Choose subjects with interesting movement for the best slow-motion impact.
When editing, you'll need to interpret your high-frame-rate footage correctly. Most editing software will automatically detect the frame rate, but double-check to guarantee it's correct.
To create the slow-motion effect, you'll typically slow down your clip to match your project's frame rate (e.g., 24 or 30 fps).
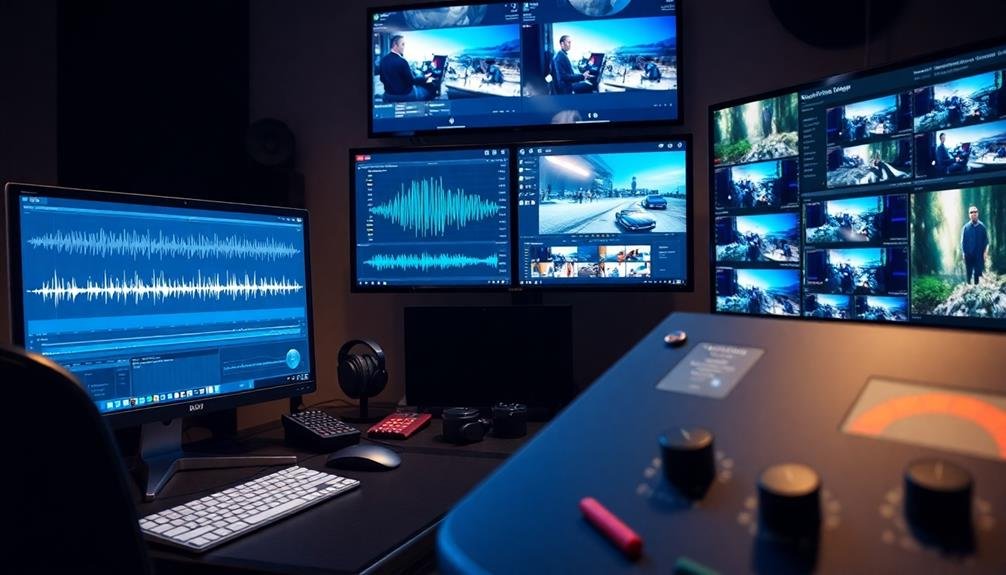
Be mindful of audio when working with slow-motion footage. The sound will be stretched along with the video, often resulting in an unusable audio track.
Consider removing the original audio and adding appropriate sound effects or music to enhance the slow-motion mood.
Avoid Frame Rate Conflicts

To prevent frame rate conflicts, you'll want to match your output frame rate to your source footage.
This simple step helps you avoid stuttering and visual artifacts that can occur when frame rates don't align.
Match Source Frame Rate
Matching your project's frame rate to that of your source footage prevents a host of potential issues.
When you're editing video, it's essential to maintain the original frame rate throughout the post-processing workflow. This approach guarantees smooth playback, preserves motion integrity, and eliminates the need for frame rate conversion, which can introduce artifacts or stuttering.
To match your source frame rate effectively:
- Check your camera settings before shooting to confirm the desired frame rate
- Review your footage metadata to identify the frame rate of your source material
- Set your editing project's frame rate to match the majority of your footage
Prevent Stuttering and Artifacts
Smooth video playback hinges on avoiding frame rate conflicts. To prevent stuttering and artifacts, you'll need to align your project's frame rate with your footage and output settings. When mismatched, your video may exhibit jerky motion or dropped frames.
First, identify your source material's frame rate. Then, set your project and export settings to match. If you're working with mixed frame rates, choose the most common one as your baseline. For footage that doesn't match, consider using frame blending or optical flow techniques to smooth out motion.
Here's a quick reference for common frame rates and their uses:
| Frame Rate | Common Use | Characteristics |
|---|---|---|
| 24 fps | Film | Cinematic look |
| 30 fps | TV, Web | Smooth motion |
| 60 fps | Gaming | Fluid action |
| 120+ fps | Slow-mo | Detailed motion |
Maintain Consistency Across Clips

When editing your video project, maintaining consistent frame rates across all clips is essential for seamless playback. Mixing clips with different frame rates can lead to jarring changes, dropped frames, and overall poor viewing experience.
To guarantee consistency, always check the frame rates of your source footage before importing them into your editing software.
If you've got clips with varying frame rates, you'll need to conform them to a single target frame rate. Choose the frame rate that best suits your project's needs and the majority of your footage. Common frame rates include 24fps for cinematic look, 30fps for standard video, and 60fps for smooth motion.
When conforming frame rates, keep these points in mind:
- Use high-quality frame interpolation methods to minimize artifacts
- Be cautious when speeding up or slowing down footage to match frame rates
- Consider the impact on audio sync when adjusting frame rates
Export With Proper Settings
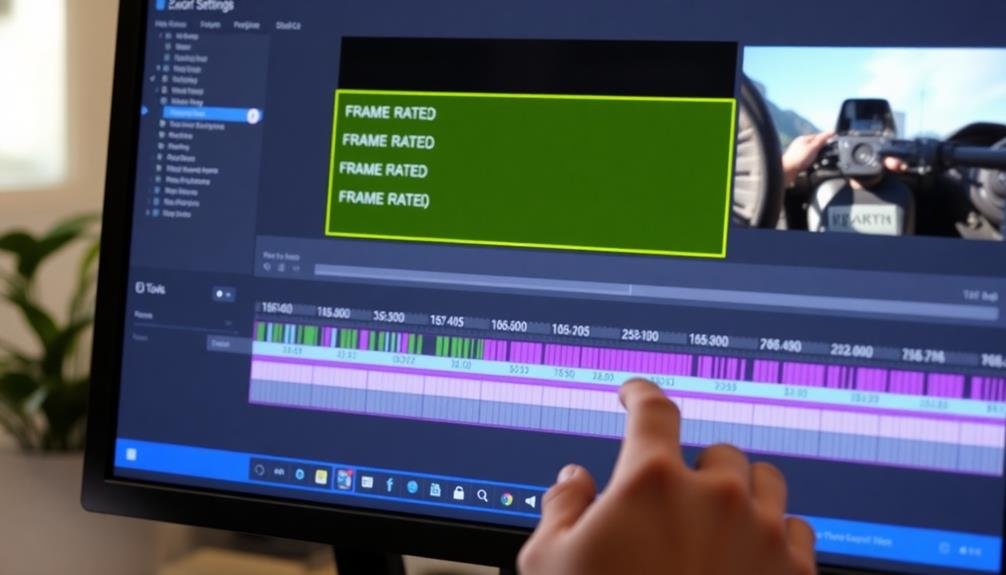
Once you've finished editing your video, you'll need to wrap up the project by exporting it with the right settings. This final step is essential to guarantee your video maintains its quality and plays smoothly on various platforms.
Start by choosing the appropriate export format. Common options include MP4, MOV, and AVI. Select the codec that best suits your needs, such as H.264 for web streaming or ProRes for high-quality production work.
Next, set the frame rate to match your project's settings. If you've been editing at 24fps, export at 24fps to avoid any inconsistencies.
Pay attention to your resolution settings. If you've been working in 4K but need a 1080p version, adjust accordingly. Don't forget to set the correct aspect ratio to prevent distortion.
Bitrate settings affect file size and quality. For web delivery, you might need to compromise on bitrate to reduce file size. However, for archival purposes, opt for higher bitrates to preserve quality.
Lastly, always do a test export and review it thoroughly before finalizing. This helps catch any issues and guarantees your video looks exactly as intended across different devices and platforms.
Test on Multiple Devices
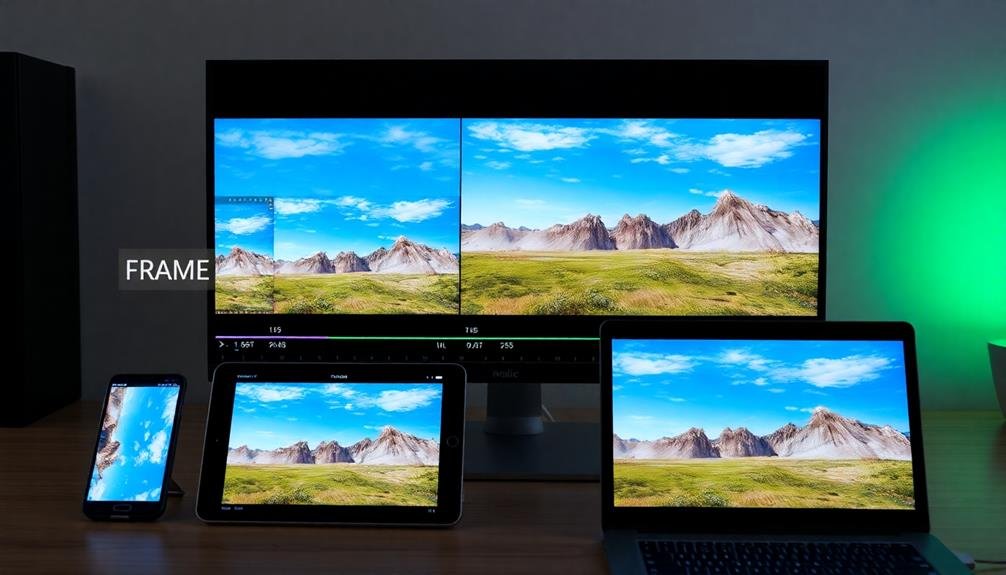
After exporting your video, it's crucial to test it on multiple devices. Different screens and processors can affect how your video's frame rate appears to viewers. What looks smooth on your editing monitor might stutter on a smartphone or smart TV. To guarantee your content looks great across various platforms, you'll need to conduct thorough testing.
Start by viewing your exported video on:
- A desktop computer or laptop
- A smartphone (both iOS and Android if possible)
- A tablet or large-screen device
Pay close attention to how the motion appears on each device. Look for any signs of stuttering, lag, or dropped frames. If you notice issues on certain devices, you may need to adjust your export settings or even re-edit your footage to optimize for those platforms.
Don't forget to test your video on popular streaming platforms like YouTube, Vimeo, or social media sites where you plan to share your content. These platforms may compress your video, potentially affecting frame rate and overall quality.
Frequently Asked Questions
How Does Frame Rate Affect File Size and Storage Requirements?
Higher frame rates increase your file size and storage needs. You'll have more individual frames per second, which means more data to store. Lower frame rates result in smaller files, requiring less space on your device.
Can Changing Frame Rates Cause Audio Sync Issues?
Yes, changing frame rates can cause audio sync issues. If you're altering your video's frame rate, you'll need to adjust the audio accordingly. It's essential to maintain proper synchronization between video and sound during post-processing.
What's the Impact of Frame Rate on Battery Life During Playback?
Higher frame rates consume more battery during playback. You'll notice your device draining faster when watching high-fps videos. If you're concerned about battery life, opt for lower frame rates or adjust your device's display settings.
Are There Legal Considerations for Frame Rates in Broadcast Media?
You'll find legal requirements for frame rates in broadcast media. Regulations often dictate specific rates for different regions and formats. It's essential to comply with these standards to guarantee your content meets legal broadcasting requirements.
How Do Frame Rates Influence Color Grading and Visual Effects Workflows?
Frame rates impact your color grading and VFX workflows considerably. You'll need to adjust your techniques for different rates. Higher rates offer smoother motion but require more processing power. Lower rates may need additional work to avoid flickering or stuttering.
In Summary
You've now got the tools to optimize your video frame rates in post-processing. Remember, it's all about balancing technical aspects with creative vision. Don't be afraid to experiment with different techniques and settings. Keep practicing and refining your skills. As you apply these tips, you'll notice a significant improvement in your video quality. Stay curious, keep learning, and you'll soon master the art of frame rate manipulation in post-production.
As educators and advocates for responsible drone use, we’re committed to sharing our knowledge and expertise with aspiring aerial photographers.


Leave a Reply