
To create stunning cinematic reveals, master the art of reveal altitude, slow reveal techniques, and reverse reveals. Time your shots perfectly to build anticipation and emotional impact. Use natural obstacles creatively to add depth and intrigue to your compositions. Experiment with dynamic weather conditions and lighting to enhance the drama. Coordinate gimbal and drone movements for seamless changes, and choreograph multi-axis camera paths for complex shots. Don't forget to fine-tune your footage in post-processing for maximum effect. By mastering these pro techniques, you'll elevate your cinematography to new heights and captivate your audience with epic shots.
Key Takeaways
- Master reveal altitude techniques to create dramatic subject showcases and impactful disclosure points.
- Utilize slow reveal techniques to add suspense and emotion, controlling camera movement and incorporating audio elements.
- Employ reverse reveals, starting with tight shots and pulling back to reveal context for heightened audience engagement.
- Plan multi-point reveals by storyboarding shots, considering location factors, and coordinating movements with subjects' actions.
- Experiment with natural obstacles, dynamic weather, and lighting conditions to add depth and visual interest to cinematic reveals.
Mastering the Reveal Altitude

Drone pilots know that the disclosure altitude is a game-changer for capturing breathtaking shots. It's the height at which you'll position your drone to showcase the subject dramatically.
To master this technique, start by scouting your location and identifying potential obstacles. Consider the size of your subject and the surrounding environment to determine the best height for your disclosure.
Begin with your drone low, just above eye level, then slowly ascend while keeping your subject centered in the frame. As you rise, pay attention to how the perspective changes.
The sweet spot is often when you've cleared nearby obstructions, but before the subject becomes too small in the frame. Experiment with different altitudes to find the most impactful disclosure point.
Perfecting Slow Reveal Techniques
Building on the concept of disclose altitude, the slow reveal technique adds a layer of suspense and drama to your shots. To execute this effectively, you'll need to carefully control your camera's movement speed and direction. Start with a tight frame, focusing on a specific detail or obscured view, then gradually expand the shot to disclose the full scene.
Mastering slow reveals requires patience and precision. Use a motorized slider or drone with adjustable speed settings to achieve smooth, consistent motion. Pay attention to your surroundings and plan your reveal path meticulously to avoid obstacles or unwanted elements in the frame.
The slow reveal technique can evoke powerful emotions in your audience:
- Anticipation: Teasing glimpses of the subject build curiosity
- Awe: Gradually exposing a breathtaking landscape creates wonder
- Surprise: Unexpected elements revealed can shock or delight
- Connection: Slowly introducing characters fosters empathy
To enhance the impact, consider incorporating complementary audio elements. A crescendo in the music or subtle sound effects can heighten tension and emphasize the reveal's climax.
Reverse Reveals for Dramatic Effect
While slow reveals build anticipation, reverse reveals pack a powerful punch by subverting expectations. You'll start with a tight shot of a seemingly ordinary object or scene, then gradually pull back to expose a surprising or dramatic context. This technique can create a jaw-dropping moment for your audience, forcing them to reevaluate their initial assumptions.
To execute a reverse reveal effectively, begin by carefully framing your initial shot. Focus on an intriguing detail that doesn't give away the full picture. As you pull back, maintain smooth camera movement to avoid jarring shifts. You can use a dolly, crane, or even a drone to achieve this fluid motion.
Timing is essential in reverse reveals. Pace your shot to build tension and curiosity before the final payoff. You might also consider using sound design to enhance the effect, gradually introducing audio cues that hint at the larger context.
Timing Your Reveal Shots

Mastering the art of timing your disclosure shots can elevate your cinematography from good to unforgettable. The key lies in understanding pacing and building tension. You'll want to reflect on the overall rhythm of your scene and how the disclosure fits into the narrative arc.
Start by establishing the scene's mood and gradually heightening anticipation. Use techniques like slow camera movements, strategic sound design, and carefully timed cuts to build suspense. As you approach the disclosure, you can manipulate time perception by slightly slowing down or speeding up your footage.
When executing the disclosure, think about these emotional impacts:
- Surprise: Quick, unexpected disclosures
- Awe: Slow, grandiose unveilings
- Dread: Prolonged, tension-filled buildups
- Relief: Delayed revelations after intense anticipation
Remember, timing isn't just about the disclosure itself but also about what follows. Allow enough screen time for the audience to absorb the impact. You can enhance the effect by capturing characters' reactions or lingering on the revealed subject.
Practice different timing techniques and analyze successful disclosures in films. With experience, you'll develop an intuitive sense of when to disclose your shot for maximum impact.
Using Natural Obstacles Creatively

Natural obstacles can be a cinematographer's secret weapon for creating compelling shots. Instead of viewing them as hindrances, embrace them as opportunities to add depth and intrigue to your disclosures. Use trees, rocks, or buildings to partially obscure your subject, creating a sense of mystery and drawing the viewer's eye. You'll find that these obstacles can naturally frame your shot, directing attention exactly where you want it.
Try panning or tracking shots that move around obstacles, gradually revealing your subject. This technique builds anticipation and keeps your audience engaged. Experiment with different angles and perspectives; shooting through foliage or between architectural elements can add texture and visual interest to your composition.
Don't forget about foreground elements. Placing objects close to the camera can create a sense of depth and scale, making your disclosures more dynamic. You can also use natural obstacles to play with focus, starting with a blurred foreground object and rack focusing to reveal your subject behind it.
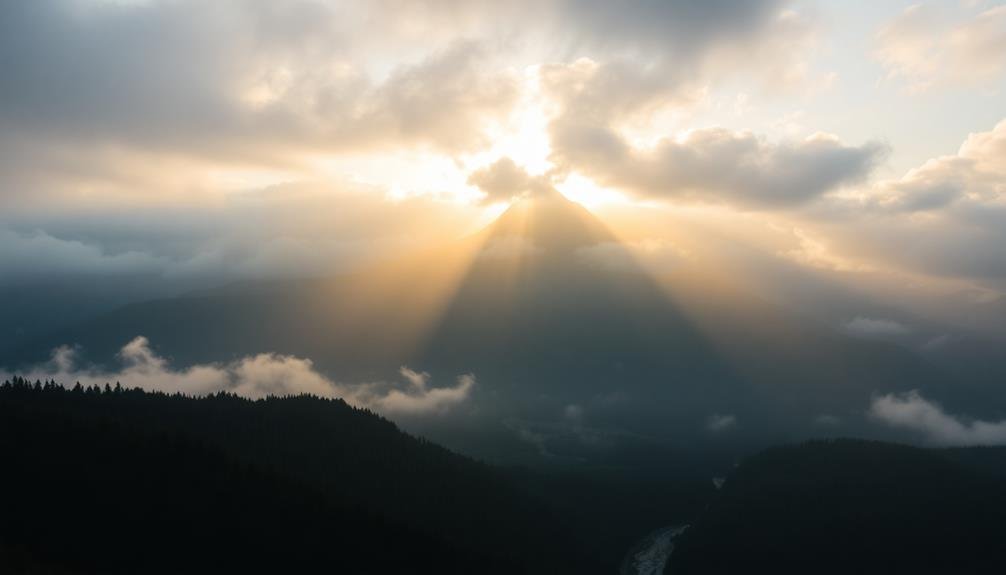
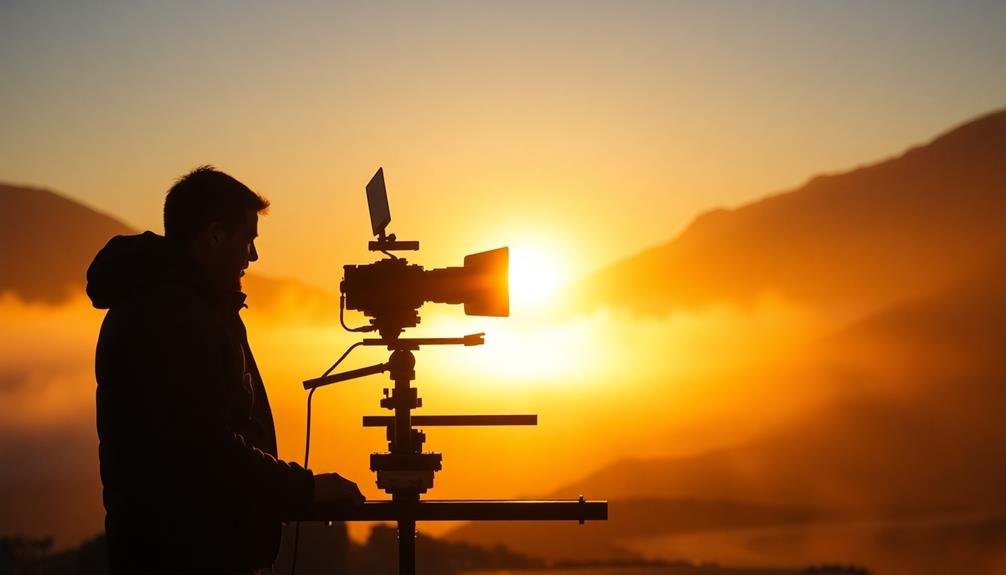
Cinematic Lighting for Drone Reveals

To capture cinematic drone reveals, you'll want to master the art of golden hour flights.
As the sun dips low on the horizon, you can harness its warm, directional light for dramatic landscape shots.
Experiment with dynamic light tracking techniques to follow moving shadows or create striking silhouettes as you reveal your subject.
Golden Hour Drone Flight
As the sun dips low on the horizon, golden hour presents an unparalleled opportunity for drone pilots to capture breathtaking cinematic footage. You'll want to plan your flight carefully, considering the sun's position and your subject's orientation. Aim to fly with the sun behind or to the side of your drone for the most flattering light.
During golden hour, you'll have about 20-30 minutes of ideal light. Use this time wisely by pre-planning your shots and flight paths. Experiment with different altitudes and angles to capture the warm, soft light as it bathes your subject. Don't forget to adjust your camera settings for the changing light conditions.
To make the most of golden hour drone footage, try these emotional techniques:
- Slowly reveal landscapes as you ascend
- Capture long shadows stretching across terrain
- Follow moving subjects bathed in golden light
- Showcase reflections on water surfaces
Remember to respect local regulations and wildlife. As the light fades, be prepared to land safely.
With practice and patience, you'll master the art of golden hour drone cinematography, creating stunning reveals that captivate your audience and evoke a sense of wonder and beauty.
Dynamic Light Tracking Techniques
Moving beyond the golden hour, dynamic light tracking elevates your drone cinematography to new heights. This technique involves actively following and capturing shifting light patterns as you reveal your subject. To master this skill, start by identifying potential light sources and their movement patterns before your flight.
As you operate your drone, anticipate how light will interact with your subject. Use the drone's mobility to your advantage, positioning it to capture dramatic shadows, highlights, and silhouettes. Experiment with flying towards or away from light sources to create stunning depth and contrast in your shots.
Consider using gradual exposure changes to smoothly shift between light and dark areas. This can be achieved through manual adjustments or by utilizing your drone's auto-exposure bracketing feature. Pay attention to reflective surfaces like water or glass, which can create mesmerizing light play.
Don't shy away from challenging lighting conditions. Embrace lens flares, backlighting, and dappled light to add visual interest to your reveals.
Remember to adjust your drone's camera settings, such as ISO and shutter speed, to maintain ideal exposure as lighting conditions change during your flight.
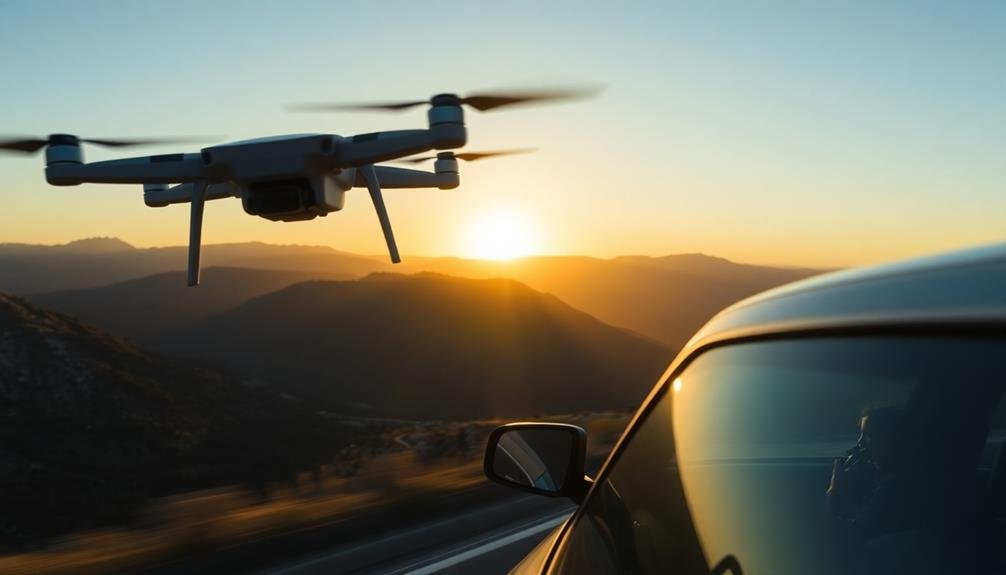
Balancing Speed and Smoothness

To capture truly epic shots, you'll need to master the art of balancing speed and smoothness.
Start by optimizing your motion control systems, ensuring they're calibrated for both rapid movements and fluid shifts.
When perfecting slow-motion pans, focus on maintaining consistent velocity throughout the shot, allowing viewers to fully absorb the visual details you're presenting.
Optimizing Motion Control Systems
Mastering motion control systems is essential for capturing epic shots with smooth, precise camera movements. To optimize your setup, start by calibrating your equipment carefully. Confirm all components are properly aligned and balanced, reducing vibrations and unwanted jerks.
Fine-tune acceleration and deceleration curves to achieve fluid motion throughout the shot. Experiment with different speeds and movement patterns to find the perfect balance for your scene. Remember, slower movements often create a more dramatic effect, while faster ones can add excitement.
Use keyframes to program complex multi-axis movements, allowing for intricate camera paths that would be impossible to achieve manually.
When working with motion control systems, keep these emotional elements in mind:
- Anticipation: Build tension by slowly revealing your subject
- Awe: Create sweeping, grandiose movements to showcase scale
- Intimacy: Use subtle, precise movements for close-up shots
- Disorientation: Employ unconventional angles and rotations for unique perspectives
Perfecting Slow-Motion Pans
Slow-motion pans can create breathtaking visual impact when executed properly. To master this technique, you'll need to strike a delicate balance between speed and smoothness.
Start by selecting the right gear: a fluid head tripod or a motorized slider for consistent movement. Set your camera to a high frame rate, typically 60fps or higher, to capture fluid motion.
Begin with a locked-off shot, then initiate your pan slowly and steadily. Maintain a constant speed throughout the movement to avoid jerky changes. Practice your timing repeatedly, as even slight variations can affect the final result.
When editing, experiment with different playback speeds to find the sweet spot that enhances your subject's motion without appearing unnatural.
Consider the content of your frame carefully. Choose subjects with interesting movement or transformation to maximize the impact of your slow-motion pan. Use foreground elements to create depth and enhance the sense of motion.
Pay attention to your background, ensuring it complements rather than distracts from your main subject. By combining these elements with precise execution, you'll capture slow-motion pans that elevate your cinematic reveals to new heights.
Framing Your Subject Effectively
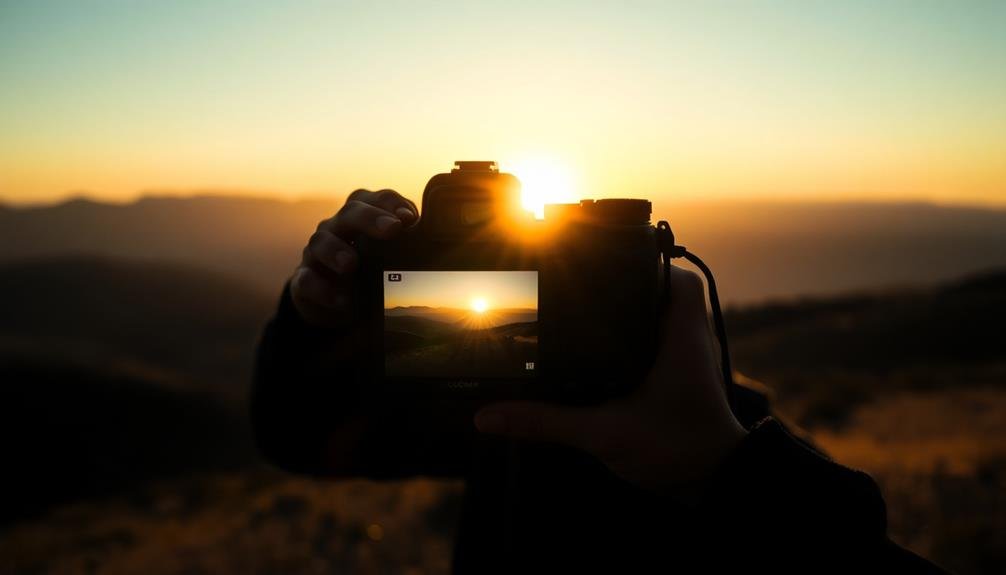
Countless photographers overlook the power of effective framing, yet it's an essential technique for creating enthralling images. To frame your subject effectively, you'll need to take into account composition, depth, and perspective.
Start by identifying your main subject and determining how you want to present it to your audience. Use natural elements like trees, doorways, or architectural features to create a frame within your shot. This technique draws the viewer's eye to the subject and adds depth to your composition.
Experiment with different angles and positions to find the most compelling frame. Don't be afraid to get low or climb high to capture a unique perspective.
Take into account the rule of thirds when framing your subject. Place key elements along the imaginary grid lines or at their intersections to create a balanced and visually appealing image.
Remember, effective framing can:
- Create a sense of mystery and intrigue
- Emphasize the subject's importance
- Provide context and tell a story
- Evoke emotions and capture the viewer's attention
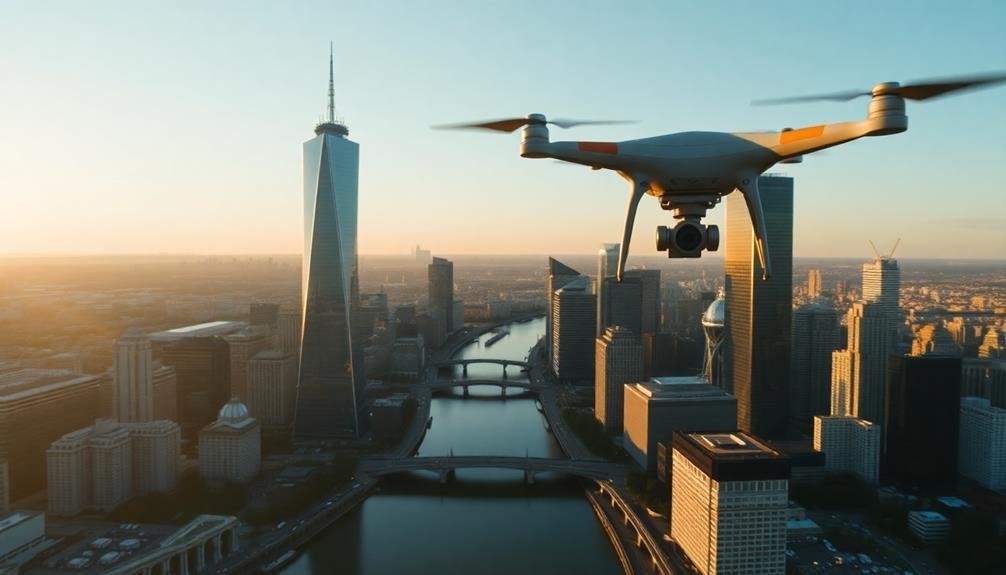
Coordinating Gimbal and Drone Movement
Mastering the coordination of gimbal and drone movement can elevate your aerial cinematography to new heights.
You'll want to focus on syncing movements for seamless continuity, crafting dynamic aerial shifts, and choreographing multi-axis camera paths.
These techniques will help you create fluid, professional-looking sequences that captivate your audience and add a cinematic flair to your drone footage.
Syncing Movements for Continuity
Seamless shifts between shots can elevate your video from amateur to professional. To achieve this, you'll need to sync your gimbal and drone movements for continuity. Start by planning your shots in advance, considering how each movement will flow into the next.
Practice shifting between your gimbal and drone, matching speed and direction to create a fluid sequence. When executing your shots, use consistent camera settings across both devices. This includes maintaining the same frame rate, shutter speed, and ISO.
Pay attention to your surroundings, ensuring that lighting conditions remain similar as you alternate between gimbal and drone footage. To create emotional impact, focus on:
- Revealing landscapes gradually, building anticipation
- Following a subject's movement seamlessly from ground to air
- Contrasting intimate close-ups with sweeping aerial views
- Crafting a visual journey that mirrors the story's emotional arc
In post-production, fine-tune your shifts by matching motion blur and adjusting speed ramping. Use subtle sound design to bridge gaps between shots, enhancing the sense of continuity.
Creating Dynamic Aerial Transitions
To take your aerial cinematography to new heights, dynamic shifts between gimbal and drone shots are essential. Start by planning your changeover points carefully, evaluating both the visual flow and narrative impact. Sync your gimbal movements with the drone's flight path for seamless integration. As you approach the shift, gradually adjust your gimbal's angle to match the drone's perspective.
For smooth handoffs, use a consistent speed between your gimbal and drone movements. Practice gentle accelerations and decelerations to avoid jarring shifts. Experiment with different altitudes and angles to create varied and interesting changeovers. Try starting low with your gimbal shot, then seamlessly lifting into a drone reveal for dramatic effect.
Master the art of coordinating your drone pilot and camera operator. Clear communication is vital for executing complex changeovers. Use rehearsals to fine-tune timing and movements.
Don't forget to take into account lighting conditions and how they'll affect your shift. Finally, explore creative techniques like orbiting around subjects or using natural elements as changeover points. With practice, you'll create stunning aerial shifts that elevate your cinematic storytelling to new levels.
Choreographing Multi-Axis Camera Paths
Numerous filmmakers overlook the power of multi-axis camera paths when combining gimbal and drone movements.
To create truly epic shots, you'll need to choreograph these movements with precision. Start by planning your shot's trajectory, considering both horizontal and vertical axes. Visualize how the drone's flight path will complement the gimbal's rotation, creating a seamless, fluid motion.
Practice your piloting skills to execute smooth, controlled movements. Coordinate with your gimbal operator to synchronize the camera's pan, tilt, and roll with the drone's flight path. This synergy will result in breathtaking shots that captivate your audience.
Experiment with different combinations of movements to evoke specific emotions:
- Slow ascent with a gradual reveal: builds anticipation
- Rapid descent with a quick pan: creates excitement
- Circular orbit with a steady tilt: conveys grandeur
- Sideways tracking shot with a subtle roll: adds dynamism
Remember to maintain a consistent speed throughout the shot, unless you're intentionally changing pace for dramatic effect.
Incorporating Dynamic Weather Conditions
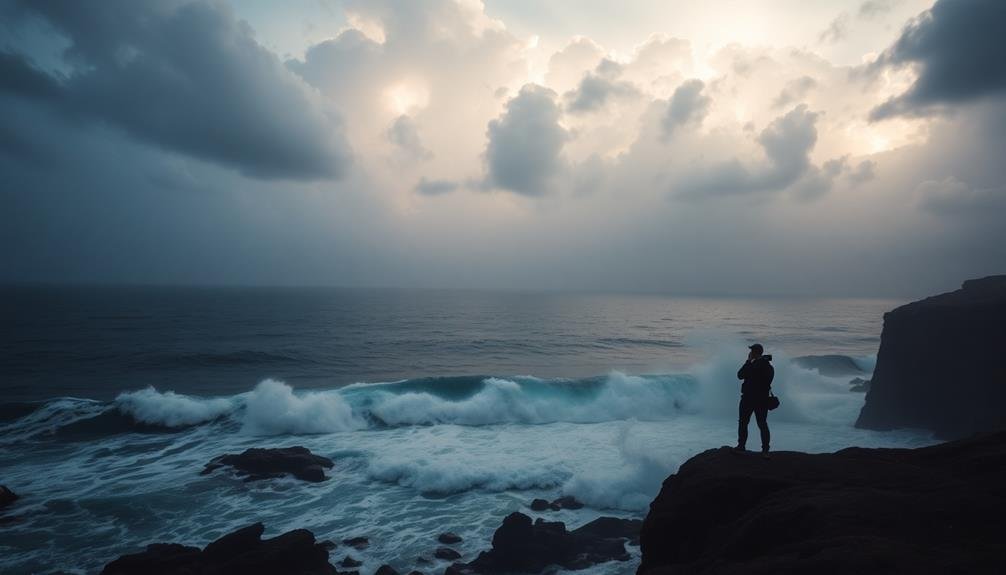
Dynamic weather conditions can transform an ordinary scene into a breathtaking masterpiece. To harness their power, you'll need to plan ahead and be prepared to adapt on the fly. Start by researching weather patterns in your shooting location and timing your shoot accordingly. Keep an eye on forecasts and be ready to capitalize on dramatic changes.
For rain shots, use a weather-sealed camera and lens, and consider using a clear filter to protect your gear. Capture the interplay of light on raindrops and reflective surfaces.
In foggy conditions, experiment with backlighting to create ethereal effects. For snow scenes, adjust your exposure compensation to prevent underexposure of white landscapes.
Wind can add movement and drama to your shots. Use it to your advantage by incorporating billowing fabrics or swaying vegetation. During storms, safety is paramount, but if conditions permit, capture lightning strikes with long exposures or lightning triggers.
Don't forget about post-production. Enhance the mood of your weather-influenced shots with color grading and subtle effects.
Post-Processing for Enhanced Drama
While capturing dynamic weather can create stunning visuals in-camera, post-processing is where you'll truly enhance the drama of your shots. Start by adjusting contrast and shadows to accentuate the mood. Boost highlights in areas you want to draw attention to, like sunbeams breaking through clouds or lightning strikes.
Don't shy away from selective color grading to emphasize the atmosphere you're aiming for. Experiment with vignetting to direct the viewer's focus and add depth. Use subtle lens flares or light leaks to enhance the cinematic feel. For weather-specific effects, add realistic rain streaks or amplify existing fog in post.
Remember, the goal is to enhance, not fabricate. To evoke emotion in your audience, consider these post-processing techniques:
- Desaturate colors for a moody, melancholic atmosphere
- Increase warmth and vibrance for a sense of hope or nostalgia
- Apply a cool, blue tone for a feeling of isolation or mystery
- Create high contrast for tension and drama
Planning Multi-Point Reveal Sequences

In order to create enthralling multi-point reveal sequences, you'll need to plan meticulously. Start by storyboarding your shots, mapping out each reveal point and the camera movements between them. Consider the pacing and timing of each reveal to build tension and maintain audience interest.
When planning your sequence, think about these key elements:
| Element | Considerations |
|---|---|
| Location | Terrain, obstacles, lighting |
| Camera movement | Dolly, crane, drone, handheld |
| Focal length | Wide-angle vs. telephoto |
| Subject placement | Foreground, background, framing |
| Timing | Slow reveal vs. quick shifts |
Coordinate your camera movements with your subjects' actions to maximize impact. You might start with a wide shot, then move closer to reveal details, or use a series of tracking shots to gradually disclose a larger scene.
Don't forget about audio cues and sound design to enhance the visual reveals. Use music, ambient sounds, or strategic silence to heighten tension and guide the viewer's attention.
Mastering Tracking Shots
Tracking shots, when executed skillfully, can elevate your cinematography to new heights. To master this technique, start by investing in a quality dolly or slider system. Practice smooth movements, maintaining a consistent speed throughout the shot. Pay attention to your surroundings, ensuring a clear path for your equipment.
Experiment with different tracking directions – forward, backward, lateral, or diagonal. Each offers unique storytelling possibilities. Consider the emotional impact of your tracking shot's speed and duration. Slow, deliberate movements can create tension, while faster tracks may convey urgency or excitement.
Combine tracking shots with other techniques, such as focus pulls or revealing new elements in the frame, to add depth to your visuals. Always keep your subject in mind, using the tracking shot to enhance their story or reveal important details about their environment.
A well-executed tracking shot can:
- Immerse viewers in the scene, making them feel part of the action
- Build anticipation by gradually revealing new information
- Establish connections between characters or objects in the frame
- Create a sense of journey or progression within the narrative
With practice and attention to detail, you'll soon be crafting tracking shots that captivate your audience and elevate your cinematic storytelling.
Overcoming Common Reveal Challenges
Reveal shots can be incredibly powerful, but they often come with their own set of challenges. One common issue you'll face is timing. To nail the perfect reveal, you'll need to synchronize your camera movement with the action or subject being revealed. Practice your timing repeatedly to achieve a smooth, natural-looking reveal.
Lighting can also pose difficulties. You'll want to guarantee proper exposure for both the hidden and revealed elements. Consider using graduated filters or adjusting your lighting setup to balance the exposure.
Another challenge is maintaining focus throughout the reveal. Use a focus puller or practice manual focus techniques to keep your subject sharp as it comes into view.
Framing is essential for impactful reveals. Plan your composition carefully, considering both the initial and final frames. Use leading lines or foreground elements to guide the viewer's eye.
Don't forget about audio – a well-timed sound effect or music cue can enhance the reveal's impact.
Lastly, be mindful of your reveal's pacing. A slow reveal builds tension, while a quick one creates surprise. Choose the right speed to match your story's tone and desired emotional effect.
Frequently Asked Questions
What Drone Models Are Best Suited for Cinematic Reveals?
For cinematic reveals, you'll want to contemplate drones like the DJI Mavic 3, Autel EVO II Pro, or Skydio 2+. They offer excellent camera quality, stability, and flight performance. Don't forget to check local regulations before flying.
How Do You Handle Unexpected Obstacles During a Reveal Shot?
When you encounter unexpected obstacles during a reveal shot, stay calm and adapt quickly. You'll need to adjust your flight path, speed, or angle. If it's safe, try to incorporate the obstacle creatively into your shot.
Are There Legal Restrictions on Filming Cinematic Reveals in Certain Locations?
You'll need to contemplate legal restrictions when filming reveals. Always obtain necessary permits and permissions, especially in public spaces or private property. Be aware of privacy laws, copyright issues, and any location-specific regulations that may affect your shoot.
How Can You Create Reveal Effects Without Using a Drone?
You can create reveal effects without a drone by using sliders, jibs, or dolly systems. Try handheld gimbal movements, panning from behind objects, or utilizing zoom lenses. Even simple camera tilts or walking shots can produce effective reveals.
What Software Is Recommended for Planning Complex Reveal Shot Sequences?
You'll find Shot Designer and Celtx great for planning complex reveal sequences. They let you map out camera movements and shifts. For 3D previsualization, try programs like Maya or Blender to visualize your shots before filming.
In Summary
You've now got the tools to create jaw-dropping cinematic reveals. Remember, it's all about practice and experimentation. Don't be afraid to push your limits and try new techniques. Whether you're soaring high for that perfect altitude reveal or crafting a complex multi-point sequence, keep honing your skills. With patience and creativity, you'll soon be capturing epic shots that'll leave your audience breathless. Now go out there and start revealing!
As educators and advocates for responsible drone use, we’re committed to sharing our knowledge and expertise with aspiring aerial photographers.


Leave a Reply