To capture cinematic drone flythroughs, master smooth flight control with gentle stick movements and consistent altitude. Plan your flight path, scouting locations for obstacles and ideal angles. Optimize camera settings, using 24-30 fps and a low ISO for a film-like look. Leverage natural lighting, especially during golden hour, for stunning visuals. Vary your speed and pacing to maintain viewer interest, and practice advanced maneuvers like orbits and reveals. Don't forget post-processing techniques to enhance your footage, and always adhere to legal and safety guidelines. By honing these skills, you'll elevate your drone cinematography to new heights.
Key Takeaways
- Master smooth flight control with gentle stick movements and consistent altitude for seamless footage.
- Utilize natural lighting, especially during golden hour, to enhance visual appeal and depth.
- Plan and scout locations in advance to identify obstacles, ideal flight paths, and unique angles.
- Experiment with advanced maneuvers like orbits and reveals to add depth and visual interest.
- Optimize camera settings and post-processing techniques for a professional, cinematic look.
Mastering Smooth Flight Control
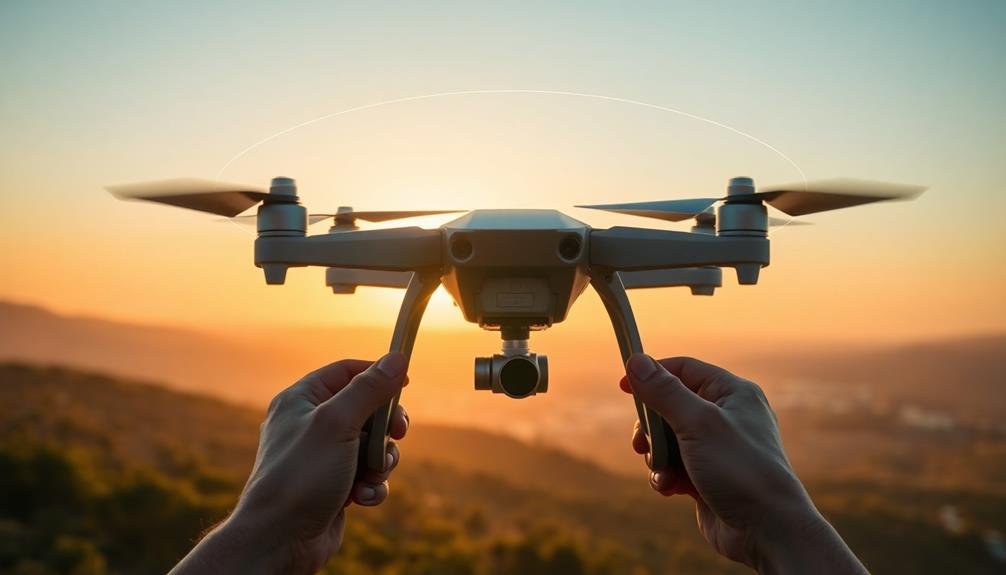
How do you achieve that buttery-smooth drone footage that looks effortless? It's all about mastering your flight control. Start by practicing in an open area, focusing on slow, deliberate movements. Use your drone's intelligent flight modes like tracking and waypoints to create consistent, repeatable paths.
Adjust your controller's sensitivity settings to match your flying style. Lower sensitivity allows for finer control, while higher sensitivity enables quicker reactions. Experiment to find your sweet spot.
When flying, use gentle stick movements and avoid sudden changes in direction or speed. Gradually accelerate and decelerate to maintain a steady flow.
Incorporate natural movements into your flight paths. Mimic the motion of a crane or dolly shot by combining vertical and horizontal movements. Use the rule of thirds to frame your shots, keeping points of interest along the gridlines.
Remember to maintain a consistent altitude throughout your flight to avoid jarring vertical shifts.
Practice flying in various weather conditions, as wind can greatly impact your drone's stability. Learn to compensate for gusts and turbulence to keep your footage smooth.
Planning Your Flight Path
Before you take off, scout your location to identify potential obstacles and ideal flight paths.
Next, storyboard your shots to visualize the sequence and composition of your flythrough.
Pre-Flight Location Scouting
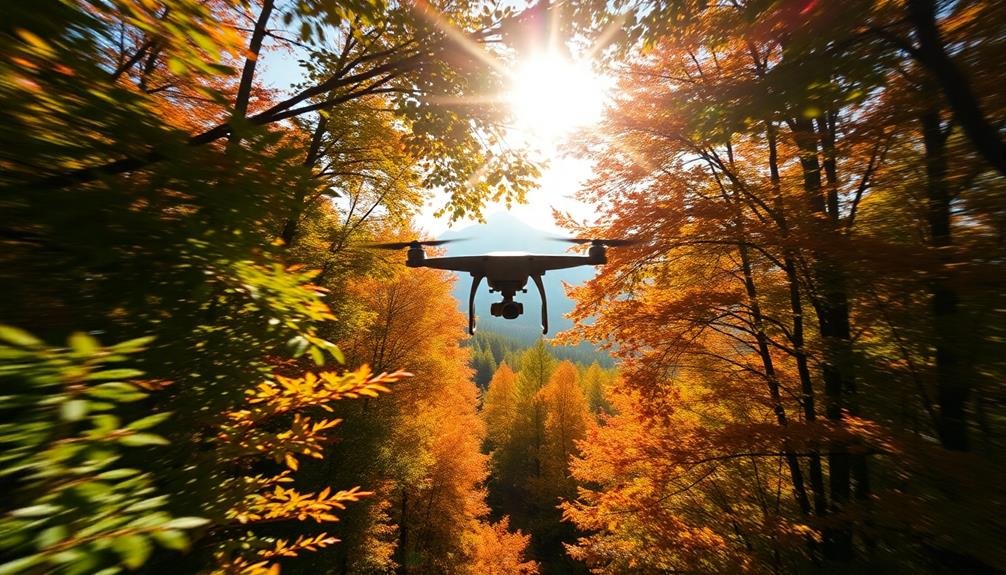
Scouting your location before a drone flythrough is essential for success. You'll want to visit the site in person to identify potential obstacles, hazards, and points of interest. Walk the area, taking note of trees, power lines, and buildings that could interfere with your flight path. Look for unique features or angles that will make your footage stand out.
During your scouting trip, consider the time of day and lighting conditions. The golden hours just after sunrise or before sunset often provide the most flattering light for aerial shots. Don't forget to check local regulations and obtain any necessary permits for flying in the area.
Use this checklist to guarantee you've covered all bases during your scouting mission:
| Scouting Element | Considerations | Action Items |
|---|---|---|
| Physical Obstacles | Trees, buildings, wires | Map out safe flight paths |
| Lighting Conditions | Time of day, shadows | Plan ideal shooting times |
| Legal Requirements | No-fly zones, permits | Obtain necessary clearances |
Storyboarding Your Shots
A well-crafted storyboard serves as your flight plan's blueprint, ensuring your drone flythrough captures all the essential shots.
Begin by sketching out key scenes and shifts, considering the most impactful angles and movements. Visualize how each shot will flow into the next, creating a cohesive narrative for your viewers.
As you plan, think about the specific drone maneuvers you'll need to execute. Include slow reveal shots, orbits around focal points, and dramatic ascents or descents.
Don't forget to incorporate establishing shots that give context to your location. Mark potential obstacles or challenging areas on your storyboard, so you're prepared when it's time to fly.
Consider the timing of each shot, ensuring you have enough footage for smooth editing later. Plan for both wide, sweeping shots and tighter, more detailed views.
If you're showcasing a property or landscape, map out a logical progression that guides the viewer through the space.
Altitude and Speed Considerations
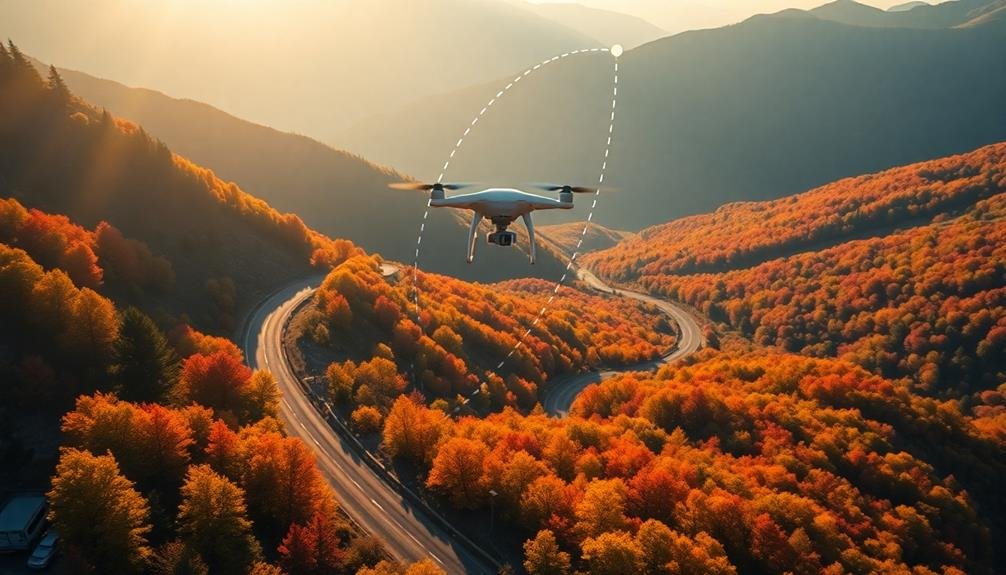
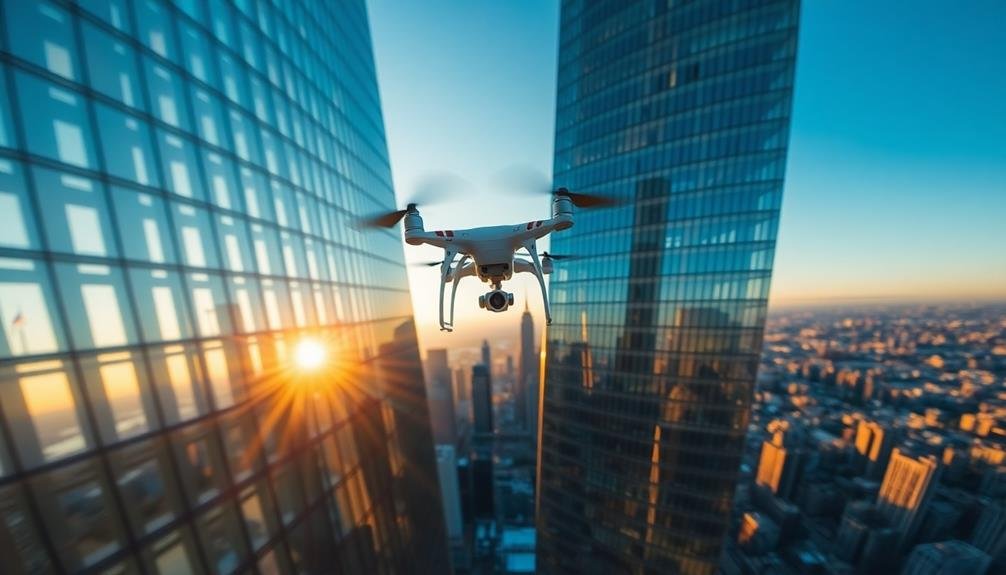
When planning your flight path, mastering altitude and speed is essential for capturing stunning drone flythroughs. You'll need to evaluate the terrain, obstacles, and desired perspective to determine the ideal altitude for your shots. Lower altitudes can create a more immersive experience, while higher altitudes offer broader views and smoother movements.
Speed is equally vital. Slower speeds allow for more detailed shots and easier obstacle avoidance, while faster speeds can create a sense of excitement and dynamism. You'll want to vary your speed throughout the flythrough to maintain viewer interest and emphasize key moments.
Here's a quick guide to help you choose the right altitude and speed for different scenarios:
| Scenario | Altitude | Speed |
|---|---|---|
| Urban landscapes | 100-300 ft | Medium |
| Natural vistas | 200-400 ft | Slow-Medium |
| Action sequences | 50-150 ft | Fast |
Remember to practice your flight path multiple times before recording. This will help you refine your altitude and speed choices, ensuring smooth changes and compelling visuals. Always prioritize safety and adhere to local regulations when determining your flight parameters.
Optimal Camera Settings
Dialing in the right camera settings can make or break your drone flythrough footage. You'll want to strike a balance between exposure, frame rate, and resolution to achieve that cinematic look.
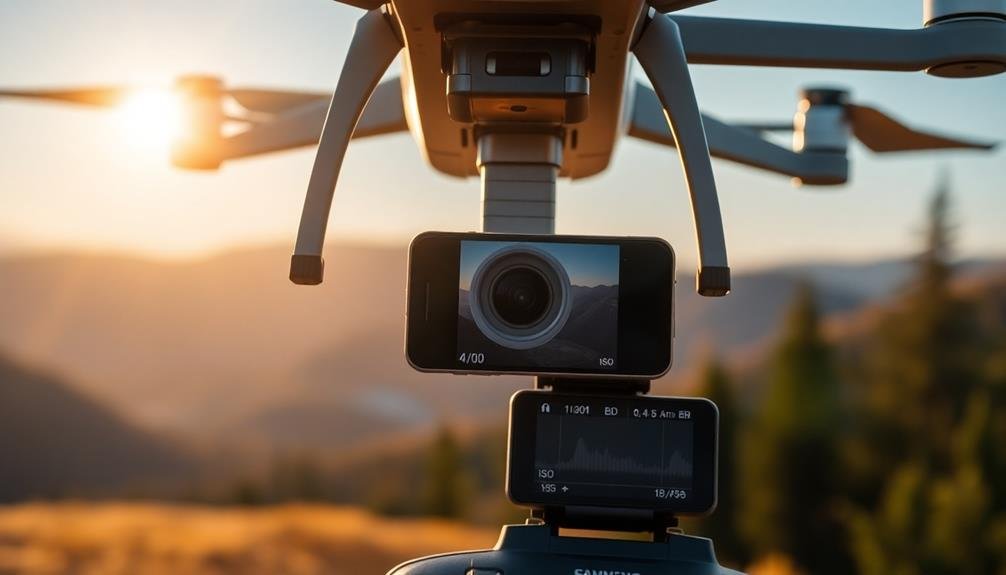
Start by setting your frame rate to 24 or 30 fps for a film-like appearance. Choose a shutter speed that's double your frame rate (e.g., 1/48 or 1/60) to capture natural motion blur. For exposure, aim for a slightly underexposed image to preserve highlights and add depth.
When it comes to resolution, 4K is ideal for maximum detail and flexibility in post-production. Set your ISO as low as possible to minimize noise, typically 100 or 200. Use a flat color profile like D-Log or Cine-like D to capture more dynamic range and give you greater control in color grading.
Here are five key camera settings to optimize for your drone flythrough:
- Frame rate: 24 or 30 fps
- Shutter speed: Double your frame rate
- Resolution: 4K for maximum detail
- ISO: As low as possible (100-200)
- Color profile: Flat (D-Log or Cine-like D)
Remember to adjust these settings based on lighting conditions and your creative vision.
Practice and experimentation will help you find the perfect combination for your unique drone flythrough shots.
Utilizing Natural Lighting
When planning your drone flythrough, don't overlook the power of natural lighting to enhance your shots.
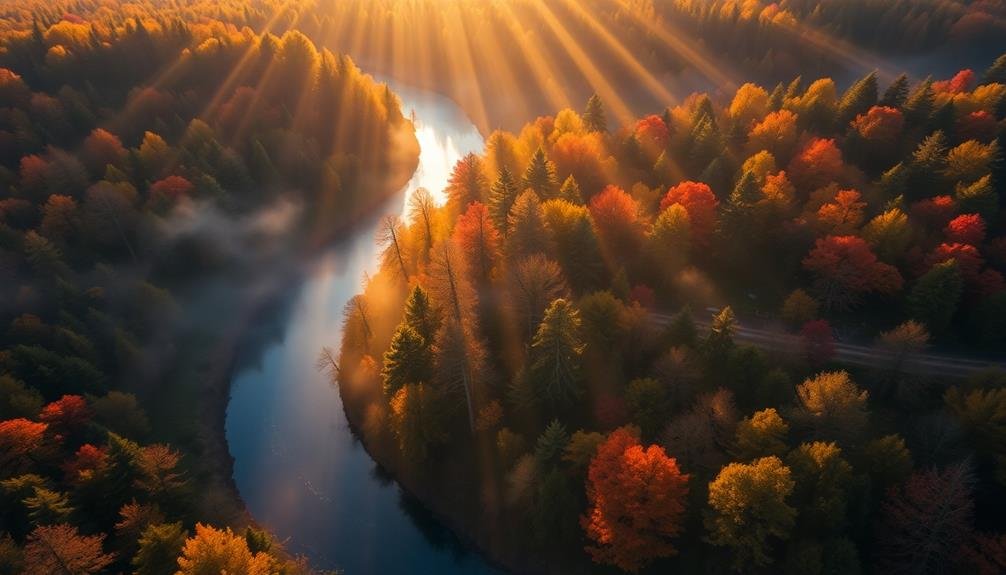
You'll capture stunning footage during the golden hour, just after sunrise or before sunset, when the soft, warm light bathes your subject in a magical glow.
Use shadows to add depth and dimension to your scenes, and experiment with backlighting to create dramatic silhouettes and eye-catching contrast.
Golden Hour Magic
To capture the most breathtaking drone footage, you'll want to harness the power of golden hour lighting. This magical time occurs shortly after sunrise or before sunset when the sun is low on the horizon, casting a warm, golden glow across the landscape.
It's during these brief windows that you can create stunning, cinematic shots with your drone.
Golden hour light offers softer shadows, enhanced colors, and a dreamy atmosphere that can transform ordinary scenes into extraordinary visuals. To make the most of this fleeting opportunity, plan your flights in advance.
Scout locations, check sunrise and sunset times, and arrive early to set up your equipment.
When shooting during golden hour, consider these tips:
- Use the long shadows to add depth and texture to your shots
- Experiment with backlighting to create silhouettes and rim lighting
- Capture lens flares for added drama and atmosphere
- Adjust your camera settings to properly expose for the warm tones
- Incorporate reflections on water surfaces for stunning effects
Shadows for Depth
Natural lighting is your secret weapon for creating depth in drone footage. When you're planning your flythrough, pay attention to the position of the sun and how it casts shadows across the landscape. These shadows can add dimension and texture to your shots, making them more visually interesting and immersive.
Look for long shadows during early morning or late afternoon hours. They'll stretch across the terrain, creating lines that lead the viewer's eye through the frame. You can use these shadow patterns to guide your flight path, following them to reveal new elements in your scene.
Don't shy away from areas of contrast. Fly from shadowed areas into sunlit spaces to create dramatic reveals. This shift can add a sense of movement and progression to your footage.
Remember that shadows change throughout the day. Scout your location at different times to find the best lighting conditions for your desired effect. You might discover that a seemingly ordinary scene transforms into something extraordinary when the shadows fall just right.
Experiment with backlighting, too. Flying towards the sun can create striking silhouettes and rim lighting effects that add depth and drama to your shots.
Backlighting Dramatic Scenes
Ever wondered how to make your drone footage truly cinematic? Backlighting is your secret weapon. By positioning your drone with the sun behind your subject, you'll create striking silhouettes and dramatic contrast. This technique works best during golden hour, just after sunrise or before sunset, when the light is soft and warm.
To master backlighting with your drone:
- Scout locations in advance to plan your shot
- Adjust your camera settings for high contrast scenes
- Use ND filters to control exposure and maintain shutter speed
- Experiment with different angles to find the perfect balance
- Practice smooth, slow movements to enhance the cinematic effect
When executing a backlit shot, keep your drone's shadow out of frame. Fly higher or adjust your angle if necessary. Remember, the goal is to create depth and atmosphere.
As you capture your subject in silhouette, pay attention to the background. Look for interesting cloud formations or landscapes that complement your foreground elements. Don't be afraid to slightly underexpose your shot to emphasize the backlit effect.
In post-production, you can fine-tune contrast and color to really make your backlit footage pop.
Perfecting Speed and Pacing

Mastering speed and pacing is essential for creating compelling drone flythrough videos. You'll need to vary your drone's speed throughout the shot to maintain viewer interest and highlight key elements. Start slow to establish the scene, then gradually increase speed as you move through the space. Slow down again when approaching points of interest or intricate details.
Consider using different flight modes to achieve diverse pacing effects:
| Flight Mode | Speed | Best Used For |
|---|---|---|
| Cinematic | Slow | Establishing shots |
| Sport | Fast | Dynamic changes |
| Tripod | Very slow | Detailed close-ups |
| Normal | Moderate | General flying |
| Manual | Variable | Custom maneuvers |
Practice smooth acceleration and deceleration to avoid jarring changes. Use your drone's intelligent flight modes, like Point of Interest or ActiveTrack, to maintain consistent pacing around subjects. Remember, pacing isn't just about speed—it's also about rhythm and flow. Combine different shot types, angles, and speeds to create a dynamic and engaging flythrough. Edit your footage strategically, cutting between slower and faster segments to build tension and release. By mastering speed and pacing, you'll elevate your drone flythroughs from ordinary to extraordinary.
Obstacle Avoidance Techniques
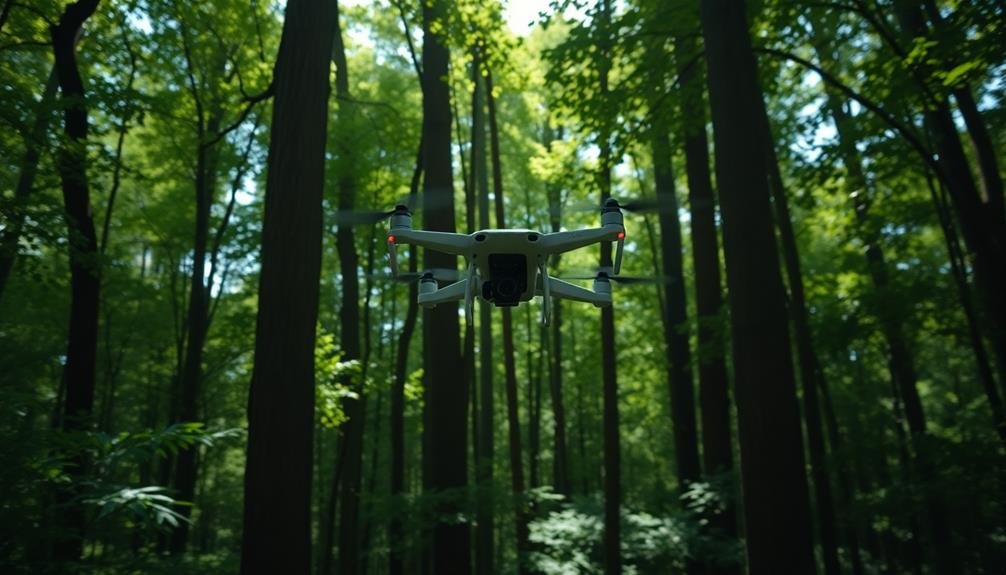
Safety is paramount when flying drones, and obstacle avoidance is a critical skill for any pilot. To master this technique, you'll need to combine visual awareness, spatial understanding, and quick reflexes.
Start by familiarizing yourself with your drone's built-in obstacle avoidance sensors and their limitations. Practice flying in open spaces before attempting more challenging environments.
When steering around obstacles, maintain a safe distance and always have an escape route planned. Use your drone's camera feed to scan the area ahead, looking for potential hazards like trees, buildings, or power lines. Adjust your speed and altitude as needed to safely maneuver around obstacles.
Here are five essential obstacle avoidance techniques to improve your drone piloting skills:
- Fly high: Increase altitude to avoid low-lying obstacles
- Use pre-flight planning: Map out your route and identify potential hazards
- Master precision movements: Practice slow, controlled maneuvers
- Utilize return-to-home function: Set a safe home point for emergency situations
- Learn object tracking: Use your drone's intelligent flight modes for smoother steering
Advanced Maneuvers for Dramatic Effect
Once you've honed your obstacle avoidance skills, it's time to explore advanced maneuvers that'll make your drone footage truly mesmerizing. These techniques will elevate your shots from ordinary to extraordinary, enchanting your audience with dynamic movements and unique perspectives.
Master these advanced maneuvers to add drama and flair to your drone flythrough:
| Maneuver | Effect | Difficulty |
|---|---|---|
| Orbit | Circular motion around subject | Moderate |
| Reveal | Dramatic disclosure of scenery | Easy |
| Dolly Zoom | Perspective-altering illusion | Advanced |
Start with the orbit maneuver, flying your drone in a perfect circle around your subject. This technique creates a sense of depth and dimension. Next, try the reveal maneuver by starting behind an object and slowly ascending or moving sideways to disclose the scene. For a more challenging move, attempt the dolly zoom, which involves flying towards or away from your subject while adjusting the zoom simultaneously. This creates a disorienting yet mesmerizing effect that'll leave viewers in awe.
Practice these maneuvers regularly, and you'll soon be producing cinematic drone footage that rivals professional productions.
Post-Processing for Cinematic Look

The final step in creating stunning drone flythroughs is post-processing your footage for a cinematic look. You'll need to fine-tune your raw footage to achieve that professional, cinematic quality.
Start by color grading your shots to enhance the mood and atmosphere. Adjust the exposure, contrast, and saturation to create a cohesive look across all your clips. Don't forget to add subtle visual effects like lens flares or light leaks to give your footage a more filmic appearance.
Pay attention to your editing techniques. Use smooth shifts between shots and consider adding speed ramping to create dynamic pacing. Sound design is essential too; add ambient noise, music, and sound effects to enhance the viewer's experience.
Here are some key post-processing tips to remember:
- Use LUTs (Look-Up Tables) for consistent color grading
- Add motion blur for smoother movement
- Stabilize shaky footage in post-production
- Crop to cinematic aspect ratios (e.g., 2.35:1)
- Apply subtle vignettes to draw focus to the center of the frame
With these post-processing techniques, you'll transform your raw drone footage into enchanting, cinematic flythroughs that will impress your audience and elevate your visual storytelling.
Legal Considerations and Safety

While creating stunning drone flythroughs is exciting, it's crucial to understand and adhere to legal requirements and safety protocols. Before you fly, register your drone with the FAA if it weighs over 0.55 pounds. Familiarize yourself with local regulations, as rules can vary by location. Always maintain visual line of sight with your drone and fly below 400 feet.
Respect privacy and property rights. Don't fly over private property without permission or capture footage of people without consent. Be aware of no-fly zones, such as airports, military bases, and national parks. Use apps like B4UFLY to check airspace restrictions before each flight.
Prioritize safety by conducting pre-flight checks, monitoring weather conditions, and avoiding obstacles. Never fly under the influence of drugs or alcohol. Consider obtaining drone insurance to protect yourself from potential liability.
If you're planning to use your footage commercially, you'll need to obtain a Part 107 certification from the FAA. This involves passing a knowledge test and adhering to additional regulations.
Stay informed about changing laws and always fly responsibly to guarantee the safety of others and the future of drone cinematography.
Frequently Asked Questions
How Do Weather Conditions Affect Drone Flythrough Shots?
Weather conditions greatly impact your drone flythrough shots. Wind can destabilize your drone, while rain or snow can damage it. Sunlight affects exposure, and fog or clouds alter visibility. You'll need to adapt your settings and flying technique accordingly.
What's the Best Drone Model for Cinematic Flythrough Videos?
You'll find the DJI Mavic 3 Cine is excellent for cinematic flythroughs. It's got a Hasselblad camera, long flight time, and obstacle avoidance. For budget-friendly options, consider the DJI Air 2S or Autel EVO Lite+.
How Can I Minimize Propeller Noise in Flythrough Footage?
You can minimize propeller noise by using quieter propellers, flying at lower speeds, and increasing your altitude. Don't forget to adjust your camera settings, use a wind muff, and consider post-production noise reduction techniques for cleaner audio.
Are There Specific Editing Software Recommendations for Drone Flythrough Videos?
You'll find Adobe Premiere Pro and DaVinci Resolve excellent for editing drone flythrough videos. They offer powerful tools for color grading, stabilization, and smooth shifts. Final Cut Pro X is great if you're a Mac user.
How Do I Create Seamless Transitions Between Multiple Flythrough Shots?
To create seamless shifts, you'll want to match your shots' speed and direction. Use motion blur, cross-dissolves, and wipes between clips. Plan your shots to end and begin with similar compositions for smoother flow.
In Summary
You've now got the tools to create stunning drone flythroughs. Remember, practice makes perfect. Keep honing your skills, experimenting with new techniques, and pushing your creative boundaries. Don't forget to prioritize safety and legal compliance. With these pro tips in your arsenal, you'll be capturing cinematic shots that'll wow your audience. So grab your drone, head outside, and start creating those breathtaking aerial masterpieces. The sky's the limit!
As educators and advocates for responsible drone use, we’re committed to sharing our knowledge and expertise with aspiring aerial photographers.


Leave a Reply