To master epic aerial pans, you'll need to grasp fundamental techniques and invest in quality equipment. Start by understanding the basics of smooth camera rotation during flight and consistent speed control. Choose a drone with advanced stabilization and 4K video capabilities. Pre-flight planning is essential; scout locations, check weather conditions, and plan your flight path. Practice various speeds and altitudes to create dynamic shots, and don't forget to take into account lighting for ideal results. Post-processing can enhance your footage, but avoid common mistakes like overly fast panning. By honing these skills, you'll reveal the secrets to creating breathtaking aerial cinematography that mesmerizes viewers.
Key Takeaways
- Master consistent speed and trajectory for effective aerial pans, adjusting pan speed to match the subject.
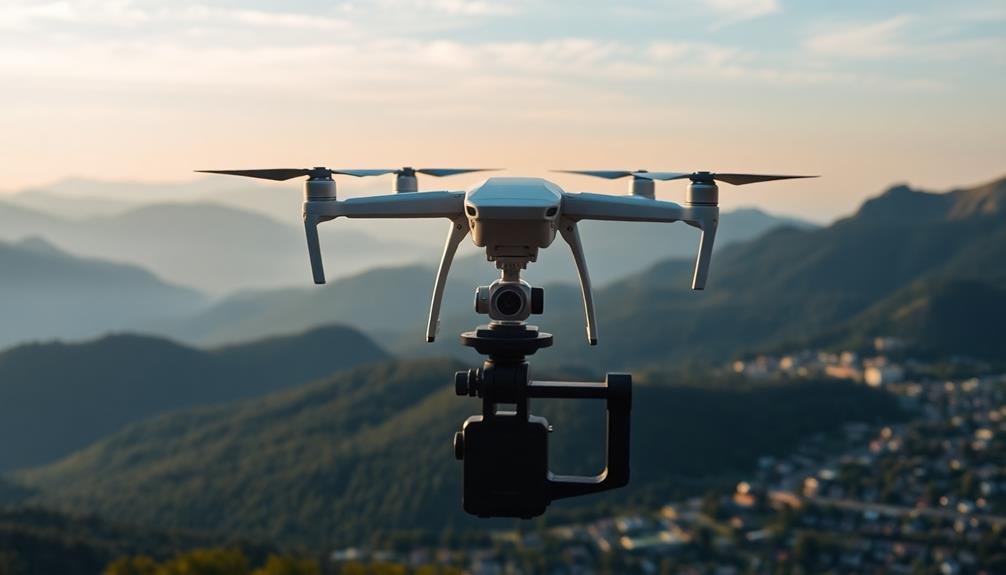
- Utilize high-quality camera drones with advanced gimbal systems and obstacle avoidance for smooth, stable footage.
- Conduct thorough location scouting to identify focal points, assess elevation changes, and plan optimal shooting times.
- Combine panning with other movements like tilt, altitude changes, or orbiting to create visually stunning and dynamic shots.
- Practice smooth yaw techniques, focusing on gradual acceleration and deceleration while compensating for wind effects.
Understanding Aerial Panning Fundamentals

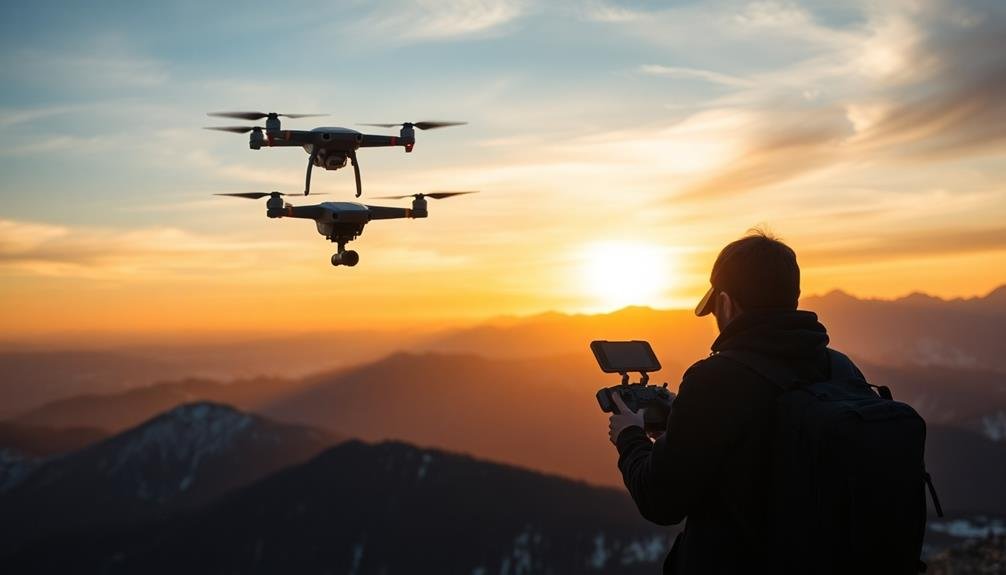
To master epic aerial pans, you'll need to grasp the core principles that make them work. Aerial panning involves smoothly rotating your drone's camera while in flight, creating a dynamic sweeping motion that captures expansive landscapes or detailed scenes. The key lies in maintaining a consistent speed and trajectory throughout the movement.
Start by understanding your drone's controls and capabilities. Practice adjusting the pan speed to match your subject and desired effect. Slower pans work well for grand, majestic scenes, while faster pans can add energy to action shots.
Pay attention to your drone's altitude and distance from the subject, as these factors considerably impact the pan's visual impact. Consider the rule of thirds when framing your shot, and use leading lines to guide the viewer's eye through the frame.
Experiment with different angles and heights to find the most compelling perspective. Remember to account for wind conditions, as they can affect your drone's stability and the smoothness of your pan.
Essential Drone Equipment
To capture stunning aerial pans, you'll need the right equipment.
Start with a high-quality camera drone that offers stable flight and excellent image quality.
Don't forget a reliable remote controller for precise maneuvers, and pack extra batteries to extend your shooting time in the field.
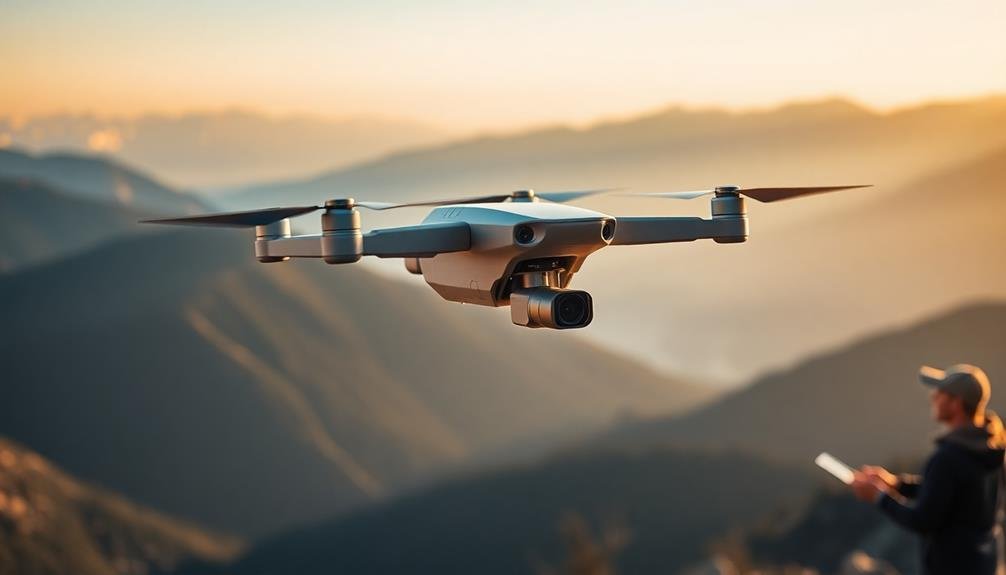
High-Quality Camera Drones
A high-quality camera drone is the foundation of any aerial cinematographer's toolkit. When selecting your drone, prioritize models with excellent camera specifications, including high resolution, adjustable frame rates, and RAW shooting capabilities.
Look for drones with at least 4K video resolution and 12MP+ still image quality to guarantee your footage remains crisp and detailed.
Consider the drone's flight time, as longer battery life allows for extended shooting sessions and more complex shots. Opt for models with at least 25-30 minutes of flight time per battery.
Stability is essential for smooth aerial pans, so choose drones with advanced gimbal systems and multiple flight modes.
Pay attention to the drone's obstacle avoidance technology and GPS capabilities, which enhance safety and enable precise flight control. Some high-end models offer features like waypoint flying and intelligent tracking modes, which can help you achieve more sophisticated shots.
Don't overlook the importance of portability. Compact, foldable drones are easier to transport and set up quickly on location.
Remote Controllers
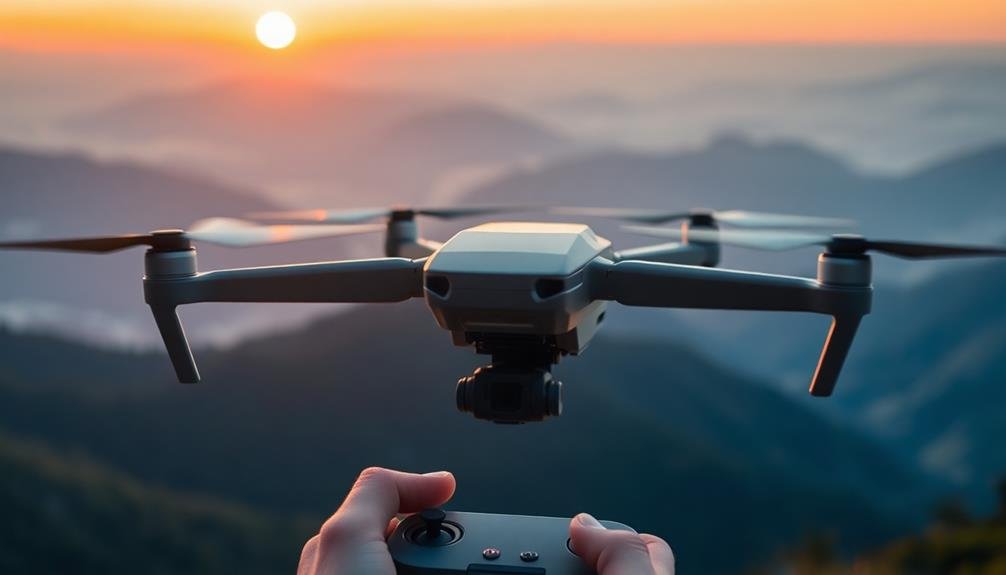
While a high-quality drone forms the backbone of your aerial cinematography setup, you'll need a reliable remote controller to harness its full potential. Modern remote controllers offer precise control over your drone's movements, camera settings, and flight modes.
Look for controllers with ergonomic designs, long-range transmission capabilities, and intuitive interfaces. Key features to take into account include dual-stick controls for smooth flight maneuvers, customizable buttons for quick access to essential functions, and built-in screens for real-time video feedback.
Some advanced controllers even offer haptic feedback, providing tactile cues during flight. Pay attention to the controller's transmission technology. Many high-end models use OcuSync or similar systems, offering low-latency, long-range communication with your drone.
This is vital for maintaining control and receiving high-quality video feeds during complex aerial pans. Battery life is another important factor. Opt for controllers with long-lasting batteries to guarantee uninterrupted filming sessions.
Additionally, think about controllers with smartphone integration, allowing you to access advanced flight planning features and telemetry data directly on your mobile device. This seamless integration can greatly enhance your aerial cinematography workflow and shot planning capabilities.
Extra Batteries
Power is the lifeblood of aerial cinematography. When you're out in the field capturing epic aerial pans, you can't afford to run out of juice. That's why extra batteries are an essential part of your drone equipment kit. Always pack more batteries than you think you'll need, as unexpected factors like wind resistance and multiple takes can drain power quickly.
To make the most of your extra batteries:
- Invest in high-quality, manufacturer-approved batteries for peak performance and safety.
- Label your batteries and rotate their use to guarantee even wear and longevity.
- Store batteries at around 50% charge in a cool, dry place when not in use.
- Use a multi-battery charger to efficiently power up all your spares simultaneously.
Remember to check airline regulations if you're traveling with your drone, as there are often restrictions on the number and capacity of lithium-ion batteries you can carry.
Pre-Flight Planning and Preparation
Before you take to the skies for your epic aerial pan, you'll need to thoroughly scout your location and assess potential challenges.
Next, prepare a detailed equipment checklist and test all your gear to guarantee everything functions correctly.
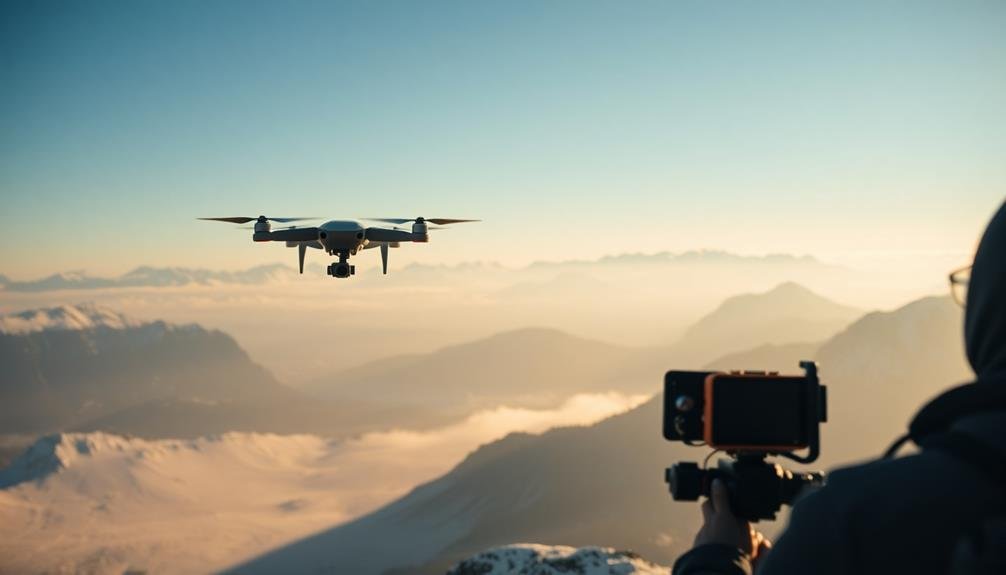
Location Scouting and Assessment
The foundation of a successful epic aerial pan begins with thorough location scouting and evaluation. You'll need to visit potential filming sites in person to gauge their suitability for your aerial shots.
During your visit, pay close attention to the landscape, obstacles, and lighting conditions. Consider how these elements will affect your drone's flight path and the overall visual impact of your pan.
As you scout locations, keep these key factors in mind:
- Elevation changes: Look for areas with varying heights to add depth and interest to your pan.
- Natural or man-made landmarks: Identify distinctive features that can serve as focal points in your shot.
- Potential hazards: Note any power lines, trees, or structures that could interfere with your drone's flight.
- Sun position: Determine the best time of day to shoot based on lighting conditions and shadows.
Don't forget to check local regulations and obtain necessary permits for drone flights in your chosen location.
Equipment Checklist and Testing
Preparation is key to capturing breathtaking aerial pans. Before you take flight, verify you have all the necessary equipment and that it's in perfect working order. Create an extensive checklist to avoid forgetting vital items. Your list should include:
| Equipment | Pre-flight Check |
|---|---|
| Drone | Battery charged |
| Camera | Settings adjusted |
| ND filters | Clean and secure |
| Spare batteries | Fully charged |
| Memory cards | Formatted |
Once you've gathered your gear, conduct thorough testing. Power up your drone and camera, checking for firmware updates and proper functionality. Test your camera settings, confirming they're optimized for the lighting conditions and desired effect. Practice your planned movements in a safe area to refine your technique and identify any potential issues.
Don't forget to check weather conditions one last time before heading out. Wind speed and direction can greatly impact your aerial pans, so be prepared to adjust your flight plan if necessary. By meticulously preparing your equipment and testing everything beforehand, you'll maximize your chances of capturing those epic aerial shots you're aiming for.
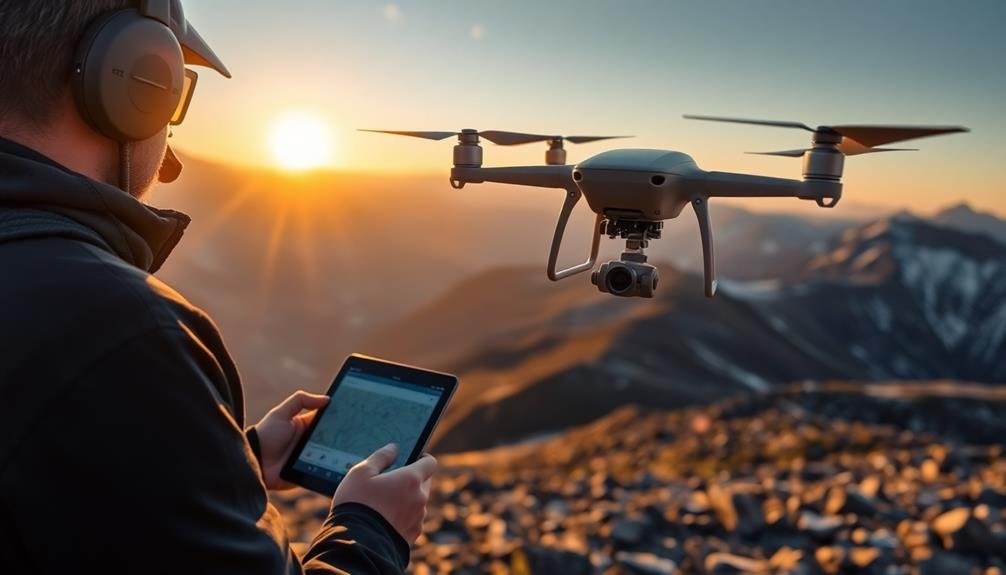
Flight Path and Timing
Carefully planning out your flight path and timing is vital for achieving stunning aerial pans. Before taking off, scout your location and visualize the exact path your drone will follow. Consider obstacles, wind conditions, and the sun's position to guarantee ideal lighting throughout your shot.
Determine the perfect speed for your pan, keeping in mind that slower movements often yield more cinematic results.
To create a smooth and professional aerial pan:
- Set your starting point and end point, making sure they're within your drone's range and legal flying limits.
- Practice the flight path several times without recording to perfect your timing and movements.
- Use GPS waypoints if your drone supports them, allowing for more precise and repeatable flights.
- Adjust your camera settings to match the lighting conditions and desired effect, such as using ND filters for smoother motion blur.
Remember to factor in your drone's battery life when planning your flight. It's essential to have enough power for multiple takes and a safe return.
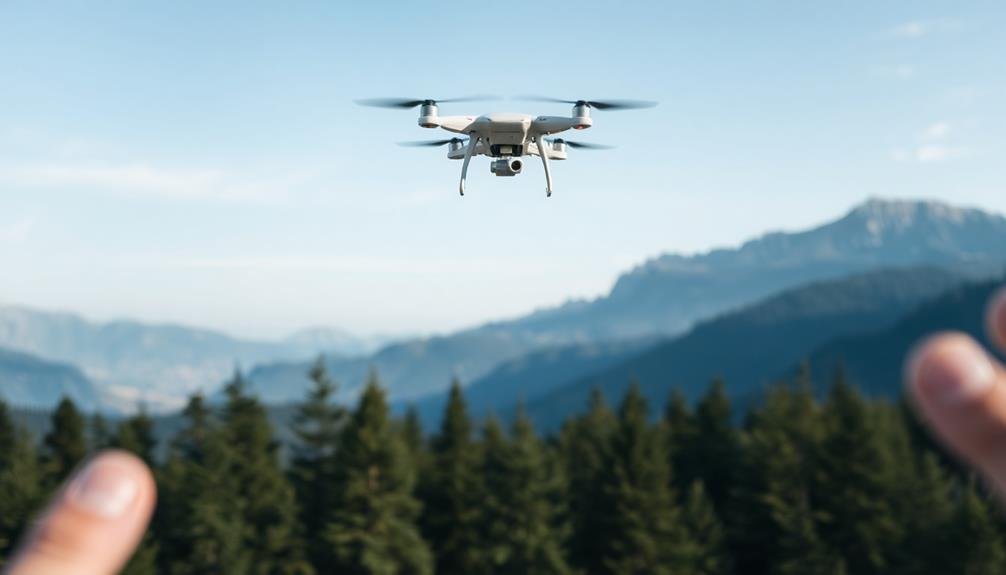
Mastering Speed Control
Mastering speed control is arguably the most crucial aspect of executing epic aerial pans. You'll need to strike a balance between movement that's too slow, which can bore viewers, and motion that's too fast, which can disorient them.
Start by practicing with your drone's various speed settings, getting a feel for how each affects your footage.
When executing your pan, aim for a smooth, consistent speed throughout the shot. Gradual acceleration and deceleration at the beginning and end of your pan will create a more polished look. Use your drone's gimbal to maintain a steady frame while adjusting speed.
Consider the subject matter when determining your pan speed. Slower speeds work well for expansive landscapes, allowing viewers to absorb details. Faster pans can add excitement to action sequences or reveal dramatic scene changes.
Always match your speed to the story you're telling.
Altitude Considerations for Panning
Altitude plays a pivotal role in crafting epic aerial pans. When planning your shot, consider how different heights can dramatically affect the visual impact and storytelling potential of your pan. Lower altitudes offer more intimate, detailed views of your subject, while higher altitudes provide sweeping, grandiose perspectives.
To make the most of altitude in your aerial pans:
- Experiment with varying heights to find the sweet spot for your specific shot.
- Use lower altitudes for revealing intricate details or creating a sense of intimacy.
- Opt for higher altitudes to showcase vast landscapes or establish a scene's context.
- Consider changing altitude during the pan for added dynamism.
Remember that altitude affects more than just perspective. It can influence your drone's stability, battery life, and legal restrictions. Always check local regulations regarding maximum flying heights.
Additionally, be aware of how altitude impacts your camera settings. You may need to adjust your focus, exposure, and stabilization as you change heights.
Smooth Yaw Techniques
To achieve smooth yaw movements in your aerial pans, focus on gradual acceleration and deceleration of your drone's rotation.
Maintain a consistent rotation speed throughout the pan to create a professional, cinematic look.
Remember to counterbalance wind effects by adjusting your drone's position and speed, ensuring your panning motion remains steady and controlled.
Gradual Acceleration and Deceleration
When it comes to smooth yaw techniques, gradual acceleration and deceleration are key to achieving seamless aerial pans. You'll want to master these skills to create cinematic shots that captivate your audience.
Start by practicing gentle movements, gradually increasing your drone's speed as you begin the pan, and slowly decreasing it as you approach the end point.
To perfect your gradual acceleration and deceleration:
- Set a clear start and end point for your pan
- Begin with a slow, controlled movement
- Gradually increase speed to your desired pace
- Slowly decelerate as you approach the end point
Remember that smooth shifts are essential for professional-looking footage. Avoid abrupt starts or stops, as they can jar viewers and detract from the overall visual experience.
Instead, aim for a fluid motion that seamlessly blends the beginning, middle, and end of your pan.
Practice these techniques regularly, and you'll soon develop an intuitive feel for the right speed and timing. As you become more comfortable with gradual acceleration and deceleration, you'll be able to execute complex aerial pans with confidence, elevating your drone cinematography to new heights.
Consistent Rotation Speed
Maintaining a consistent rotation speed is essential for nailing smooth yaw techniques in aerial pans. To achieve this, you'll need to master your drone's controls and develop a keen sense of timing. Start by practicing at a slow, steady pace, gradually increasing your speed as you become more comfortable.
Use your drone's gimbal to keep the camera level while you rotate. This will guarantee your horizon stays straight throughout the pan. If your drone has adjustable yaw speed settings, experiment with different options to find the one that gives you the most control.
Pay attention to your environment and any obstacles that might affect your rotation. Wind can be particularly challenging, so compensate for it by adjusting your drone's position and speed.
You'll also want to take into account the focal length of your lens; wider angles are more forgiving for maintaining smooth rotations.
When executing the pan, focus on a fixed point in the distance to guide your movement. This will help you maintain a consistent speed and direction.
Counterbalancing Wind Effects
Wind poses a significant challenge for smooth yaw techniques in aerial pans. To counterbalance its effects and maintain that epic cinematic look, you'll need to master a few key strategies.
First, always check weather conditions before your shoot and plan accordingly. If possible, schedule your aerial pans during calmer parts of the day, typically early morning or late evening.
When you're up in the air, focus on these four techniques to combat wind interference:
- Use your drone's wind resistance mode if available
- Adjust your yaw speed to compensate for wind direction
- Fly backwards into the wind for smoother movements
- Increase altitude to find more stable air currents
Don't forget to practice these techniques in various wind conditions to hone your skills.
You'll also want to invest in a drone with powerful motors and a robust stabilization system.
Combining Pan With Other Movements
The true magic of aerial cinematography emerges when you combine panning with other camera movements.
By layering multiple movements, you'll create dynamic and visually stunning shots that captivate your audience.
Start with a simple pan-and-tilt combination. As you pan horizontally, gradually tilt the camera up or down to reveal more of the landscape.
This technique works wonders for showcasing vast landscapes or cityscapes.
Next, try combining panning with altitude changes. Ascend or descend while panning to add depth and perspective to your shot.
This works particularly well when shifting from ground-level to aerial views.
For more advanced moves, incorporate forward or backward motion with your pan.
This creates a sweeping effect that's perfect for revealing expansive vistas or following a subject through a scene.
Don't forget about orbiting. Circle around a focal point while panning to maintain focus on your subject.
This technique adds dimensionality and visual interest to stationary subjects.
Framing and Composition Tips
While mastering camera movements is important, your aerial shots will truly shine with proper framing and composition. When planning your epic aerial pans, consider the rule of thirds to create visually appealing shots. Divide your frame into a 3×3 grid and place key elements along these lines or at their intersections. This technique adds balance and interest to your footage.
Don't forget to leave room for movement in your frame. If you're panning to follow a subject, make sure there's enough space in the direction of motion. This prevents your subject from abruptly exiting the frame and maintains a smooth, professional look.
To elevate your aerial cinematography, keep these framing and composition tips in mind:
- Use leading lines to guide the viewer's eye through the frame
- Incorporate foreground elements to add depth and dimension
- Experiment with symmetry and patterns for visually striking shots
- Frame your subject with natural elements like trees or buildings
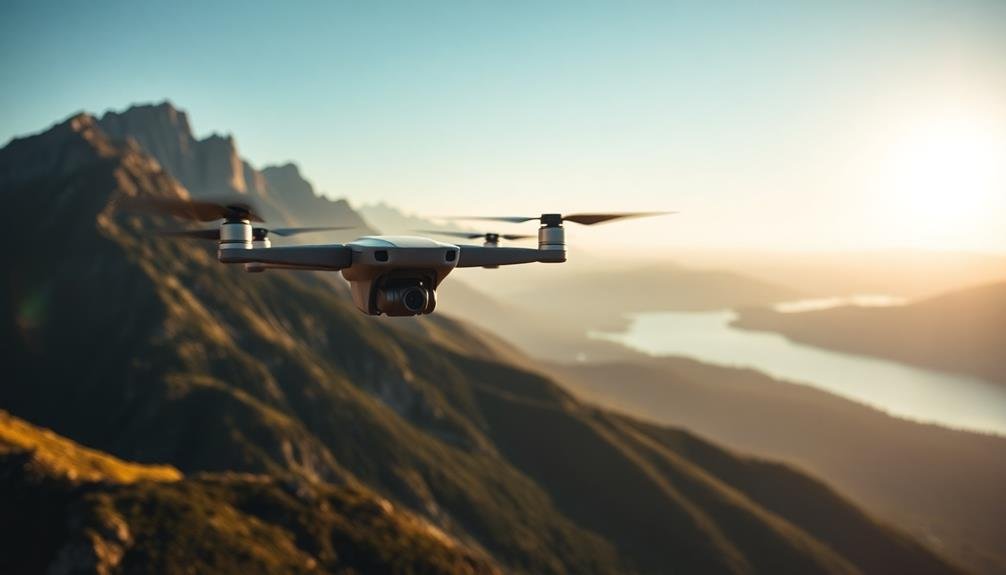
Lighting and Time of Day
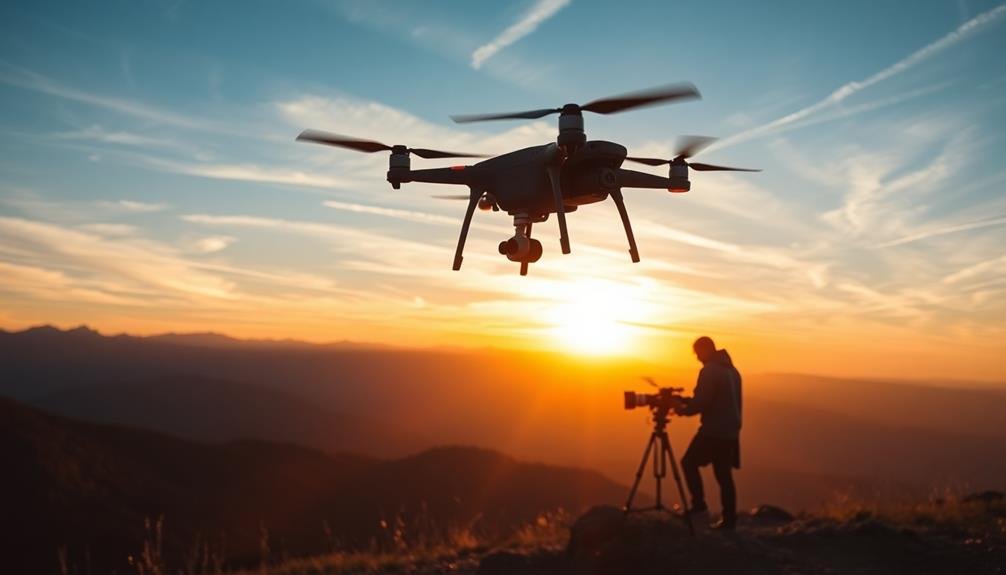
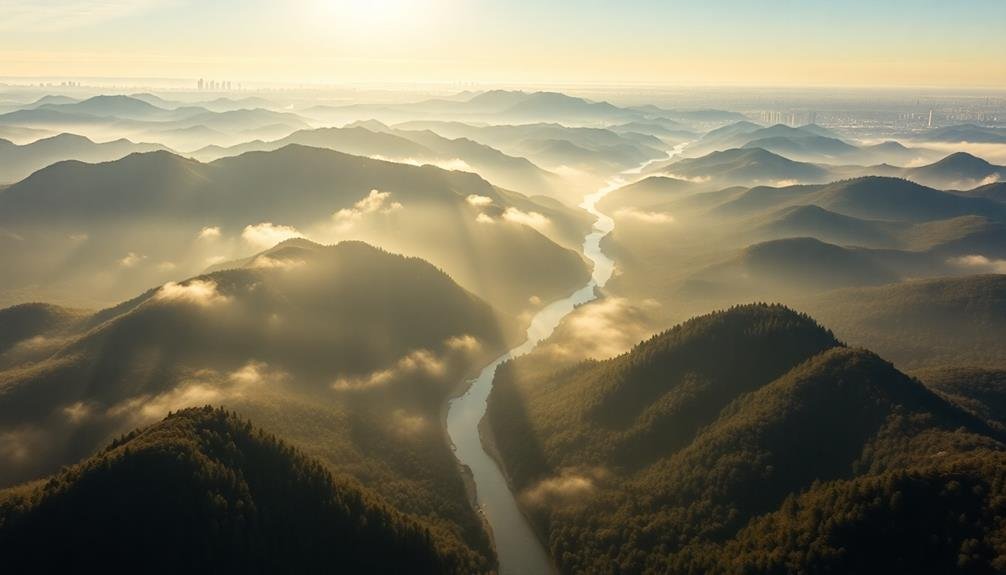
Lighting plays an essential role in capturing stunning aerial pans. To achieve the best results, you'll want to shoot during the golden hours: just after sunrise or before sunset. These times offer soft, warm light that adds depth and character to your shots. The low angle of the sun creates long shadows, enhancing texture and dimensionality in landscapes.
Midday light can be harsh and flatten your images, but it's ideal for capturing vibrant colors and minimizing shadows. If you're shooting in bright conditions, consider using neutral density filters to maintain control over your exposure settings.
Overcast days provide diffused light, perfect for even illumination and reducing harsh contrasts. They're great for shooting in forests or areas with varied elevations.
Don't overlook the potential of night shots. City lights, moonlit landscapes, or even star trails can create mesmerizing aerial pans. Use longer exposures and higher ISO settings, but be mindful of noise.
Always monitor your histogram to guarantee you're capturing the full dynamic range of the scene.
Experiment with different times of day and lighting conditions to discover unique moods and atmospheres for your aerial cinematography.
Weather Factors in Aerial Panning
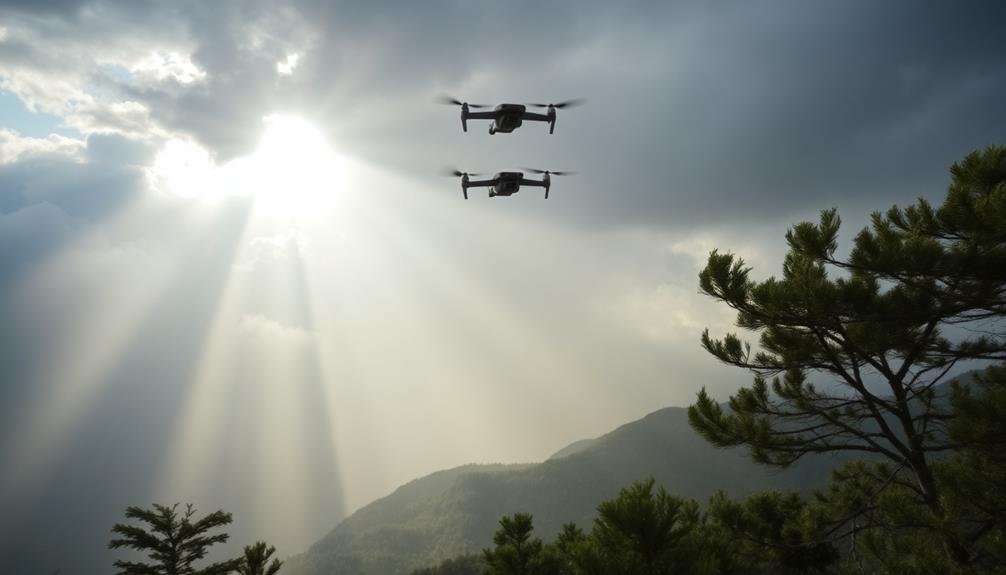
When planning your aerial pans, you'll need to contemplate essential weather factors that can impact your shot.
Wind speed and direction will affect your drone's stability and flight path, potentially causing unwanted movement in your panning shots.
Additionally, you'll face varying lighting conditions at altitude, which can change rapidly with cloud cover and atmospheric conditions, requiring quick adjustments to your camera settings.
Wind Effects on Drones
As you venture into the world of aerial panning, understanding wind effects on drones becomes essential for achieving smooth, professional-looking shots. Wind can notably impact your drone's stability, flight path, and battery life, ultimately affecting the quality of your aerial pans.
To master wind effects on your drone, consider these key factors:
- Wind speed and direction: Always check local weather reports before flying. Strong winds can make it challenging to maintain a steady flight path, while crosswinds can push your drone off course.
- Altitude variations: Wind speeds often increase at higher altitudes. Be prepared to adjust your flight plan accordingly, as panning at different heights may require varying degrees of compensation.
- Drone weight and size: Lighter drones are more susceptible to wind disturbances. If you're using a smaller drone, you may need to limit your flights to calmer conditions.
- Battery consumption: Flying against strong winds drains your drone's battery faster. Plan shorter flight times in windy conditions to guarantee you have enough power to complete your shots and return safely.
Lighting Challenges Aloft
The interplay of light and weather presents unique challenges for aerial photographers and videographers. When you're shooting from above, you'll encounter rapidly changing lighting conditions that can make or break your footage.
Cloud cover can shift unexpectedly, casting shadows or diffusing light across your subject. You'll need to be prepared to adjust your camera settings quickly to maintain proper exposure.
Harsh sunlight can create extreme contrast, especially during midday shoots. To combat this, try scheduling your flights during the golden hours of sunrise or sunset when the light is softer and more flattering.
You'll also want to pay attention to the direction of light relative to your subject and flight path. Backlit scenes can create stunning silhouettes, while side-lighting can add depth and texture to landscapes.
Atmospheric conditions like haze, fog, or mist can add mood to your shots but may also reduce visibility and contrast. You'll need to decide whether to embrace these elements or wait for clearer conditions.
Remember that altitude affects light intensity, so be prepared to adjust your settings as you change elevation during your flight.
Post-Processing Aerial Pan Footage
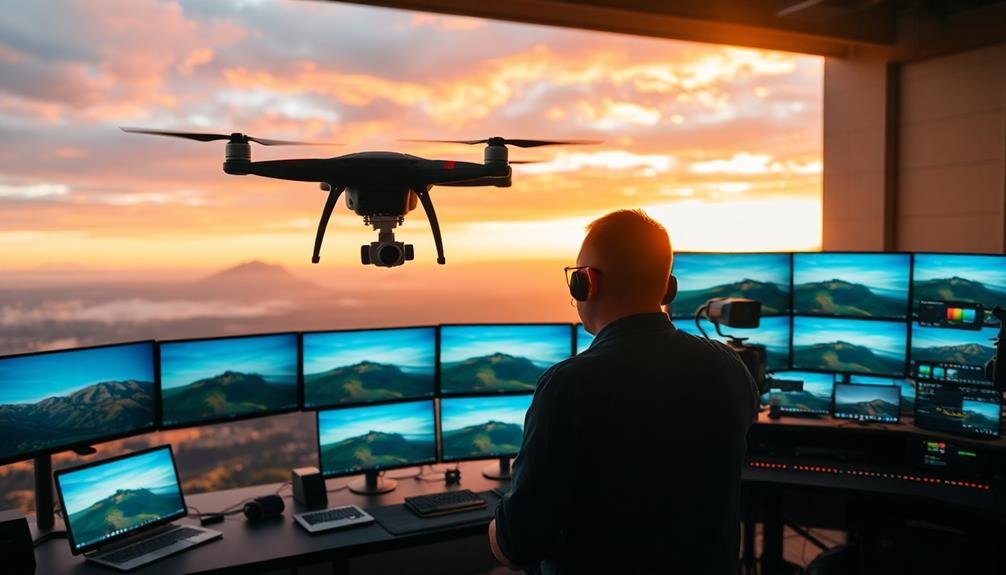
Polishing your aerial pan footage is the final step in creating stunning visual masterpieces. In post-processing, you'll enhance the raw footage to achieve the desired cinematic look.
Begin by importing your clips into your preferred editing software and organizing them on your timeline.
Color correction is vital for aerial pans. Adjust white balance, exposure, and contrast to guarantee consistency across all shots.
Apply color grading to create a specific mood or atmosphere that complements your narrative.
Stabilization is often necessary, even with gimbal-shot footage. Use your software's built-in stabilization tools or third-party plugins to smooth out any remaining shakes or jitters.
To elevate your aerial pans further, consider these advanced techniques:
- Add subtle camera movement in post to enhance the sense of motion
- Experiment with speed ramping to create dynamic shifts
- Apply lens flares or light leaks for added visual interest
- Use masking and tracking to insert elements or remove unwanted objects
Common Mistakes to Avoid
While mastering epic aerial pans can elevate your cinematography, it's crucial to steer clear of common pitfalls that could undermine your efforts. One frequent mistake is moving too fast during the pan, resulting in blurry footage and a disorienting viewer experience. Instead, maintain a slow, steady pace to capture smooth, cinematic shots.
Another error is neglecting proper camera settings. Verify you're using a high shutter speed to minimize motion blur, and adjust your aperture and ISO accordingly. Don't forget to lock your focus and exposure to prevent unwanted shifts during the pan.
Poor planning can also lead to subpar results. Always scout your location beforehand and plan your flight path to avoid obstacles and capture the best angles.
Failing to take into account lighting conditions is another oversight; harsh midday sun can create unflattering shadows and overexposed areas.
Lastly, don't ignore safety and legal regulations. Flying too close to people, buildings, or restricted areas can't only ruin your shot but also lead to serious consequences. Always prioritize safety and obtain necessary permits before filming.
Advanced Panning Maneuvers
Mastery of advanced panning maneuvers can take your aerial cinematography to new heights. These techniques require practice and precision but can result in breathtaking footage that'll captivate your audience.
To elevate your skills, focus on mastering these advanced panning maneuvers:
- Reveal pan: Start with your subject hidden behind an object, then slowly pan to reveal it. This creates suspense and visual interest.
- Parallax pan: Combine forward movement with a sideways pan to create a dynamic sense of depth and perspective.
- Orbit pan: Circle your subject while keeping it centered in the frame, gradually changing altitude for added dimension.
- Dolly zoom pan: Simultaneously zoom in while flying backward (or vice versa) to create a disorienting effect that alters the perceived distance between foreground and background.
When executing these maneuvers, maintain smooth control of your drone's movements. Use a gimbal to stabilize your camera and experiment with different speeds to achieve the desired effect.
Remember to plan your shots carefully, considering obstacles and wind conditions. Practice these techniques regularly, and you'll soon be creating cinematic masterpieces that rival Hollywood productions.
Legal and Safety Considerations
Before you take to the skies with your newfound panning skills, it's imperative to address the legal and safety aspects of drone operation. First, verify you're compliant with local and federal regulations. In the US, register your drone with the FAA and obtain the necessary certifications, such as the Part 107 license for commercial use.
Always fly within visual line of sight and below 400 feet altitude. Respect no-fly zones, including airports, military bases, and national parks. Be aware of airspace classifications and obtain proper authorizations when required.
Prioritize safety by conducting pre-flight checks, monitoring weather conditions, and avoiding populated areas. Keep your drone firmware updated and maintain your equipment regularly. Never fly under the influence of drugs or alcohol.
When planning epic aerial pans, scout locations in advance and obtain necessary permits. Be mindful of privacy concerns and avoid filming private property without permission. Use a spotter to help monitor your surroundings and potential obstacles.
Lastly, invest in drone insurance to protect yourself and your equipment. By adhering to these legal and safety considerations, you'll verify a responsible and professional approach to your aerial cinematography.
Frequently Asked Questions
How Do I Reduce Propeller Noise in Aerial Pan Footage?
To reduce propeller noise in aerial pan footage, you'll want to use balanced propellers, apply noise reduction filters in post-production, fly at lower speeds, and consider using a gimbal or stabilizer. You can also try adjusting your camera's microphone settings.
Can I Achieve Professional-Looking Pans With Entry-Level Consumer Drones?
You can achieve pro-looking pans with entry-level drones. Practice smooth movements, use slower speeds, and plan your shots. Experiment with different angles and heights. Post-processing can also enhance your footage's professional appearance.
What's the Best Way to Practice Aerial Panning Without Risking Equipment?
You can practice aerial panning safely by using flight simulators. They'll help you hone your skills without risking your drone. Start with virtual flights, mastering controls and movements before taking your real equipment to the skies.
How Do I Maintain Focus During Fast-Paced Aerial Pans?
To maintain focus during fast-paced aerial pans, you'll want to pre-focus on your subject, use a higher f-stop for increased depth of field, and practice smooth tracking movements. Don't forget to engage your camera's continuous autofocus mode.
Are There Specific Drone Models Known for Superior Panning Capabilities?
You'll find that DJI's Mavic and Inspire series excel at panning. The Autel EVO II Pro and Skydio 2+ also offer smooth pans. Remember, it's not just about the drone; your piloting skills greatly influence the results.
In Summary
You've now revealed the secrets to epic aerial pans. With practice, you'll master speed control, altitude, and advanced maneuvers. Don't forget to plan carefully, invest in quality equipment, and refine your footage in post-processing. Avoid common pitfalls and always prioritize safety and legal compliance. By applying these pro tips, you'll elevate your drone cinematography to new heights, capturing breathtaking aerial pans that'll wow your audience. Keep pushing your creative boundaries and enjoy the view from above!
As educators and advocates for responsible drone use, we’re committed to sharing our knowledge and expertise with aspiring aerial photographers.


Leave a Reply