To capture stunning aerial parallax cinematography, start by selecting a drone with a high-quality camera and stable gimbal. Master horizontal movement techniques like smooth panning and sideways tracking to create depth. Experiment with varying altitudes for dynamic perspective shifts. Plan your shot composition carefully, considering foreground, midground, and background elements. Optimize your camera settings for the best image quality in different lighting conditions. Pay attention to weather and lighting, especially during golden hour. Finally, enhance the parallax effect in post-processing by manipulating layers and adjusting movement. These tips will elevate your drone footage from ordinary to extraordinary, but there's even more to explore in the world of aerial cinematography.
Key Takeaways
- Master smooth horizontal movements and sideways tracking for compelling parallax effects.
- Utilize varying altitudes to create dynamic perspective shifts and emphasize scale.
- Plan shot composition carefully, considering foreground, midground, and background elements for depth.
- Optimize camera settings for shutter speed, ISO, and aperture based on lighting conditions.
- Experiment with reveal shots, adjusting speeds and techniques for dramatic impact.
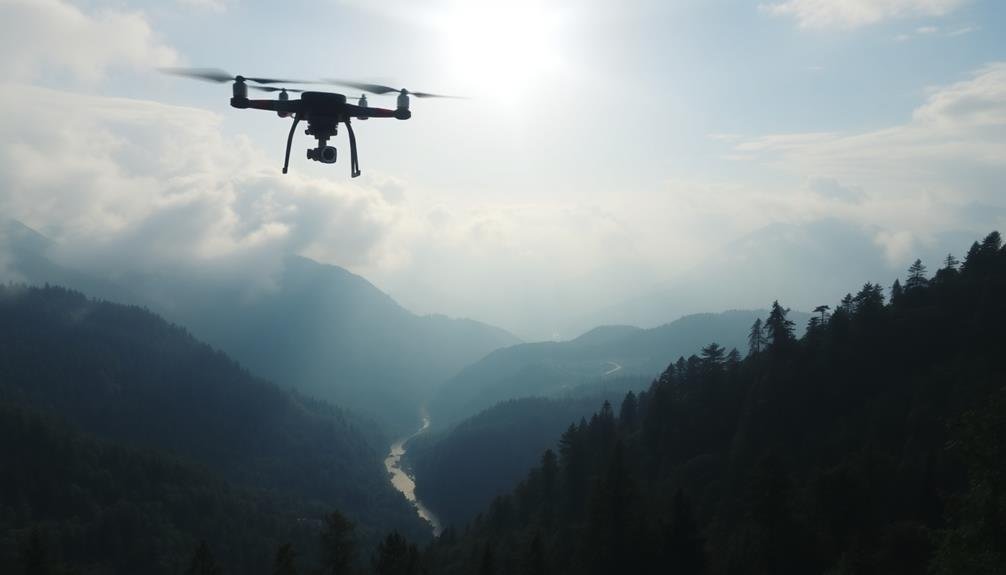
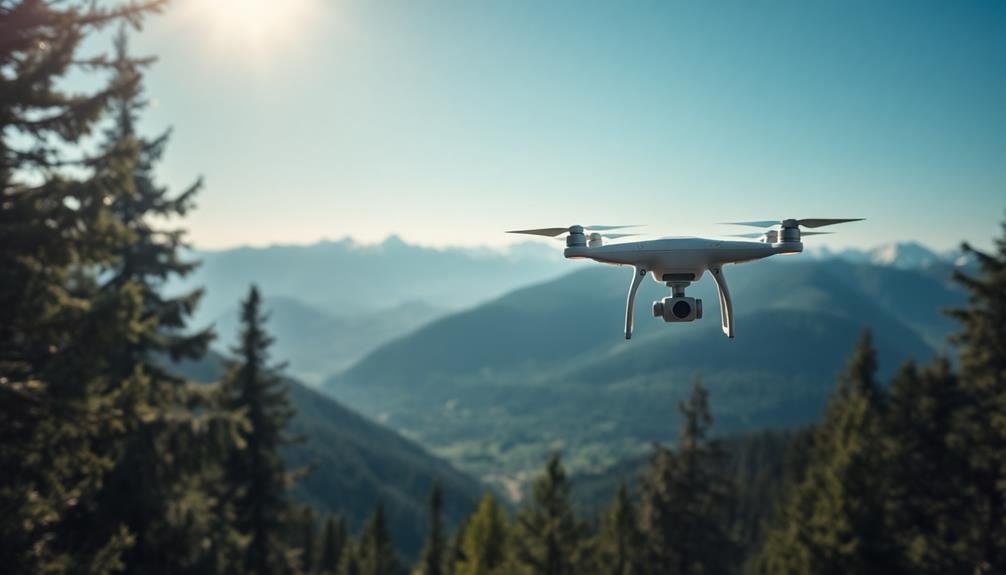
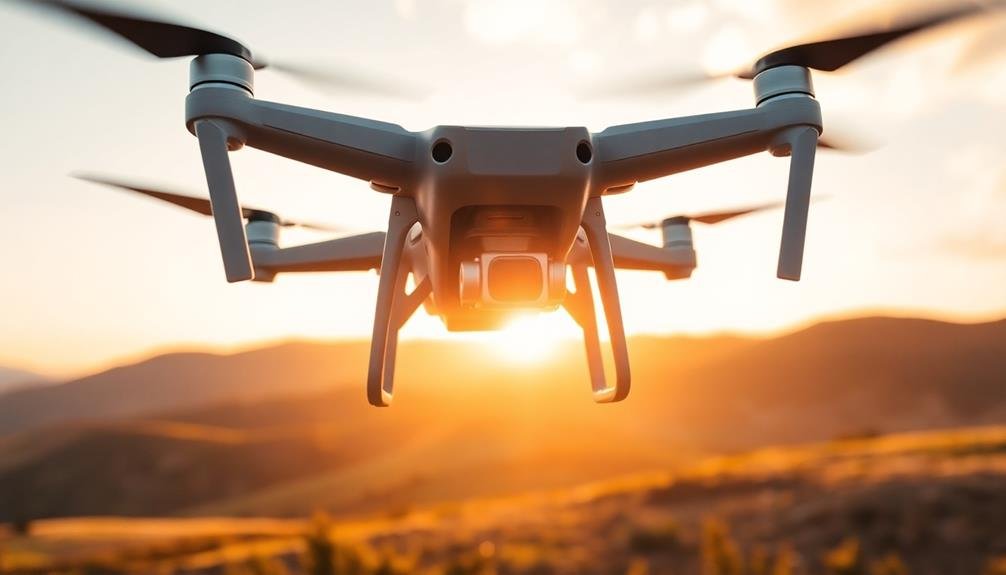
Choose the Right Drone

When selecting a drone for aerial parallax cinematography, what features should you prioritize? First, consider the camera quality. Look for a drone with a high-resolution camera capable of shooting in 4K or higher. A larger image sensor will provide better low-light performance and dynamic range.
Opt for a model with a 3-axis gimbal to guarantee smooth, stable footage.
Flight time is essential for capturing complex parallax shots. Choose a drone with at least 20-30 minutes of flight time per battery charge. Longer flight times allow you to execute multiple takes without interruption.
Also, prioritize drones with intelligent flight modes, such as waypoints and orbit, which can help create consistent parallax movements.
Size and portability matter, especially if you'll be traveling to various locations. A compact, foldable drone is easier to transport and set up quickly. However, don't sacrifice stability for size. Larger drones often perform better in windy conditions.
Lastly, consider obstacle avoidance systems and GPS positioning. These features enhance safety and precision during flight, allowing you to focus on your creative vision rather than worrying about potential collisions.
Master Horizontal Movement Techniques
To create stunning aerial parallax shots, you'll need to master horizontal movement techniques.
Start by perfecting smooth panning motions to add impact and depth to your scenes.
Next, practice precise reveal shots that gradually disclose landscapes or subjects, and then experiment with sideways tracking techniques to capture dynamic perspectives.
Smooth Panning for Impact
The art of smooth panning can elevate your aerial cinematography from good to extraordinary. To achieve this, you'll need to master your drone's controls and understand the principles of fluid motion. Start by setting your drone's rotation speed to a slow, consistent pace. This allows for gradual, seamless panning that captures the landscape's grandeur without disorienting viewers.
Practice maintaining a steady altitude and forward speed while panning. This combination creates a mesmerizing effect as foreground elements shift more quickly than the background, enhancing the sense of depth and scale. Experiment with different pan speeds to find what works best for your subject and desired mood.
Use visual anchors to guide your pans. Start or end your movement on a striking feature in the landscape to give your shot purpose and direction. When panning, anticipate your end position and begin slowing down before you reach it to avoid abrupt stops.
Don't forget to take into account your subject's movement. If you're filming a moving object, try panning in the opposite direction to create a dramatic contrast.
Reveal Shots With Precision
Mastering horizontal movement techniques is essential for creating stunning disclosure shots in aerial cinematography. You'll want to perfect your sideways tracking movements to gradually disclose landscapes or structures. Start by positioning your drone at the edge of the subject, then slowly move it horizontally to expose the scene.
To execute precise disclosure shots, practice maintaining a consistent speed and altitude. Use your drone's intelligent flight modes, like Point of Interest or Waypoints, to guarantee smooth, repeatable movements. Experiment with different reveal speeds to create varying levels of dramatic effect.
Consider the following techniques for impactful disclosure shots:
| Technique | Speed | Height | Effect |
|---|---|---|---|
| Slow Glide | Low | Low | Intimate, detailed |
| Swift Sweep | High | Medium | Dynamic, energetic |
| High Hover | Low | High | Grand, expansive |
| Descending Arc | Medium | Varying | Immersive, cinematic |
Remember to plan your shot composition carefully. Think about the elements you want to disclose and in what order. Use natural or architectural features as framing devices to guide the viewer's eye. By mastering these horizontal movement techniques, you'll create enchanting disclosure shots that add depth and intrigue to your aerial cinematography.
Sideways Tracking Techniques
Sideways tracking shots form the backbone of dynamic aerial cinematography. To master this technique, you'll need to perfect your horizontal movement skills. Start by flying your drone at a consistent speed and altitude parallel to your subject. This creates a smooth, cinematic effect that draws viewers into the scene.
Practice varying your speed to match the mood of your shot. Slower movements often convey a sense of calm or grandeur, while faster tracks can build tension or excitement. Experiment with different distances from your subject to alter the parallax effect. Flying closer will create more dramatic movement in the foreground, while maintaining distance offers a more subtle, expansive feel.
Consider the direction of your sideways track. Moving left to right feels natural to most viewers, but right to left can create visual interest. Use obstacles in your frame to enhance the parallax effect, revealing new elements as you move.
Remember to keep your subject centered or use the rule of thirds for composition. Finally, verify your gimbal is properly calibrated for smooth footage, and use post-production stabilization if needed to perfect your sideways tracking shots.
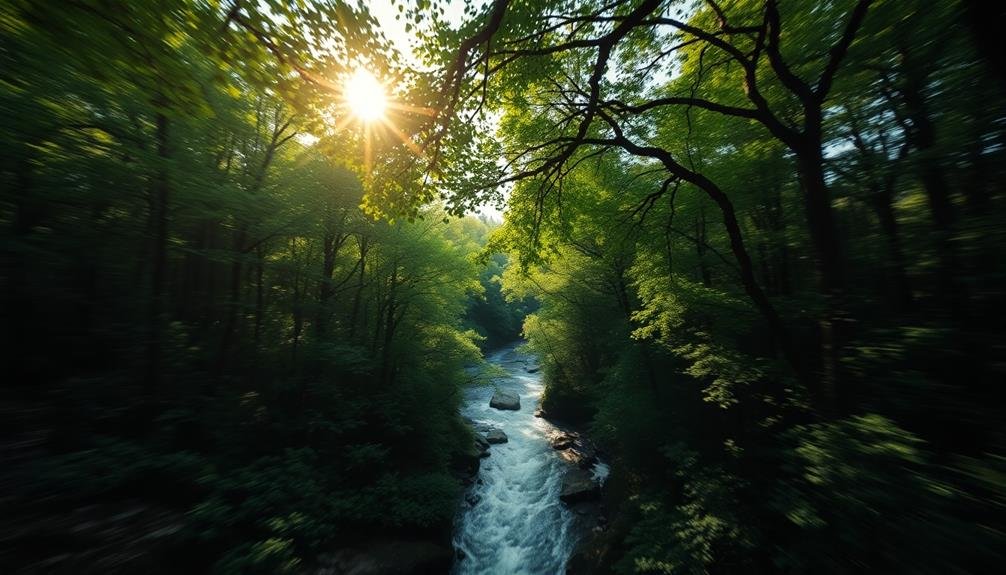
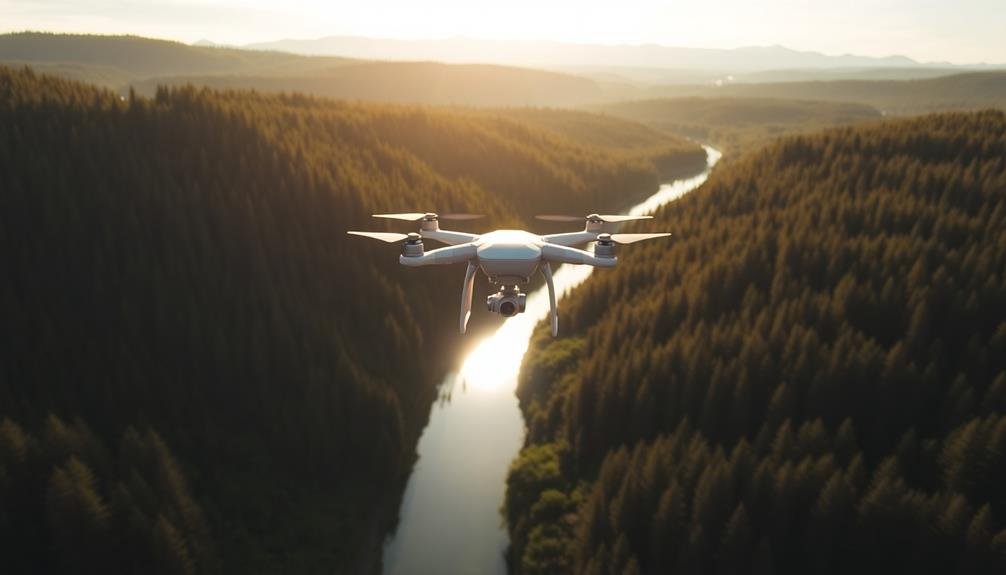
Utilize Varying Altitudes Effectively
While capturing aerial parallax shots, varying your drone's altitude can dramatically enhance the visual impact of your footage. Start by flying low, just above treetops or buildings, to create a sense of speed and immediacy. As you move forward, gradually increase altitude to reveal more of the landscape. This shift adds depth and perspective to your shot.
Experiment with sudden altitude changes to create dynamic shifts in perspective. For example, quickly ascending from street level to rooftop height can produce a striking effect. Conversely, descending rapidly can intensify the feeling of diving into a scene.
Don't forget to evaluate the subject matter when choosing altitudes. For cityscapes, try alternating between skyscraper heights and street level. In natural settings, vary between canopy level and high overhead views. Remember, the goal is to showcase the three-dimensional nature of your subject.
Lastly, use altitude changes to emphasize scale. Start with a close-up of a small object, then pull back and up to reveal its place in a larger context. This technique can be particularly effective for establishing shots or revealing unexpected elements in your scene.
Plan Your Shot Composition
Carefully planning your shot composition is essential for creating compelling aerial parallax cinematography. Before you take flight, scout your location and visualize how different elements will interact as your drone moves.
Consider the foreground, midground, and background elements, and how they'll create depth in your shots. Think about leading lines, natural frames, and points of interest that can guide the viewer's eye through the scene.
When composing your shots, keep these key principles in mind:
- Rule of thirds: Place important elements along the imaginary grid lines or at their intersections
- Symmetry and patterns: Look for natural or man-made structures that create visually appealing symmetry or repetitive patterns
- Negative space: Use empty areas to emphasize your subject and create a sense of scale
As you plan your flight path, consider how different angles and movements will affect the parallax effect. Experiment with various trajectories, such as ascending while moving forward or orbiting around a central point.
Remember to maintain smooth, steady movements to guarantee the parallax effect is pleasing to the eye. By carefully planning your shot composition, you'll create stunning aerial parallax cinematography that captivates your audience.
Optimize Camera Settings
To capture stunning aerial parallax shots, you'll need to optimize your camera settings.
Start by adjusting your shutter speed to match your drone's movement and create the desired motion blur effect.
Then, set your ISO to the lowest possible level for clean footage, and choose an aperture that balances depth of field with overall image sharpness.
Adjust Shutter Speed Appropriately
Adjusting your shutter speed is essential for achieving smooth, cinematic aerial footage. When shooting aerial parallax cinematography, you'll want to follow the 180-degree shutter rule, which states that your shutter speed should be double your frame rate. For example, if you're shooting at 24 frames per second, set your shutter speed to 1/48th of a second.
However, aerial cinematography often requires some flexibility. You might need to adjust your shutter speed based on factors such as:
- Light conditions
- Drone speed
- Desired motion blur
In bright conditions, you may need to increase your shutter speed to avoid overexposure. When flying at higher speeds, a faster shutter speed can help reduce motion blur and maintain sharpness.
Conversely, if you want to create a dreamy, flowing effect, you might opt for a slower shutter speed.
Set Proper ISO Levels
While shutter speed plays a key role in aerial cinematography, ISO levels are equally important for capturing stunning parallax shots. You'll need to find the right balance between image quality and light sensitivity. Lower ISO values produce cleaner images but require more light, while higher ISOs allow for shooting in darker conditions but introduce noise.
Start with the lowest ISO possible for your lighting conditions, typically 100 or 200. If you're shooting in bright daylight, this should suffice. As light levels decrease, gradually increase your ISO. Be cautious when going above 800, as noise becomes more noticeable.
Here's a quick guide for ISO settings in different scenarios:
| Lighting Condition | Recommended ISO | Image Quality | Noise Level |
|---|---|---|---|
| Bright Sunlight | 100-200 | Excellent | Minimal |
| Overcast Day | 200-400 | Very Good | Low |
| Sunset/Sunrise | 400-800 | Good | Moderate |
| Twilight | 800-1600 | Fair | High |
Choose Optimal Aperture Settings
For ideal aerial parallax cinematography, aperture settings play an essential role in determining depth of field and overall image quality. When shooting from the air, you'll want to balance sharpness and light intake to capture stunning footage. Generally, a mid-range aperture between f/5.6 and f/8 works well for aerial shots, providing a good depth of field while maintaining image clarity.
Consider these factors when choosing your aperture:
- Light conditions: In bright daylight, you can use a smaller aperture (higher f-number) for increased depth of field.
- Subject distance: For distant landscapes, a smaller aperture guarantees more of the scene is in focus.
- Desired effect: A wider aperture (lower f-number) can create a shallow depth of field, isolating subjects against blurred backgrounds.
Remember that your aperture choice affects shutter speed and ISO. In low light, you may need to open up your aperture to allow more light in, potentially sacrificing some depth of field.
Conversely, in bright conditions, you can stop down for greater sharpness across the frame. Experiment with different settings to find the perfect balance for your specific aerial cinematography needs.
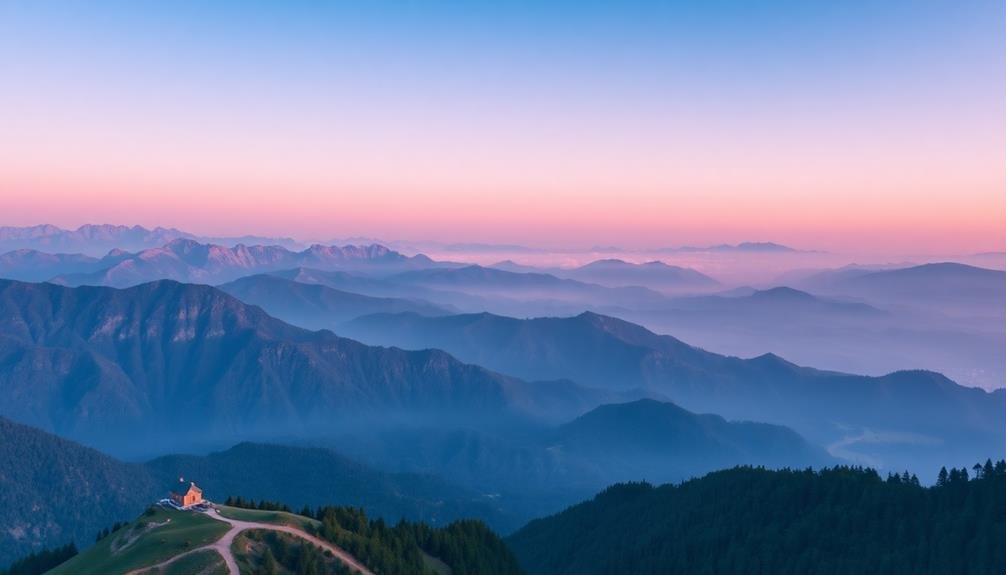
Consider Lighting and Weather

Before you take flight, it's vital to reflect on how lighting and weather conditions will impact your aerial parallax shots. The golden hour, just after sunrise or before sunset, offers warm, soft light that can enhance your footage's depth and texture. However, you'll need to work quickly as this magical light doesn't last long.
Overcast days can provide diffused light, reducing harsh shadows and creating a more even exposure across your scene. This can be particularly useful when capturing landscapes or urban environments. On bright, sunny days, consider using neutral density filters to maintain control over your shutter speed and aperture settings.
Wind is a significant factor in aerial cinematography. Light breezes can add subtle movement to your shots, but strong gusts may destabilize your drone and create unwanted shake. Always check wind forecasts and be prepared to adjust your flight plan accordingly.
Cloud formations can add drama and scale to your parallax shots. Low-lying fog or mist can create ethereal effects, while scattered clouds can cast interesting shadows across the landscape.
Be mindful of rapidly changing weather conditions, as they can affect both your drone's performance and the overall look of your footage.
Post-Processing for Enhanced Parallax Effect
Once you've captured your stunning aerial footage, it's time to plunge into post-processing to enhance the parallax effect.
Start by importing your footage into your preferred editing software and stabilize it if necessary. Next, separate your foreground and background elements using masking techniques or rotoscoping. This separation is essential for creating depth and emphasizing the parallax motion.
To amplify the parallax effect, you'll want to manipulate the movement of different layers. Slow down the background elements while slightly speeding up the foreground. This exaggerated difference in motion will create a more pronounced sense of depth and dimensionality.
Consider these additional techniques to enhance your parallax effect:
- Add subtle camera shake to simulate real-world movement
- Implement motion blur on faster-moving elements
- Use keyframing to adjust the speed of individual layers
Frequently Asked Questions
How Do I Obtain Necessary Permits for Aerial Cinematography in Restricted Areas?
To obtain permits for aerial cinematography in restricted areas, you'll need to contact local authorities and aviation agencies. Submit detailed flight plans, safety measures, and crew information. Be prepared for background checks and potential fees. Always follow regulations strictly.
What Insurance Coverage Is Recommended for Professional Drone Cinematography Work?
You'll need extensive drone insurance for professional work. It should cover liability, equipment damage, and personal injury. Don't forget to include coverage for invasion of privacy and third-party property damage in your policy.
How Can I Reduce Propeller Noise in Aerial Footage?
You can reduce propeller noise by using balanced propellers, installing vibration dampeners, and flying at lower speeds. Try using a camera with built-in noise reduction, and consider post-production techniques like noise filtering or sound replacement.
Are There Specific Color Grading Techniques for Enhancing Aerial Parallax Shots?
You'll want to enhance depth in your aerial parallax shots. Try boosting contrast, saturating blues and greens, and adding a subtle vignette. Don't overdo it—aim for natural-looking results that highlight the landscape's beauty.
What Safety Precautions Should Be Taken When Filming in Windy Conditions?
When filming in windy conditions, you'll need to secure your equipment tightly. Don't fly in strong winds. Check weather forecasts, use wind resistant drones, and maintain visual contact. Be prepared to abort if conditions worsen.
In Summary
You've now got the tools to create enchanting aerial parallax shots. Remember, it's all about smooth movements, creative composition, and the right settings. Don't be afraid to experiment with different altitudes and lighting conditions. Practice these techniques regularly, and you'll soon be producing stunning cinematic sequences that'll wow your audience. Keep pushing your boundaries, and you'll elevate your drone cinematography to new heights. Happy flying!
As educators and advocates for responsible drone use, we’re committed to sharing our knowledge and expertise with aspiring aerial photographers.


Leave a Reply