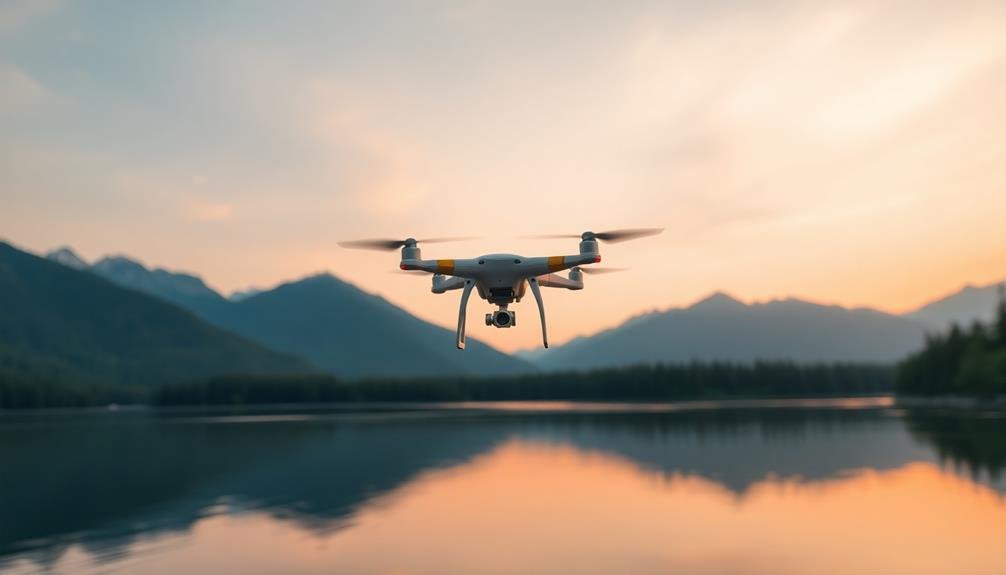
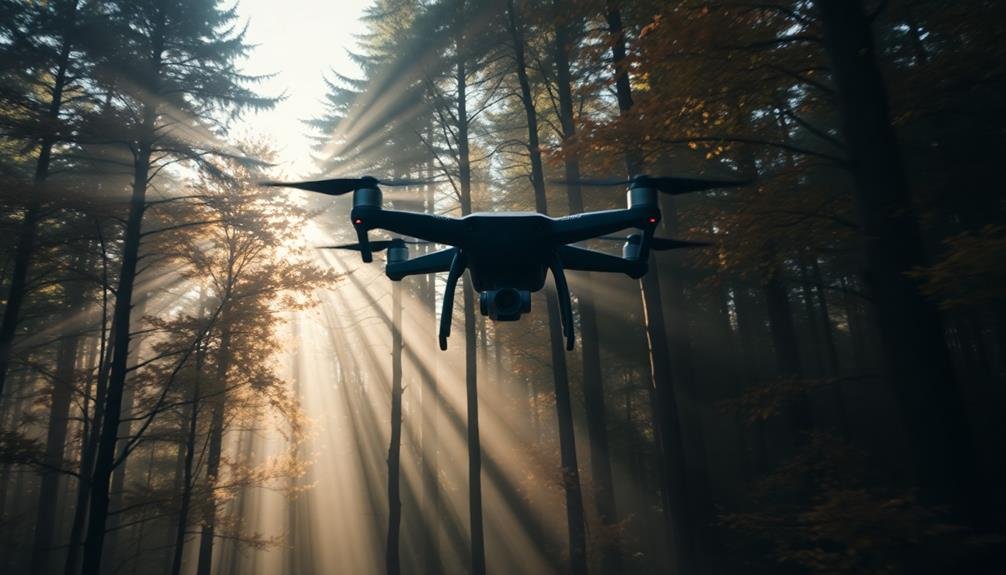
To capture cinematic drone flythroughs, start by meticulously planning your flight path and identifying key points of interest. Master slow, steady movements with gentle stick control and reduced sensitivity settings. Utilize natural obstacles to enhance depth and framing, creating dynamic shifts in perspective. Perfect your reveal shots by gradually disclosing focal points and controlling speed for maximum impact. Incorporate dynamic height changes to add scale and drama to your footage. Optimize your camera settings, including shutter speed and aperture, for smooth motion blur and ideal depth of field. With these pro tips, you'll be on your way to creating stunning aerial cinematography. The journey to mastering drone flythroughs is just beginning.
Key Takeaways
- Plan your flight path meticulously, considering obstacles, lighting, and key points of interest for narrative coherence.
- Master slow, steady movements using reduced sensitivity settings and gentle stick inputs for smooth footage.
- Utilize natural obstacles and landscape features to frame subjects, enhance depth perception, and create dynamic reveals.
- Experiment with dynamic height changes and parallax effects to add dimension and visual interest to your shots.
- Optimize camera settings for ideal exposure and motion blur, then enhance footage with color grading and stabilization in post-processing.
Planning Your Flight Path

Before you even power up your drone, it's crucial to map out your flight path. Start by scouting your location and identifying key points of interest. Consider the story you want to tell through your footage and how each shot will contribute to the overall narrative.
Sketch out your planned route, noting obstacles, altitude changes, and potential hazards. Think about the sun's position and how it'll affect your shots throughout the day. Plan for smooth shifts between scenes by incorporating gentle curves and gradual ascents or descents.
Factor in your drone's battery life and plan pit stops for battery swaps if necessary. Don't forget to account for wind conditions and how they might impact your flight. Consider using waypoints to program complex routes for consistent, repeatable shots.
Remember to check local regulations and obtain any necessary permits before flying. Prioritize safety by identifying emergency landing spots and maintaining visual line of sight with your drone at all times.
Mastering Slow and Steady Movement

One of the hallmarks of professional drone footage is smooth, controlled movement. To achieve this, you'll need to master slow and steady techniques.
Start by adjusting your drone's settings to reduce sensitivity and increase stability. Lower your maximum speed and set your control sticks to exponential mode for finer control.
Practice flying at a consistent, slow pace. Aim for speeds between 1-3 mph for most cinematic shots. Use gentle, gradual stick movements to initiate and stop motion. Avoid abrupt changes in direction or speed, as these can ruin the flow of your footage.
Utilize your drone's intelligent flight modes, such as tripod or cinematic mode, which limit speed and smooth out movements. When possible, fly in calm weather conditions to minimize unwanted drone movements.
Incorporate natural elements into your shots to enhance the sense of motion. Fly near trees, buildings, or other objects to create parallax effects. Remember to maintain a safe distance from obstacles.
Utilizing Natural Obstacles

Natural obstacles can be your allies in creating compelling drone flythroughs.
You'll enhance depth perception by maneuvering around trees, rocks, or buildings, giving viewers a better sense of scale and distance.
These elements also offer opportunities for dynamic shifts and interesting compositional framing, allowing you to guide the viewer's eye and create more engaging footage.
Enhancing Depth Perception
While flying your drone, enhancing depth perception is essential for capturing stunning footage. Use foreground elements to frame your subject and create a sense of scale. Fly your drone through natural arches or between tree branches to add layers to your shot. Incorporate leading lines, such as roads or rivers, to guide the viewer's eye through the frame.
Vary your altitude and camera angle to emphasize depth. Low-altitude flights can make landscapes appear more expansive, while higher altitudes provide a bird's-eye view. Experiment with different speeds to create a sense of movement and depth in your footage.
Consider the following techniques to enhance depth perception in your drone shots:
| Technique | Effect | Emotion | Application |
|---|---|---|---|
| Foreground framing | Adds context and scale | Intrigue | Natural arches |
| Leading lines | Guides viewer's focus | Curiosity | Roads, rivers |
| Altitude changes | Creates perspective | Awe | Landscapes |
| Speed variations | Emphasizes movement | Excitement | Action scenes |
Creating Dynamic Transitions
Building on the depth perception techniques, let's explore how to create dynamic movement between scenes using natural obstacles. Natural elements like trees, buildings, or rock formations can serve as perfect connection points in your drone flythrough. As you approach an obstacle, fly close to it, allowing it to briefly fill the frame before revealing the next scene. This creates a sense of anticipation and discovery for your viewers.
You can also use these obstacles to perform creative wipes. Fly past a tree trunk or building edge, letting it slide across the frame to shift between shots. For smoother shifts, match the speed and direction of your drone's movement on both sides of the obstacle.
Don't forget to experiment with different angles and heights as you approach and leave the linking object.
Another technique is to utilize natural frames. Find archways, windows, or gaps in foliage to fly through, creating a reveal effect. As you exit the frame, you'll smoothly move into your next scene.
Remember to maintain steady control of your drone throughout these maneuvers to guarantee fluid, professional-looking shifts that enhance your overall cinematic narrative.
Framing Interesting Compositions
Creativity in framing can elevate your drone footage from ordinary to extraordinary. When planning your shots, look for natural obstacles that can add depth and interest to your compositions. Trees, buildings, and rock formations can serve as perfect foreground elements, creating a sense of scale and perspective.
As you fly your drone, use these obstacles to frame your subject. Fly through gaps in trees or between buildings to reveal a stunning landscape beyond. This technique adds an element of surprise and discovery to your footage.
Try positioning your drone low to the ground and flying up and over obstacles for dramatic reveals. Don't shy away from tight spaces. Flying close to structures can create a sense of speed and excitement.
However, always prioritize safety and follow local regulations. Experiment with different angles and heights to find unique perspectives. Use leading lines in the environment to guide the viewer's eye towards your main subject.
Perfecting Reveal Shots

To perfect your reveal shots, you'll want to master the art of gradual disclosure, building anticipation as you slowly expose your subject.
You can use natural obstacles like trees or buildings to obscure and then dramatically reveal your focal point.
Remember to carefully time and pace your shots, controlling the speed of your drone to create the most impactful moment when the full scene comes into view.
Anticipation Through Gradual Unveiling
While mastering reveal shots, you'll find that gradual disclosure is key to building anticipation. As you plan your drone's flight path, consider how you can slowly disclose the subject or landscape. Start with a partially obstructed view, perhaps behind foliage or structures, then gradually move to reveal more of the scene.
Use natural elements like trees, buildings, or terrain to your advantage. Fly your drone through gaps or around obstacles, letting the subject peek through before fully emerging. This technique creates a sense of discovery for your audience, keeping them engaged throughout the shot.
Vary your drone's speed and altitude to enhance the revealing effect. Slow, deliberate movements can heighten tension, while sudden reveals can create dramatic impact. Experiment with different angles and approaches to find the most compelling way to present your subject.
Remember to maintain smooth, controlled movements throughout the reveal. Jerky or erratic flight paths can break the immersion and distract from the gradual revealing.
Practice your maneuvers repeatedly to achieve fluid, cinematic results that captivate your viewers and leave them enthusiastic for more.
Using Natural Obstacles Effectively
Natural obstacles present countless opportunities for crafting compelling reveal shots with your drone. Trees, buildings, mountains, and other landscape features can serve as perfect elements to fly around, over, or through.
As you plan your shot, identify obstacles that'll create intrigue and frame your subject. Start with your drone behind an obstacle, then slowly move it to disclose your main subject. For instance, begin behind a large tree trunk, then pan around it to uncover a stunning vista.
Or, fly low over a hill's crest to dramatically expose a hidden valley below. Use obstacles to create depth in your shots. Fly between closely spaced objects, like rock formations or buildings, to add a sense of speed and scale.
When revealing architectural subjects, consider using nearby structures to frame your main building as you approach.
Timing and Pacing Techniques
Mastering the art of timing and pacing is key to creating enchanting reveal shots with your drone. You'll want to build anticipation and surprise your audience with carefully timed movements. Start by flying slowly behind an obstacle, then gradually increase speed as you reveal the subject. This creates a dramatic effect that captivates viewers.
Consider using these timing techniques for different reveal shots:
| Technique | Description | Best Used For |
|---|---|---|
| Slow Build | Gradually increase speed | Landscapes, cityscapes |
| Quick Pop | Sudden, fast movement | Action scenes, surprises |
| Pause and Go | Brief stop before reveal | Emphasizing key elements |
| Reverse Reveal | Start wide, then zoom in | Highlighting details |
To perfect your pacing, practice smooth acceleration and deceleration. Use your drone's intelligent flight modes to maintain consistent speeds during reveals. Don't rush the shot; give viewers time to absorb the scene. Remember, timing is everything. A well-executed reveal can transform an ordinary shot into a cinematic masterpiece. Experiment with different speeds and movements to find what works best for your specific subject and storytelling goals.
Incorporating Dynamic Height Changes

Three key elements elevate a drone flythrough from ordinary to extraordinary: speed, direction, and height. When it comes to incorporating dynamic height changes, you'll want to master the art of vertical movement to add depth and dimension to your shots.
Start by planning your ascents and descents carefully. Gradual changes in altitude can create a sense of scale and disclose landscapes in new ways. For dramatic effect, try rapid ascents or descents to showcase contrasting perspectives. Remember, smooth shifts are essential for maintaining a professional look.
To make the most of dynamic height changes, consider these techniques:
- Disclose shot: Begin low, then slowly ascend to reveal a breathtaking vista.
- Dive bomb: Start high and plunge towards a subject for an adrenaline-pumping effect.
- Altitude contrast: Alternate between high and low shots to emphasize spatial relationships.
Practice these moves to develop muscle memory and improve your control. Experiment with different speeds and angles to find what works best for your subject matter.
Capturing Parallax Effects

Parallax effects can elevate your drone footage from flat to fantastic. To capture this dynamic visual phenomenon, you'll need to master the art of moving your drone past objects at varying distances. Start by identifying foreground, midground, and background elements in your shot. As you fly past, these elements will appear to move at different speeds, creating a sense of depth and dimension.
To maximize parallax, fly your drone sideways or diagonally rather than straight ahead. This lateral movement emphasizes the effect, especially when you're close to foreground objects. Experiment with different speeds; slower movements often produce more noticeable parallax.
Don't forget to take into account your altitude; flying lower can intensify the effect by exaggerating the relative motion of nearby objects.
When planning your shot, look for scenes with distinct layers. Urban environments with street lamps, trees, and buildings work well, as do natural landscapes with rocks, trees, and mountains.
Remember to maintain smooth, steady movements throughout your flight. Use your drone's intelligent flight modes or practice manual control to achieve fluid motion. By mastering parallax effects, you'll add a professional, cinematic quality to your drone footage that will captivate your audience.
Optimizing Camera Settings

The right camera settings can make or break your drone footage. When fine-tuning your camera for flythrough shots, you'll want to focus on three key areas: shutter speed, aperture, and ISO.
Start by setting your shutter speed to twice your frame rate (e.g., 1/60 for 30fps) to achieve smooth motion blur. For aperture, aim for a middle ground that balances depth of field with overall sharpness, typically between f/4 and f/8.
Keep your ISO as low as possible to minimize noise, but don't be afraid to increase it in low-light conditions. Remember to adjust your white balance to match the ambient light for accurate colors.
Use neutral density (ND) filters to maintain these ideal settings in bright conditions without overexposing your footage.
For cinematic drone flythroughs, consider these additional tips:
- Enable manual focus to prevent unwanted focus shifts during flight
- Shoot in a flat color profile for greater flexibility in post-production
- Use a gimbal to stabilize your camera and achieve smoother shots
Post-Processing for Cinematic Look

Once you've captured your drone footage with ideal camera settings, it's time to enhance your flythrough in post-processing.
Start by color grading your footage to achieve a cinematic look. Adjust the contrast, saturation, and white balance to create a cohesive visual style. Consider using LUTs (Look-Up Tables) to quickly apply professional color grades.
Next, focus on stabilization. Even with a gimbal, your footage may need additional smoothing. Use warp stabilizer or similar tools in your editing software to eliminate any remaining shake or jitter.
Pay attention to horizon lines and keep them level throughout your flythrough.
Add subtle motion blur to create a more cinematic feel, especially during fast-moving sections. This helps blend frames and creates a smoother perception of movement.
Experiment with speed ramping to add dynamic pacing to your flythrough. Slow down for reveal shots and speed up through less interesting sections.
Frequently Asked Questions
How Do I Comply With Local Drone Regulations When Filming?
To comply with local drone regulations when filming, you'll need to research your area's specific rules, register your drone if required, obtain necessary permits, and follow guidelines on flight altitude, restricted zones, and privacy laws.
What's the Best Drone for Beginners Interested in Cinematic Shots?
For beginners seeking cinematic shots, you'll want the DJI Mini 2. It's easy to fly, has great camera quality, and doesn't require registration in many areas. You'll quickly master basic maneuvers and capture stunning aerial footage.
How Can I Reduce Propeller Noise in My Drone Footage?
You can reduce propeller noise by using quieter propellers, flying at lower speeds, and adjusting your drone's altitude. Additionally, try using a ND filter, filming in windy conditions, and applying noise reduction in post-production for cleaner audio.
What Safety Precautions Should I Take When Flying in Challenging Environments?
When flying in challenging environments, you should always check weather conditions, maintain visual line of sight, and keep a safe distance from obstacles. Don't forget to carry spare batteries and guarantee your drone's firmware is up-to-date.
How Do I Handle Unexpected Weather Changes During a Drone Shoot?
When unexpected weather hits, you'll need to act fast. Monitor conditions closely, land safely if necessary, and protect your gear. If you can't fly, use the time to plan alternative shots or reschedule your shoot.
In Summary
You've now got the tools to create stunning drone flythroughs. Remember, practice makes perfect. Keep experimenting with different techniques and don't be afraid to push your creativity. As you refine your skills, you'll develop your unique style. Always prioritize safety and follow local regulations. With these pro tips in your arsenal, you're ready to elevate your drone cinematography and captivate your audience with breathtaking aerial footage. Happy flying!

As educators and advocates for responsible drone use, we’re committed to sharing our knowledge and expertise with aspiring aerial photographers.


Leave a Reply