To elevate your tilt-up shots, start with a stable tripod and fluid head for smooth movement. Position your camera low and plan your composition carefully, considering the rule of thirds and leading lines. Choose the right lens for your subject, and experiment with tilt speeds to create suspense or energy. Scout locations for dramatic reveals and assess lighting conditions, aiming for golden hour when possible. During the shot, maintain a consistent pace and focus on gradual revelation. In post-production, enhance your footage with color grading and sound design. Master these techniques, and you'll transform your tilt-ups from ordinary to extraordinary.
Key Takeaways
- Master camera positioning and control, using a stable tripod with fluid head for smooth, consistent movements.
- Experiment with tilt speeds to create suspense or energy, matching the pace to your scene and audio.
- Choose appropriate lenses and break composition rules strategically to emphasize verticality and drama.
- Plan meticulously, including location scouting, lighting assessment, and storyboarding for optimal shot execution.
- Enhance your tilt-up shots in post-production with color grading, motion graphics, and sound design for a polished final product.
Understanding Tilt-Up Shot Mechanics
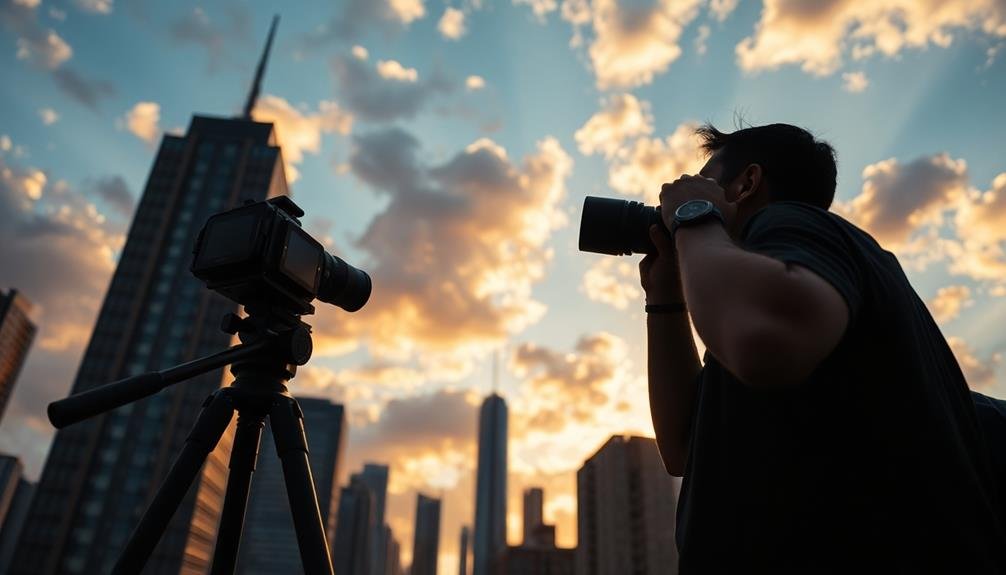
Almost every cinematographer should master the tilt-up shot, a powerful technique that can add depth and drama to your scenes. To execute this move effectively, you'll need to understand its mechanics.
Start by positioning your camera low, typically at ground level or just above. Make sure your tripod is stable and the head is fluid for smooth movement.
The key to a successful tilt-up shot lies in your control of the camera's vertical rotation. Begin with your frame focused on a specific lower point of interest. As you slowly tilt the camera upward, maintain a steady pace to create a consistent reveal.
Pay attention to your composition throughout the movement, considering how elements enter and exit the frame.
Timing is vital. You'll want to coordinate the speed of your tilt with the pacing of your scene and any accompanying audio.
Practice varying your tilt speed to achieve different effects, from a slow, suspenseful reveal to a quick, dynamic shift.
Essential Equipment for Tilt-Up Mastery
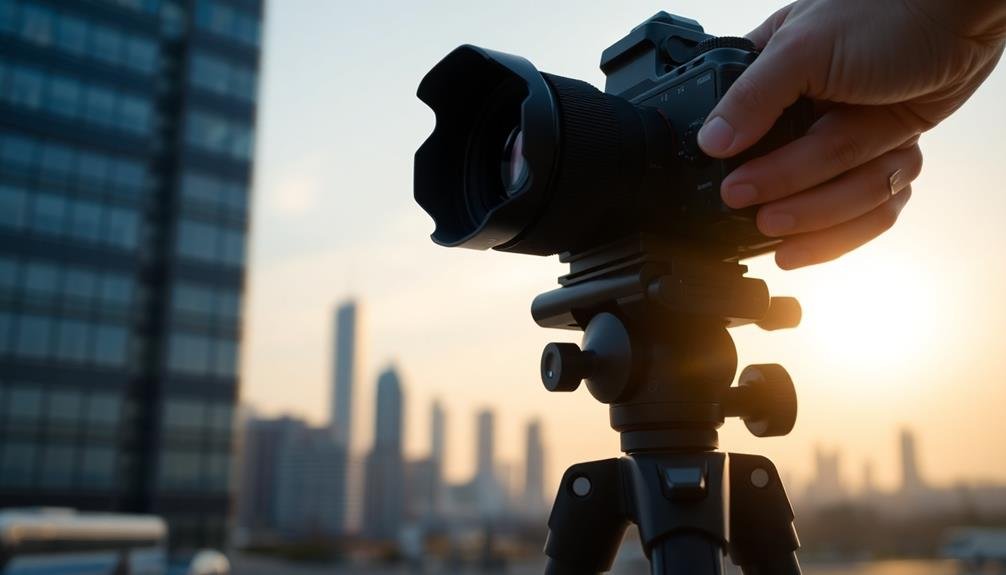
A cinematographer's toolkit for mastering tilt-up shots doesn't need to be extensive, but it should include key pieces of equipment. First and foremost, you'll need a sturdy tripod with a fluid head. This combo allows for smooth, controlled movements essential for professional-looking tilt-ups. Look for a tripod with adjustable legs and a level indicator to guarantee stability on uneven surfaces.
Next, invest in a high-quality camera with manual controls. You'll want the ability to adjust focus, aperture, and shutter speed precisely. A camera with a flip-out screen can be incredibly helpful for framing low-angle tilt-up shots.
Don't forget about lenses. A wide-angle lens is often ideal for tilt-ups, especially when capturing tall structures or expansive scenes. However, a zoom lens offers versatility for various shot compositions.
Consider adding a follow focus system to your kit. This tool allows for precise focus adjustments during the tilt, making sure your subject remains sharp throughout the movement.
Lastly, a remote camera control or wireless follow focus can be invaluable. These tools let you operate the camera from a distance, reducing the risk of shake or unwanted movement during the tilt-up.
Planning Your Tilt-Up Shot
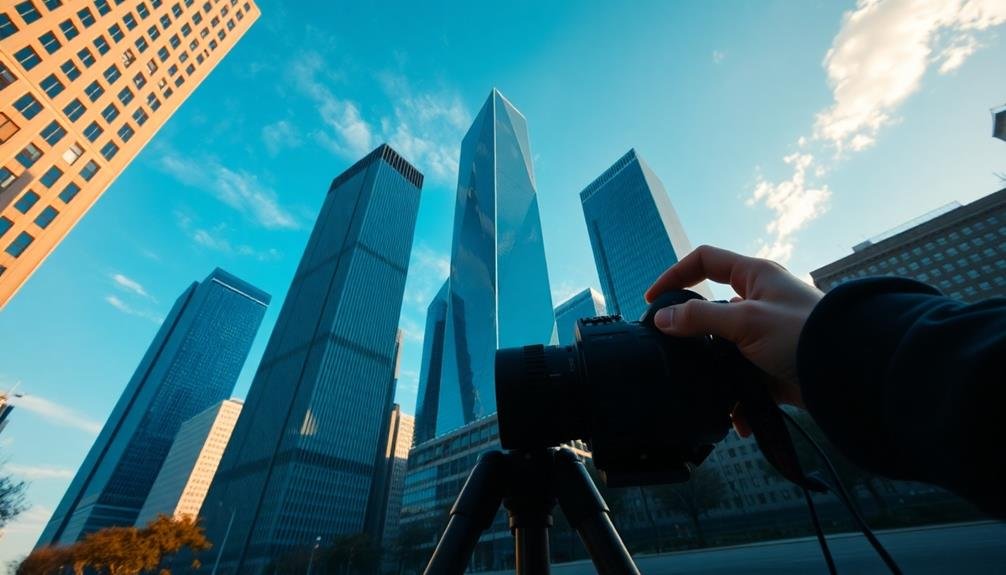
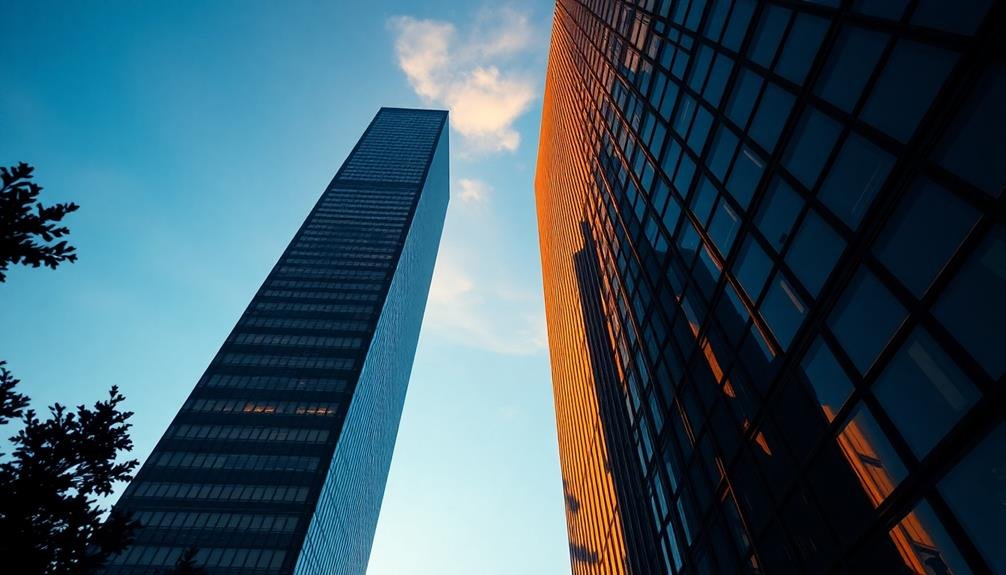
Before diving into your tilt-up shot, careful planning is essential for success. Start by scouting your location and identifying potential subjects that lend themselves well to this technique. Look for tall structures, trees, or architectural elements that'll create a dramatic reveal as the camera tilts upward.
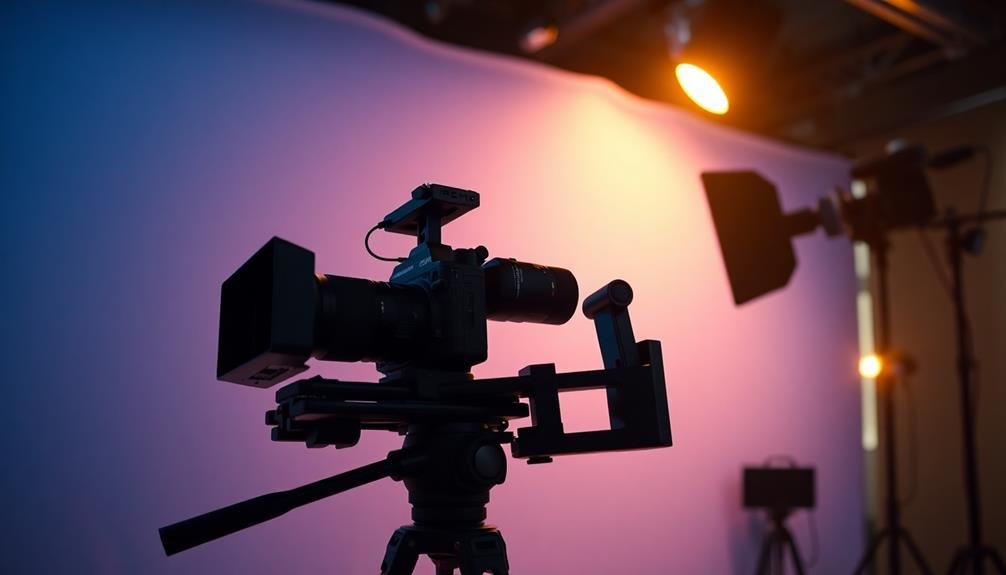
Consider the time of day and lighting conditions. Golden hour can add a stunning quality to your tilt-up, while harsh midday sun might create unwanted shadows. Plan your shoot accordingly to capture the best possible light.
Storyboard your shot to visualize the movement and framing. Decide on your starting and ending points, and determine the pace of the tilt. Will it be a slow, steady reveal or a quick, dynamic motion?
Choose your lens carefully. Wide-angle lenses can exaggerate the sense of height, while telephoto lenses compress the scene. Experiment with different focal lengths to achieve your desired effect.
Perfecting Drone Speed and Timing
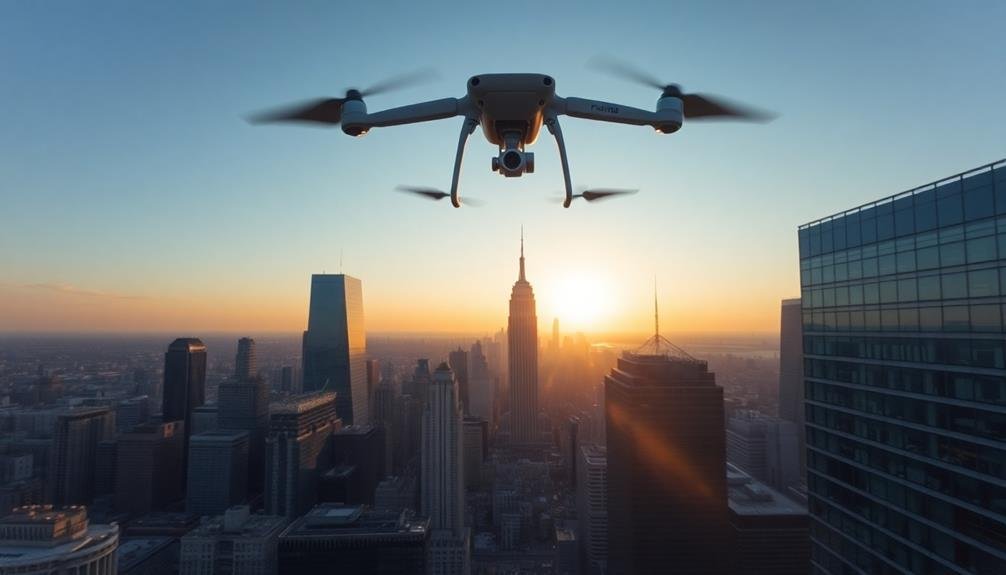
To elevate your drone cinematography, you'll need to master smooth acceleration techniques for fluid, professional-looking shots.
Matching your drone's speed to the scene's energy and mood is essential for creating the right emotional impact.
Don't forget to synchronize your camera's tilt with the drone's movement, ensuring a harmonious blend of motion that captivates your audience.
Smooth Acceleration Techniques
Mastering smooth acceleration techniques is essential for creating professional-looking drone footage. When executing tilt-up shots, you'll want to start slow and gradually increase speed. Begin with your drone's slowest setting and gently push the throttle forward. As you gain altitude, slowly increase the speed to create a fluid motion.
Practice using your drone's built-in acceleration curves or create custom ones to achieve the perfect ramp-up effect. Experiment with different speeds and durations to find what works best for your shot. Remember, smooth acceleration isn't just about going faster; it's about maintaining a consistent rate of change.
To enhance your control, use both thumbs on the joysticks for finer adjustments. Keep your movements subtle and avoid jerky inputs. If your drone has a focus wheel, use it to adjust the camera's tilt while accelerating for added dynamism.
When planning your shot, consider the end goal. If you're revealing a landscape, time your acceleration to coincide with the most impactful moment.
Always monitor your drone's trajectory and speed to guarantee you're capturing the intended composition throughout the entire movement.
Matching Speed to Scene
Cinematic harmony demands that your drone's speed matches the rhythm of the scene. When executing tilt-up shots, consider the pacing of your narrative and adjust your drone's velocity accordingly. For fast-paced action sequences, increase your drone's speed to create a sense of urgency and excitement.
Conversely, slow down your drone for contemplative or emotional moments to allow viewers time to absorb the scene's details and atmosphere.
Pay attention to the movement of subjects within your frame. If you're capturing a person walking, sync your drone's ascent with their pace to maintain a natural feel.
For static scenes, experiment with varying speeds to find the perfect balance between revealing the landscape and holding the audience's attention.
Don't forget to factor in your camera settings. Adjust your shutter speed and frame rate to complement your drone's movement. A faster shutter speed can help maintain sharpness during rapid ascents, while a slower one can introduce a subtle motion blur for smoother, more cinematic results.
Synchronizing Tilt With Movement
While executing tilt-up shots, synchronizing your drone's tilt with its movement is essential for achieving seamless, professional-looking footage. To master this technique, start by practicing slow, controlled movements.
Begin with your drone's camera pointing downward, then gradually tilt it upward as you ascend. The key is to maintain a consistent speed for both the tilt and the ascent.
Use your drone's intelligent flight modes to help automate the process. Many modern drones offer pre-programmed flight paths that can execute smooth tilt-up shots.
However, don't rely solely on these features; understanding manual control is vital for adapting to different scenarios.
Pay attention to your subject's position within the frame throughout the shot. As you tilt up, you'll want to keep the main point of interest centered or following the rule of thirds.
Adjust your drone's speed and tilt rate to maintain proper framing.
Experiment with different tilt speeds to create varying effects. A slow tilt can build suspense or reveal a landscape gradually, while a faster tilt might convey excitement or urgency.
Always match your tilt speed to the mood and pacing of your overall production.
Composition Techniques for Tilt-Up Shots
Tilt-up shots can transform ordinary scenes into dramatic visual statements. To master this technique, focus on crafting compelling compositions that guide the viewer's eye and create a sense of anticipation.
Start with a strong foreground element to anchor your shot. This could be a person, object, or interesting texture that fills the bottom of the frame. As you tilt up, reveal layers of visual information gradually. Use leading lines, such as roads, buildings, or natural elements, to draw the eye upward.
Consider the rule of thirds when planning your tilt-up. Place key elements along these imaginary lines or at their intersections to create a balanced and visually pleasing composition.
Don't be afraid to break this rule for dramatic effect, especially when showcasing tall structures or emphasizing verticality.
Experiment with different lens choices. Wide-angle lenses can exaggerate the sense of height and scale, while telephoto lenses compress the scene, creating a more intimate feel.
Pay attention to the speed of your tilt; a slow, steady movement can build suspense, while a quick tilt can surprise and energize your audience.
Post-Production Enhancements for Tilt-Ups

Once you've captured your tilt-up shots, post-production enhancements can elevate them to new heights. Start by color grading to set the mood and enhance visual appeal. Adjust contrast, saturation, and white balance to create a cohesive look across your footage.
Next, consider adding subtle motion graphics or text overlays to complement the tilt-up movement. These elements can provide context or emphasize key points in your shot. Be careful not to overpower the visual narrative with excessive graphics.
Here's a quick guide to post-production techniques for tilt-ups:
| Technique | Purpose | Considerations |
|---|---|---|
| Color Grading | Set mood, enhance visuals | Maintain consistency |
| Motion Graphics | Add context, emphasis | Don't overpower footage |
| Sound Design | Enhance immersion | Match audio to visuals |
| Stabilization | Smooth out movement | Preserve natural motion |
Frequently Asked Questions
How Do Weather Conditions Affect Tilt-Up Shots?
Weather conditions can greatly impact your tilt-up shots. Wind can cause camera shake, rain can affect visibility, and extreme temperatures may affect equipment performance. You'll need to adapt your techniques and gear to overcome these challenges.
Can Tilt-Up Shots Be Effectively Combined With Other Camera Movements?
Yes, you can combine tilt-up shots with other movements. Try panning while tilting up, or use a dolly for added depth. You'll create dynamic compositions by merging techniques. Experiment with different combinations to enhance your cinematography.
What Are Common Mistakes Beginners Make When Attempting Tilt-Up Shots?
You're likely to move too fast, causing jerky motion. You might forget to lock focus or use improper framing. Don't neglect stabilization or ignore your surroundings. Remember, smooth, controlled movements are key for effective tilt-up shots.
How Do Different Lens Choices Impact the Overall Look of Tilt-Up Shots?
You'll find that wide-angle lenses exaggerate vertical movement, creating dramatic effects. Telephoto lenses compress space, making tilt-ups smoother. Standard lenses offer a balanced look. Choose based on your desired impact and the scene's composition.
Are There Specific Genres or Types of Films Best Suited for Tilt-Up Shots?
You'll find tilt-up shots excel in horror, suspense, and action films. They're great for revealing characters or settings dramatically. Use them in documentaries to showcase architecture or nature. They're versatile but particularly impactful in these genres.
In Summary
You've now got the tools to take your tilt-up shots to the next level. Remember, it's all about mastering the mechanics, using the right equipment, and planning meticulously. Don't forget to perfect your drone speed and timing, and always consider composition. With post-production enhancements, you'll create stunning tilt-ups that captivate your audience. Keep practicing, experimenting, and pushing your boundaries. You're well on your way to becoming a tilt-up pro!
As educators and advocates for responsible drone use, we’re committed to sharing our knowledge and expertise with aspiring aerial photographers.


Leave a Reply