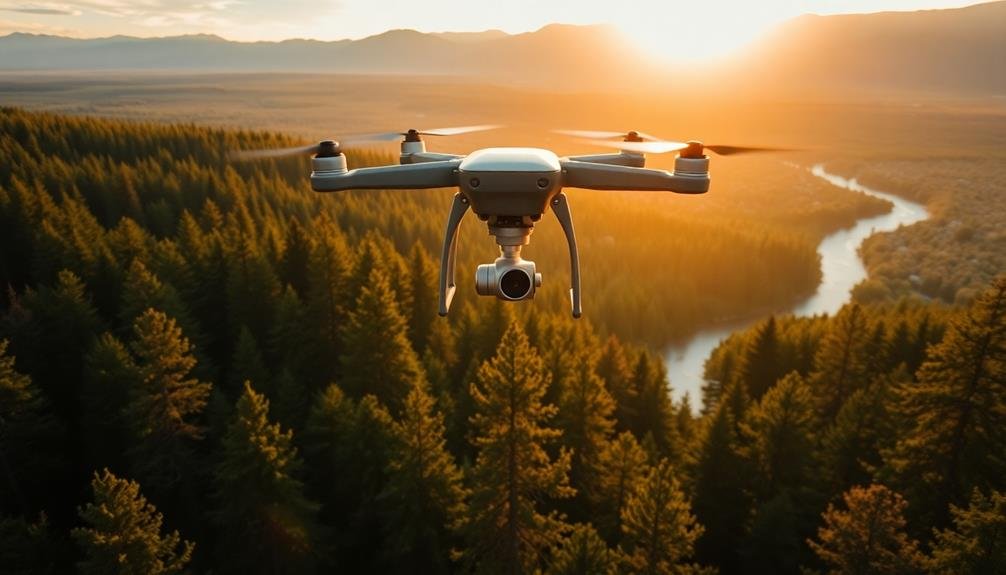
To master cinematic side-tracking for stunning aerial shots, focus on smooth flight control and precise camera movements. Use a high-quality drone with a 3-axis gimbal and consider intelligent flight modes for automation. Plan your flight path carefully, scouting locations and considering lighting conditions. Maintain consistent speed and altitude, typically between 1-3 mph for slow shots. Practice controlled yaw movements and experiment with different speeds for varied effects. Apply composition techniques like the rule of thirds and use leading lines. Don't forget post-production stabilization and color grading. By honing these skills, you'll elevate your aerial cinematography to new heights.
Key Takeaways
- Master smooth flight control and precise camera movements to maintain consistent altitude and distance.
- Use high-quality drones with 3-axis gimbals and intelligent flight modes for stable, automated tracking.
- Plan flight paths with clear markers, considering timing, lighting conditions, and local regulations.
- Adjust drone speed based on the subject and desired effect, typically between 1-20 mph for cinematic shots.
- Apply composition techniques like the rule of thirds, leading lines, and depth creation for visually compelling footage.
Understanding Side-Tracking in Aerial Cinematography
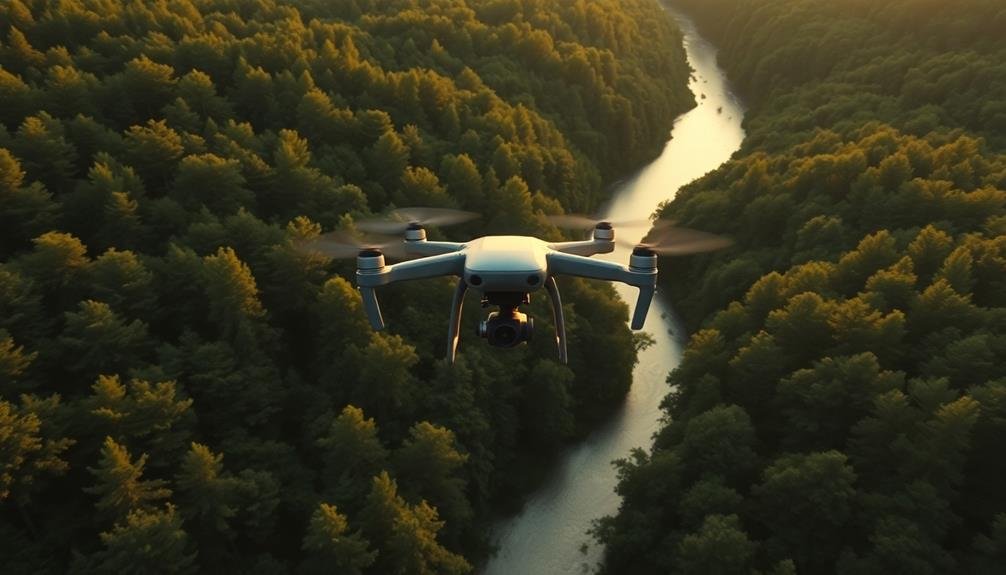
Many aerial cinematographers regard side-tracking one of the most versatile and visually appealing techniques in their arsenal. This method involves flying your drone parallel to a subject while maintaining a constant distance and altitude.
It's an excellent way to reveal landscapes, follow moving subjects, or create a sense of movement in static scenes.
To execute a perfect side-tracking shot, you'll need to master smooth flight control and precise camera movements. Start by setting your drone to a slow, steady speed and adjust your gimbal to keep the subject centered in the frame.
You'll want to maintain a consistent altitude and distance from your subject throughout the shot.
Side-tracking can be used in various scenarios. It's particularly effective for showcasing architectural features, following vehicles on roads, or capturing athletes in action.
You can also combine it with other movements, like slowly ascending or descending, to add depth to your shots.
Remember to take into account your background when planning a side-tracking shot. A dynamic or contrasting background can enhance the visual impact of your footage, creating a more immersive viewing experience.
Essential Gear for Side-Tracking Shots
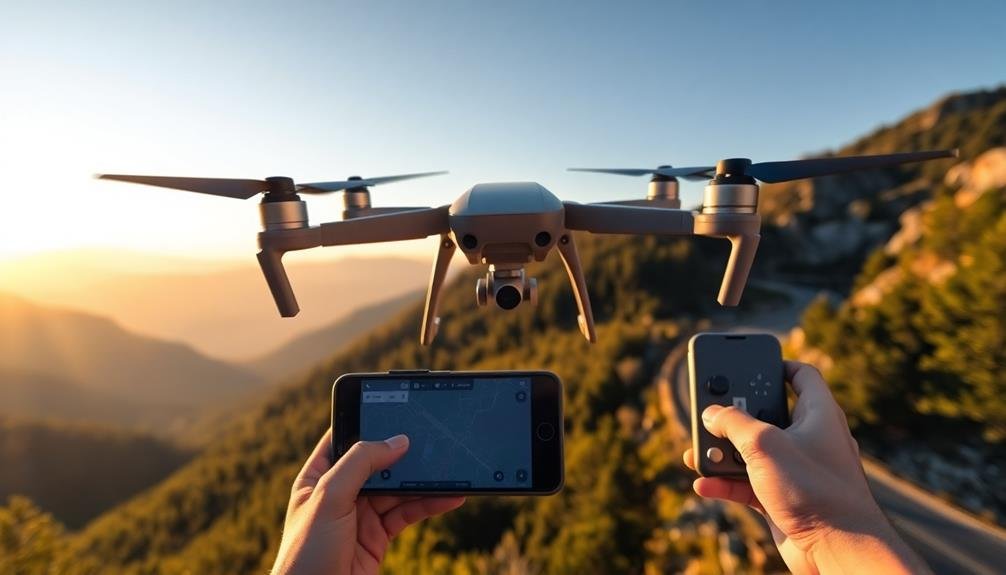
To capture stunning side-tracking shots, you'll need more than just a drone. A high-quality camera with manual controls is vital, allowing you to adjust settings on the fly.
Opt for a drone with a 3-axis gimbal to guarantee smooth, stable footage even in windy conditions. Look for models with intelligent flight modes like ActiveTrack or Follow Me, which can automate side-tracking movements.
Don't overlook the significance of ND filters. These will help you maintain proper exposure and achieve that cinematic motion blur, especially in bright conditions. A remote controller with a built-in screen or smartphone mount is essential for framing your shots accurately.
For more advanced setups, consider a dual-operator system. This allows one person to pilot the drone while another controls the camera, resulting in more precise and complex movements.
Lastly, invest in high-capacity, fast-charging batteries and multiple memory cards. Side-tracking shots often require multiple takes, and you don't want to run out of power or storage mid-shoot.
With this gear in your arsenal, you'll be well-equipped to create professional-grade side-tracking aerial footage.
Planning Your Flight Path
With your gear ready, it's time to map out your aerial journey. Start by scouting your location, identifying potential obstacles, and determining the best angles for your shots. Consider the time of day and lighting conditions to capture the most visually appealing footage.
Next, plan your flight path in detail. Decide on your starting point, ending point, and any key waypoints in between. Factor in the drone's battery life and make certain you've allowed enough time for multiple takes.
It's vital to maintain a consistent speed and altitude throughout your side-tracking shot for smooth, professional-looking results.
Don't forget to check local regulations and obtain any necessary permits before flying. Familiarize yourself with no-fly zones and respect privacy laws. If you're working in a busy area, consider using a spotter to help monitor your surroundings.
Ideal Drone Speed for Side-Tracking
How fast should you fly your drone for the perfect side-tracking shot? The ideal speed depends on several factors, including your subject's movement, the desired effect, and the overall scene composition.
For slow, cinematic side-tracking shots, aim for speeds between 1-3 mph (1.6-4.8 km/h). This range allows you to capture smooth, graceful movements that create a sense of calm and contemplation. It's particularly effective when filming landscapes, architecture, or stationary subjects.
When tracking faster-moving subjects like vehicles or athletes, increase your speed to 5-10 mph (8-16 km/h). This faster pace helps maintain the subject in frame while adding dynamic energy to your footage.
For more dramatic effects, you can push speeds up to 15-20 mph (24-32 km/h). However, be cautious at higher speeds, as they can introduce unwanted shake and make it challenging to maintain focus on your subject.
Remember to adjust your drone's camera settings to compensate for the increased motion. Use a faster shutter speed to minimize motion blur, and consider adjusting your gimbal's responsiveness for smoother tracking.
Always prioritize safety and adhere to local drone regulations when determining your flight speed.
Maintaining Consistent Altitude

Maintaining consistent altitude is essential for capturing smooth, professional-looking aerial footage. When side-tracking, even slight changes in height can disrupt the flow of your shot and make it appear amateurish. To achieve a steady altitude, you'll need to master your drone's controls and develop a keen awareness of your surroundings.
Start by using your drone's altitude hold feature if available. This function helps maintain a set height automatically, allowing you to focus on horizontal movement. However, don't rely solely on this feature; always keep an eye on your altitude readout and make minor adjustments as needed.
Wind can be your biggest challenge when maintaining altitude. Be prepared to compensate for sudden gusts by gently adjusting your throttle. Practice flying in various weather conditions to improve your ability to react quickly and smoothly.
Use visual reference points to gauge your altitude. Buildings, trees, or other landmarks can help you stay on track. If you're flying over uneven terrain, consider using a GPS-based elevation map to maintain a consistent height above ground level, ensuring your subject remains properly framed throughout the shot.
Mastering Smooth Yaw Movements
To master smooth yaw movements, you'll need to practice controlled turns with your drone.
You can adjust the speed of your yaw to create different effects, from slow, dramatic pans to quick, dynamic rotations.
As you improve, focus on balancing your yaw movements with the drone's forward or lateral motion to achieve more complex and visually interesting shots.
Practicing Controlled Yaw Turns
Mastering smooth yaw movements is an essential skill for capturing cinematic aerial shots. To practice controlled yaw turns, start with slow, deliberate rotations around a fixed point.
Begin by hovering your drone at a stable altitude, then gently push the yaw control to initiate a turn. Focus on maintaining a consistent speed throughout the rotation.
As you improve, challenge yourself with different yaw speeds. Practice slow, medium, and fast turns, always aiming for smooth starts and stops.
Combine yaw movements with subtle altitude changes to add depth to your shots. Try orbiting around a subject while gradually ascending or descending.
Use visual reference points to gauge your progress. Pick a distant object and attempt to keep it centered in your frame as you perform a 360-degree yaw turn. This exercise will help you develop better spatial awareness and control.
Experiment with different environments and wind conditions. Urban settings with buildings and open landscapes each present unique challenges for yaw control.
Adjusting Speed for Effect
Adjusting the speed of your yaw movements can dramatically transform the mood and impact of your aerial shots. Slow, deliberate yaws create a sense of grandeur and allow viewers to absorb the scene's details. They're perfect for showcasing expansive landscapes or intricate architecture.
On the other hand, faster yaws inject energy and excitement, ideal for action sequences or revealing dramatic vistas.
To master speed control, practice varying your yaw rates. Start with slow, smooth movements, gradually increasing speed while maintaining stability. Use your drone's gimbal sensitivity settings to fine-tune control.
For cinematic effect, try accelerating or decelerating during the yaw. A slow start that builds to a faster reveal can create suspense, while a quick initial movement that slows to savor a particular view adds impact.
Balancing Yaw With Movement
For truly cinematic aerial shots, balancing yaw with forward or backward movement is essential. This technique, often called a "reveal," creates a sense of discovery and anticipation for viewers. As you rotate your drone, you'll simultaneously move it forward or backward, disclosing new elements of the scene.
To master this technique, focus on these key points:
- Start with slow, deliberate movements
- Maintain a consistent speed for both yaw and directional movement
- Use your drone's gimbal to keep the horizon level
- Practice coordinating your thumbs on both control sticks
Begin by practicing with stationary objects, gradually increasing complexity as you improve. You'll want to find a rhythm between your yaw and directional movements, ensuring they complement each other seamlessly.
Remember, the goal is to create a fluid, natural-looking motion that guides the viewer's eye through the scene.
As you become more proficient, experiment with different speeds and angles. You can create dramatic disclosures by starting with a close-up on an object, then slowly yawing and moving backward to showcase the broader landscape.
This technique adds depth and context to your shots, elevating them from simple aerial footage to truly cinematic experiences.
Composition Techniques for Side-Tracking
Side-tracking shots often create dynamic and engaging visuals when executed properly. To capture stunning aerial side-tracking footage, you'll need to master key composition techniques.
First, utilize the rule of thirds by positioning your subject along the vertical gridlines or at their intersections. This creates balance and visual interest in your frame.
Consider leading lines to guide the viewer's eye through the shot. Roads, rivers, or architectural features can serve as natural leading lines in side-tracking sequences. Maintain a consistent distance from your subject to guarantee smooth movement and avoid jarring changes in perspective.
Pay attention to foreground elements that can add depth to your composition. Trees, buildings, or other objects passing in the foreground can create a sense of motion and scale. Experiment with different altitudes to find the most compelling angle for your subject.
For added visual interest, incorporate reveal shots by starting with an obstructed view and gradually disclosing the main subject. Use negative space effectively to emphasize your subject and create a sense of scale or isolation.
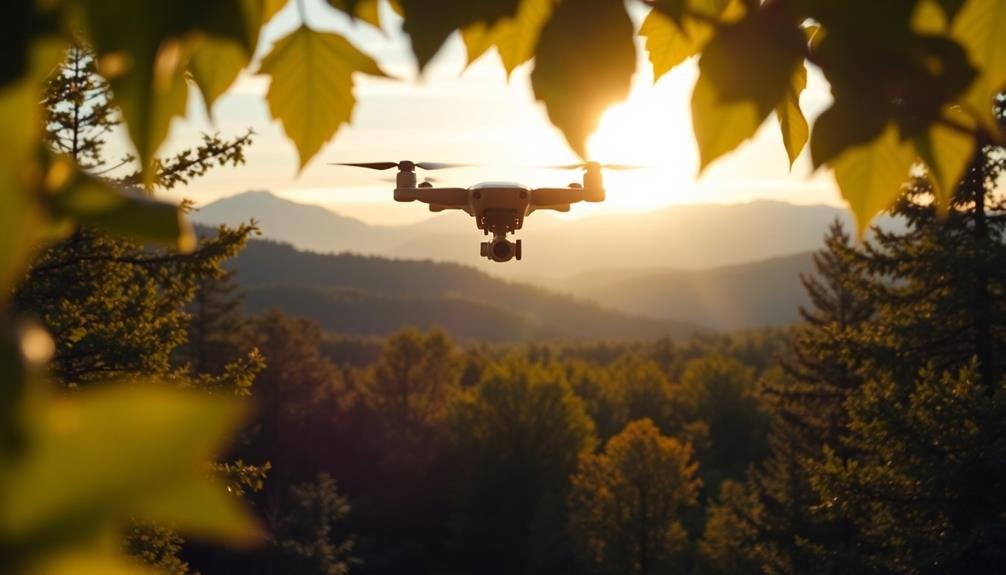
Lighting Considerations for Aerial Footage
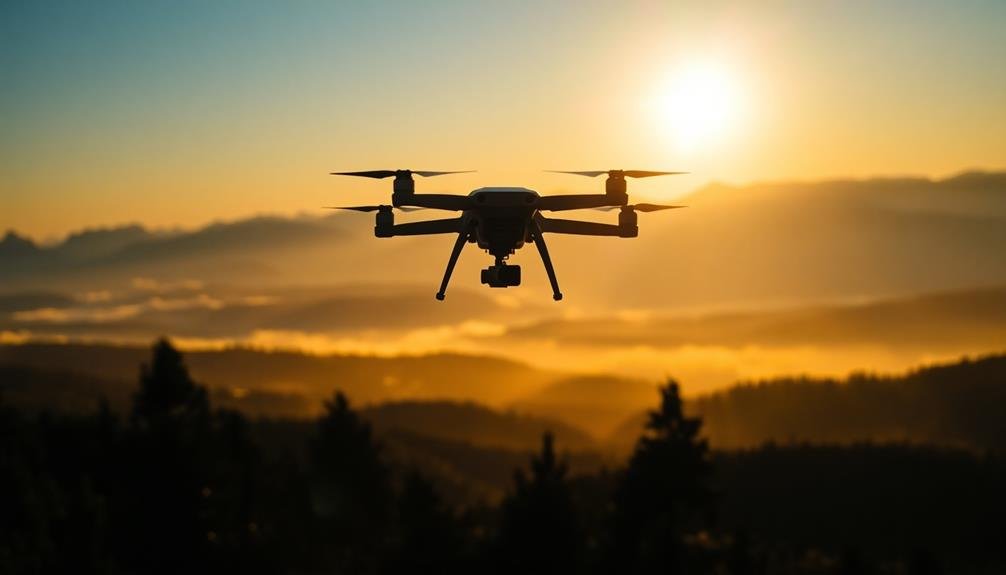
Light plays an essential role in capturing stunning aerial footage. When planning your aerial shots, you'll need to take into account the time of day, weather conditions, and the direction of light to achieve the best results. The golden hours—just after sunrise and before sunset—offer warm, soft light that can dramatically enhance your aerial footage.
However, don't dismiss other times of day, as each presents unique lighting opportunities.
To make the most of lighting in your aerial shots:
- Use the sun's position to create depth and texture in landscapes
- Experiment with backlighting to create silhouettes and dramatic contrasts
- Leverage shadows to add dimension and interest to your compositions
- Adjust your camera settings to compensate for changing light conditions
Be mindful of harsh midday sun, which can create unflattering shadows and wash out colors. In these situations, you might opt for overcast days or use neutral density filters to soften the light.
When shooting in low light conditions, increase your ISO and use a slower shutter speed, but be cautious of motion blur.
Avoiding Common Side-Tracking Mistakes
When executing side-tracking shots with your drone, you'll need to focus on maintaining a consistent speed throughout the movement.
You should carefully plan your flight path to avoid any obstacles that could disrupt your smooth tracking shot.
Maintain Consistent Speed
Maintaining consistent speed is essential for achieving smooth and professional-looking aerial shots. When side-tracking with your drone, even slight variations in speed can disrupt the flow and detract from the cinematic quality of your footage.
To master this technique, practice flying at a steady pace while keeping your subject centered in the frame.
To maintain consistent speed during side-tracking:
- Use your drone's intelligent flight modes, such as ActiveTrack or Follow Me, which automatically adjust speed to match the subject's movement.
- Employ a visual reference point in the distance to help you gauge your speed and maintain a straight flight path.
- Adjust your controller's sensitivity settings to allow for more precise control over your drone's movements.
- Practice flying at different speeds to find the ideal pace for your specific shot and subject.
Remember that slower movements often appear more cinematic, so don't be afraid to reduce your speed for a more dramatic effect.
If you're struggling to maintain consistency, consider using post-production stabilization tools to smooth out any minor speed fluctuations.
With practice and attention to detail, you'll soon be capturing stunning side-tracking shots that rival those seen in Hollywood productions.
Watch for Obstacles
As you perfect your side-tracking technique, it is crucial to remain vigilant about potential obstacles in your drone's path. Even with advanced collision avoidance systems, you're ultimately responsible for your drone's safety. Always scan the area thoroughly before takeoff and maintain visual line of sight during flight.
Be aware of common obstacles that can interfere with your side-tracking shots:
| Obstacle Type | Potential Risks | Mitigation Strategies |
|---|---|---|
| Trees/Foliage | Branches, leaves | Fly higher, maintain distance |
| Buildings | Walls, antennae | Plan route, use maps |
| Power Lines | Electrocution, damage | Avoid flying near utilities |
Don't rely solely on your drone's camera feed. Use your peripheral vision to spot potential hazards. If you're filming in unfamiliar locations, consider scouting the area on foot first. This allows you to identify obstacles and plan your flight path accordingly.
Post-Production Tips for Side-Tracking Shots
How can you elevate your side-tracking shots in post-production? With the right techniques, you'll transform your raw footage into cinematic masterpieces. Start by stabilizing your video to smooth out any unwanted camera shake. Use warp stabilizer in Adobe Premiere Pro or a similar tool in your preferred editing software.
Next, color grade your footage to enhance its visual appeal and create a consistent look throughout your project.
To take your side-tracking shots to the next level, consider these post-production tips:
- Add dynamic speed ramping to create tension or emphasize key moments in your sequence.
- Incorporate subtle zoom effects to draw viewers' attention to specific areas of the frame.
- Use masking techniques to seamlessly blend multiple shots or add creative changes.
- Apply lens flares or light leaks to enhance the atmospheric quality of your aerial footage.
Don't forget to fine-tune your audio. Add appropriate sound effects or music to complement the visual narrative.
Creative Applications of Side-Tracking
Side-tracking shots offer a wealth of creative possibilities beyond their basic application. You can use them to disclose landscapes gradually, building suspense as you reveal breathtaking vistas or hidden elements.
Try tracking alongside moving subjects like cars, boats, or runners to create a sense of parallel movement and immersion in the action.
For establishing shots, side-tracking can add depth and dimension to cityscapes or natural environments. You'll create a more dynamic introduction to your scene than a static wide shot.
In dialogue scenes, track along with characters as they walk and talk, maintaining a consistent framing while adding visual interest.
Consider using side-tracking for shifts between scenes. As you track past foreground objects, they can act as natural wipes, seamlessly blending one location into another.
You can also create unique point-of-view shots by tracking alongside a character's eyeline, revealing what they see as they turn their head.
For abstract or artistic sequences, experiment with tracking past various textures, colors, or patterns. This technique can create mesmerizing visual rhythms and add a distinct style to your project.
Safety Precautions During Side-Tracking Maneuvers
During side-tracking maneuvers, safety should be your top priority. Always maintain a safe distance from obstacles and other aircraft, and be aware of your surroundings at all times. Before attempting any side-tracking shots, thoroughly familiarize yourself with your drone's capabilities and limitations.
To guarantee a safe side-tracking experience, follow these essential precautions:
- Conduct a pre-flight check of your drone, including battery levels, propeller condition, and camera mount stability.
- Scout the location beforehand to identify potential hazards like power lines, trees, or buildings that might interfere with your flight path.
- Use a spotter to help monitor the drone's position and alert you to any unexpected obstacles or changes in weather conditions.
- Practice your maneuvers in an open area before attempting them in more challenging environments.
Always adhere to local regulations and obtain necessary permits for your aerial filming. Don't push your equipment beyond its limits, and be prepared to abort the shot if conditions become unsafe.
Frequently Asked Questions
How Do Weather Conditions Affect Side-Tracking Shots?
Weather conditions greatly impact your side-tracking shots. Wind can cause camera shake, while rain or fog may reduce visibility. Bright sunlight affects exposure, and cloudy skies can create flat lighting. You'll need to adjust your settings accordingly.
Can Side-Tracking Be Combined With Other Aerial Maneuvers?
Yes, you can combine side-tracking with other aerial maneuvers. Try mixing it with ascending or descending movements, or incorporate gentle yaw rotations. You'll create dynamic shots that add depth and complexity to your aerial cinematography.
What Are the Legal Restrictions for Side-Tracking in Urban Areas?
You'll need to follow local drone laws when side-tracking in urban areas. Check for no-fly zones, maintain visual line of sight, and stay below altitude limits. Don't forget to obtain necessary permits and respect privacy.
How Does Side-Tracking Differ Between Fixed-Wing Drones and Quadcopters?
You'll find that fixed-wing drones excel at long, sweeping side-tracking shots due to their gliding ability. Quadcopters offer more precise control for tighter spaces and can hover, allowing for smoother, more versatile side-tracking movements.
Are There Specific Insurance Considerations for Aerial Side-Tracking Cinematography?
You'll need specialized drone insurance for aerial cinematography. It should cover liability, equipment damage, and potential privacy issues. Don't forget to check local regulations and obtain necessary permits before flying for commercial purposes.
In Summary
You've now mastered the art of cinematic side-tracking! Remember, practice makes perfect. Keep honing your skills, experimenting with different speeds and altitudes. Don't forget to prioritize safety and follow local regulations. With these tips in mind, you'll capture stunning aerial shots that'll elevate your productions. So get out there, let your creativity soar, and wow your audience with smooth, professional side-tracking sequences. The sky's the limit!
As educators and advocates for responsible drone use, we’re committed to sharing our knowledge and expertise with aspiring aerial photographers.


Leave a Reply