The vertigo effect in aerial footage can transform your cinematic shots. You'll create mesmerizing visuals with techniques like dolly zoom with altitude change, reverse dolly zoom, and spiral descent. Try zoom while orbiting or push-pull with focal length adjustment for dynamic scenes. Experiment with parallax vertigo using foreground objects or combine hyperlapse with the vertigo effect. Don't forget the whip pan combined vertigo for mind-bending shifts. You can even enhance your footage in post-production. These techniques offer endless possibilities to captivate your audience and elevate your aerial cinematography. Mastering these methods will open up a world of creative opportunities for your next project.
Key Takeaways
- Dolly zoom with altitude change creates dramatic emphasis by adjusting drone height and focal length simultaneously.
- Reverse dolly zoom combines drone movement towards the subject with zooming out for a disorienting effect.
- Spiral descent vertigo effect merges spiraling descent with zoom for mesmerizing visuals in establishing shots.
- Circular orbit technique maintains a consistent circular path while adjusting zoom for an enchanting visual effect.
- Whip pan combined vertigo merges fast drone pans with simultaneous zooming and backward movement for mind-bending sequences.
Dolly Zoom With Altitude Change

Ascending or descending steadily, execute a dolly zoom by simultaneously adjusting your drone's altitude and focal length. As you fly higher or lower, zoom in or out to maintain the subject's size in the frame. This technique creates a disorienting effect where the background appears to stretch or compress while the subject remains unchanged.
To achieve this, start with a wide-angle shot and gradually increase altitude while zooming in. Alternatively, begin high with a telephoto lens and descend while zooming out. Maintain a constant speed for both movements to guarantee a smooth effect.
Practice precise control over your drone's vertical motion and camera zoom to perfect this technique. Use this effect to emphasize dramatic moments or reveal vast landscapes. It's particularly effective when showcasing tall structures or highlighting the scale of natural formations.
Experiment with different speeds and distances to find the most impactful results for your scene. Remember to plan your flight path carefully, considering obstacles and wind conditions that might affect your drone's stability during the maneuver.
Reverse Dolly Zoom
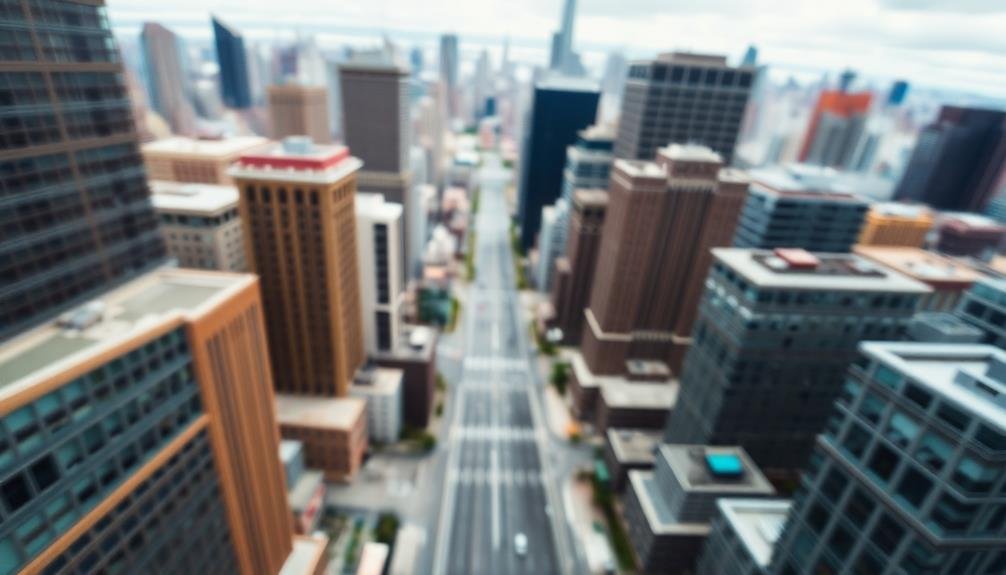
You'll find the reverse dolly zoom alluring for its unique visual impact in aerial cinematography.
This technique involves flying towards your subject while simultaneously zooming out, creating a disorienting effect that can heighten tension or emphasize a character's emotional state.
Camera Movement Techniques
At the heart of the vertigo effect lies the reverse dolly zoom, a powerful camera movement technique that creates a disorienting visual sensation.
To execute this effect in aerial footage, you'll need to combine drone movement with camera zoom. As you fly your drone towards the subject, simultaneously zoom out, or vice versa. This creates the illusion that the background is shifting while the subject remains the same size.
To enhance your vertigo effect shots, consider these additional camera movement techniques:
- Spiral descent: Fly your drone in a spiral pattern while descending, creating a dizzying effect
- Vertical reveal: Start with a close-up and slowly ascend to reveal the full scene
- Orbit tracking: Circle around your subject while maintaining focus
- Parallax push: Move laterally while adjusting the camera angle to emphasize depth
- Tilt-shift shift: Combine a vertical movement with a tilt of the camera gimbal
When implementing these techniques, pay attention to your drone's speed and the rate of zoom or movement.
Smooth, controlled motions will yield the best results. Practice these movements in various environments to master the vertigo effect and create enthralling aerial footage that'll leave your audience in awe.
Emotional Impact Explained
The reverse dolly zoom's emotional impact stems from its ability to distort perception and create a sense of unease. You'll find that this technique can evoke a range of emotions in your audience, from disorientation to anxiety or even fear.
As the background appears to rush towards the subject while the subject remains unchanged, you're effectively manipulating the viewer's spatial awareness. This visual contradiction can symbolize a character's internal conflict or a sudden realization.
You're fundamentally mimicking the feeling of vertigo, where the world seems to shift around a fixed point. It's particularly effective in conveying moments of psychological tension or emotional turmoil.
When you're using this technique in aerial footage, you're amplifying its impact. The vast, open spaces typically captured in aerial shots make the vertigo effect even more pronounced.
You can use it to emphasize the scale of a landscape, the isolation of a subject, or the overwhelming nature of a situation. By combining the reverse dolly zoom with aerial perspectives, you're creating a powerful tool for storytelling that goes beyond mere visual spectacle.
Spiral Descent Vertigo Effect

Dizzying and dramatic, the Spiral Descent Vertigo Effect creates a mesmerizing visual experience in aerial cinematography. This technique combines a spiraling descent with a simultaneous zoom, producing a disorienting yet enthralling visual that draws viewers into the scene.
To execute this effect, you'll need to fly your drone in a spiral pattern while descending and zooming in on your subject. The key is maintaining a consistent spiral radius and descent rate while smoothly adjusting your zoom. This creates an illusion of the subject growing larger while the surroundings appear to stretch and warp.
Here are five tips to perfect your Spiral Descent Vertigo Effect:
- Practice flying smooth, consistent spirals before adding zoom
- Use a gimbal with adjustable rotation speed for better control
- Experiment with different spiral radii and descent rates
- Start with a wide-angle lens and zoom in gradually
- Choose subjects with distinct vertical elements for maximum impact
When done correctly, this technique can evoke a range of emotions, from excitement to unease.
It's particularly effective in establishing shots, revealing locations, or emphasizing a character's psychological state. Remember to use this effect sparingly, as overuse can diminish its impact and potentially disorient your audience.
Zoom While Orbiting

To achieve the zoom while orbiting vertigo effect, you'll need a drone with zoom capabilities and smooth flight controls.
Set up your drone to orbit a subject while gradually zooming in or out during the flight.
Execute this technique by maintaining a consistent circular path around your focal point, adjusting your zoom level steadily throughout the orbit to create a disorienting yet enchanting visual effect.
Equipment and Setup Requirements
Achieving the vertigo effect through zoom while orbiting requires several key pieces of equipment and careful setup. You'll need a high-quality drone capable of smooth, precise movements and a camera with adjustable zoom functionality. Confirm your drone has GPS stabilization and obstacle avoidance features for safer, more controlled flight.
To execute this technique effectively, you'll need:
- A drone with intelligent flight modes (e.g., Point of Interest or Orbit)
- A camera with manual zoom control or a zoom lens
- A remote controller with customizable buttons for zoom control
- ND filters to maintain proper exposure during zooming
- Video editing software for post-production fine-tuning
Before attempting the zoom while orbiting effect, practice your drone piloting skills and familiarize yourself with your equipment's capabilities.
Set up your shot by identifying a compelling subject and determining the ideal flight path and altitude. Configure your drone's orbit settings, adjusting the radius and speed to match your creative vision.
Plan your zoom timing to coincide with the orbital movement, creating a seamless and enchanting vertigo effect. Remember to comply with local drone regulations and prioritize safety throughout the process.
Executing the Technique
With your equipment set up and flight path planned, it's time to execute the zoom while orbiting technique.
Begin by positioning your drone at the starting point of your circular flight path, confirming it's at the desired altitude. Activate your camera's zoom function, setting it to the widest angle.
As you start flying, smoothly initiate the orbit around your subject. Simultaneously, begin slowly zooming in on your focal point. Maintain a consistent speed for both the orbit and the zoom to create a seamless effect. Keep your subject centered in the frame throughout the maneuver.
Pay close attention to your drone's position and adjust as needed to maintain the circular path. If your drone has obstacle avoidance features, consider disabling them for smoother movement.
Monitor your battery levels and wind conditions to confirm a safe flight. For added drama, try increasing your orbit speed slightly as you zoom in. This creates a more intense vertigo effect.
Experiment with different orbit sizes and zoom speeds to find the perfect combination for your scene. Remember, practice makes perfect – don't be discouraged if your first attempts aren't flawless.
Push-Pull With Focal Length Adjustment

The push-pull technique with focal length adjustment is a powerful method for creating a vertigo effect in aerial footage. This approach combines camera movement with a change in focal length, resulting in a disorienting visual experience.
To execute this technique, you'll need a drone with a zoom lens or the ability to adjust focal length mid-flight. As you fly your drone towards or away from your subject, simultaneously adjust the focal length in the opposite direction. This creates an illusion where the background appears to stretch or compress while the subject remains relatively unchanged in size.
The key is to maintain a smooth, consistent motion throughout the shot.
Here are five tips to enhance your push-pull vertigo effect:
- Use a slow, steady drone speed for maximum impact
- Practice precise focal length adjustments to match your drone's movement
- Choose a subject with a distinct foreground and background
- Experiment with different focal lengths and distances
- Consider adding post-production stabilization for smoother results
When done correctly, this technique can add a sense of unease or excitement to your aerial footage. It's particularly effective for revealing landscapes, emphasizing distances, or creating tension in storytelling.
Remember to plan your shots carefully and always prioritize safety when operating your drone.
Tilt-Shift Lens Simulation
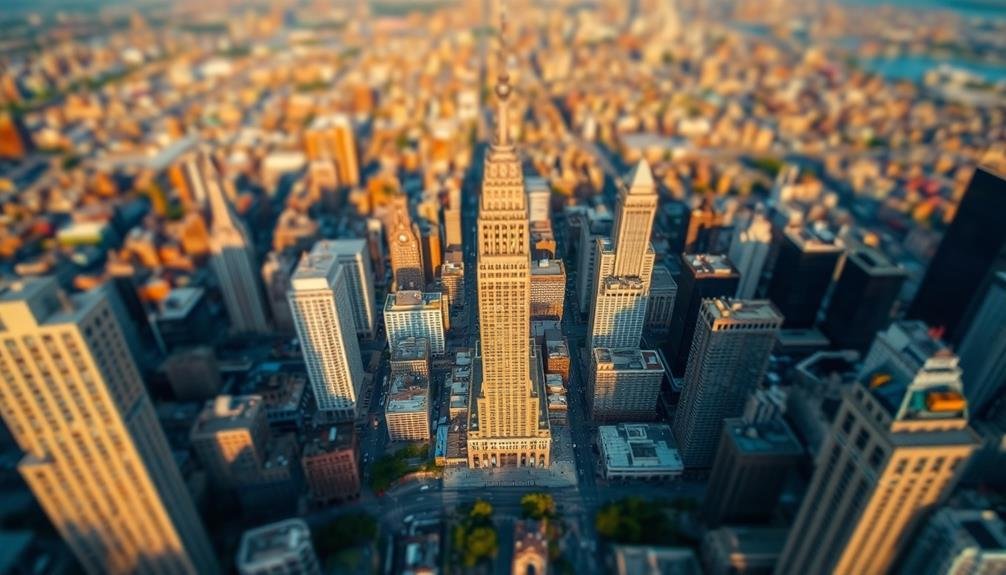
You can create a fascinating miniature world effect in your aerial footage by simulating a tilt-shift lens.
This technique involves manipulating the focus and depth of field to make large scenes appear small and toy-like.
Miniature World Effect
Creating a miniature world effect in your aerial footage can transform ordinary scenes into enchanting, toy-like landscapes. This technique, often associated with tilt-shift photography, can be achieved in post-production using video editing software. By selectively blurring parts of your aerial footage and adjusting color saturation, you'll create the illusion of a miniature scale model.
To achieve this effect, start by choosing footage with an appropriate perspective, ideally shot from a high angle. Next, apply a gradient blur to the top and bottom of the frame, keeping the center in focus. Increase the color saturation and contrast to enhance the toy-like appearance. Finally, speed up your footage slightly to mimic the quick movements often associated with miniature scenes.
Here are some key considerations when creating a miniature world effect:
- Choose scenes with small, distinct elements like cars, people, or buildings
- Aim for footage shot from a 45-degree angle or higher
- Use a wider aperture to create a shallower depth of field
- Experiment with different blur intensities and gradients
- Adjust playback speed to enhance the illusion of miniature movement
Focus Manipulation Techniques
Simulating tilt-shift lens effects in aerial footage can dramatically enhance the visual impact of your scenes. This technique involves manipulating focus to create a miniature-like appearance, drawing attention to specific areas while blurring others.
To achieve this effect, you'll need to selectively adjust the focus in post-production. Start by identifying the area you want to keep in sharp focus. This could be a particular building, intersection, or landmark.
Next, gradually increase the blur on the surrounding areas, creating a shallow depth of field illusion. You can use software like Adobe After Effects or DaVinci Resolve to apply this effect. These programs offer tools to create custom focus masks and adjust blur intensity.
Experiment with different shapes and gradients for your focus area to achieve the most natural-looking result. When applying tilt-shift effects, consider the perspective of your shot. The technique works best with footage captured from high angles, as it mimics the look of photographing miniature models.
Remember to adjust the blur intensity based on the perceived distance from the focal point to maintain realism.
Parallax Vertigo Using Foreground Objects

Once you've mastered basic vertigo techniques, it's time to explore the parallax vertigo effect using foreground objects. This advanced method creates a powerful sense of movement and depth in your aerial footage. To achieve this effect, you'll need to combine your drone's movement with strategically placed foreground elements.
Start by identifying suitable foreground objects in your shooting location. These could be:
- Trees or tall structures
- Rock formations or mountains
- Architectural elements like pillars or arches
- Moving objects like vehicles or people
- Natural elements such as waterfalls or clouds
Position your drone so that these objects are in the foreground of your shot. As you move the drone, the foreground elements will appear to shift more quickly than the background, creating a dramatic parallax effect. Experiment with different speeds and directions to enhance the vertigo sensation.
When executing this technique, pay attention to your composition. Verify that the foreground objects don't completely obscure your main subject. Instead, use them to frame the shot and guide the viewer's eye.
Hyperlapse With Vertigo Effect
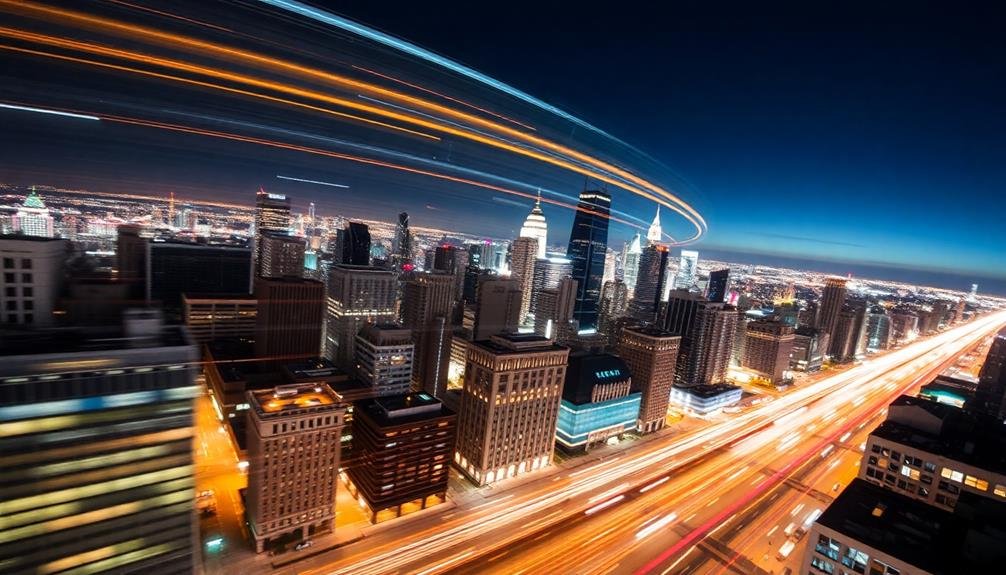
The hyperlapse with vertigo effect combines two powerful cinematic techniques to create truly mesmerizing aerial footage. To execute this technique, you'll need to fly your drone in a straight line while simultaneously zooming out and increasing altitude. This creates the illusion of the landscape rushing towards the viewer while maintaining a fixed focal point.
Start by setting your drone to capture images at regular intervals as it moves forward. You'll want to gradually increase altitude and adjust your camera's focal length throughout the flight. In post-production, stitch these images together to create a smooth hyperlapse sequence.
To enhance the vertigo effect, use keyframes to animate the scale of your footage. Gradually increase the scale as the hyperlapse progresses, making the center of the frame appear to stay in place while the edges expand outward. This creates a dizzying, dream-like quality that draws viewers into the scene.
Experiment with different flight speeds, altitude changes, and zoom rates to find the perfect balance for your specific shot. Remember to maintain a steady flight path and smooth camera movements for the best results.
Whip Pan Combined Vertigo
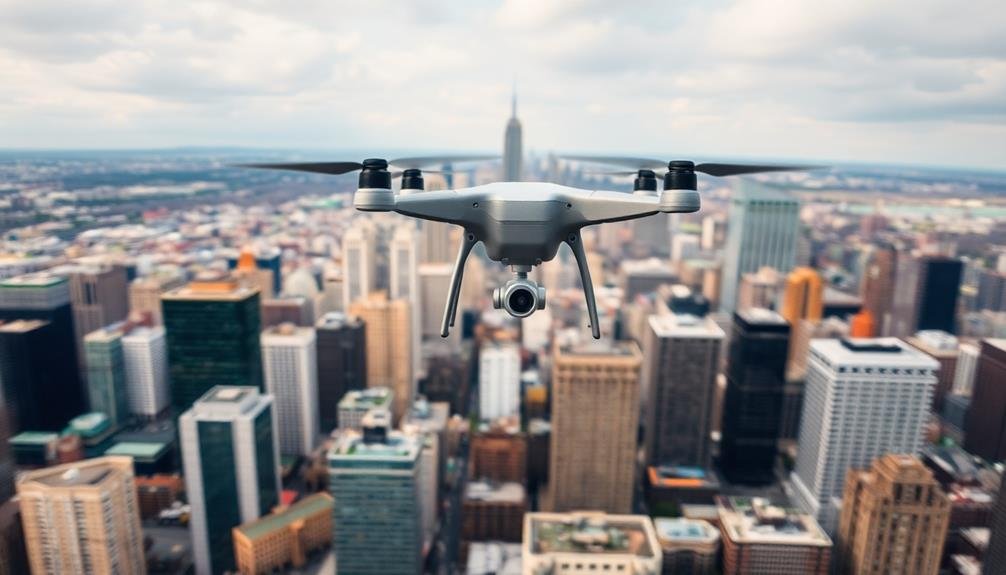
With a dizzying twist, the whip pan combined vertigo technique elevates aerial footage to new heights of visual excitement. This dynamic method merges the rapid movement of a whip pan with the disorienting zoom of the vertigo effect, creating a powerful visual punch that'll captivate your audience.
To execute this technique, you'll need to master both the whip pan and vertigo effect separately before merging them. Start with a smooth, fast pan of your drone, then seamlessly shift into the vertigo effect by simultaneously zooming in and moving the drone backward (or vice versa). The result is a mind-bending sequence that adds depth and drama to your aerial shots.
Here are five key tips for nailing the whip pan combined vertigo:
- Practice smooth, controlled drone movements
- Time your zoom perfectly with the pan
- Experiment with different speeds for varied effects
- Use a gimbal for added stability
- Choose subjects with strong vertical lines for maximum impact
When used judiciously, this technique can transform ordinary scenes into extraordinary visual experiences.
It's particularly effective for revealing vast landscapes, emphasizing height, or creating a sense of urgency in your footage. Remember, moderation is key – overusing this effect can overwhelm viewers and diminish its impact.
Vertigo Effect in Post-Production
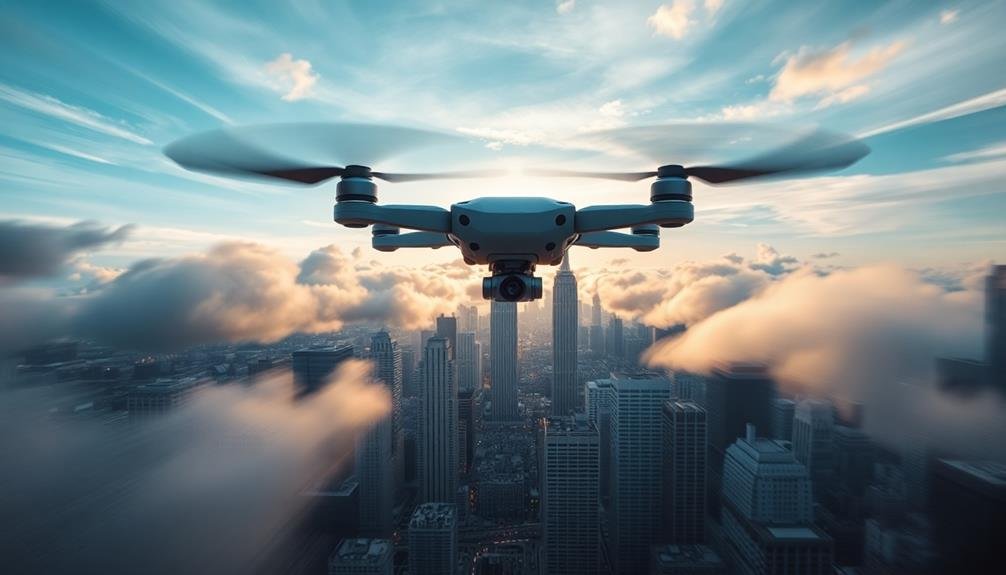
Creating a vertigo effect in post-production offers filmmakers greater control and flexibility over their aerial footage. You can achieve this effect using video editing software like Adobe Premiere Pro or After Effects.
Begin by selecting your desired clip and duplicating it on a separate layer. Scale up the top layer gradually while simultaneously pushing in on the bottom layer. This creates the illusion of the background moving away while the foreground remains static.
To enhance the effect, you can add motion blur to the expanding layer, simulating the disorienting sensation of vertigo. Adjust the keyframes to control the speed and intensity of the effect, ensuring it matches your desired pacing.
You can also experiment with masking techniques to isolate specific areas of the frame, creating a more focused vertigo effect. For added realism, consider incorporating subtle camera shake or rotation. This mimics the slight instability often experienced during actual vertigo episodes.
Frequently Asked Questions
How Does Camera Sensor Size Affect the Vertigo Effect in Aerial Footage?
You'll find that larger sensors capture more detail and depth, enhancing the vertigo effect in aerial shots. They'll provide a wider field of view, allowing you to emphasize the distance between foreground and background elements more effectively.
Can Vertigo Effects Be Achieved Using Smartphone Cameras on Drones?
You can achieve vertigo effects with smartphone cameras on drones, but it's challenging. You'll need to manually control zoom while flying smoothly. Practice is key, and some drone apps offer digital zoom features to help.
What Are the Best Weather Conditions for Capturing Vertigo Effects Outdoors?
You'll want calm, clear days for the best vertigo effects outdoors. Avoid windy conditions that can shake your camera. Soft, even lighting is ideal, so overcast skies or golden hour can work well. Don't forget to check visibility.
How Do Different Drone Flight Modes Impact the Execution of Vertigo Techniques?
You'll find that different drone flight modes greatly affect vertigo techniques. Orbit mode creates smooth circular movements, while tracking mode follows subjects. Manual mode gives you full control, but it's trickier to execute steady vertigo effects.
Are There Any Specific Safety Considerations When Filming Vertigo Effects With Drones?
When filming vertigo effects with drones, you'll need to prioritize safety. Always maintain visual line of sight, avoid flying over people, respect altitude limits, and be aware of your surroundings. Don't push your drone's capabilities beyond its limits.
In Summary
You've now got a powerful toolkit of vertigo effect techniques for your aerial cinematography. Whether you're using in-camera methods or post-production tricks, these approaches will add depth and drama to your shots. Don't be afraid to experiment and combine techniques for unique results. Remember, practice makes perfect, so get out there and start flying! With these skills, you'll elevate your drone footage from ordinary to truly cinematic.

As educators and advocates for responsible drone use, we’re committed to sharing our knowledge and expertise with aspiring aerial photographers.


Leave a Reply