Master altitude control for precise parallax shots, and plan your flight path to maximize composition. Utilize foreground elements like trees or rocks to enhance depth and frame your subject. Experiment with dynamic camera angles beyond top-down views to create visual interest. Optimize drone speed, typically 2-5 mph, for smooth footage while adjusting near objects. Consider the time of day, with golden hours offering ideal lighting for depth. In post-processing, stabilize footage and apply subtle zoom effects to enhance the parallax. By mastering these techniques, you'll elevate your aerial cinematography to new heights.
Key Takeaways
- Master precise altitude and speed control for smooth, consistent flight during parallax shots.
- Plan flight paths and compositions in advance, incorporating foreground elements for depth and visual interest.
- Experiment with dynamic camera angles and movements to enhance the parallax effect and viewer engagement.
- Utilize optimal lighting conditions, such as golden hours, to add depth and dimension to aerial footage.
- Apply post-processing techniques like stabilization, layer speed adjustment, and subtle zoom effects to enhance the parallax effect.
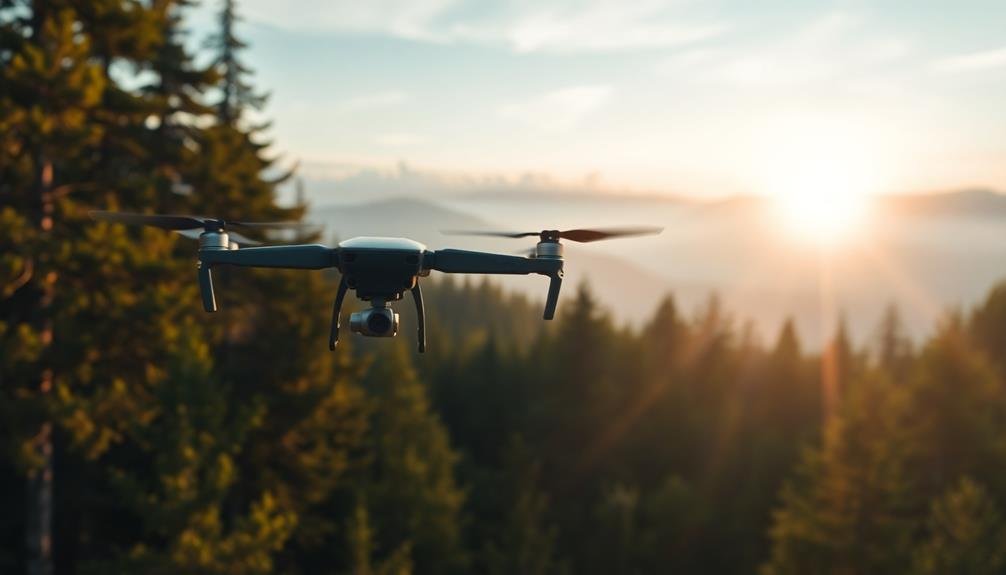
Master Altitude Control
Consistently maintaining precise altitude control is vital for achieving stunning aerial parallax shots. You'll need to master your drone's altitude hold function and develop a keen sense of spatial awareness.
Practice flying at various heights, keeping your drone steady at each level. This skill is essential for creating the illusion of movement between foreground and background elements.
Start by setting your desired altitude for the shot. Use your drone's built-in altimeter and visual cues from the environment to maintain a consistent height.
Pay attention to obstacles like trees, buildings, or terrain changes that might affect your altitude. When executing a parallax move, focus on smooth, gradual ascents or descents to enhance the effect.
Consider using automated flight modes, such as waypoints or orbit, to maintain a steady altitude while you focus on camera control.
However, don't rely solely on these features; develop your manual flying skills for more precise control. Remember, even small altitude changes can greatly impact your parallax effect, so aim for smooth, controlled movements.
With practice, you'll be able to execute flawless aerial parallax shots that captivate your audience.
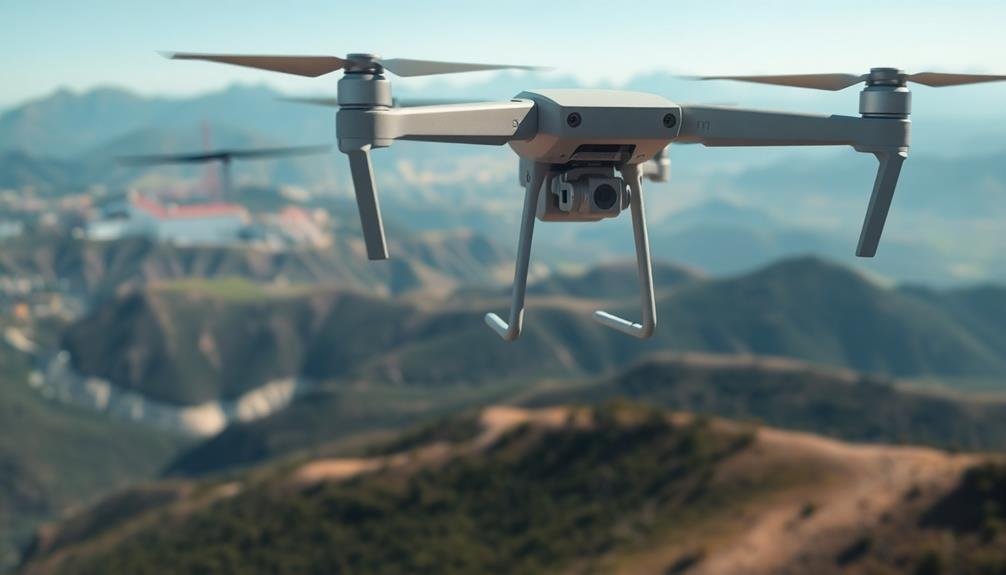
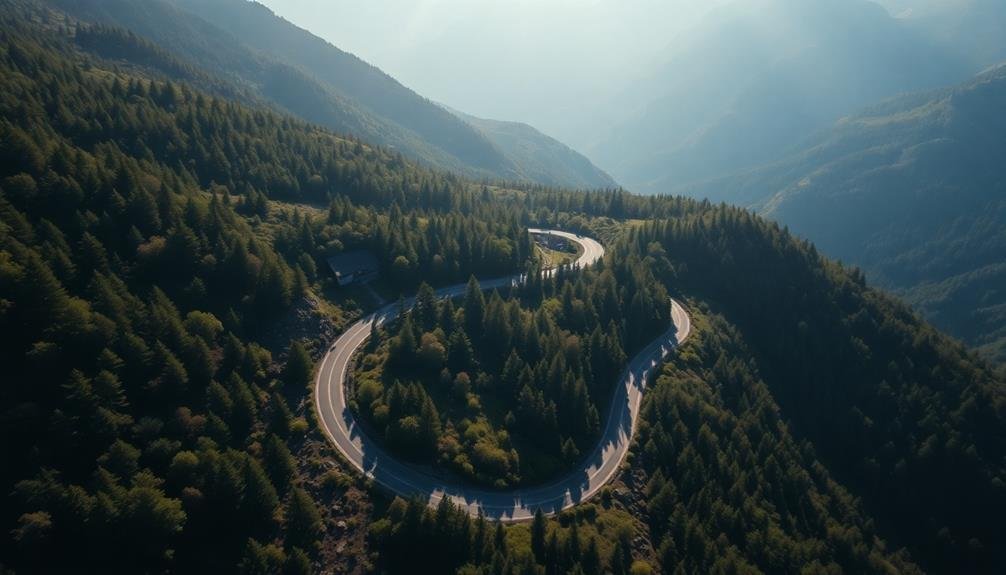
Plan Your Flight Path
Before you take flight, it's essential to scout your filming locations and familiarize yourself with the terrain.
Visualize your desired shots and plan your flight path accordingly, considering obstacles and potential visual elements.
Scout Locations Beforehand
Prior to launching your drone, scouting locations and planning your flight path is essential for successful aerial parallax cinematography. You'll want to identify potential obstacles, evaluate lighting conditions, and determine the most effective angles for your shots.
By visiting the location in advance, you can assess the terrain, identify any restricted airspace, and plan your takeoff and landing zones.
When scouting, pay attention to:
- Natural features: Look for interesting landscapes, bodies of water, or unique geological formations that can add depth to your parallax shots.
- Man-made structures: Identify buildings, bridges, or other architectural elements that can create compelling foreground and background layers.
- Movement patterns: Observe traffic flow, pedestrian activity, or any other dynamic elements that could enhance your parallax effect.
During your scouting mission, use a smartphone app to check for any airspace restrictions or required permits.
Take note of the sun's position throughout the day to plan for ideal lighting conditions.
Consider creating a rough storyboard or shot list based on your findings. This preparation will help you maximize your flight time and capture the most stunning aerial parallax footage possible when you return with your drone.
Visualize Shots Pre-Flight
Once you've scouted your location, it's time to visualize your shots and plan your flight path.
Begin by mentally mapping out the key elements you want to capture and how they'll interact with your drone's movement. Consider the direction of light, potential obstacles, and the most visually appealing angles for your subject.
Sketch out your intended flight path, noting specific waypoints and altitude changes. Think about how you'll create depth and dimension through parallax movement. Plan to fly at different speeds and heights to add variety to your footage.
Anticipate potential challenges, such as wind patterns or restricted airspace, and devise alternative routes if needed.
Use pre-visualization tools or apps to simulate your shots. These can help you determine the best camera settings, lens choices, and drone speeds for each segment of your flight.
Don't forget to factor in battery life and plan for any necessary pit stops or battery changes.
Utilize Foreground Elements
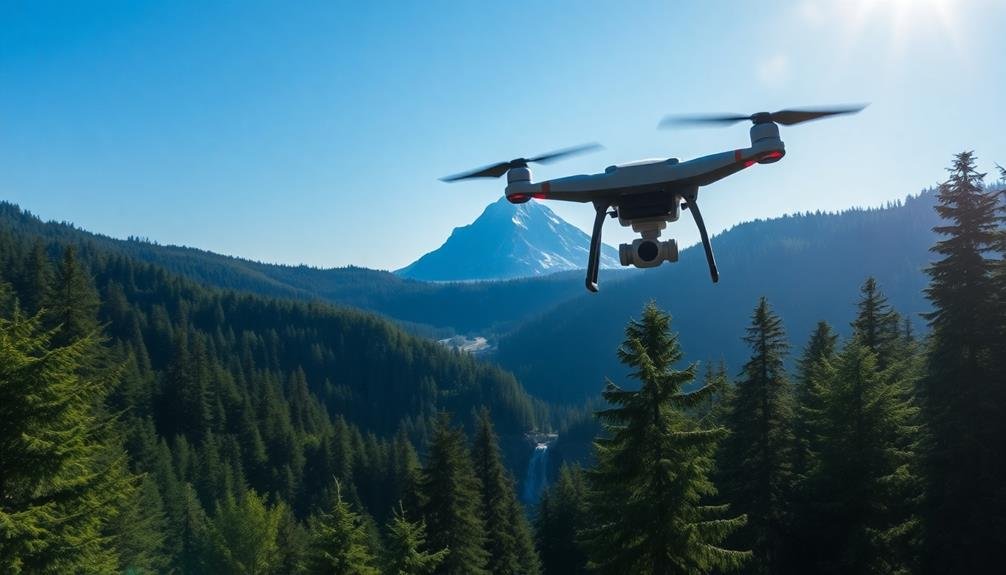
When capturing aerial parallax shots, you'll want to make clever use of foreground elements to enhance your composition.
Frame your shots with natural objects like trees, rock formations, or buildings to add visual interest and guide the viewer's eye.
Frame With Natural Objects
How can you add depth and dimension to your aerial shots? Framing with natural objects is a powerful technique that can elevate your aerial parallax cinematography.
By strategically positioning elements within your frame, you'll create a more immersive and visually appealing composition.
When flying your drone, look for natural objects that can serve as frames for your main subject. Trees, rock formations, and cloud formations are excellent options.
Position your drone so that these elements appear in the foreground or on the edges of your shot, drawing the viewer's eye to the central focus.
Consider these tips when framing with natural objects:
- Experiment with different angles and heights to find the most compelling composition
- Use the rule of thirds to place your framing elements and main subject
- Incorporate movement by slowly revealing your subject through the natural frame
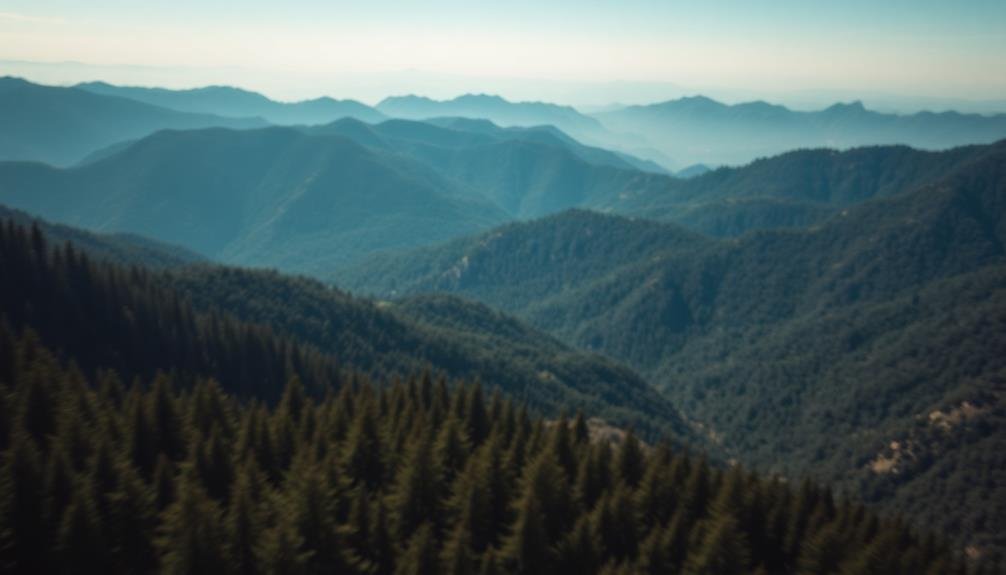
Create Depth Perception
Creating depth perception in your aerial parallax shots can transport viewers right into the scene. To achieve this effect, utilize foreground elements strategically. As you fly your drone, look for objects in the foreground that you can incorporate into your composition. Trees, buildings, or natural formations can serve as excellent framing devices.
Position your drone to capture these foreground elements in the shot's lower third. As you move the drone, these objects will shift more quickly than distant elements, creating a sense of depth and movement. This technique works particularly well when flying over landscapes with varying terrain.
Don't limit yourself to stationary objects. Moving elements like vehicles, boats, or even wildlife can add dynamism to your shots. As you pan or track, these foreground subjects will create a compelling contrast with the background.
Experiment with different altitudes to find the sweet spot where foreground elements are distinct but don't overpower the scene. Remember, the goal is to enhance depth perception, not obstruct the view.
Experiment With Camera Angles
Creativity soars when you experiment with camera angles in aerial parallax cinematography. By exploring different perspectives, you'll add depth and intrigue to your footage. Don't limit yourself to the standard top-down view; instead, try oblique angles, low-altitude shots, or even upward-facing perspectives. These unique vantage points can create striking visual contrasts and enhance the parallax effect.
Consider incorporating dynamic camera movements to amplify the sense of motion and depth. Experiment with:
- Sweeping arcs: Fly your drone in a wide, curved path to reveal landscapes gradually.
- Push-in shots: Start wide and slowly move towards your subject, intensifying the parallax effect.
- Orbit movements: Circle around a focal point to showcase its three-dimensionality.
When choosing your angles, pay attention to the interplay between foreground and background elements. Position objects at varying distances from the camera to maximize the parallax effect.
Use natural features like trees, buildings, or terrain to frame your shots and guide the viewer's eye. By thoughtfully selecting your camera angles and movements, you'll create mesmerizing aerial parallax sequences that immerse your audience in the scene.
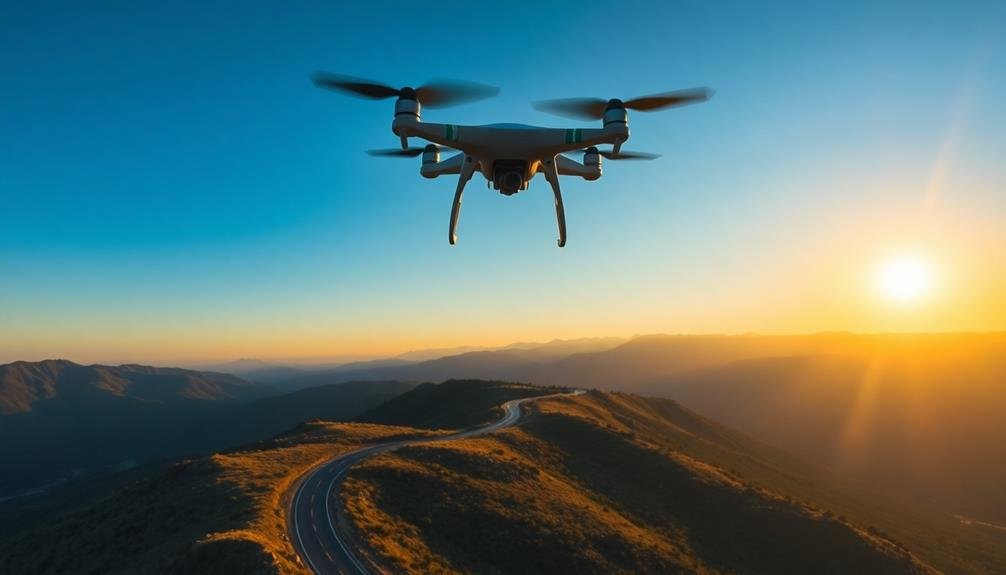
Optimize Drone Speed
The key to achieving smooth parallax effects lies in optimizing your drone's speed. You'll need to find the sweet spot between moving too slowly, which can result in choppy footage, and flying too fast, which can blur your shots.
Start by practicing at different speeds to see how they affect your footage. For most parallax shots, you'll want to maintain a consistent, slow-to-moderate speed. This allows viewers to appreciate the depth and movement in your scene without feeling disoriented.
Try flying at around 2-5 mph for ideal results. Remember, you can always adjust the speed in post-production if needed.
When flying near objects, reduce your speed to emphasize the parallax effect. As you move past foreground elements, the apparent motion will be more pronounced, creating a striking visual impact.
Conversely, increase your speed slightly when capturing distant landscapes to maintain interest.
Don't forget to factor in wind conditions. Strong winds can affect your drone's stability and speed, so adjust accordingly.
Use your drone's intelligent flight modes, like tripod or cinematic mode, to help maintain steady speeds and smooth movements during your parallax shots.
Consider Time of Day
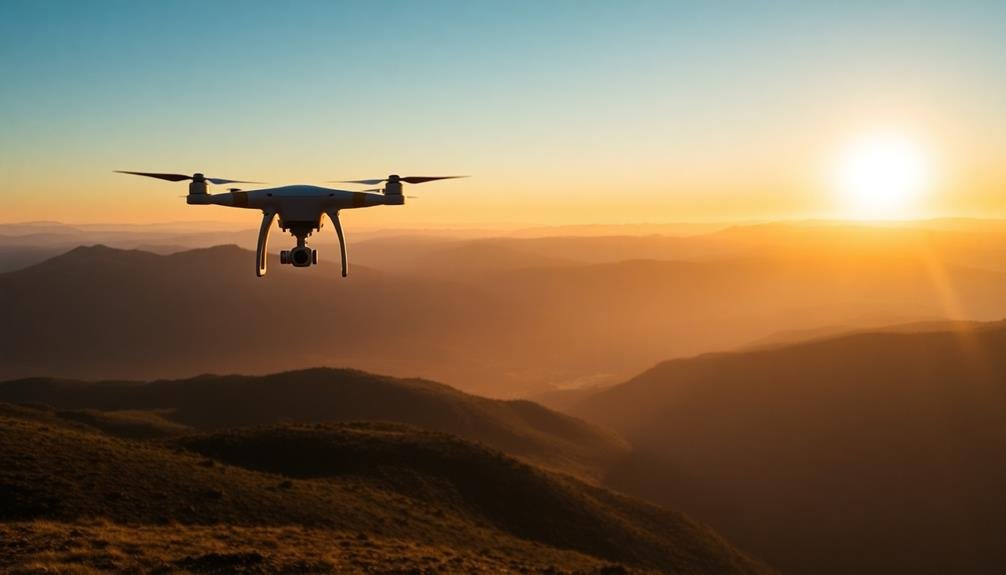
Timing is essential when capturing stunning aerial parallax shots. The time of day you choose to fly your drone can dramatically impact the quality and mood of your footage.
Early morning and late afternoon, known as the golden hours, offer warm, soft light that enhances textures and creates long, dramatic shadows. These conditions are ideal for showcasing depth and dimensionality in your parallax shots.
Midday sun, while bright, can create harsh contrasts and flatten your images. However, it's perfect for capturing vibrant colors and clear details in landscapes.
Overcast days provide diffused light, which can be excellent for even exposure and highlighting subtle color variations.
Consider these factors when planning your shoot:
- Sun position: Determine where the sun will be in relation to your subject
- Shadow length: Longer shadows add depth and interest to your compositions
- Color temperature: Different times of day affect the warmth or coolness of your footage
Post-Processing for Enhanced Parallax Effect
After capturing your aerial footage, post-processing can considerably enhance the parallax effect in your cinematography.
Begin by stabilizing your footage to guarantee smooth motion between layers. Use software like Adobe After Effects or DaVinci Resolve to separate foreground, midground, and background elements into distinct layers.
Next, adjust the movement speed of each layer to accentuate the parallax effect. Slow down distant objects while maintaining the original speed of closer elements. This technique creates a more pronounced sense of depth and dimension.
Apply subtle zoom effects to simulate camera movement, further enhancing the parallax illusion.
Color grading plays a vital role in emphasizing depth. Adjust the saturation and contrast of distant objects to create atmospheric perspective. Use masks and selective coloring to draw attention to specific areas and guide the viewer's eye through the scene.
Experiment with keyframing to introduce subtle camera movements that weren't present in the original footage. This can add dynamism and complexity to your parallax effect.
Frequently Asked Questions
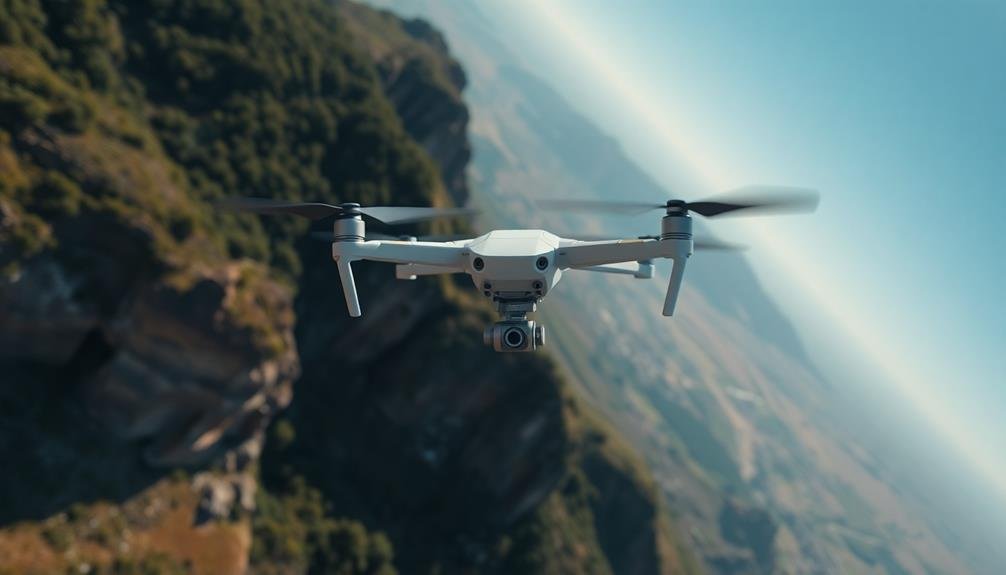
What Equipment Is Necessary for Aerial Parallax Cinematography?
You'll need a drone with a high-quality camera, preferably one with manual controls. Don't forget extra batteries, memory cards, and ND filters. A remote controller with a screen or smartphone mount is essential for framing shots.
How Do Weather Conditions Affect Parallax Shots?
Weather conditions greatly impact your parallax shots. You'll need to watch for wind, which can shake your camera. Bright sunlight may cause glare, while overcast skies can reduce contrast. Rain and fog can create unique effects.
Are There Legal Restrictions for Drone Filming in Certain Areas?
Yes, there are legal restrictions for drone filming in many areas. You'll need to check local laws, as they vary by location. You can't fly near airports, over people, or in restricted airspace without proper permits.
What's the Ideal Drone Battery Life for Parallax Cinematography?
You'll want a drone with at least 30 minutes of battery life for parallax cinematography. It's ideal to have 45-60 minutes, giving you ample time to set up shots, perform multiple takes, and capture extended sequences without interruption.
How Can I Safely Practice Aerial Parallax Techniques as a Beginner?
You'll want to start in open areas with few obstacles. Practice low and slow movements first. Use a spotter for safety. Familiarize yourself with local regulations. Begin with basic parallax shots before attempting more complex maneuvers.
In Summary
You've now got the tools to create breathtaking aerial parallax shots. Remember, practice makes perfect. Don't be afraid to experiment with different altitudes, angles, and speeds. Pay attention to lighting and plan your flights carefully. In post-production, fine-tune your footage to enhance the parallax effect. With these techniques in your arsenal, you'll be capturing stunning aerial cinematography that'll mesmerize your audience. Keep pushing your creative boundaries and enjoy the view from above!
As educators and advocates for responsible drone use, we’re committed to sharing our knowledge and expertise with aspiring aerial photographers.


Leave a Reply