Low-flying drone techniques can elevate your aerial cinematography to new heights. You'll master skimming the surface, weaving through obstacles, and executing reveal shots from below. Dynamic tracking movements and slow-motion ascents add drama, while dollying along linear subjects creates smooth cinematic effects. Perfect orbiting static objects and create depth with parallax effects using foreground elements. Reverse reveal maneuvers build anticipation, and proximity flying demands precise control. Each technique requires careful planning, safety considerations, and adherence to regulations. By mastering these methods, you'll capture stunning footage that immerses viewers in your aerial narrative. The world of low-flying cinematography awaits your exploration.
Key Takeaways
- Master skimming the surface technique, flying 3-10 feet above ground with consistent altitude and speed for dynamic footage.
- Utilize proximity flying techniques, developing spatial awareness and precise control for close-range maneuvers around structures.
- Perfect dynamic tracking movements to smoothly follow moving subjects while maintaining consistent distance and angle.
- Employ dollying along linear subjects, flying parallel to objects while keeping consistent distance and height for cinematic effects.
- Practice smooth circular motion techniques, optimizing yaw control and utilizing intelligent flight modes for orbiting static objects.
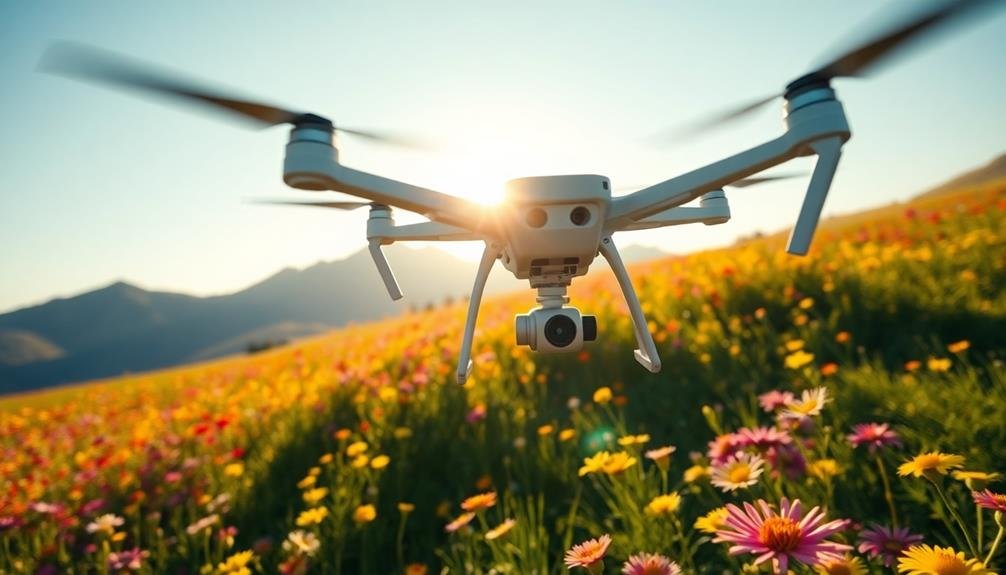
Skimming the Surface
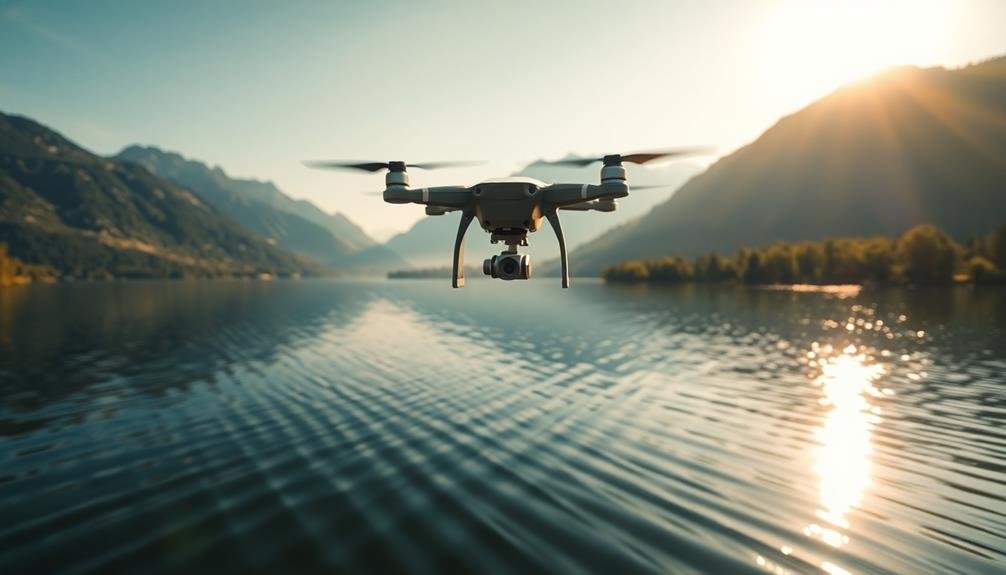
When mastering aerial cinematography, skimming the surface is a technique you'll want to add to your repertoire. This low-altitude flying method creates dynamic, high-speed footage that immerses viewers in the landscape. To execute this technique effectively, you'll need to maintain a consistent altitude of 3-10 feet above the ground or water.
Start by selecting a suitable location with minimal obstacles and a clear flight path. Verify your drone has obstacle avoidance sensors and GPS stabilization. Begin your flight at a higher altitude, then gradually descend to your target height. Maintain a steady speed between 10-20 mph, adjusting based on the terrain and your comfort level.
For smooth footage, use a gimbal-stabilized camera and set your frame rate to 60fps or higher. This allows for slow-motion editing in post-production. Experiment with different camera angles, such as forward-facing, sideways, or even backwards for unique perspectives.
Safety is paramount when skimming surfaces. Always scout locations beforehand, obey local regulations, and never fly beyond your visual line of sight.
With practice, you'll master this exhilarating technique and capture breathtaking footage that sets your work apart.
Weaving Through Obstacles

Weaving through obstacles is a challenging yet rewarding aerial cinematography technique that builds upon the skills developed in surface skimming. As you navigate your drone through tight spaces, you'll create dynamic and engaging footage that immerses viewers in the environment.
Start by scouting your location and identifying potential obstacles like trees, buildings, or rock formations. Plan your flight path carefully, considering the drone's size and maneuverability.
Begin with wider spaces and gradually progress to tighter areas as you gain confidence. Maintain a steady speed and smooth movements to guarantee fluid footage. Use gentle turns and avoid abrupt changes in direction.
Keep your drone at a consistent distance from obstacles to maintain a sense of scale and perspective. Practice flying figure-eight patterns around two objects to hone your control.
As you improve, incorporate vertical movements to add depth to your shots. Always prioritize safety and adhere to local regulations.
Experiment with different camera angles and focal lengths to capture unique perspectives. Consider using a wider lens for a more immersive feel or a tighter shot to emphasize the proximity of obstacles.
Reveal Shots From Below
Disclose shots from below offer a unique perspective that can dramatically transform your aerial cinematography. To execute this technique, start with your drone close to the ground, hidden behind an object or terrain feature. As you slowly ascend, gradually disclose the scene above, creating a sense of discovery and awe for your audience.
When planning your disclose shot, consider the composition carefully. Look for interesting foreground elements that'll frame your subject as it's revealed. Trees, rock formations, or architectural features can all serve as effective visual anchors.
Pay attention to lighting conditions, as backlighting can create striking silhouettes during reveals.
To maximize impact, time your ascent with the rhythm of your shot or the pacing of your overall sequence. You can vary the speed of your upward movement, starting slow and accelerating, or maintaining a steady pace throughout. Experiment with different angles and trajectories as you rise, perhaps adding a gentle rotation to enhance the sense of disclosure.
Remember to practice this technique in a safe, open area before attempting it in more challenging environments. Always adhere to local drone regulations and prioritize safety.
Dynamic Tracking Movements

Dynamic tracking movements in aerial cinematography elevate your footage from static to enthralling. These techniques involve smoothly following a subject as it moves, creating a sense of action and immersion for your viewers. To master dynamic tracking, you'll need to practice precise control of your drone's speed and direction.
Start by identifying your subject and planning its path. You'll want to maintain a consistent distance and angle as you follow. Use your drone's gimbal to keep the subject centered in the frame. For smoother movements, try flying sideways or backwards while tracking. This approach allows for more stable footage and interesting perspectives.
Vary your altitude during the tracking shot to add depth and dimension. You might start low and gradually ascend, or vice versa. Experiment with different speeds to match the energy of your subject. Slow, steady movements work well for dramatic reveals, while faster paces suit action sequences.
Don't forget to take into account obstacles in your flight path. Plan your route carefully to avoid sudden movements that could disrupt your shot.
With practice, you'll develop the intuition to anticipate your subject's movements and capture stunning, dynamic aerial footage.
Slow Motion Ascents

In contrast to fast-paced tracking shots, slow motion ascents offer a mesmerizing way to showcase landscapes and structures. You'll find this technique particularly effective when revealing grand vistas or highlighting the scale of impressive buildings. As you gradually lift your drone, you're creating a sense of anticipation and awe in your audience.
To execute a perfect slow motion ascent, start with your drone close to the ground and steadily increase altitude. Keep your movements smooth and deliberate, maintaining a consistent speed throughout the shot. It's essential to plan your ascent carefully, considering obstacles and wind conditions that might affect your drone's performance.
Here are three powerful imagery examples you can create with slow motion ascents:
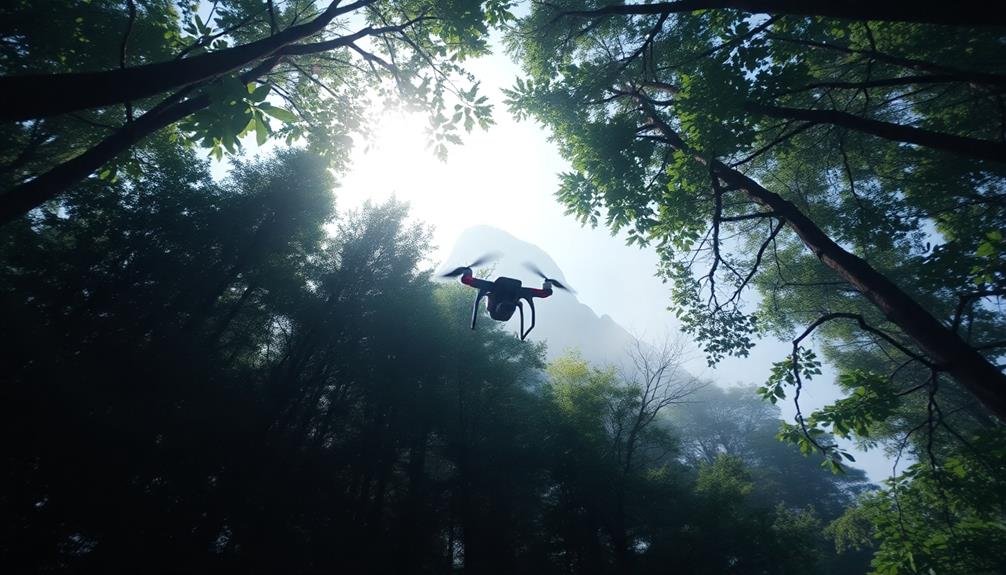
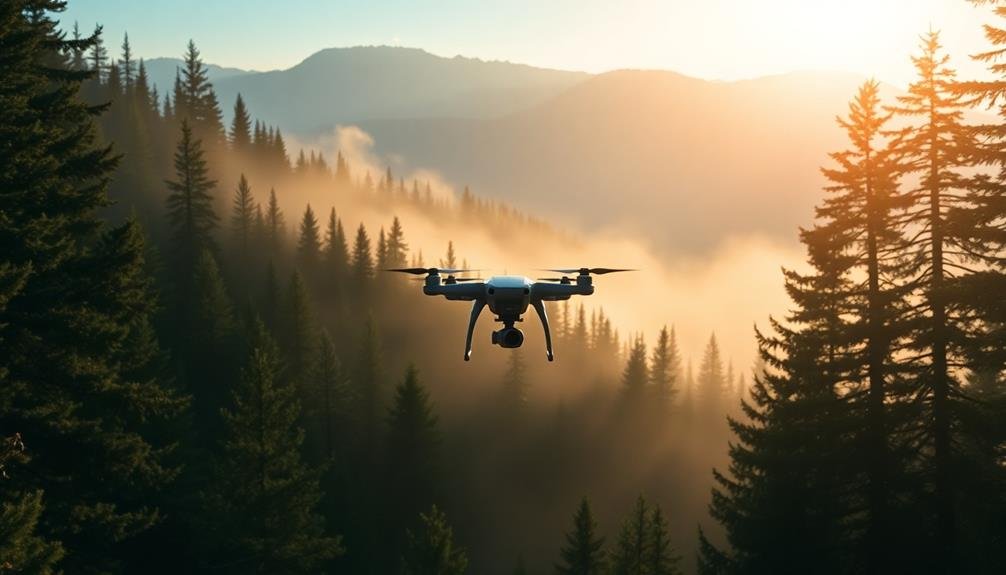
- Rising above a dense forest canopy to reveal a hidden lake
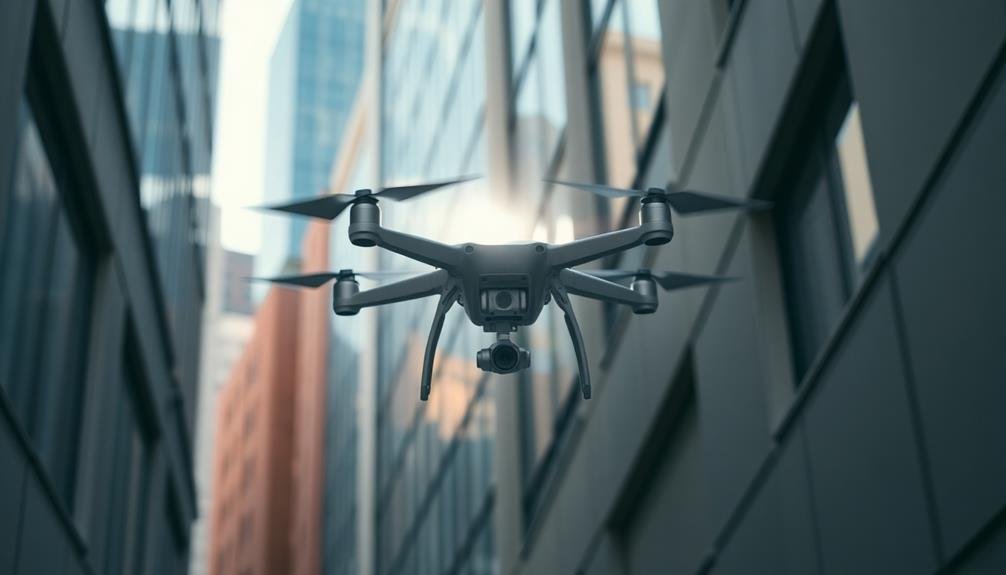
- Ascending alongside a skyscraper, emphasizing its towering height
- Lifting from a crowded street to expose a sprawling cityscape
Remember to adjust your camera settings for ideal slow motion footage. Increase your frame rate to at least 60fps, and consider using a neutral density filter to maintain a cinematic shutter speed.
With practice, you'll master this technique and add a powerful tool to your aerial cinematography repertoire.
Tight Cornering Techniques
When executing tight corners with your drone, you'll need to master smooth banking maneuvers to maintain a cinematic feel.
You must carefully gauge your proximity to objects, ensuring dramatic shots without risking collisions.
Precise speed control is essential; too fast and you'll lose stability, too slow and you'll miss the dynamic energy of the turn.
Smooth Banking Maneuvers
Smooth banking maneuvers often separate amateur drone pilots from skilled aerial cinematographers. To master this technique, you'll need to practice precise control over your drone's pitch, roll, and yaw. Start by flying at a consistent altitude and speed, then gradually introduce gentle banking turns.
As you become more comfortable, increase the angle of your banks while maintaining a smooth, fluid motion.
To create visually stunning footage with smooth banking maneuvers:
- Fly parallel to a curved road or riverbank, banking your drone to follow the natural contours of the landscape.
- Capture a sweeping view of a cityscape by performing a wide, banking turn around a tall building or landmark.
- Execute a graceful spiral descent around a towering structure, gradually tightening your bank as you near the ground.
Remember to adjust your camera's angle to compensate for the drone's tilt during banking maneuvers. This will help maintain a level horizon in your shots.
It's essential to practice these movements in an open area before attempting them in more challenging environments. By mastering smooth banking maneuvers, you'll add a professional, cinematic quality to your aerial footage that will captivate your audience and elevate your work above typical drone videography.
Proximity to Objects
Three key factors come into play when mastering proximity flying and tight cornering techniques: spatial awareness, precise control, and risk management.
To excel at flying close to objects, you'll need to develop an innate sense of your drone's dimensions and capabilities. Practice maintaining a consistent distance from structures while in motion, gradually decreasing the gap as you improve.
Precise control is essential for tight cornering. Master your drone's yaw, pitch, and roll to execute smooth, close-proximity turns. Use subtle stick movements and anticipate your drone's momentum to avoid overcompensating. Experiment with different flight modes to find the best balance between responsiveness and stability for your shooting style.
Always prioritize safety when flying near objects. Assess potential risks before each flight, considering factors like wind, obstacles, and signal interference. Start with wider margins of error and progressively tighten your maneuvers as you gain confidence.
Use obstacle avoidance systems if available, but don't rely on them entirely. Remember, spectacular footage isn't worth damaging your equipment or violating regulations.
With practice and patience, you'll soon be capturing breathtaking proximity shots that elevate your aerial cinematography to new heights.
Precise Speed Control
Precise speed control is the cornerstone of tight cornering techniques in aerial cinematography.
When executing low-flying maneuvers, you'll need to master the art of varying your drone's speed to capture smooth, dynamic shots around obstacles. This skill allows you to maintain a consistent distance from your subject while maneuvering through complex environments.
To achieve precise speed control, you'll want to practice throttle management and familiarize yourself with your drone's flight modes.
Start by flying in slower speed settings to get a feel for the aircraft's responsiveness. As you gain confidence, gradually increase your speed while maintaining control.
When approaching a tight corner, you'll need to:
- Reduce speed as you near the turn
- Lean into the curve, adjusting your drone's angle
- Accelerate smoothly as you exit the turn
Dollying Along Linear Subjects
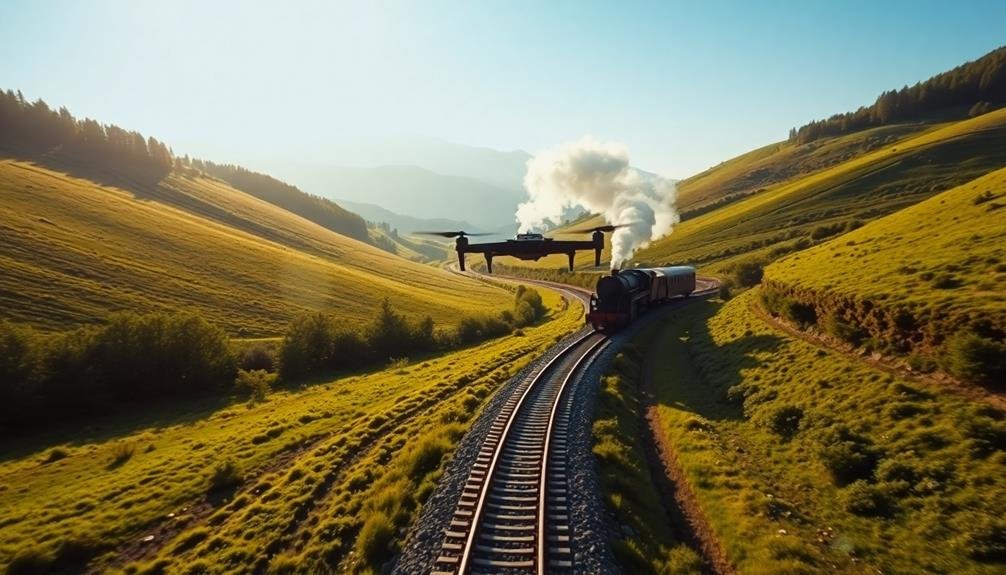
Dollying along linear subjects stands out as a powerful technique in aerial cinematography. This method involves flying your drone parallel to a linear subject, such as a road, railway track, or coastline, while maintaining a consistent distance and height. It creates a smooth, cinematic effect that draws the viewer's attention along the subject.
To execute this technique effectively, you'll need to master your drone's controls and practice precise movements. Start by identifying your linear subject and planning your flight path. Confirm there are no obstacles or restricted areas along your route. Set your drone to a slow, steady speed and engage any built-in tracking features if available.
As you fly, focus on keeping the linear subject centered in your frame. Use gentle stick movements to make minor adjustments, maintaining a constant altitude and distance from the subject.
Consider the direction of movement; flying with the flow of traffic or water can create a more natural feel. Experiment with different heights and angles to find the most visually appealing perspective.
Remember to be aware of your surroundings and local regulations throughout the flight.
Orbiting Static Objects

When orbiting static objects with your drone, you'll need to optimize your equipment and settings for smooth circular motion.
Focus on maintaining a consistent altitude and speed while gradually adjusting your drone's yaw to create a fluid orbit around your subject.
As you execute this maneuver, pay close attention to how you frame your subject, ensuring it remains properly centered or positioned according to your artistic vision.
Equipment and Settings Optimization
For orbiting static objects, enhancing your equipment and settings is vital to achieving smooth, professional-looking footage. Start by selecting a drone with a high-quality camera and gimbal stabilization system. Verify your drone has GPS positioning and altitude hold features for precise control during orbits.
Configure your camera settings for superior results. Set your shutter speed to twice your frame rate (e.g., 1/60th for 30fps) to maintain a natural motion blur. Choose a lower ISO to minimize noise, and adjust your aperture for proper exposure. Enable any built-in image stabilization features your camera may have.
To create engaging orbits, consider these techniques:
- Slow and steady circular movements around the subject
- Gradual altitude changes while maintaining the orbit
- Subtle adjustments to camera tilt and pan for dynamic compositions
Fine-tune your drone's control sensitivity to allow for smoother movements. Adjust the yaw, pitch, and roll rates to suit your flying style and the specific shot requirements.
Practice flying at different speeds and altitudes to find the sweet spot for your orbits.
Lastly, use ND filters to maintain proper exposure and shutter speed in bright conditions, guaranteeing your footage retains a cinematic look throughout the orbit.
Smooth Circular Motion Techniques
Mastering smooth circular motion is essential for enchanting aerial orbits around static objects. To achieve this effect, you'll need to perfect your yaw control while maintaining a consistent altitude and distance from your subject.
Start by selecting a focal point and adjusting your drone's camera to keep it centered throughout the orbit.
Begin your circular motion slowly, gradually increasing speed as you gain confidence. Use your drone's intelligent flight modes, such as Point of Interest or Orbit, to automate the circular path and focus on fine-tuning your camera movements.
Experiment with different altitudes and distances to create varied perspectives of your subject.
To add depth to your shots, incorporate subtle changes in elevation during the orbit. You can achieve this by gently adjusting the drone's altitude or tilting the camera up or down.
For smoother footage, use a lower frame rate and a slower shutter speed, ensuring you maintain proper exposure.
Practice shifting into and out of your orbits seamlessly. You can do this by gradually easing into the circular motion from a straight flight path and smoothly exiting the orbit to continue your flight trajectory.
Subject Framing Considerations
Subject framing plays an essential role in creating compelling aerial orbits around static objects. When orbiting a static subject, you'll want to maintain a consistent distance and altitude throughout the shot. This guarantees a smooth, professional look that keeps your audience engaged.
Pay attention to the background as you orbit, avoiding distracting elements that might detract from your subject.
Consider the following aspects when framing your subject:
- Rule of thirds: Position your subject off-center for a more dynamic composition
- Leading lines: Use natural elements like roads or rivers to guide the viewer's eye
- Negative space: Leave room around your subject to create a sense of scale and context
As you orbit, adjust your camera's tilt to keep the subject properly framed. You'll often need to tilt up slightly as you move to the side of the object, then level out as you reach the opposite side.
Practice this motion to achieve fluid, seamless shifts. Remember to maintain a steady speed throughout your orbit, as sudden changes in velocity can be jarring to viewers.
Parallax Effects With Foreground
Parallax effects with foreground elements can add depth and dynamism to your aerial shots. To achieve this effect, fly your drone low and close to objects in the foreground while maintaining focus on your main subject in the background. As you move, the foreground elements will appear to shift more quickly than the background, creating a sense of motion and perspective.
Choose foreground elements carefully. Trees, buildings, or rock formations can work well. Confirm they don't obstruct your main subject but rather frame it or lead the viewer's eye. Experiment with different speeds and flight paths to find the most visually appealing parallax effect.
You'll need to master precise drone control to execute this technique safely and effectively. Practice flying at consistent speeds and altitudes while maneuvering around obstacles. Consider using obstacle avoidance features if your drone has them, but don't rely on them entirely.
When editing, you can enhance the parallax effect by slightly increasing the playback speed of your footage. This will accentuate the movement of foreground elements and create a more dramatic visual impact.
Remember to maintain a balance between creating an engaging effect and preserving the natural look of your scene.
Reverse Reveal Maneuvers
Reverse reveal maneuvers can create a stunning disclosure of dramatic landscapes in your aerial cinematography.
You'll start with a close-up or obstructed view, then gradually pull back or move away to expose the full scene.
This technique builds anticipation and intrigue, keeping your audience engaged as the complete picture slowly comes into view.
Dramatic Landscape Unveiling
Through the art of reverse reveal maneuvers, you can create breathtaking dramatic landscape disclosures that captivate your audience. This technique involves starting with a close-up shot of a specific element, then gradually pulling back to disclose the entire landscape. It's an effective way to build suspense and awe as you disclose the full scope of a scene.
To execute a dramatic landscape disclosure, you'll need to plan your shot carefully. Start by identifying a compelling focal point, such as a unique rock formation or a lone tree. Position your drone close to this element, ensuring it fills the frame. As you begin filming, slowly increase altitude and distance, maintaining a steady speed to create a smooth reveal.
Consider these three elements to enhance your dramatic disclosure:
- Contrasting textures (e.g., rough rocky terrain giving way to smooth water)
- Scale shifts (e.g., a small object dwarfed by vast surroundings)
- Color gradients (e.g., lush green forests fading into snow-capped mountains)
Building Anticipation Gradually
Mastery of reverse disclose maneuvers is essential for building anticipation gradually in aerial cinematography. You'll start with your drone facing away from the subject, slowly ascending or moving backward to disclose the scene. This technique creates suspense and draws viewers into the shot.
To execute a reverse disclose effectively, you'll need to plan your flight path meticulously. Consider the subject's placement, lighting conditions, and surrounding elements. Start with a tight frame on an interesting foreground element, then slowly pull back to disclose the larger scene.
Here's a breakdown of three common reverse disclose maneuvers:
| Maneuver | Starting Position | Movement |
|---|---|---|
| Vertical Ascent | Low, facing away | Rise slowly |
| Horizontal Retreat | Close, eye-level | Back away steadily |
| Curved Disclose | Side angle, partially hidden | Arc around subject |
As you perform these maneuvers, maintain a smooth, consistent speed to heighten the anticipation. Use your drone's gimbal to keep the subject centered as more of the scene comes into view. Remember, the key to a successful reverse disclose is patience – let the shot develop naturally to maximize its impact.
Frequently Asked Questions
What Safety Measures Should Be in Place for Low-Altitude Drone Filming?
You'll need proper training, a spotter, and emergency procedures. Make certain you've got necessary permits and insurance. Always maintain visual line-of-sight, respect privacy, and avoid restricted areas. Use obstacle detection systems and follow local regulations.
How Do Weather Conditions Affect Low-Flying Aerial Cinematography Techniques?
Weather greatly impacts your low-flying aerial shots. Wind can destabilize your drone, affecting smoothness. Rain and fog limit visibility. Bright sun causes glare. You'll need to adjust settings, flight paths, and timing for ideal results in varying conditions.
What Are the Legal Restrictions for Low-Altitude Drone Flights in Different Countries?
You'll find drone laws vary widely by country. In the US, you can't fly above 400 feet or near airports. Many nations require licenses, registration, and line-of-sight operation. Always check local regulations before flying.
How Can Pilots Practice Low-Flying Techniques Without Risking Equipment Damage?
You can practice low-flying techniques safely by using flight simulators, flying over soft surfaces like grass, starting with higher altitudes, and gradually decreasing height. Don't forget to use prop guards and always fly within your skill level.
What Post-Production Techniques Enhance Footage Captured With Low-Flying Drone Maneuvers?
You'll enhance low-flying drone footage in post-production by stabilizing shaky clips, color grading for impact, adding slow motion effects, and incorporating seamless shifts. Don't forget to adjust exposure and contrast to highlight details captured during your daring maneuvers.
In Summary
You've now got an arsenal of low-flying drone techniques to elevate your aerial cinematography. Remember, practice makes perfect. Don't be afraid to experiment and push your boundaries. As you master these moves, you'll create stunning visuals that'll captivate your audience. Always prioritize safety and follow local regulations. With these skills in your toolkit, you're ready to take your drone footage to new heights – or in this case, thrilling low altitudes.
As educators and advocates for responsible drone use, we’re committed to sharing our knowledge and expertise with aspiring aerial photographers.


Leave a Reply