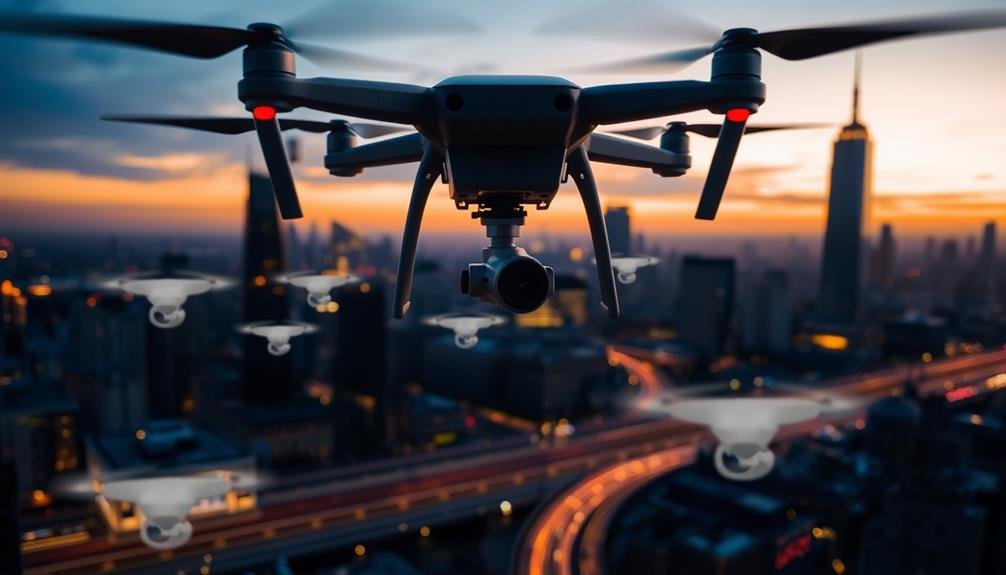
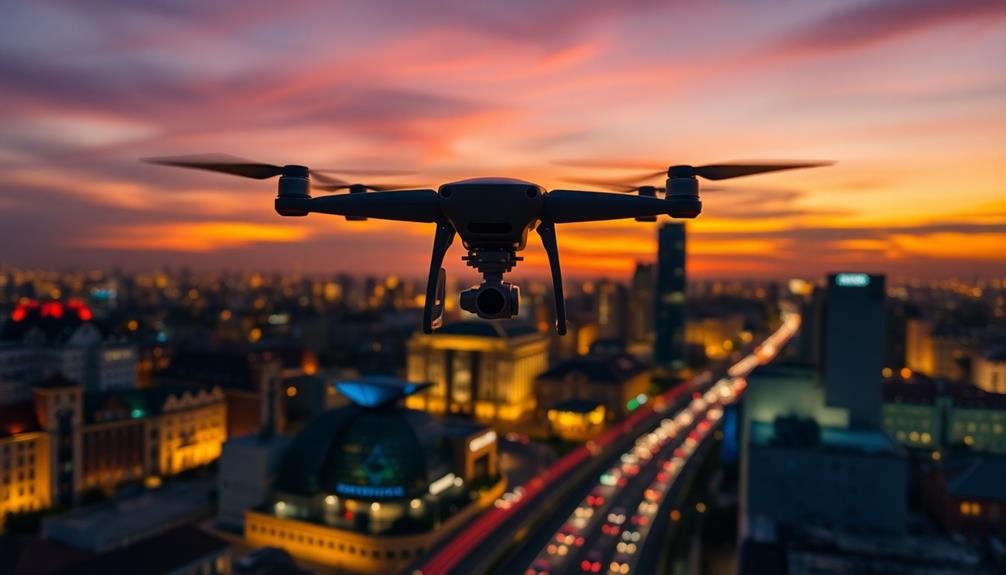
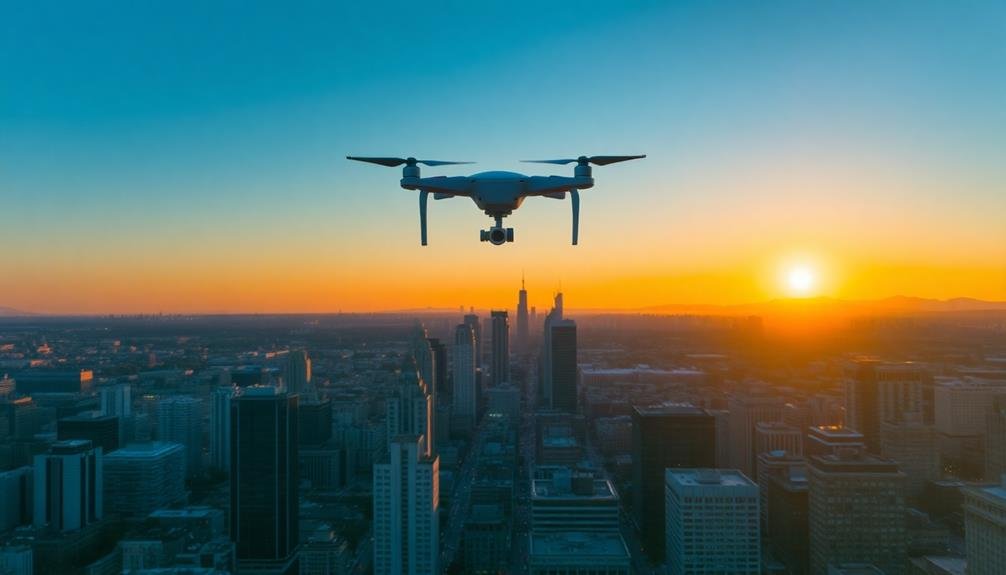
To capture cinematic aerial time-lapses, you'll want to master techniques like circular motion, vertical ascent, and hyperlapse flight paths. Add depth with reverse playback and day-to-night changes. Create unique perspectives using dolly zoom effects and altitude changes. Experiment with parallax shifts for a 3D-like feel, and don't forget to capture dramatic weather changes. Each technique offers a distinct way to elevate your drone footage, transforming ordinary scenes into stunning visual narratives. By combining these methods, you'll reveal endless creative possibilities and take your aerial cinematography to new heights. Discover how these techniques can revolutionize your next project.
Key Takeaways
- Utilize circular motion time-lapse to create dynamic shots around a central point of interest.
- Implement hyperlapse techniques by planning a smooth flight path with gradual changes in direction and altitude.
- Experiment with vertical ascent sequences to capture unique perspectives from ground level to bird's eye view.
- Create a dolly zoom effect by flying backwards while increasing altitude and adjusting camera zoom.
- Capture day-to-night transitions to showcase landscape transformations as daylight fades into darkness.
Circular Motion Time-Lapse
Frequently, circular motion time-lapse techniques create stunning visual effects that captivate viewers. To execute this method, you'll need a drone with intelligent flight modes and a camera capable of capturing high-quality images at set intervals.
Begin by selecting a central point of interest, such as a landmark or natural feature. Program your drone to fly in a perfect circle around this focal point, maintaining a consistent altitude and distance. Set your camera to take photos at regular intervals, typically every few seconds.
As you plan your shot, consider the time of day and lighting conditions. Golden hour often produces the most dramatic results, with long shadows and warm hues enhancing the circular motion effect.
You'll want to fly for at least 30 minutes to an hour to capture enough frames for a smooth time-lapse sequence.
In post-production, compile your images into a video, adjusting the frame rate to achieve the desired speed and fluidity. Add subtle motion blur between frames to further smooth the movement.
Vertical Ascent Sequence
Vertical ascent sequences offer a unique perspective in aerial time-lapse photography, revealing the world from ground level to bird's eye view. To capture this effect, you'll need a drone capable of smooth, controlled vertical ascent and the ability to take photos at regular intervals during flight.
Start by selecting your location and planning your shot. Choose a spot with interesting visual elements at various heights, such as a cityscape with skyscrapers or a natural landscape with diverse terrain. Set your drone to ascend slowly and steadily, typically at a rate of 1-2 feet per second. This allows for a gradual reveal of the expanding landscape below.
Configure your camera settings for consistent exposure throughout the ascent. Use manual mode to lock in your aperture, shutter speed, and ISO. As you gain altitude, you may need to adjust these settings to compensate for changing light conditions. Shoot in RAW format for maximum flexibility in post-processing.
During editing, experiment with different frame rates to achieve the desired pacing for your sequence. You can create a dramatic effect by gradually increasing the playback speed as the drone ascends higher.
Hyperlapse Flight Path
To create a compelling aerial hyperlapse, you'll need to carefully plan your flight route in advance.
It's essential to maintain a consistent altitude throughout your flight to guarantee smooth shifts between frames.
You must also precisely control your drone's speed and direction to achieve the desired effect in your final time-lapse sequence.
Plan Your Flight Route
Planning your flight route is the essential first step in creating a hyperlapse aerial time-lapse. You'll need to take into account several factors to guarantee a smooth and visually appealing sequence.
Start by scouting your location and identifying key points of interest. These could be landmarks, natural features, or architectural elements that you want to highlight in your footage.
Map out a path that connects these points, keeping in mind the capabilities of your drone and any local flight restrictions. Your route should be straightforward, with gradual changes in direction and altitude to maintain a consistent flow.
Reflect on the time of day and lighting conditions, as they'll greatly impact the final result. Use waypoints to program your flight path, assuring precise movements and repeatable results.
Factor in battery life and plan for multiple flights if necessary. Remember to account for obstacles and no-fly zones along your route. It's important to maintain a safe distance from people, buildings, and other objects throughout the flight.
Lastly, practice your route before the actual shoot to identify any potential issues and refine your movements. This preparation will help you capture stunning hyperlapse footage with confidence and precision.
Maintain Consistent Altitude
With your flight route mapped out, maintaining a consistent altitude becomes the next key focus for your hyperlapse aerial time-lapse. Altitude consistency is essential for creating smooth, professional-looking footage. Most modern drones offer altitude hold features, but you'll still need to monitor and adjust as needed.
Start by setting your desired altitude before takeoff. Choose a height that provides the best view of your subject while avoiding obstacles. As you fly, keep an eye on your drone's altitude readout and make subtle adjustments to maintain the same height throughout the flight.
Wind can affect your drone's altitude, so be prepared to compensate. If you're flying in windy conditions, you may need to increase your drone's responsiveness to altitude changes. Some drones allow you to adjust these settings in-flight.
Remember that even small altitude variations can be noticeable in the final time-lapse, especially when flying over water or flat terrain.
If you're struggling to maintain a consistent altitude manually, consider using automated flight modes or waypoint missions that can help keep your drone at a fixed height throughout the flight path.
Control Speed and Direction
Once you've established your altitude, controlling your drone's speed and direction becomes essential for creating a smooth hyperlapse flight path. Maintain a consistent speed throughout your flight to guarantee even spacing between frames. Start with slower speeds, around 2-5 mph, and gradually increase as you become more comfortable with the technique.
Use your drone's intelligent flight modes, such as waypoints or point of interest, to create precise and repeatable movements. These modes allow you to program specific flight paths, guaranteeing consistent speed and direction.
When flying manually, use gentle stick movements to avoid jerky motions that can disrupt the flow of your time-lapse. Consider the direction of your flight path in relation to your subject. Flying parallel to your subject often produces smoother results than approaching head-on.
Experiment with different angles and trajectories to find the most visually appealing approach. Don't forget to account for wind conditions, as they can affect your drone's speed and direction. Adjust your flight path accordingly to compensate for any drift or resistance caused by the wind.
Reverse Playback Technique

Reverse playback offers a unique twist to aerial time-lapse photography. By reversing the order of your footage, you'll create a mesmerizing effect that can captivate your audience. To accomplish this, you'll need to shoot your time-lapse sequence as usual, but when editing, arrange the frames in reverse order.
This technique works particularly well with certain types of scenes:
| Scene Type | Normal Playback | Reverse Playback |
|---|---|---|
| Sunset | Day to night | Night to day |
| Cloud Movement | Clouds forming | Clouds dissipating |
| Construction | Building up | Deconstructing |
To execute this technique effectively, you'll want to reflect on your subject matter carefully. Scenes with natural progression, like sunsets or construction projects, often yield the most interesting results when played in reverse. You can also combine reverse playback with other time-lapse techniques, such as varying the speed or direction of your drone's movement, to create even more dynamic and engaging footage.
When applying reverse playback, pay attention to the pacing of your final sequence. You may need to adjust the frame rate or duration to guarantee the reversed footage maintains a natural and fluid appearance. Experiment with different playback speeds to find the perfect balance for your specific scene and creative vision.
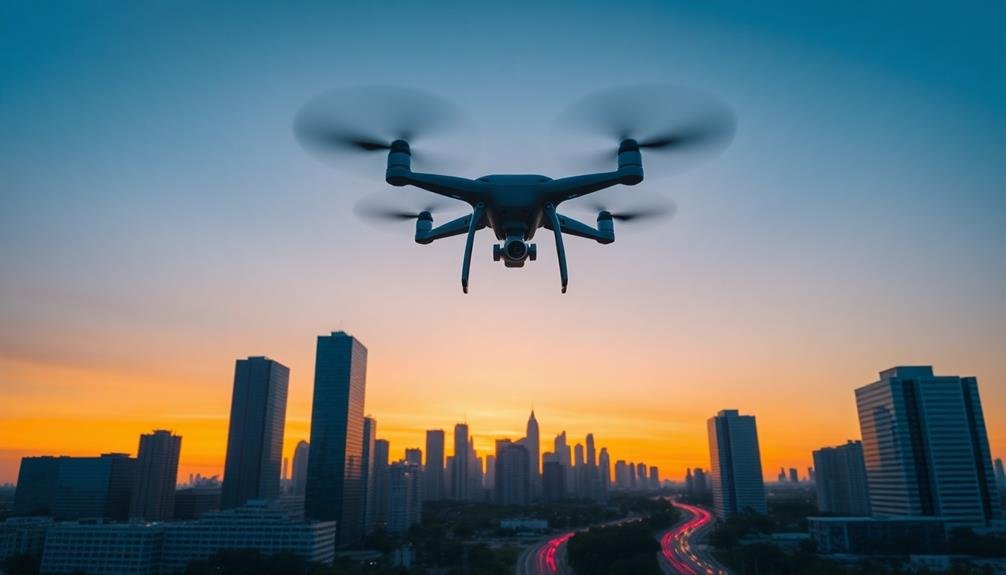
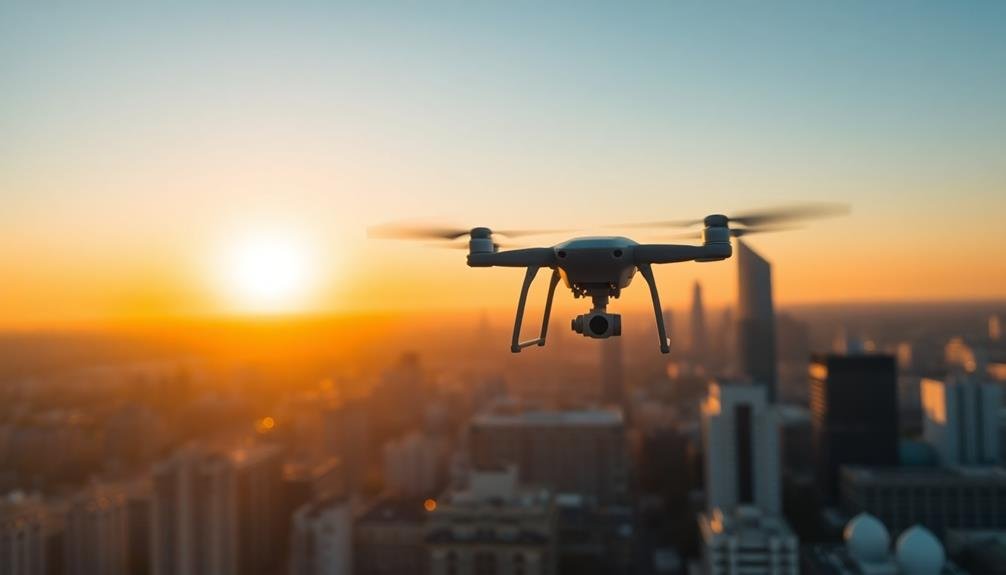
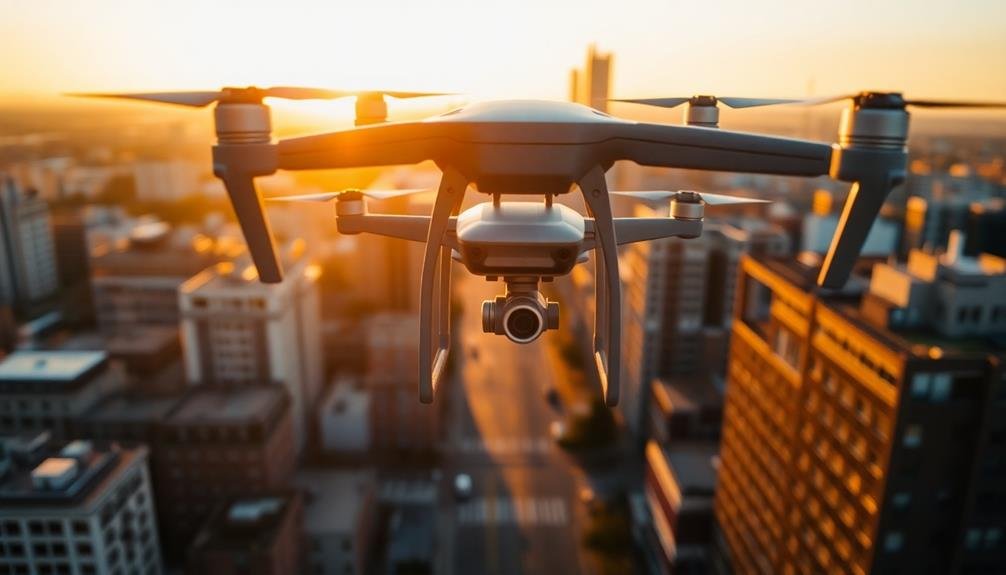
Day-to-Night Transition
The day-to-night shift is one of the most enchanting techniques in aerial time-lapse photography. It captures the magical transformation of a landscape as daylight fades into darkness. To achieve this effect, you'll need to plan your shoot carefully and be prepared for changing light conditions.
Start by positioning your drone in a stable location with a clear view of the horizon. You'll want to begin shooting well before sunset and continue until it's fully dark. As you capture the changeover, remember to adjust your camera settings to compensate for the diminishing light.
Here are three key steps to create a stunning day-to-night changeover:
- Gradually decrease your shutter speed as it gets darker
- Increase your ISO sensitivity to maintain proper exposure
- Adjust your white balance to capture the changing color temperature
Don't forget to factor in battery life when planning your shoot. You may need to swap batteries mid-changeover, so have extras on hand.
With practice, you'll master this technique and create breathtaking aerial time-lapses that showcase the beauty of day turning into night.
Orbit Around Focal Point
Circular motion adds dynamism to aerial time-lapses, and orbiting around a focal point is a powerful technique to achieve this effect. To execute this move, you'll need a drone with intelligent flight modes or the skills to manually fly a perfect circle.
Start by selecting your focal point, which could be a building, monument, or natural landmark. Set your drone's altitude and distance from the subject, ensuring you maintain a consistent radius throughout the orbit. For smoother motion, use a slower flight speed and longer intervals between shots.
When filming, keep your camera locked on the focal point. Many drones offer a point of interest mode that automates this process. If flying manually, practice smooth stick movements to maintain a steady circular path.
Consider the sun's position when planning your orbit. Starting with the sun behind you and ending with it in front can create dramatic lighting changes. For added interest, try varying your altitude slightly during the orbit or combining the technique with a day-to-night shift.
In post-production, stabilize your footage and adjust the playback speed to achieve the desired effect. Experiment with different focal lengths to alter the perceived speed of rotation.
Dolly Zoom Effect
A classic cinematic technique, the dolly zoom effect can be stunningly recreated in aerial time-lapses. Also known as the "Vertigo effect," it creates a disorienting visual experience by simultaneously zooming in while moving the drone backwards, or vice versa.
To achieve this effect in your aerial time-lapse, you'll need to carefully plan your flight path and camera settings. Start by selecting a focal point that'll remain constant throughout the shot.
Then, program your drone to fly backwards while gradually increasing altitude. As you do this, adjust your camera's zoom to keep the focal point the same size in the frame. This combination of movement creates the illusion that the background is shifting dramatically while the subject stays static.
To perfect your dolly zoom time-lapse:
- Use a drone with precise flight controls and a high-quality camera with smooth zoom capabilities
- Practice the maneuver several times before attempting the actual time-lapse sequence
- Experiment with different speeds and zoom rates to find the most dramatic effect for your scene
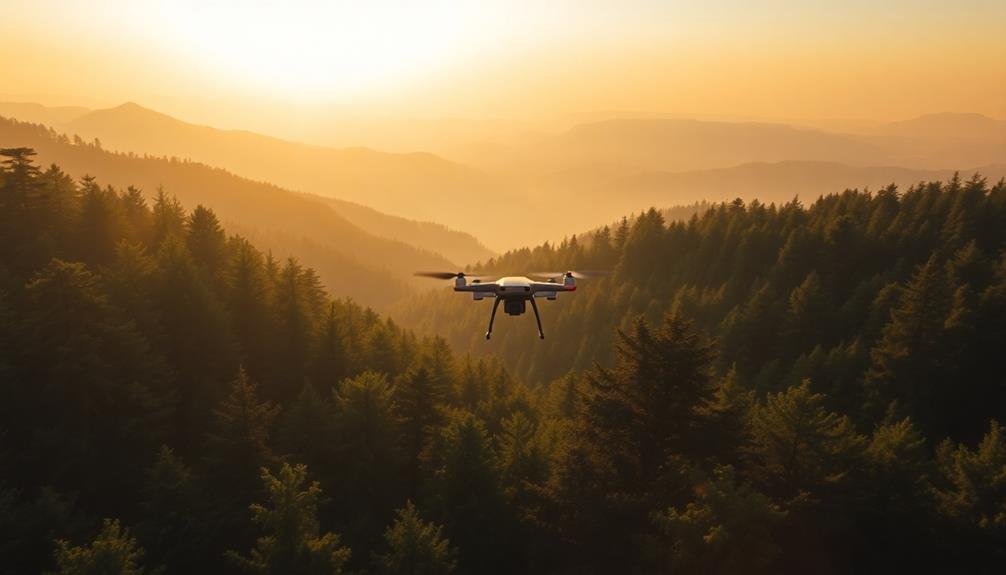
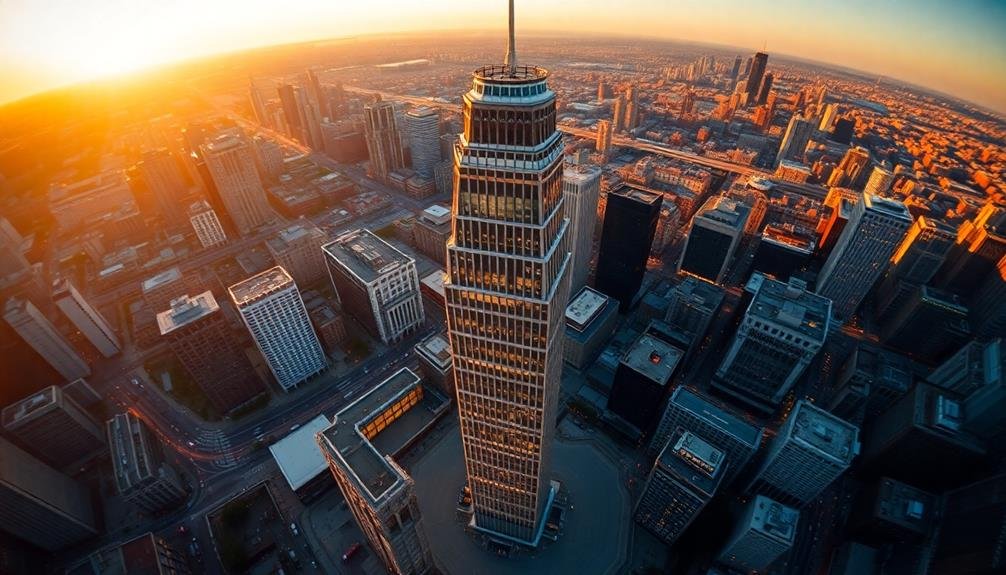
Altitude Change Time-Lapse
Altitude change time-lapses offer a unique perspective on landscapes and cityscapes, revealing how a scene transforms as you ascend or descend. To capture this effect, you'll need a drone capable of smooth vertical movement and precise altitude control.
Begin by setting your drone to its lowest safe flying altitude, then program it to ascend slowly and steadily. As you plan your shot, consider the changing composition. Objects in the foreground will shrink more rapidly than those in the background, creating a dynamic shift in perspective.
Choose a subject that remains prominent throughout the ascent, such as a tall building or mountain peak. Adjust your camera settings to maintain proper exposure as lighting conditions change with altitude.
For the best results, shoot in RAW format and use a neutral density filter to allow for slower shutter speeds. This will create smoother motion blur between frames.
When editing, experiment with different frame rates to find the ideal pacing for your footage. You can also combine altitude changes with lateral movement for even more complex and engaging time-lapses.
Remember to comply with local drone regulations and always prioritize safety when flying.
Parallax Perspective Shift
Parallax perspective shifts create a mesmerizing 3D-like effect in aerial time-lapses by exploiting the relative motion of objects at different distances. To achieve this effect, you'll need to move your drone laterally while capturing images at regular intervals. This technique works best when you have foreground elements closer to the camera and background elements further away.
To master parallax perspective shifts in your aerial time-lapses:
- Plan your flight path carefully, ensuring a smooth and consistent lateral movement.
- Choose a subject with distinct foreground and background elements.
- Adjust your drone's speed and capture interval to create the desired effect.
As you move the drone, you'll notice that closer objects appear to move faster than distant ones, creating a sense of depth and dimension in your footage.
This effect is particularly striking when capturing cityscapes, where buildings at various distances create layers of motion. You can enhance the parallax effect by flying your drone closer to foreground elements, increasing the perceived movement difference between near and far objects.
Experiment with different speeds and distances to find the perfect balance for your specific scene and desired outcome.
Weather Transition Capture
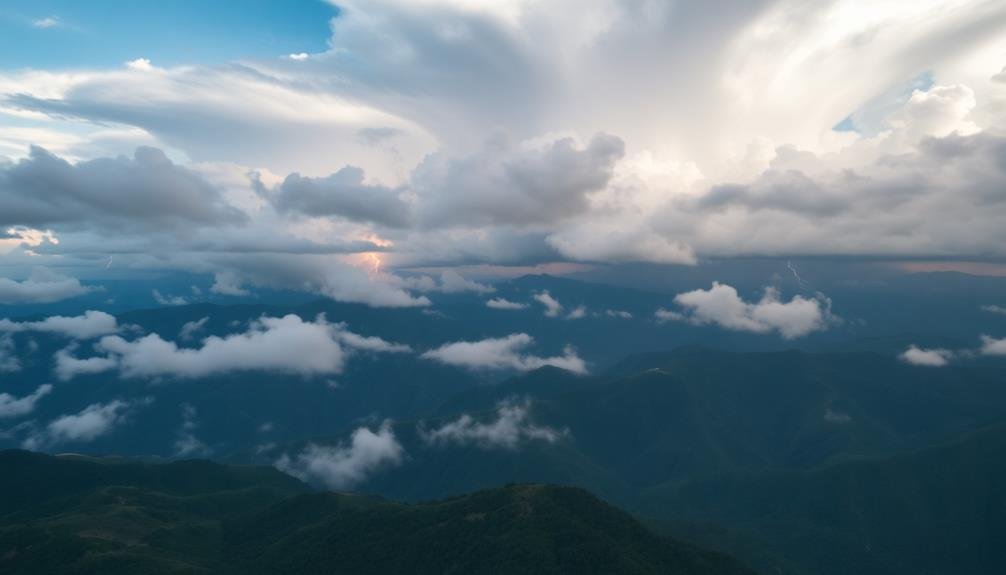
Clouds swirling, rain falling, and sunlight breaking through – weather shifts can add a dynamic element to your aerial time-lapses. To capture these changes effectively, you'll need to plan ahead and be patient. Start by checking weather forecasts and identifying days with potential for dramatic alterations.
Position your drone in a safe, stable location with a clear view of the sky and landscape. For the best results, use a longer interval between shots, typically 10-30 seconds, to showcase gradual weather shifts. Confirm your drone has sufficient battery life or a power source for extended filming.
Adjust your camera settings to accommodate changing light conditions; consider using aperture priority mode with auto ISO to maintain consistent exposure. When editing, pay attention to the pacing of your weather change. Gradually increase the playback speed as the weather changes become more dramatic.
Use color grading to enhance the mood of each weather phase, emphasizing cool tones for overcast scenes and warm hues for sunny breaks. Finally, consider adding subtle sound effects to complement the visual changes, immersing viewers in the evolving atmosphere of your time-lapse.
Frequently Asked Questions
How Do I Stabilize My Drone for Smoother Time-Lapse Footage?
To stabilize your drone for smoother time-lapse footage, you'll want to use a gimbal, enable GPS lock, and fly in calm weather. Adjust your drone's settings for slower movements and use ND filters to reduce shutter speed.
What's the Ideal Interval Between Shots for Aerial Time-Lapse Photography?
For aerial time-lapse photography, you'll want to choose intervals between 2-5 seconds. It depends on your subject's movement speed. Faster-moving subjects need shorter intervals, while slower scenes can use longer gaps between shots.
How Can I Manage Battery Life During Long Time-Lapse Sequences?
You'll need to plan ahead for long time-lapses. Bring spare batteries, use a power bank, or connect to an external power source. Lower your drone's screen brightness and turn off unnecessary features to conserve energy.
Are There Specific Weather Conditions Best Suited for Aerial Time-Lapse Filming?
You'll get the best aerial time-lapses in stable, clear weather. Aim for calm winds, minimal cloud cover, and golden hour lighting. Avoid rain or fog, as they'll obscure your shots. Always check forecasts before planning your shoot.
What Post-Processing Software Is Recommended for Editing Aerial Time-Lapse Footage?
For editing aerial time-lapse footage, you'll want to use professional software like Adobe Premiere Pro, Final Cut Pro, or DaVinci Resolve. They offer powerful tools for color grading, stabilization, and speed ramping to enhance your footage.
In Summary
You've now got a toolkit of advanced aerial time-lapse techniques to elevate your cinematic footage. Don't be afraid to experiment and combine these methods for truly unique results. Remember, practice makes perfect, so get out there and start flying. With these skills in your arsenal, you'll be creating jaw-dropping aerial sequences that'll captivate your audience and set your work apart from the rest. The sky's the limit for your creativity!
As educators and advocates for responsible drone use, we’re committed to sharing our knowledge and expertise with aspiring aerial photographers.


Leave a Reply