Elevate your aerial filmmaking with these seven cinematic hyperlapse techniques. Master the Orbit Hyperlapse for dynamic circular shots, and use Vertical Reveal to gradually disclose scenes. Create energy with Push-In movements, while Parallax adds depth and dimension. The Dolly Zoom technique offers dramatic perspective shifts, and Spiral Ascent showcases tall structures uniquely. Finally, Waypoint Hyperlapse combines precision with creativity for fluid, time-compressed videos. Each technique requires careful planning, precise drone control, and post-processing skills. By mastering these methods, you'll transform ordinary footage into extraordinary visual stories that captivate your audience. Dive deeper to access the full potential of these powerful filmmaking tools.
Key Takeaways
- Orbit Hyperlapse creates dynamic visuals by circling a subject, requiring precise drone control and post-processing stabilization.
- Vertical Reveal Hyperlapse engages viewers by gradually ascending and revealing a scene, demanding steady ascent and consistent camera angles.
- Push-In Hyperlapse transforms footage by smoothly approaching subjects, combining vertical and horizontal movements for added dynamism.
- Parallax Hyperlapse adds depth by moving relative to subjects, making nearby objects appear faster than distant ones.
- Waypoint Hyperlapse offers creative control through predetermined flight paths, ideal for revealing landscapes or events uniquely.
Orbit Hyperlapse
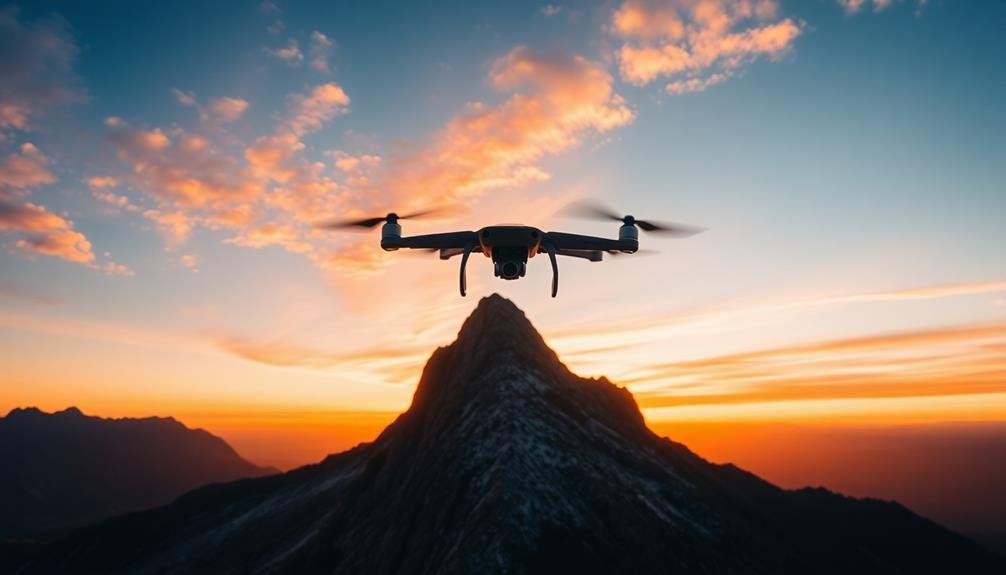
In the domain of aerial cinematography, the orbit hyperlapse stands out as an enchanting technique. It involves capturing a series of images while your drone circles a central subject, creating a mesmerizing time-lapse effect when combined. To execute this technique, you'll need to master precise drone control and camera settings.
Start by selecting a compelling focal point, such as a landmark or natural formation. Set your drone to orbit mode, ensuring a consistent circular path. Adjust your camera settings for manual exposure, maintaining consistency across all frames. Choose a slow shutter speed to introduce motion blur, enhancing the sense of movement.
As you orbit, capture images at regular intervals. The frequency depends on your desired final video length and smoothness.
Post-processing is essential; import your images into editing software and align them carefully. Apply stabilization to minimize any jitter, then render your sequence into a fluid video.
Experiment with different orbit speeds, altitudes, and distances from your subject to achieve varied effects. You can also try reversing the footage or adding speed ramping for extra dynamism.
With practice, you'll create stunning orbit hyperlapses that elevate your aerial cinematography.
Vertical Reveal Hyperlapse
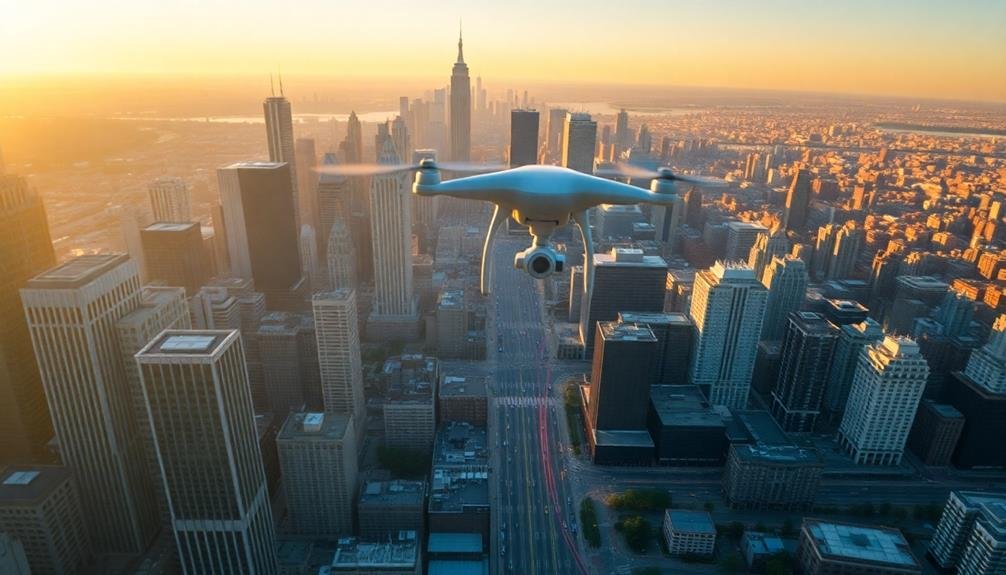
Moving from circular motion to vertical ascent, the vertical disclosure hyperlapse offers a dramatic way to reveal landscapes or cityscapes. This technique involves slowly ascending your drone while capturing images at regular intervals. As you rise, you'll gradually disclose more of the scene below, creating an engaging visual journey for your audience.
To execute a vertical reveal hyperlapse effectively, you'll need to maintain a steady ascent rate and consistent camera angle. Start low, perhaps just above ground level or tree line, and end at a height that showcases the entire area you want to unveil. The key is to move slowly enough to capture plenty of frames for a smooth final video, but not so slow that your battery dies mid-shot.
Here are some tips to enhance your vertical reveal hyperlapse:
- Use manual camera settings to guarantee consistent exposure throughout the ascent
- Incorporate foreground elements at the start for added depth
- Plan your reveal carefully, considering the final composition at the top of your ascent
Post-processing plays an important role in perfecting your vertical reveal hyperlapse. You'll need to stabilize the footage, adjust the playback speed, and possibly add some subtle zooming effects to enhance the reveal's impact.
Push-In Hyperlapse
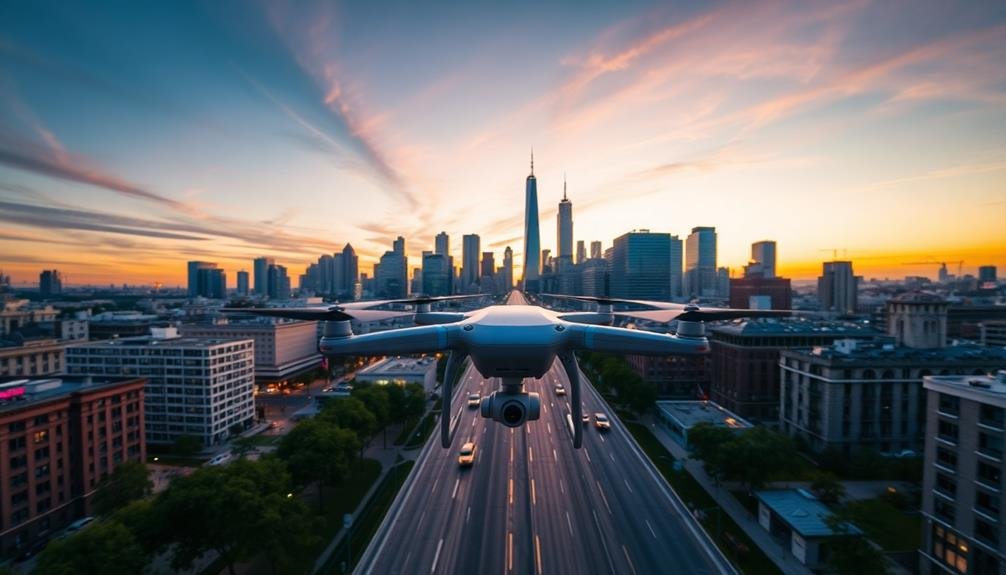
To create a compelling push-in hyperlapse, you'll need to master specific camera movement techniques.
As you approach your subject, consider how framing changes can enhance the visual impact.
You'll also want to experiment with speed and pacing adjustments to achieve the desired dramatic effect as you close in on your focal point.
Camera Movement Techniques
The push-in hyperlapse's dynamic energy can transform your aerial footage from ordinary to extraordinary. To master this technique, you'll need to focus on smooth, consistent camera movements. Start by positioning your drone far from your subject, then gradually move closer while maintaining a steady speed. As you approach, adjust your camera's angle to keep the subject centered in the frame.
To enhance your push-in hyperlapse, consider these advanced camera movement techniques:
- Combine vertical and horizontal movements for a more complex, three-dimensional effect
- Incorporate subtle rotations to add a sense of disorientation or drama
- Use speed ramping to gradually increase or decrease the pace of your hyperlapse
Remember to plan your shots carefully, taking into account obstacles and potential changes in lighting conditions.
You'll want to capture more footage than you think you'll need, allowing for flexibility in post-production. Experiment with different frame rates and shutter speeds to achieve the desired motion blur and smoothness in your final sequence.
Subject Framing Considerations
While mastering camera movements is key, effective subject framing can make or break your push-in hyperlapse. As you plan your shot, consider the final composition you're aiming for and work backward. Start with a wide, establishing shot that gradually narrows in on your subject.
Choose a subject that's visually interesting and can hold the viewer's attention throughout the sequence. Tall structures, landmarks, or unique architectural features work well. As you move closer, maintain a consistent trajectory towards your subject. This creates a smooth, continuous flow that draws the viewer in.
Pay attention to the rule of thirds, especially in your final frame. Position your subject slightly off-center for a more dynamic composition. As you approach, be mindful of foreground elements that might obstruct your view. Use these to your advantage by incorporating them as natural frames or leading lines.
Consider the angle of approach. A straight-on push-in can be powerful, but don't shy away from diagonal or curved paths for added visual interest.
Speed and Pacing Adjustments
Mastering speed and pacing adjustments is essential for creating a compelling push-in hyperlapse. As you fly your drone towards your subject, you'll need to carefully control the speed of both the aircraft and the footage playback. Start with a slower approach and gradually increase the speed as you get closer to your subject. This creates a sense of anticipation and draws the viewer into the scene.
Pay attention to the following aspects when adjusting speed and pacing:
- Frame rate: Shoot at a higher frame rate (60fps or 120fps) to allow for smooth slow-motion effects in post-production.
- Interval timing: Experiment with different intervals between shots to achieve the desired flow.
- Acceleration curve: Apply a non-linear speed ramp to add dynamism to your hyperlapse.
Remember to maintain a consistent direction and angle of approach throughout the sequence. Subtle changes in speed can dramatically affect the viewer's perception of movement and time.
Use keyframes in your editing software to fine-tune the pacing, ensuring a seamless shift from the beginning to the end of your push-in hyperlapse. With practice, you'll develop an intuitive sense of how to balance speed and pacing for maximum impact.
Parallax Hyperlapse
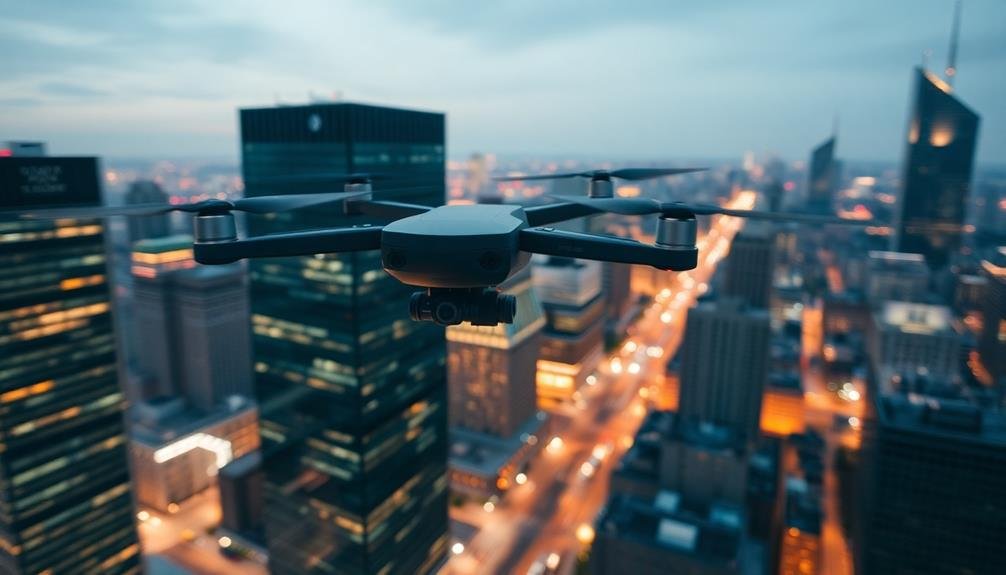
By means of combining parallax movement with hyperlapse techniques, aerial filmmakers can create stunning visual effects that add depth and dimension to their footage. To achieve this effect, you'll need to fly your drone in a consistent path while gradually changing its position relative to the subject. This creates a sense of movement and perspective shift that's amplified when the footage is sped up.
Start by selecting a subject with distinct foreground and background elements. As you fly, maintain a constant distance from your main subject while moving laterally or vertically. This motion will cause nearby objects to appear to move faster than distant ones, creating the parallax effect.
Confirm your drone's movements are smooth and controlled to avoid jerky changes in the final hyperlapse.
In post-production, you'll need to stabilize your footage and adjust the playback speed. Experiment with different speeds to find the right balance between smooth motion and visual impact.
You can also enhance the parallax effect by strategically placing foreground elements in your composition, which will heighten the sense of depth and movement in your aerial hyperlapse.
Dolly Zoom Hyperlapse
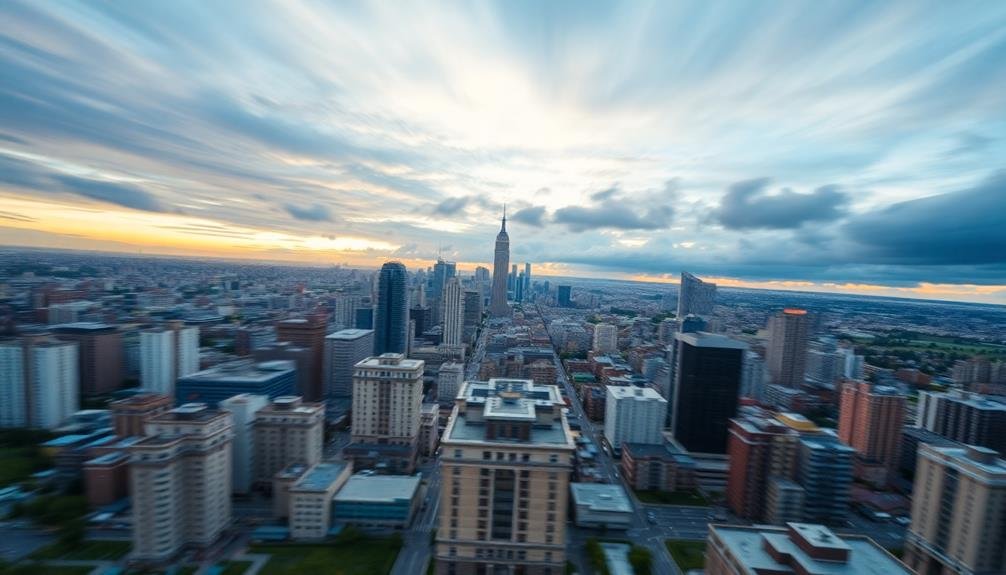
You'll create a mesmerizing vertigo effect with the Dolly Zoom Hyperlapse technique, mimicking Alfred Hitchcock's iconic shot.
To achieve this, you'll need a drone capable of smooth backward movement while zooming in, along with a subject that remains consistently framed.
In post-production, you'll fine-tune the zoom and movement synchronization, adjusting speed and smoothness for the most impactful visual result.
Vertigo Effect Creation
For aerial filmmakers seeking to create a powerful sense of unease or dramatic tension, the vertigo effect is an invaluable tool. This technique, also known as the dolly zoom, involves moving your drone towards or away from a subject while simultaneously adjusting the zoom to maintain the subject's size in the frame. The result is a disorienting visual effect where the background appears to shift dramatically.
To achieve the vertigo effect in your aerial hyperlapse:
- Plan your shot carefully, choosing a subject with a distinct background.
- Fly your drone in a straight line towards or away from the subject.
- Adjust your camera's zoom smoothly as you move.
The key to a successful vertigo effect lies in maintaining precise control over your drone's movement and camera settings. Start with a wide-angle shot and gradually zoom in as you fly towards your subject, or vice versa.
This creates the illusion that the background is expanding or contracting while the subject remains the same size. Practice this technique in various environments to master the timing and coordination required for a seamless, cinematic vertigo effect in your aerial hyperlapse sequences.
Equipment and Setup
Creating a successful dolly zoom hyperlapse requires the right equipment and setup. You'll need a capable drone with precise flight controls and a high-quality camera. Opt for a drone with obstacle avoidance and GPS positioning to maintain steady movement.
Choose a camera with manual settings, allowing you to adjust shutter speed, ISO, and aperture for consistent exposure throughout the sequence. For the best results, use a gimbal to stabilize your shots. A 3-axis gimbal will help counteract any minor movements or vibrations during flight.
Don't forget to pack extra batteries, as hyperlapse sequences can be power-intensive. When setting up your shot, find a visually interesting subject with a clear foreground and background. Plan your flight path carefully, ensuring you have enough space to move both towards and away from your subject.
Use your drone's intelligent flight modes, such as waypoints or point of interest, to create smooth, repeatable movements. Before you start filming, adjust your camera settings. Use a relatively slow shutter speed (around 1/60th of a second) to create natural motion blur.
Set your focus manually and lock it to maintain consistency throughout the sequence.
Post-Processing Tips
Post-processing is essential for transforming your raw footage into a stunning dolly zoom hyperlapse. Begin by importing your image sequence into your preferred editing software. Stabilize the footage to eliminate any unwanted camera shake, ensuring a smooth and professional look.
Next, apply the dolly zoom effect by gradually scaling the image while maintaining focus on your subject.
To enhance your hyperlapse, consider these advanced techniques:
- Color grading: Adjust the color balance, contrast, and saturation to create a cohesive and cinematic look.
- Speed ramping: Vary the playback speed to add dynamic pacing and emphasize key moments.
- Motion blur: Add artificial motion blur to smooth out shifts between frames.
Fine-tune the dolly zoom effect by adjusting the rate of scaling and the focal point. Experiment with different easing curves to achieve a more natural or dramatic feel.
Don't forget to add sound design to complement your visuals, using ambient noise or music to enhance the overall impact.
Spiral Ascent Hyperlapse
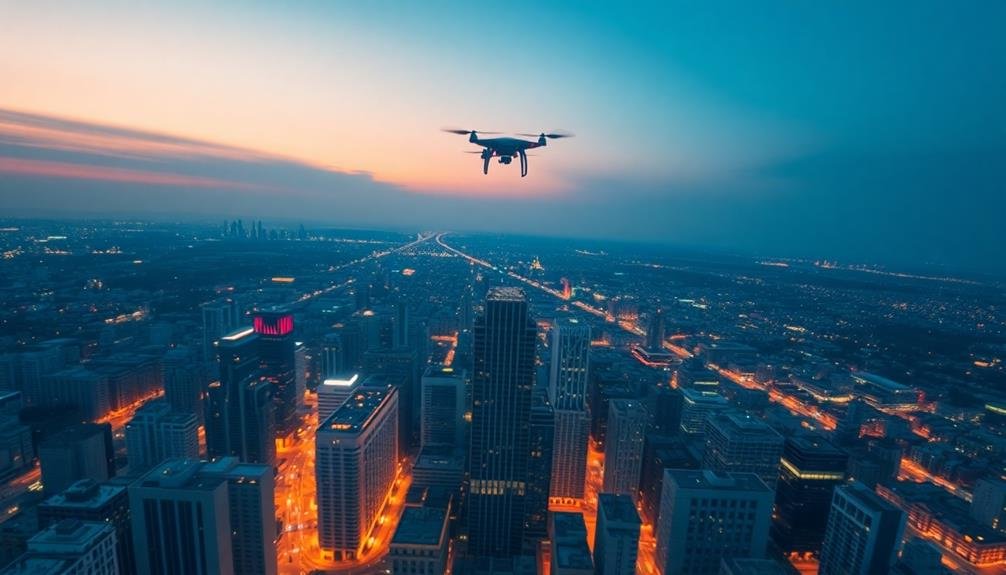
A mesmerizing visual journey, the Spiral Ascent Hyperlapse technique elevates your aerial footage to new heights. To execute this technique, you'll need to fly your drone in a spiral pattern while ascending.
Start by positioning your drone at a low altitude, then gradually increase its height as it orbits around a central point of interest. Set your drone to capture images at regular intervals, typically every 2-3 seconds.
As you ascend, maintain a consistent spiral radius and ascent rate. This guarantees smooth shifts between frames when you compile the footage later. Adjust your camera's settings to handle changing light conditions as you gain altitude.
During post-processing, stabilize your footage and adjust the playback speed to create the hyperlapse effect. You can enhance the spiral motion by adding a slight rotation to each frame.
Experiment with different ascent speeds and spiral widths to find the most visually appealing result. The Spiral Ascent Hyperlapse works exceptionally well for showcasing tall structures, natural landmarks, or cityscape shifts.
It's a powerful way to reveal the scale and grandeur of your subject while adding dynamic movement to your aerial cinematography.
Waypoint Hyperlapse
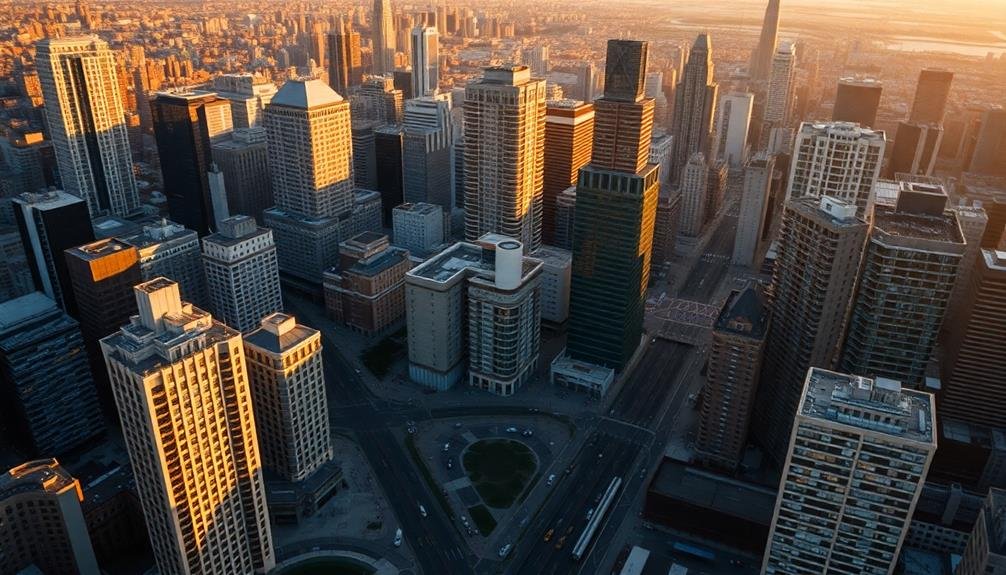
Precision meets creativity in the Waypoint Hyperlapse technique. This method allows you to create a smooth, controlled journey through space by setting predetermined points for your drone to follow. You'll need to plan your route carefully, pondering both the visual composition and the technical limitations of your equipment.
To execute a Waypoint Hyperlapse:
- Use your drone's app to set multiple waypoints along your desired path
- Adjust altitude, speed, and camera settings for each point
- Program the drone to capture images at regular intervals as it moves
As your drone flies the programmed route, it'll take a series of still images. You'll then stitch these images together in post-production to create a fluid, time-compressed video. This technique offers unparalleled control over your hyperlapse, allowing you to craft complex movements and dramatic reveals.
Remember to ponder factors like battery life, obstacle avoidance, and local regulations when planning your flight.
With practice, you'll be able to create stunning Waypoint Hyperlapses that showcase landscapes, architecture, or events in a unique and enchanting way. This technique is particularly effective for revealing grand vistas or highlighting the scale of large structures.
Frequently Asked Questions
What Software Is Best for Editing Cinematic Hyperlapse Footage?
For editing cinematic hyperlapse footage, you'll find Adobe Premiere Pro and Final Cut Pro X are top choices. They offer powerful tools for speed ramping, stabilization, and color grading. DaVinci Resolve is also excellent for its advanced color correction capabilities.
How Can I Stabilize Hyperlapse Shots in Post-Production?
You can stabilize hyperlapse shots in post-production by using software like Adobe After Effects or DaVinci Resolve. Apply warp stabilizer, track motion, or use keyframes to smooth out camera movements. Don't forget to crop edges if needed.
What Frame Rates Work Best for Creating Smooth Hyperlapse Sequences?
For smooth hyperlapse sequences, you'll want to shoot at higher frame rates. Try 60fps or 120fps if your camera allows. This gives you more flexibility in post-production, letting you slow down footage without losing smoothness.
Are There Specific Drone Models Recommended for Cinematic Hyperlapse Techniques?
You'll find DJI's Mavic series, especially the Air 2S and Mavic 3, excellent for cinematic hyperlapse. They're equipped with built-in hyperlapse modes and offer stable flight performance. The Autel EVO II Pro is another great option you should consider.
How Do Weather Conditions Affect Hyperlapse Filming, and What Precautions Should I Take?
Weather greatly impacts hyperlapse filming. You'll need to watch for wind, rain, and lighting changes. Plan shoots during stable conditions, use ND filters, and adjust your camera settings. Always prioritize safety and follow local drone regulations.
In Summary
You've now got seven powerful hyperlapse techniques to elevate your aerial filmmaking. Don't be afraid to experiment and combine these methods for truly unique results. Remember, practice makes perfect, so get out there and start flying! As you master these techniques, you'll create stunning, dynamic footage that'll captivate your audience. Keep pushing your creative boundaries, and you'll soon be producing cinematic aerial hyperlapses that stand out from the crowd.

As educators and advocates for responsible drone use, we’re committed to sharing our knowledge and expertise with aspiring aerial photographers.


Leave a Reply