
Transform aerial images into stunning 3D models with these seven steps: First, capture high-quality aerial imagery using ideal flight planning. Next, process and align your images in photogrammetry software. Generate a dense point cloud to create a detailed 3D representation. Convert the point cloud into a mesh, forming the model's surface. Apply textures to bring your model to life with realistic details. Refine and enhance the model, balancing detail and efficiency. Finally, export and share your creation in the appropriate format. By following these steps, you'll reveal a world of possibilities for visualization and analysis. Dive deeper to master each stage of this fascinating process.
Key Takeaways
- Capture high-quality aerial imagery with proper overlap and consistent altitude for accurate 3D reconstruction.
- Process and align images in photogrammetry software to generate a sparse point cloud.
- Create a dense point cloud for detailed 3D representation using specialized software.
- Generate and optimize a mesh by connecting points, adjusting density, and smoothing for balance between detail and efficiency.
- Apply textures, refine the model, and export in appropriate formats for sharing or further use.
Capture High-Quality Aerial Imagery
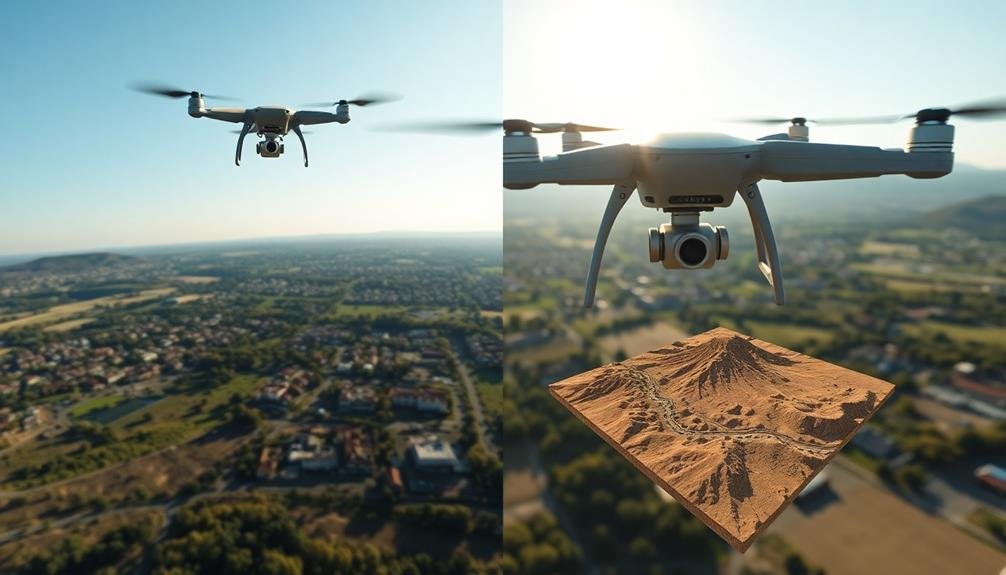
Every successful 3D model begins with high-quality aerial imagery. To capture the best photos, you'll need to plan your flight carefully. Choose a day with ideal weather conditions: clear skies, minimal wind, and consistent lighting. Aim for a time when shadows are shortest, typically around midday.
Make sure your drone is equipped with a high-resolution camera capable of capturing detailed images. Set your camera to shoot in RAW format for maximum flexibility during post-processing. Maintain a consistent altitude throughout your flight to keep image scale uniform. Overlap your photos by at least 60% front-to-back and 30% side-to-side to provide enough data for accurate 3D reconstruction.
Use a grid or circular flight pattern to cover your entire area of interest. Fly at a speed that allows for sharp, blur-free images. Consider using automated flight planning software to enhance your route and guarantee complete coverage.
Don't forget to capture oblique images by tilting your camera at various angles. These additional perspectives will enhance the detail and accuracy of your final 3D model, especially for vertical structures and complex terrain.
Process and Align Images
With your aerial imagery captured, it's time to process and align your photos. Begin by importing your images into photogrammetry software like Agisoft Metashape or Pix4D. These programs will analyze your photos, detecting common points and features across multiple images.
Next, you'll need to clean your data. Remove any blurry or distorted images that could negatively impact your 3D model's quality. Adjust the camera alignment settings to guarantee ideal results. The software will then generate a sparse point cloud, which represents the basic structure of your 3D model.
Once the sparse cloud is created, you can refine the camera positions and enhance the model. This step involves identifying and removing any misaligned images or incorrect point matches. You may need to manually add control points or markers to improve accuracy.
After enhancement, the software will generate a dense point cloud. This process is computationally intensive and may take several hours, depending on your hardware and the number of images.
The dense cloud provides a more detailed representation of your subject, serving as the foundation for your final 3D model.
Generate Dense Point Cloud
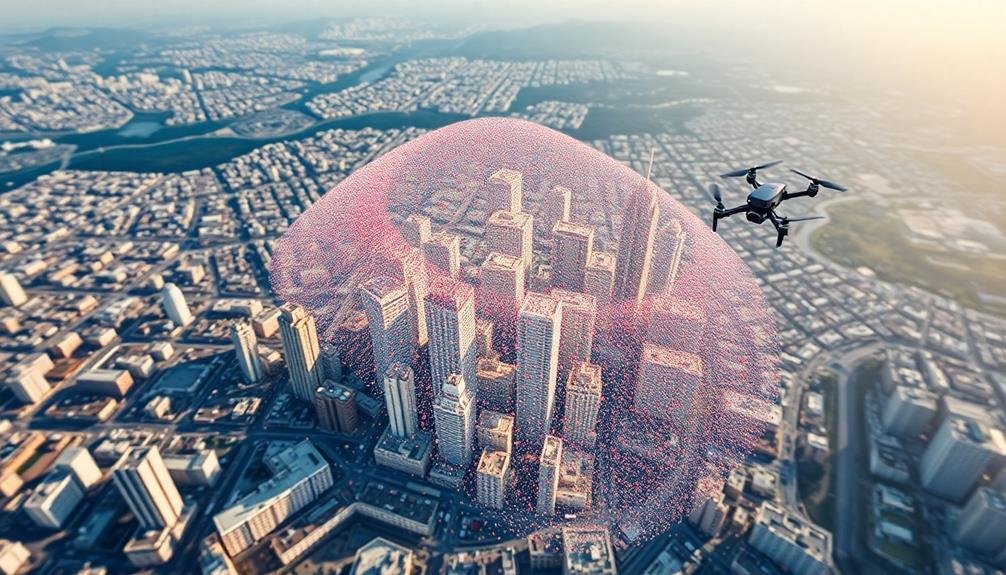
Generating a dense point cloud is an essential step in creating your 3D model from aerial images. This process uses the aligned images from the previous step to create a detailed 3D representation of the captured area. You'll need specialized photogrammetry software to accomplish this task.
The software analyzes the overlapping areas in your images to identify common points. It then calculates the 3D coordinates of these points, creating a cloud of data that represents the surface of your subject. The denser the point cloud, the more accurate and detailed your final 3D model will be.
You can adjust settings like point density and depth filtering to optimize the results. Higher density will provide more detail but requires more processing power and time. Depth filtering helps remove outliers and noise from your point cloud.
As the software processes your images, you'll see the point cloud gradually form. This can take several hours, depending on the number and resolution of your images.
Once complete, you'll have a colorized 3D representation of your subject, ready for the next steps in creating your 3D model.
Create Mesh From Point Cloud
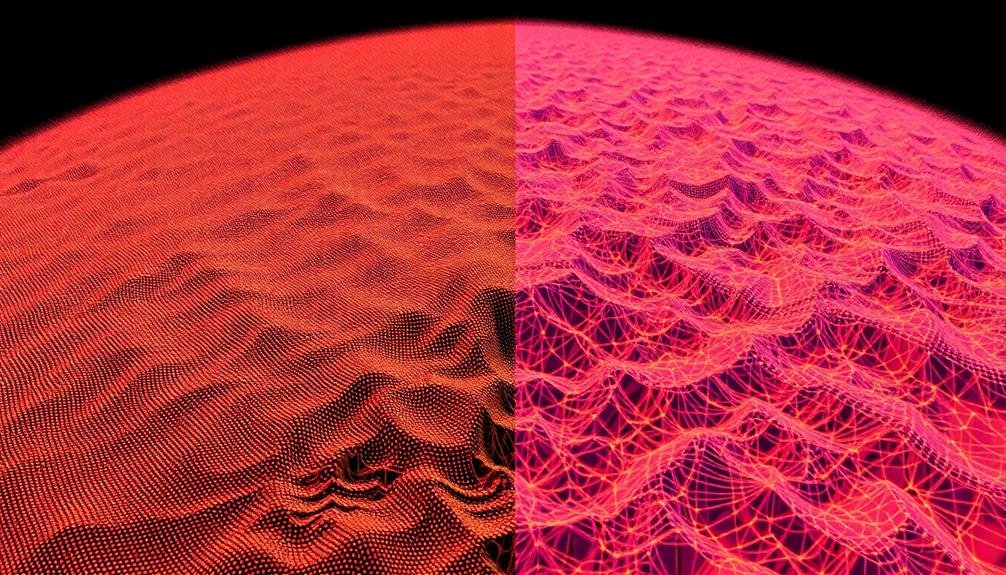
You'll now create a mesh from your dense point cloud, starting by generating a triangular mesh.
This process connects the points to form a network of triangles, representing the surface of your 3D model.
Once generated, you'll need to optimize the mesh topology to improve its quality and reduce unnecessary complexity.
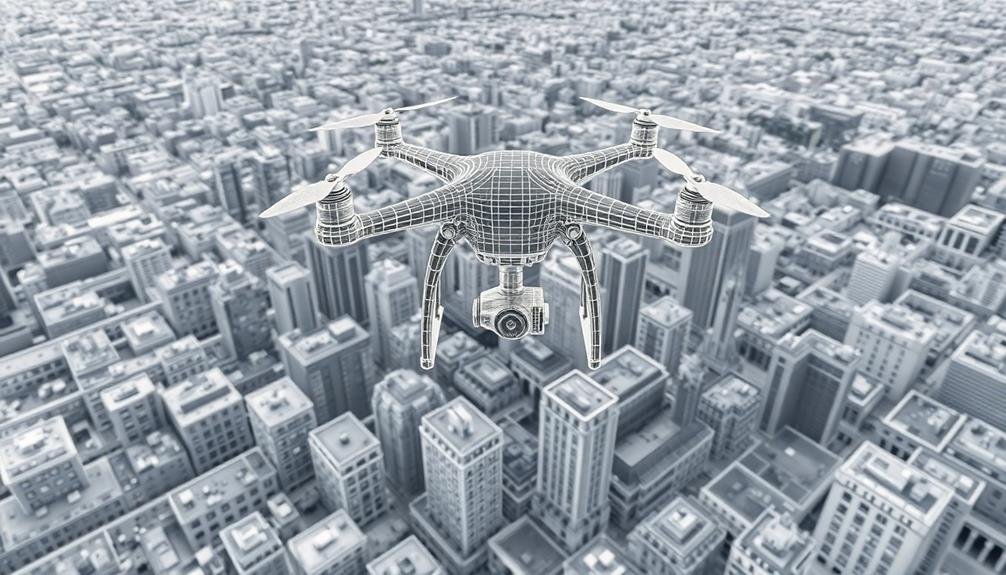
Generate Triangular Mesh
The next essential step in transforming aerial images into 3D models involves creating a triangular mesh from the point cloud. This process connects the individual points to form a network of triangles, effectively creating a solid surface representation of your 3D model.
To generate a triangular mesh, you'll use specialized software that employs algorithms to analyze the spatial relationships between points. These algorithms determine which points should be connected to form triangles, considering factors like proximity and surface curvature. The software will automatically create edges between points, forming a continuous mesh across the entire model.
During this process, you can adjust parameters such as mesh density and smoothing to control the level of detail and overall appearance of your 3D model. A denser mesh will capture more fine details but may require more processing power, while a less dense mesh will be faster to render but may lose some intricate features.
It's important to strike a balance between detail and computational efficiency. You should also inspect the resulting mesh for any anomalies or gaps, which may require manual editing or regeneration of problematic areas to guarantee a high-quality 3D model.
Optimize Mesh Topology
After generating the triangular mesh, optimizing its topology is essential for creating a high-quality 3D model from your point cloud. Mesh optimization improves the overall structure and efficiency of your 3D model while maintaining its accuracy.
You'll need to focus on reducing the number of polygons without sacrificing detail, smoothing out rough areas, and filling any holes or gaps in the mesh.
Start by using decimation algorithms to reduce the polygon count. These algorithms intelligently remove unnecessary vertices and faces while preserving the model's shape. Next, apply smoothing filters to even out jagged edges and noisy areas, creating a more natural-looking surface. Finally, use hole-filling techniques to close any gaps in the mesh, guaranteeing a watertight model.
During the optimization process, keep these key points in mind:
- Balance detail retention with polygon reduction
- Preserve important features and edges
- Maintain texture mapping integrity
Remember that mesh optimization is an iterative process. You may need to experiment with different settings and techniques to achieve the best results for your specific aerial imagery dataset.
Always compare the optimized mesh to the original to verify you haven't lost critical details or introduced artifacts.
Apply Texture to 3D Model

Applying texture to your 3D model breathes life into its surface, transforming a plain mesh into a realistic representation. To begin, you'll need to unwrap your model's UV coordinates, creating a 2D map that corresponds to the 3D surface. Use your software's UV mapping tools to flatten the model's geometry, guaranteeing minimal distortion and efficient use of texture space.
Next, prepare your texture maps. You can create these from scratch using photo editing software or generate them from your original aerial images. Common map types include diffuse (color), normal (surface detail), and specular (reflectivity). Align these maps with your UV layout for accurate placement.
Apply the textures to your model using your 3D software's material editor. Adjust settings like tiling, offset, and blending to fine-tune the appearance. Don't forget to set up proper shaders that respond to lighting conditions for added realism.
For aerial imagery-based models, you might need to blend multiple textures to cover large areas seamlessly. Use alpha masks or vertex painting techniques to create smooth changes between different texture regions.
Refine and Optimize Model
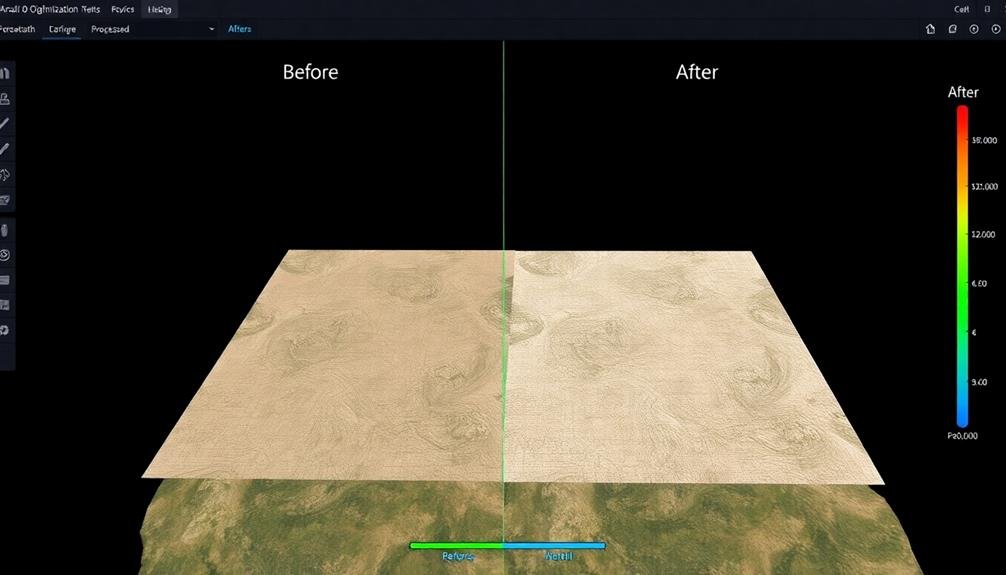
With your textured 3D model in place, it's time to refine and optimize it for peak performance. Start by simplifying the model's geometry, reducing the polygon count without compromising visual quality. Use decimation tools to remove unnecessary vertices and faces, focusing on areas with less detail.
Next, optimize your textures by resizing them appropriately and compressing them to reduce file size without significant loss in quality. Check for and fix any topology issues, such as non-manifold edges or isolated vertices, which can cause rendering problems. Verify that your model's normals are correctly oriented for proper lighting and shading.
If your software allows, consider using level of detail (LOD) techniques to create multiple versions of your model with varying complexities for different viewing distances.
Here are key aspects to focus on during refinement:
- Smoothing rough edges and surfaces for a more polished appearance
- Adjusting UV mapping to eliminate stretching or distortion in textures
- Optimizing the model's scale and orientation for your intended use
Export and Share Final Product
Once you've refined and optimized your 3D model, it's time to export and share your final product. Choose the appropriate file format based on your intended use. Common formats include OBJ, FBX, and COLLADA for 3D applications, or GLTF for web-based viewing. Consider the file size and compatibility with your target platforms.
Before exporting, double-check your model's scale and orientation to guarantee accuracy. Apply any final textures or materials if necessary. When exporting, adjust settings like polygon count and texture resolution to balance quality and file size.
To share your 3D model, you have several options. Upload it to online 3D model repositories like Sketchfab or CGTrader for public viewing or potential sales. For professional collaborations, use cloud-based platforms like Autodesk BIM 360 or Trimble Connect. These allow for secure sharing and real-time collaboration.
If you're presenting to clients, consider creating a video flythrough or interactive web viewer. This lets non-technical users explore your model without specialized software.
Frequently Asked Questions
What Software Is Best for Beginners in Aerial Image 3D Modeling?
For beginners in aerial image 3D modeling, you'll find Pix4D or Agisoft Metashape user-friendly. They offer intuitive interfaces and tutorials. If you're on a budget, try the open-source WebODM. These options will help you start creating 3D models quickly.
How Much Storage Space Is Typically Required for Large-Scale 3D Modeling Projects?
You'll need substantial storage for large-scale 3D modeling projects. Expect to allocate at least 500GB to 1TB of space. It's wise to invest in external hard drives or cloud storage for your massive files.
Can Weather Conditions Affect the Quality of Aerial Imagery for 3D Modeling?
Yes, weather conditions can considerably impact your aerial imagery quality for 3D modeling. You'll find that rain, fog, and heavy clouds can obscure details, while strong winds may cause blurry images. Bright sunlight can also create harsh shadows.
Are There Legal Restrictions on Using Drones for Aerial Photography in Certain Areas?
Yes, you'll face legal restrictions when using drones for aerial photography in many areas. You can't fly over sensitive locations, near airports, or in national parks. Always check local laws and obtain necessary permits before flying.
How Long Does It Take to Process Complex 3D Models From Aerial Images?
You'll find processing complex 3D models from aerial images can take anywhere from hours to days. It depends on your computer's power, the number of images, and the model's complexity. Expect longer times for highly detailed projects.
In Summary
You've now mastered the process of turning aerial images into stunning 3D models. By following these seven steps, you'll capture quality imagery, process and align it, generate point clouds, create meshes, apply textures, refine your model, and finally share your creation. With practice, you'll become more efficient and produce increasingly impressive results. Don't hesitate to experiment and push the boundaries of your 3D modeling skills. The sky's the limit for your aerial imagery transformations!
As educators and advocates for responsible drone use, we’re committed to sharing our knowledge and expertise with aspiring aerial photographers.


Leave a Reply