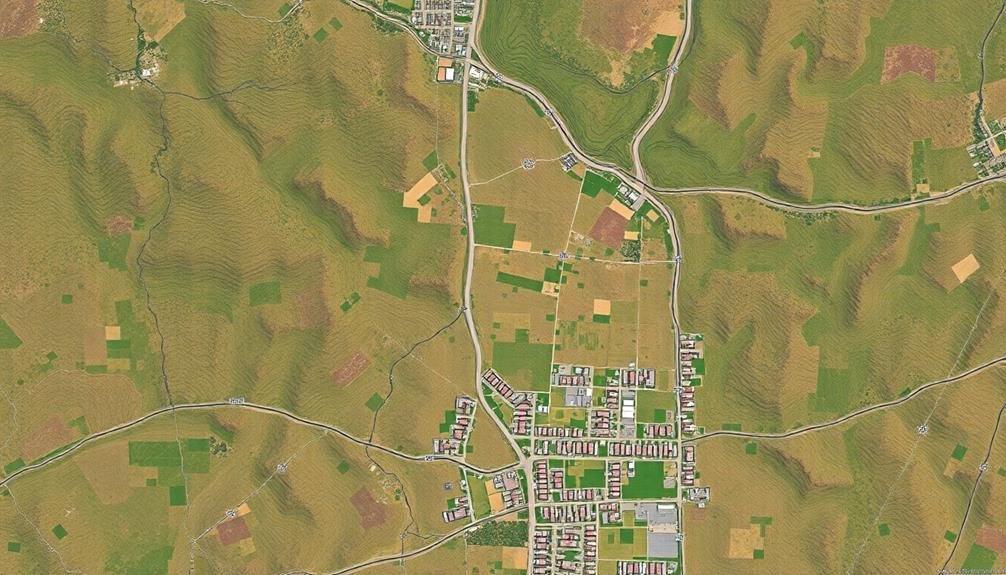
To create precise orthomosaic maps from aerial images, you'll need high-resolution drone equipment and careful flight planning. Capture overlapping images with consistent camera settings, considering weather conditions for ideal results. Process your raw data using photogrammetry software, which aligns and stitches images while correcting distortions. Georeference your map using ground control points for accuracy. Apply advanced stitching techniques to blend images seamlessly. Conduct thorough quality control checks to guarantee geometric accuracy and visual consistency. Choose appropriate software solutions based on your needs and budget. The resulting orthomosaic maps have diverse applications, from agriculture to urban planning. Dive deeper to master each step of this fascinating process.
Key Takeaways
- Capture high-resolution aerial images using drones or aircraft with significant overlap for seamless stitching.
- Utilize GPS-enabled equipment and ground control points for accurate image georeferencing.
- Process images using photogrammetry software to align, stitch, and create a seamless composite.
- Apply image blending techniques and color correction to ensure smooth transitions and visual consistency.
- Generate a digital elevation model to account for terrain variations in the final orthomosaic map.
Understanding Aerial Imagery Basics
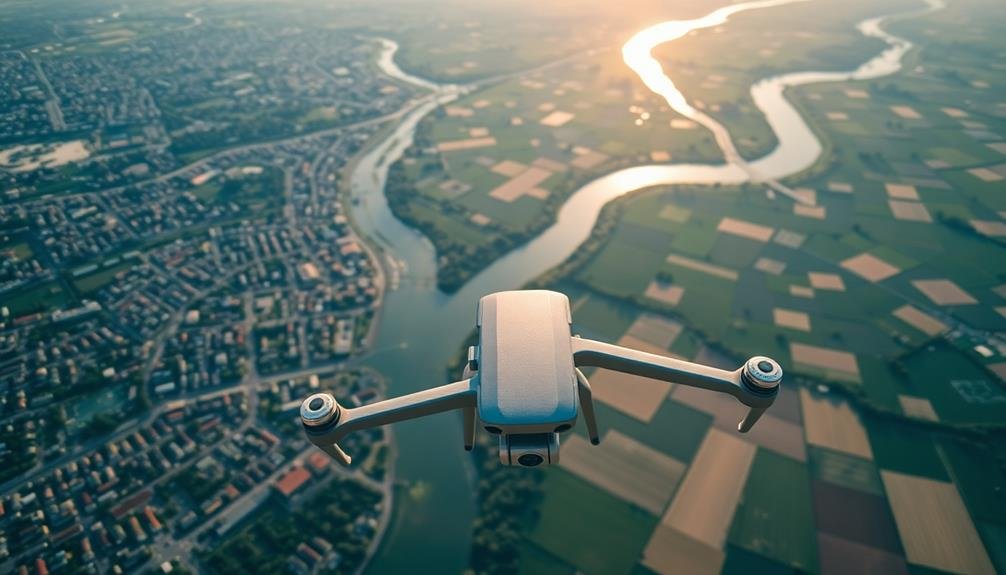
Aerial imagery kicks off with capturing photographs from above, typically using aircraft, drones, or satellites. These images provide a bird's-eye view of the Earth's surface, offering valuable data for various applications.
You'll find that aerial photos are taken using specialized cameras that can capture high-resolution images across different spectral bands.
When you're working with aerial imagery, you'll encounter terms like Ground Sample Distance (GSD), which refers to the physical size of a pixel on the ground. A lower GSD means higher resolution and more detail.
You'll also need to take into account image overlap, both forward and side, which is vital for creating seamless mosaics and 3D models.
Understanding the principles of photogrammetry is essential, as it's the science of making measurements from photographs. This technique allows you to extract accurate geometric information from 2D images.
You'll also need to be familiar with different coordinate systems and projections, as aerial images often need to be georeferenced to align with real-world coordinates.
Drone Equipment for Orthomosaic Creation
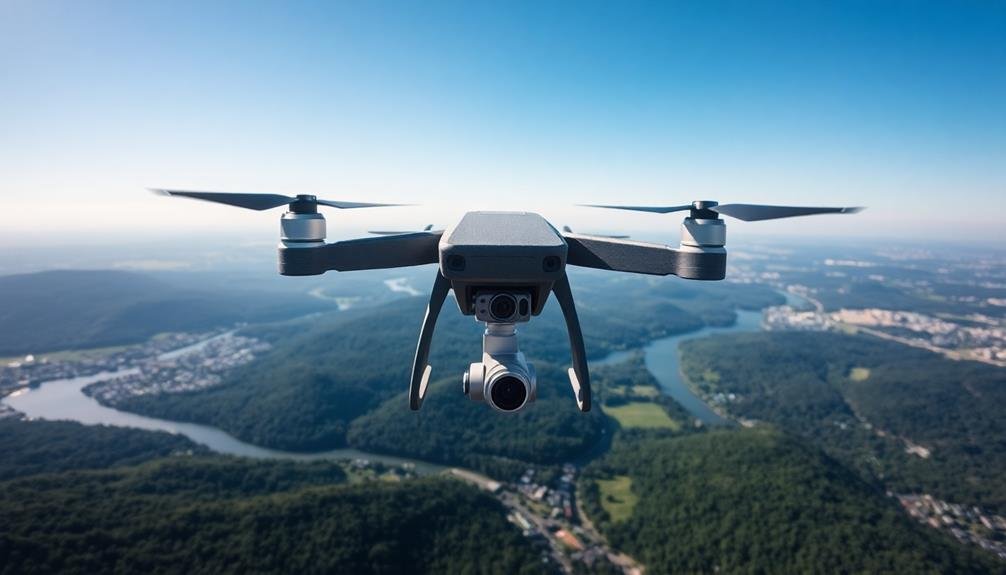
To create high-quality orthomosaic maps, you'll need specialized drone equipment.
Your drone should be equipped with a high-resolution camera system capable of capturing detailed imagery from various altitudes.
GPS and stabilization technology are essential for accurate positioning and smooth flight, while flight planning software helps you efficiently map out your aerial survey route.
High-Resolution Camera Systems
High-resolution camera systems are the heart of any drone setup for creating orthomosaic maps. You'll need to choose a camera that balances image quality with weight constraints. Look for sensors with at least 20 megapixels and a large dynamic range to capture detailed ground features in various lighting conditions.
Consider cameras with global shutters, which capture the entire image simultaneously, reducing distortion in fast-moving drones. Interchangeable lens systems offer flexibility, allowing you to switch between wide-angle lenses for broader coverage and telephoto lenses for detailed inspection of specific areas.
Don't overlook the importance of image stabilization. Mechanical gimbals or electronic stabilization systems help compensate for drone movement, ensuring sharp, clear images. Some advanced cameras even integrate RTK (Real-Time Kinematic) GPS for precise geotagging of each photo.
When selecting your camera, factor in its integration with your drone's software. Seamless communication between the camera and flight control system is vital for automated image capture and mission planning.
GPS and Stabilization Technology
For accurate orthomosaic mapping, GPS and stabilization technology are fundamental components of your drone setup. GPS guarantees precise positioning of your drone during flight, allowing for accurate georeferencing of captured images. You'll want to use a drone with built-in RTK (Real-Time Kinematic) GPS for centimeter-level accuracy.
Stabilization technology is vital for capturing clear, sharp images. It compensates for drone movement and vibrations, resulting in higher-quality orthomosaics. Look for drones with advanced gimbal systems that offer multi-axis stabilization.
Here's a comparison of GPS and stabilization features in different drone classes:
| Feature | Consumer Drones | Prosumer Drones | Professional Drones |
|---|---|---|---|
| GPS Accuracy | 2-5 meters | 1-2 meters | <1 cm (with RTK) |
| Gimbal Axes | 2-axis | 3-axis | 3-axis + redundancy |
| Vibration Damping | Basic | Advanced | Industrial-grade |
When selecting your drone, consider the level of accuracy required for your orthomosaic projects. Higher-end models offer superior GPS and stabilization capabilities, but they come at a higher cost. Balance your needs with your budget to find the right equipment for your mapping tasks.
Flight Planning Software
Flight planning software is an indispensable tool for creating high-quality orthomosaic maps. It allows you to plan your drone's flight path, guaranteeing complete coverage of your target area. You'll input parameters such as flight altitude, overlap percentage, and camera settings to enhance image capture for orthomosaic creation.
Most flight planning software offers automatic mission generation based on your defined area of interest. You can adjust flight patterns, including grid, circular, or custom routes, to suit your specific project needs. It's vital to take into account obstacles and no-fly zones when planning your flight.
Advanced features often include terrain awareness, which adjusts the drone's altitude to maintain consistent ground sampling distance over uneven terrain. You'll also find options for setting gimbal angles and camera triggers to guarantee peak image quality.
Many software solutions integrate with cloud platforms, allowing you to upload and process your data directly after the flight. This streamlines your workflow from planning to final orthomosaic production.
Remember to check that your chosen software is compatible with your drone model and camera setup for seamless operation in the field.
Flight Planning and Data Acquisition
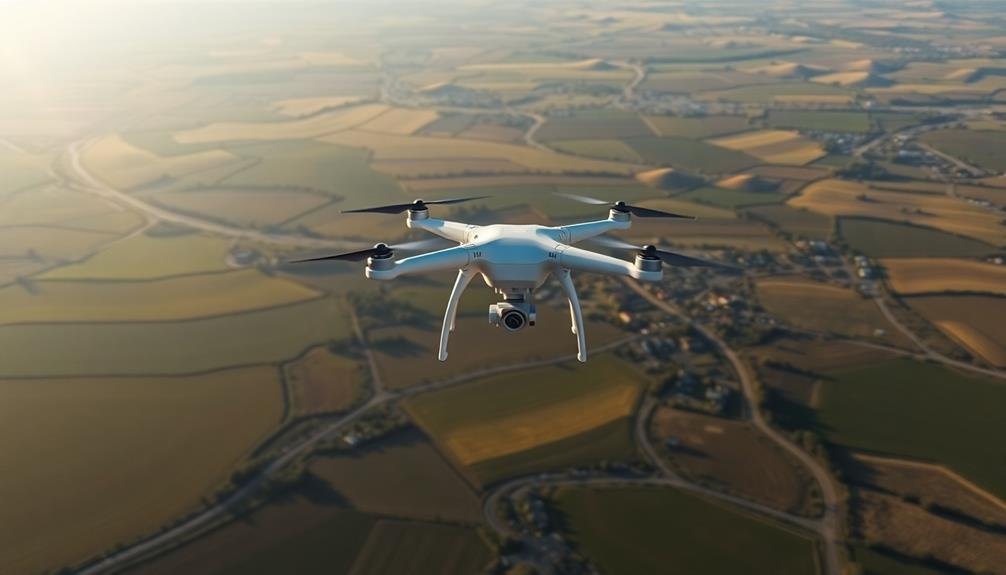
When planning your orthomosaic mapping mission, you'll need to carefully design your flight path for ideal coverage.
You should adjust your camera settings to guarantee clear, high-resolution images that will stitch together seamlessly.
It's essential to check weather conditions before flying, as wind, rain, or poor lighting can greatly impact your data acquisition.
Optimal Flight Path Design
Designing an ideal flight path is vital for creating high-quality orthomosaic maps. You'll need to evaluate several factors to guarantee extensive coverage and best image overlap. Start by defining your area of interest and determining the required ground sample distance (GSD). This will help you choose the appropriate flying altitude and camera settings.
Plan your flight lines to achieve consistent overlap between images, typically 60-80% forward overlap and 60-70% side overlap. These overlaps are essential for accurate image stitching and 3D reconstruction. Assess the terrain and potential obstacles when designing your flight path. For hilly areas, you may need to adjust your altitude to maintain a consistent GSD.
Include cross-flight lines to improve the overall accuracy of your orthomosaic. These perpendicular flight lines help reduce systematic errors and enhance the robustness of your dataset.
Don't forget to account for wind conditions, as they can affect your drone's flight stability and image quality. Lastly, verify your flight plan complies with local regulations and airspace restrictions.
Camera Settings Optimization
Optimizing your camera settings is just as important as planning your flight path for creating high-quality orthomosaic maps. You'll need to adjust several key parameters to guarantee your aerial images are sharp, well-exposed, and suitable for stitching.
Start by setting your camera to manual mode. This gives you full control over the exposure triangle: aperture, shutter speed, and ISO. Choose an aperture between f/4 and f/8 for a good balance of depth of field and sharpness. Set your shutter speed to at least 1/500s to minimize motion blur, adjusting it based on your drone's speed and altitude. Keep your ISO as low as possible, ideally under 400, to reduce noise.
Use RAW format to capture the maximum amount of data and allow for greater post-processing flexibility. Enable your camera's mechanical shutter to prevent rolling shutter distortion. Set your focus to infinity and disable any image stabilization, as it can interfere with the mapping process.
Lastly, guarantee your white balance is consistent across all images. You can either set a custom white balance or use a fixed preset like "daylight" to maintain color consistency throughout your orthomosaic map.
Weather Considerations Essentials
Weather conditions play an important role in successful orthomosaic mapping. You'll need to carefully consider various meteorological factors before and during your flight to guarantee ideal data acquisition.
Wind speed is vital; aim for speeds below 15 mph to maintain stable flight and reduce image blur. Avoid flying in gusty conditions, as they can affect your drone's stability and image quality.
Lighting is another significant factor. Overcast days often provide the best conditions for consistent illumination across your survey area. Bright, sunny days can create harsh shadows and reflections, potentially compromising image quality.
However, if you must fly on a sunny day, try to schedule your flight when the sun is at its highest point to minimize shadows.
Temperature extremes can affect your drone's performance and battery life. In cold weather, keep your batteries warm before flight and be prepared for shorter flight times.
Humidity and precipitation are also concerns; avoid flying in fog, rain, or snow, as these can damage your equipment and reduce visibility.
Lastly, always check local weather forecasts and plan your flights accordingly to maximize efficiency and data quality.
Image Processing and Georeferencing
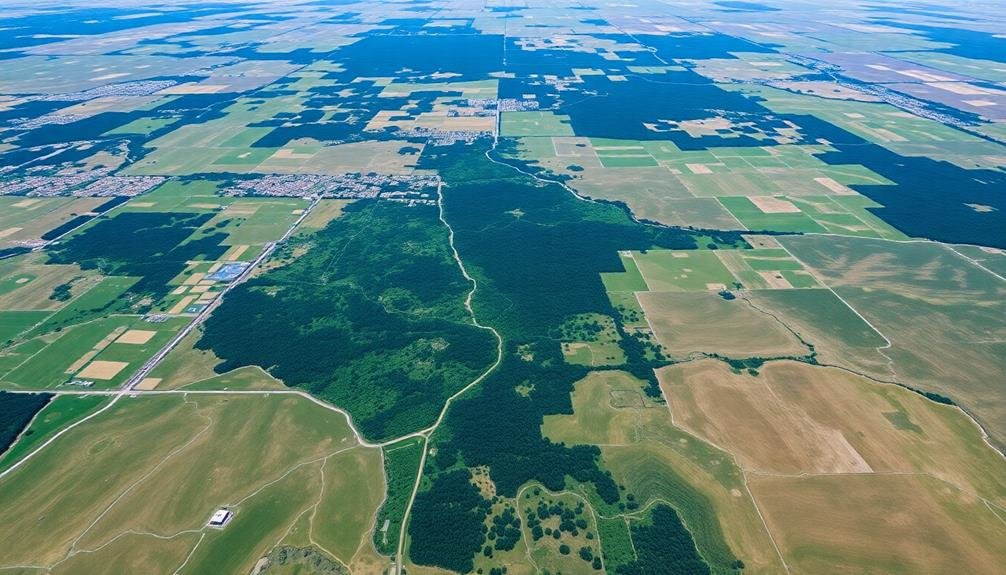
Image processing and georeferencing form the backbone of creating accurate orthomosaic maps. After capturing aerial images, you'll need to process them to create a seamless, high-resolution map.
Start by importing your raw images into specialized photogrammetry software. This software will analyze the images, identifying common points and features across multiple photos.
Next, you'll align and stitch the images together, creating a single large composite. During this process, the software will correct for lens distortion and perspective differences between individual photos.
You'll then need to georeference the composite image, assigning real-world coordinates to specific points. This step guarantees your map aligns correctly with existing geographic data.
To improve accuracy, you can use ground control points (GCPs) that you've marked and measured in the field. Input these GCP coordinates into your software to fine-tune the map's positioning.
Once georeferenced, you'll generate a digital elevation model (DEM) to account for terrain variations. Finally, you'll create the orthomosaic by applying the DEM to your composite image, resulting in a geometrically corrected map that maintains consistent scale across its entirety.
Stitching Techniques for Orthomosaic Maps
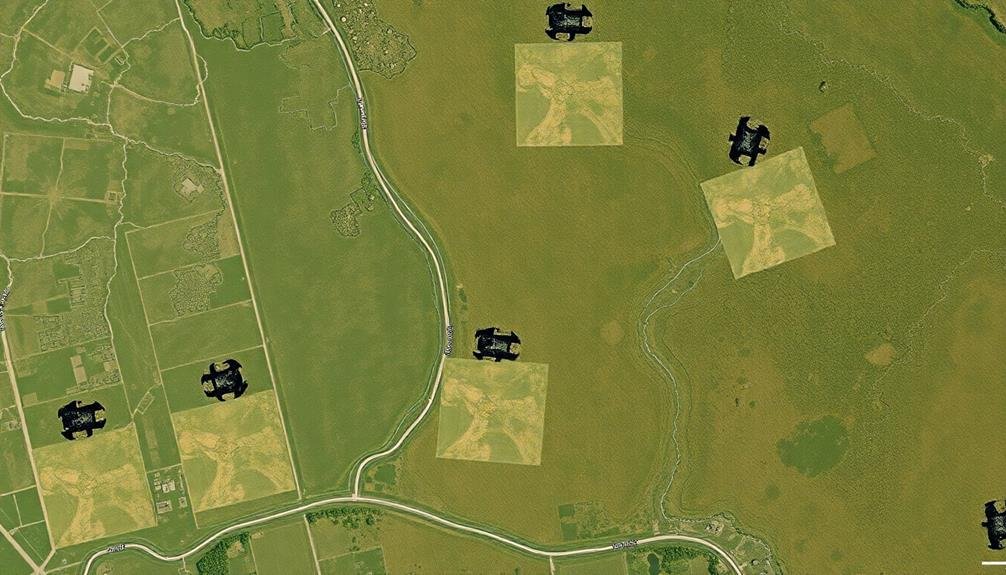
Stitching techniques play a key role in creating high-quality orthomosaic maps. You'll need to combine multiple overlapping aerial images to form a seamless, large-scale representation of the surveyed area. The process begins with feature detection, where algorithms identify distinct points in each image. These points are then matched across overlapping images to establish correspondences.
Next, you'll use bundle adjustment to refine camera positions and optimize the overall geometry of the image set. This step guarantees accurate alignment and reduces distortions.
After that, you'll apply image blending techniques to smooth out shifts between individual images and eliminate visible seams. Advanced stitching methods often incorporate multi-band blending, which helps to harmonize color and exposure differences across the mosaic. You may also use feathering techniques to gradually blend overlapping areas, creating a more natural appearance.
To handle large datasets efficiently, you'll likely employ hierarchical or tiled approaches. These methods break down the stitching process into manageable chunks, allowing for faster processing and reduced memory usage.
Quality Control and Accuracy Assessment
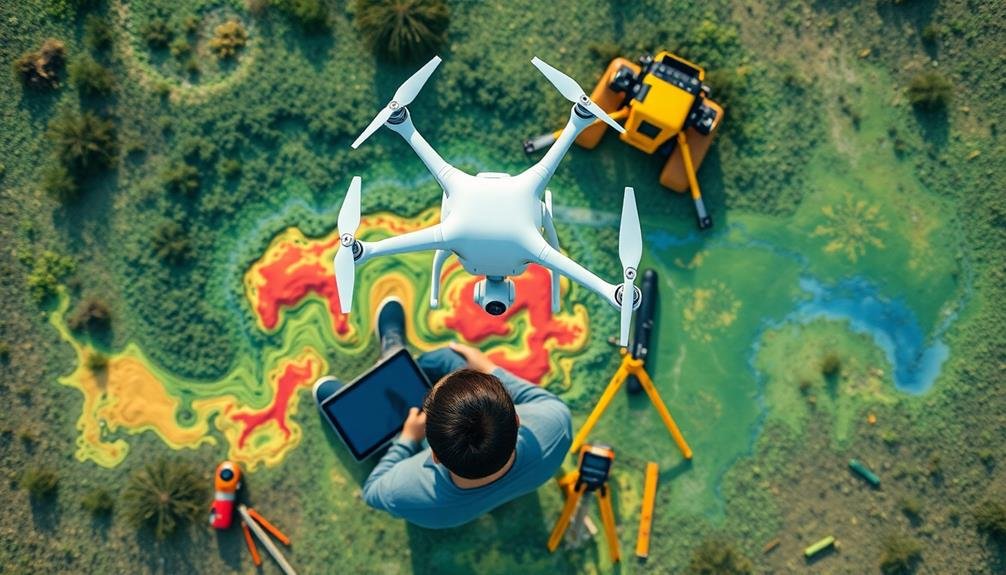
Quality assurance protocols are essential when creating orthomosaic maps. You'll need to implement rigorous checks to guarantee your final product meets accuracy standards.
Start by verifying ground control points (GCPs) for positional accuracy. These serve as anchors for your map and should be precisely measured using GPS or other surveying methods.
Next, assess the overall geometric accuracy of your orthomosaic. You can do this by comparing known distances on the ground to their corresponding measurements on the map. Look for any distortions or inconsistencies, especially at the edges of the map where errors are more likely to occur.
Check for seamless image blending and color balancing across the entire orthomosaic. You don't want visible seams or abrupt changes in brightness or contrast.
Pay attention to areas with shadows, reflective surfaces, or moving objects, as these can cause issues during the stitching process.
Software Solutions for Orthomosaic Generation
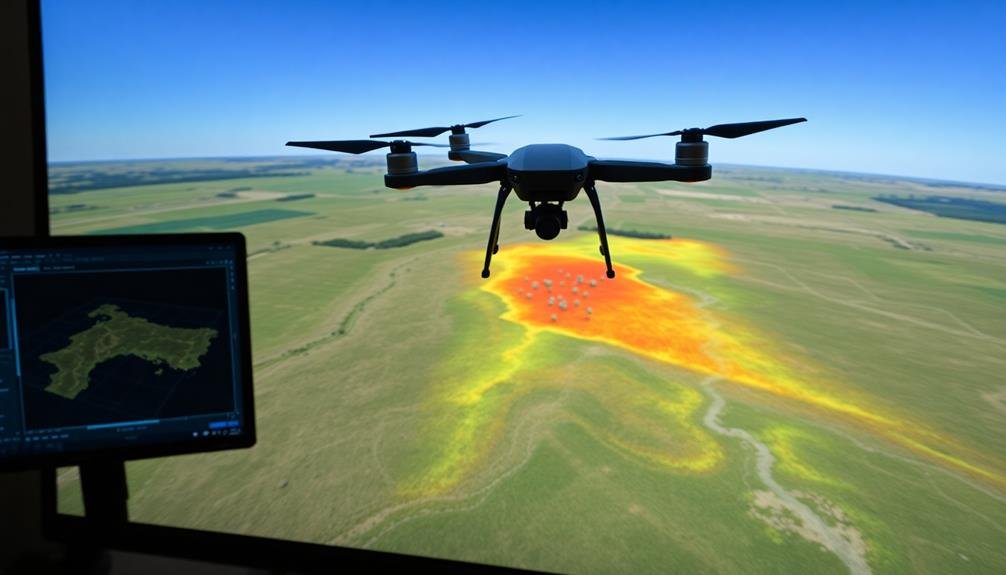
Several powerful software solutions are available for creating orthomosaic maps. You'll find both commercial and open-source options to suit your needs and budget.
Popular commercial software includes Pix4Dmapper, Agisoft Metashape, and DroneDeploy. These offer user-friendly interfaces, advanced processing algorithms, and extensive feature sets for professional-grade outputs.
For those seeking free alternatives, OpenDroneMap and WebODM provide robust capabilities. They're open-source and community-driven, offering flexibility and customization options.
You can also consider cloud-based solutions like MapsMadeEasy or DroneDeploy's web platform, which allow you to process data without high-end hardware.
When choosing software, consider factors like processing speed, accuracy, supported file formats, and integration with your existing workflow. Some solutions offer specialized features for specific industries, such as agriculture or construction.
You'll want to evaluate the software's ability to handle your project's scale and complexity.
Don't forget to check for regular updates and customer support. As technology evolves, you'll benefit from software that keeps pace with industry advancements and provides reliable assistance when you need it.
Applications of Orthomosaic Maps
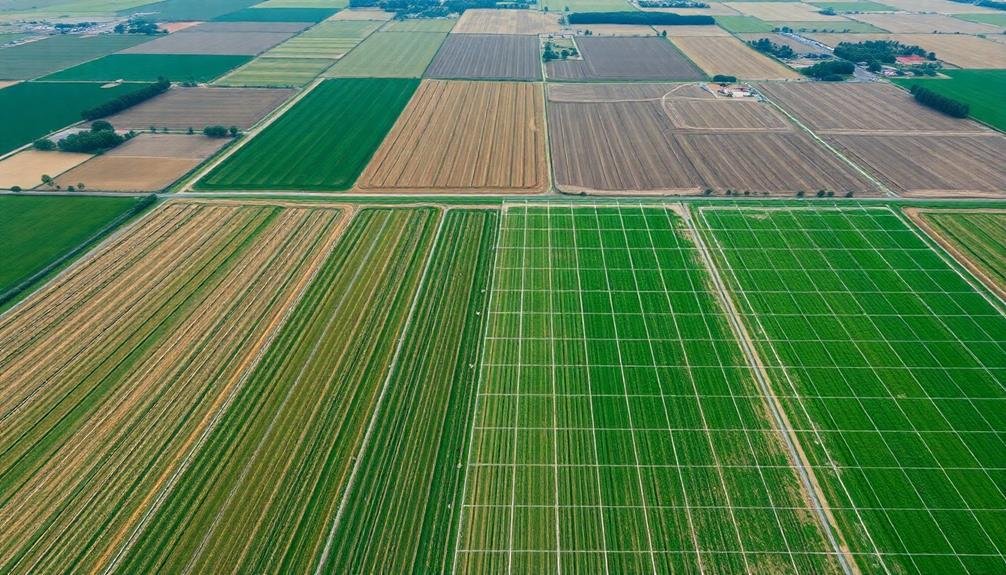
Orthomosaic maps have revolutionized numerous industries with their versatile applications. You'll find these high-resolution, geo-referenced images used extensively in agriculture for crop monitoring and precision farming. Farmers can assess plant health, estimate yields, and plan irrigation strategies using these detailed maps.
In urban planning and construction, orthomosaic maps provide accurate representations of large areas, helping you visualize project sites, measure distances, and plan infrastructure development. They're invaluable for environmental monitoring, allowing you to track changes in ecosystems, assess deforestation, and study coastal erosion over time.
You'll also see orthomosaic maps used in disaster response and management. They help emergency teams assess damage, plan rescue operations, and coordinate relief efforts efficiently. In archaeology, these maps aid in site documentation and discovery of new features.
Real estate and property management benefit from orthomosaic maps for property surveys, boundary delineation, and marketing materials. They're also essential in mining and resource exploration, helping you identify potential extraction sites and monitor operations.
Lastly, orthomosaic maps play a significant role in wildlife conservation, enabling you to track animal populations, study habitats, and plan conservation strategies effectively.
Frequently Asked Questions
How Do Weather Conditions Affect the Quality of Orthomosaic Maps?
Weather conditions greatly impact your orthomosaic map quality. You'll find that clouds, rain, and strong winds can blur images, create shadows, and cause misalignment. Sunny, calm days will give you the best results for clear, accurate maps.
What Are the Legal Requirements for Creating Orthomosaic Maps in Urban Areas?
You'll need permits for drone flights in urban areas. Check local regulations, obtain necessary licenses, and respect privacy laws. Don't fly over restricted zones. Make certain you're compliant with FAA rules if you're in the US.
Can Orthomosaic Maps Be Created From Satellite Imagery Instead of Drone Photography?
Yes, you can create orthomosaic maps from satellite imagery. While it's less common than using drone photos, satellite data offers wider coverage. You'll need specialized software to process the imagery and create accurate orthomosaic maps.
How Often Should Orthomosaic Maps Be Updated for Rapidly Changing Landscapes?
You should update orthomosaic maps frequently for rapidly changing landscapes. It's best to reassess every 3-6 months, but some areas may need updates as often as weekly or monthly, depending on the rate of change.
What Are the Limitations of Using Orthomosaic Maps for 3D Modeling?
You'll find orthomosaic maps have limitations for 3D modeling. They're flat representations, lacking depth information. You can't capture overhanging structures or complex vertical features. They're also limited in showing fine details of building facades.
In Summary
You've now explored the journey from aerial images to precise orthomosaic maps. You've learned about equipment, flight planning, image processing, and stitching techniques. You've discovered software solutions and quality control methods. Armed with this knowledge, you're ready to create accurate orthomosaic maps for various applications. Remember, practice makes perfect, so don't hesitate to experiment with different techniques and tools. Keep refining your skills to produce high-quality orthomosaic maps.

As educators and advocates for responsible drone use, we’re committed to sharing our knowledge and expertise with aspiring aerial photographers.


Leave a Reply