To create precise orthomosaic maps, start by optimizing your flight parameters, including ground sample distance and drone speed. Guarantee proper image overlap, aiming for 75-80% front and 60-70% side overlap for effective stitching. Use ground control points strategically across your survey area to enhance accuracy and georeferencing. Select suitable processing software that's compatible with your equipment and offers robust features. Finally, perform thorough quality control by examining the map for distortions, checking georeferencing accuracy, and verifying resolution and color consistency. Mastering these essential tips will greatly improve your aerial mapping results and set you on the path to professional-grade outputs.
Key Takeaways
- Optimize flight parameters, including GSD, speed, and overlap, to ensure high-quality image capture.
- Use strategically placed ground control points for accurate georeferencing and reduced geometric distortions.
- Select compatible processing software with robust features for efficient and accurate map creation.
- Implement thorough quality control procedures to check for distortions, misalignments, and visual anomalies.
- Conduct a test flight to verify parameters and adjust for environmental factors before the full mapping mission.
Choose Optimal Flight Parameters
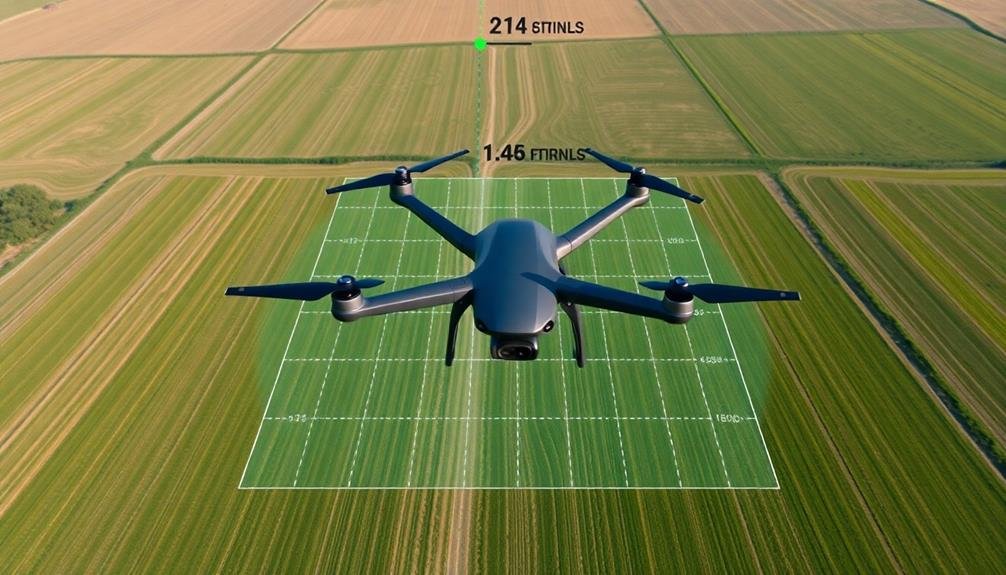
Precision is key when selecting flight parameters for orthomosaic mapping. You'll need to carefully consider altitude, speed, and image overlap to achieve the best results. Start by determining the required ground sample distance (GSD) for your project. This will help you choose the appropriate flight altitude, which directly affects image resolution.
Set your drone's speed to guarantee clear, blur-free images. Slower speeds generally yield better results but increase flight time. Balance these factors based on your project's requirements and battery life constraints.
For image overlap, aim for 75-80% front overlap and 60-70% side overlap. This redundancy helps with image stitching and improves overall map accuracy.
Consider environmental factors like wind speed and lighting conditions. Adjust your parameters accordingly to maintain image quality and consistency. Use a grid or cross-hatch flight pattern to guarantee complete coverage of your area of interest.
Don't forget to account for terrain variations, as they can impact your GSD and overlap calculations.
Lastly, always conduct a test flight to verify your chosen parameters. This allows you to make necessary adjustments before committing to a full mapping mission, saving time and resources in the long run.
Ensure Proper Image Overlap
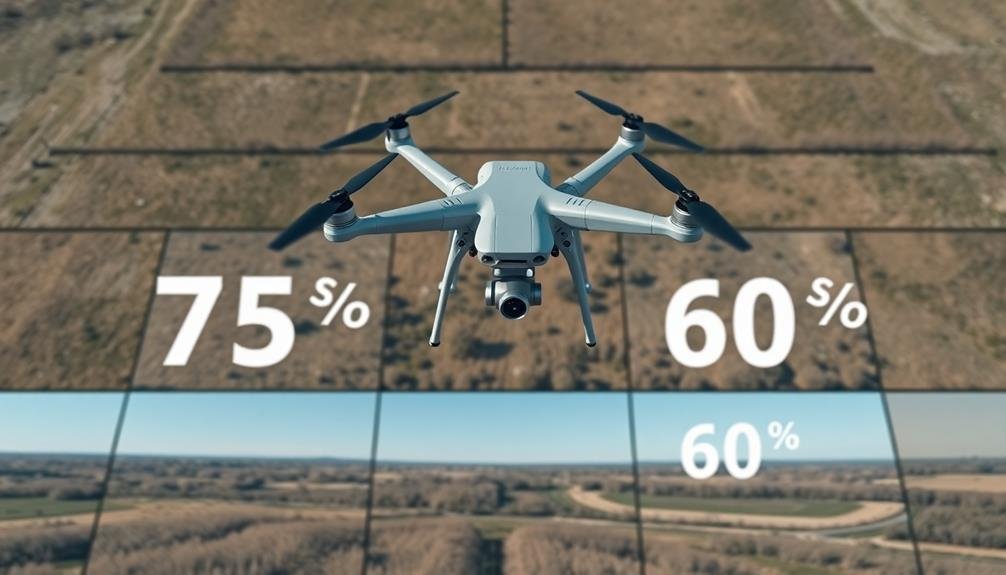
Why is image overlap essential for creating accurate orthomosaic maps? Proper image overlap guarantees that every point on the ground is captured from multiple angles, providing the necessary data for precise 3D reconstruction and orthorectification.
You'll want to aim for at least 75% front overlap and 60% side overlap to achieve high-quality results.
To guarantee proper image overlap:
- Plan your flight path carefully, considering the terrain and desired ground sampling distance
- Adjust your drone's speed and camera settings to maintain consistent overlap throughout the flight
- Use automated flight planning software to calculate ideal image capture intervals
Remember that insufficient overlap can lead to gaps in your data, resulting in inaccurate measurements and distorted imagery.
On the other hand, excessive overlap can increase processing time and storage requirements without greatly improving accuracy.
You'll need to strike a balance based on your project's specific needs and constraints.
Consider factors such as the complexity of the terrain, the desired level of detail, and the capabilities of your drone and camera when determining the ideal overlap for your orthomosaic mapping project.
Use Ground Control Points
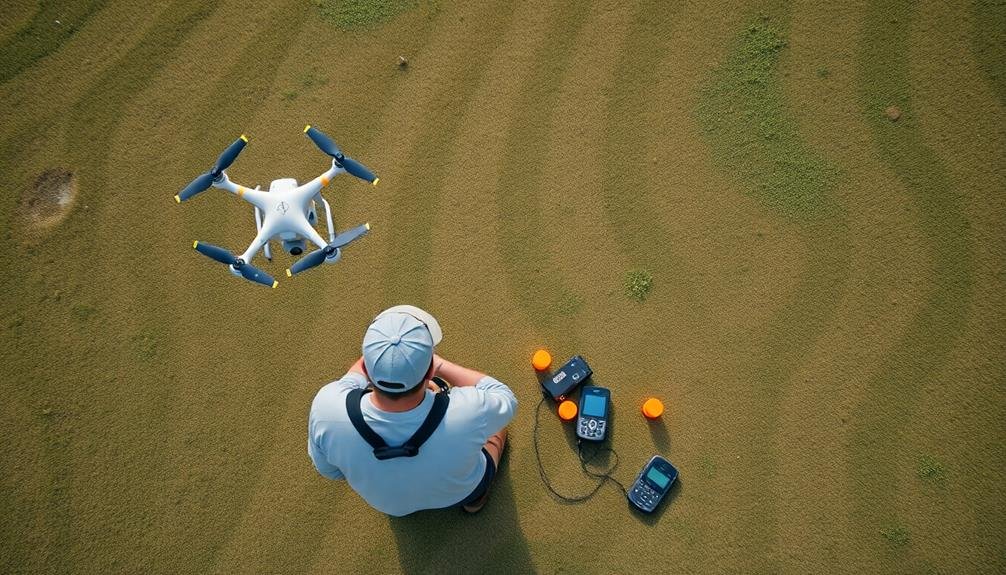
While proper image overlap is key, another vital element in creating accurate orthomosaic maps is the use of Ground Control Points (GCPs). These are precisely surveyed points on the ground with known coordinates that serve as reference points for aligning and georeferencing your aerial imagery.
To use GCPs effectively, you'll need to distribute them evenly across your survey area. Aim for at least five GCPs, placing them near the corners and center of your site. For larger or more complex areas, you may need additional GCPs. Mark each point clearly with a visible target that contrasts with the surrounding terrain.
Before flying, survey each GCP using high-precision GPS equipment to obtain accurate coordinates. During image processing, you'll manually identify these points in your aerial photos, allowing the software to adjust and align the imagery correctly.
Using GCPs greatly improves the accuracy of your orthomosaic map, reducing geometric distortions and ensuring proper georeferencing. They're especially essential for projects requiring high precision, such as volumetric calculations or detailed site mapping.
Select Suitable Processing Software
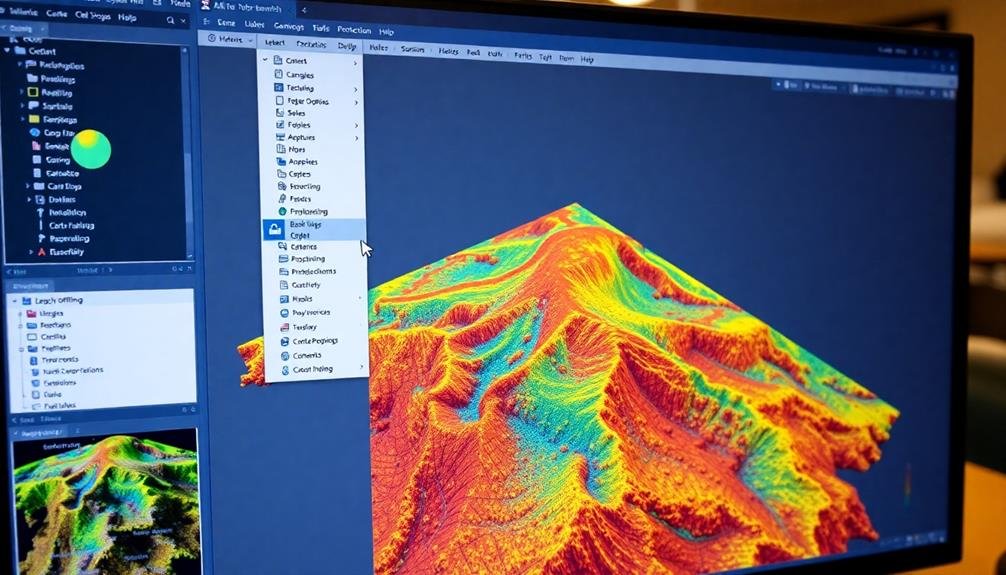
In light of collecting your aerial imagery and establishing ground control points, selecting the right processing software is essential for creating high-quality orthomosaic maps. You'll need to take into account several factors when choosing the appropriate software for your project.
First, evaluate the software's compatibility with your drone and camera equipment. Verify it can handle the file formats and data types you're working with. Next, assess the processing capabilities of the software. Look for features like automatic tie point generation, bundle adjustment, and dense point cloud creation.
When selecting processing software, keep these key points in mind:
- Ease of use: Choose software with an intuitive interface and good documentation.
- Processing speed: Opt for software that can handle large datasets efficiently.
- Output options: Confirm the software can produce the file formats you need for your project.
Additionally, take into account the level of control you require over the processing parameters. Some software options offer advanced settings for experienced users, while others provide more automated workflows.
Don't forget to factor in your budget and the availability of customer support when making your final decision.
Perform Thorough Quality Control
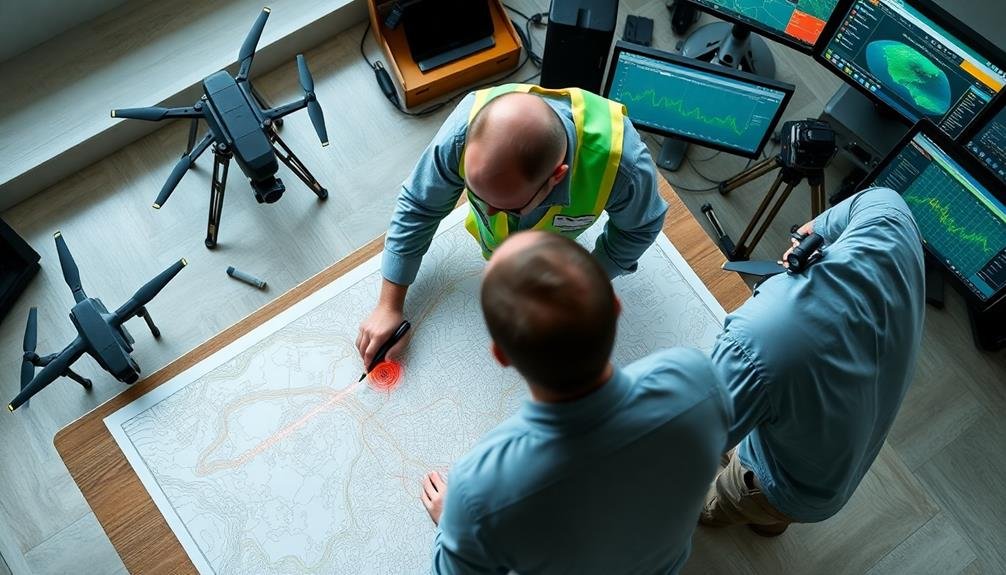
Once you've processed your aerial imagery using your chosen software, it's time to scrutinize the results.
Begin by examining the overall quality of the orthomosaic map. Look for any obvious distortions, misalignments, or visual anomalies. Pay close attention to areas where multiple images overlap, as these are prone to stitching errors.
Next, check the georeferencing accuracy. Compare known ground control points with their positions on the map. If discrepancies exist, you may need to adjust your processing parameters or collect additional data.
Inspect the resolution and detail of your map. Zoom in to ascertain that important features are clearly visible and properly represented. Look for any blurry or pixelated areas that might indicate insufficient image overlap or poor data quality.
Verify the color balance and consistency across the entire map. Inconsistencies can occur due to changes in lighting conditions during image capture. If necessary, apply color correction techniques to achieve a uniform appearance.
Frequently Asked Questions
How Do Weather Conditions Affect Orthomosaic Map Accuracy?
Weather conditions greatly impact your orthomosaic map accuracy. Wind can cause image blur, while clouds affect lighting and shadows. Rain or snow may obscure details. You'll get the best results on clear, calm days.
What Camera Settings Are Best for Capturing Images for Orthomosaic Mapping?
For orthomosaic mapping, you'll want to use manual settings. Set your camera to a fast shutter speed, small aperture (f/8-f/11), and low ISO. Make sure you're shooting in RAW format for better post-processing flexibility.
How Often Should Drone Equipment Be Calibrated for Optimal Mapping Results?
You should calibrate your drone equipment before each mapping mission. It's essential to check and adjust your camera, gimbal, and GPS regularly. Don't forget to recalibrate after any repairs or firmware updates for ideal results.
Can Orthomosaic Maps Be Created Using Satellite Imagery Instead of Drone Photos?
Yes, you can create orthomosaic maps using satellite imagery. You'll find it's a viable alternative to drone photos, especially for large-scale mapping projects. However, you'll typically get lower resolution compared to drone-based orthomosaics.
What Are the Legal Considerations When Conducting Drone Flights for Orthomosaic Mapping?
You'll need to comply with local drone laws, obtain necessary permits, and respect privacy rights. Don't fly over restricted areas or private property without permission. Always check airspace regulations and follow FAA guidelines for commercial drone use.
In Summary
You've now mastered the key elements for creating precise orthomosaic maps. By optimizing your flight parameters, ensuring proper image overlap, using ground control points, selecting the right software, and performing thorough quality control, you'll produce high-quality results. Remember, each step is essential for accuracy and clarity. As you apply these tips, you'll see significant improvements in your mapping projects. Keep refining your technique, and you'll soon be creating professional-grade orthomosaic maps with confidence.

As educators and advocates for responsible drone use, we’re committed to sharing our knowledge and expertise with aspiring aerial photographers.
Leave a Reply