To transform aerial imagery into precise maps, start with high-quality, recent images captured at midday. Guarantee proper image overlap of 60-80% forward and 20-40% side. Strategically place ground control points across the mapping area for enhanced accuracy. Select appropriate software compatible with your data formats. Calibrate your camera parameters to correct lens distortion. Generate a dense point cloud and create a digital elevation model. Orthorectify your imagery to remove geometric distortions. Apply georeferencing techniques for accurate placement. Throughout the process, double-check your work to avoid compounding errors. By following these tips, you'll be on your way to creating highly accurate maps from aerial imagery.
Key Takeaways
- Use high-quality aerial images with 10-30 cm resolution captured during midday to minimize shadows.
- Ensure proper image overlap (60-80% forward, 20-40% side) for accurate 3D point cloud generation.
- Strategically place ground control points across the mapping area for enhanced precision and georeferencing.
- Apply appropriate transformation methods and monitor root mean square error for accurate coordinate system alignment.
- Select suitable photogrammetry software to generate dense point clouds and create digital elevation models.
Choose High-Quality Aerial Images
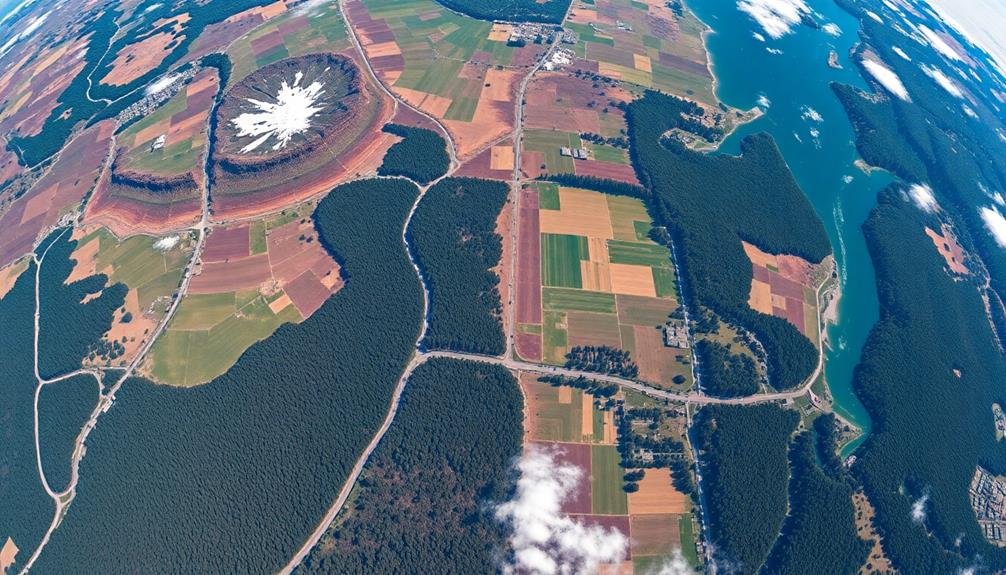
Your project's success hinges on selecting high-quality aerial images. When choosing imagery, prioritize recent captures to guarantee you're working with the most up-to-date information. Look for images with high resolution, typically 10-30 cm per pixel, to capture fine details indispensable for accurate mapping.
Consider the time of day the images were taken. Opt for those captured during midday when shadows are minimal, as long shadows can obscure important features. Seasonal timing is also significant; images taken during leaf-off periods in autumn or early spring often provide clearer views of ground features.
Confirm the images have minimal cloud cover and atmospheric distortion. Clear, crisp visuals are essential for precise interpretation. Check for proper color balance and contrast, which aid in distinguishing different land features.
Evaluate the image's metadata, including camera specifications and flight parameters. This information helps in evaluating image quality and aids in georeferencing. If possible, obtain stereo pairs of images, which allow for 3D interpretation and improved accuracy in elevation mapping.
Lastly, verify that the images cover your entire area of interest with sufficient overlap for seamless mosaicking and thorough analysis.
Ensure Proper Image Overlap
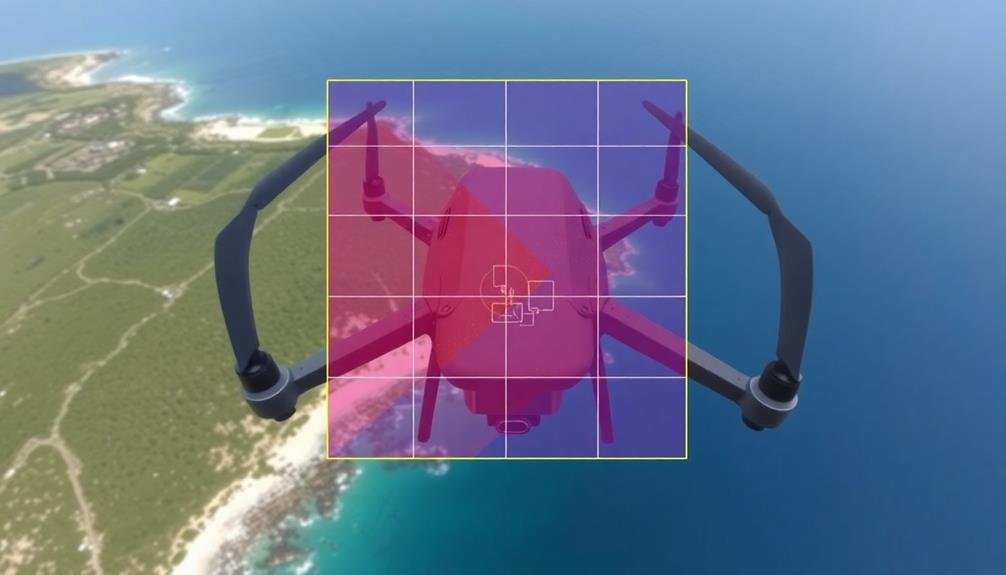
Once you've selected high-quality aerial images, it's time to focus on their arrangement. Guaranteeing proper image overlap is vital for creating accurate maps from aerial imagery. You'll want to aim for a 60-80% forward overlap and 20-40% side overlap between adjacent images. This overlap allows for better feature matching and 3D reconstruction during the photogrammetry process.
To achieve peak overlap, plan your flight path carefully. Consider factors like aircraft speed, camera settings, and terrain variations. It's important to maintain consistent altitude and speed throughout the flight to guarantee uniform overlap.
Remember that inadequate overlap can result in gaps or distortions in your final map.
Here are key benefits of proper image overlap:
- Improved accuracy in 3D point cloud generation
- Better stitching and alignment of images
- Reduced likelihood of data gaps or "holes" in the map
- Enhanced ability to capture complex terrain features
Utilize Ground Control Points
You'll find that ground control points (GCPs) are vital for transforming aerial imagery into accurate maps.
By carefully placing GCPs and ensuring their precise coordinates, you'll greatly enhance the georeferencing precision of your final map.
It's important to distribute your GCPs strategically across the area you're mapping, paying special attention to the corners and edges of your project zone.
Accurate Placement Is Crucial
Ensuring accurate placement of aerial imagery is essential when transforming it into usable maps. You'll need to pay close attention to the positioning of each image to create a cohesive and precise final product. This process involves aligning the imagery with known geographic coordinates and existing map data.
To achieve accurate placement, you'll want to use specialized software that allows for georeferencing and orthorectification. These tools help you adjust for distortions caused by terrain and camera angles, ensuring that your imagery lines up correctly with real-world locations.
It's vital to double-check your work throughout this process, as even small errors can compound and lead to significant inaccuracies in the final map.
Consider these key factors when placing aerial imagery:
- Ground control points (GCPs) for reference
- Elevation data to account for terrain variations
- Camera calibration information
- Overlapping areas between images for seamless integration
Enhance Georeferencing Precision
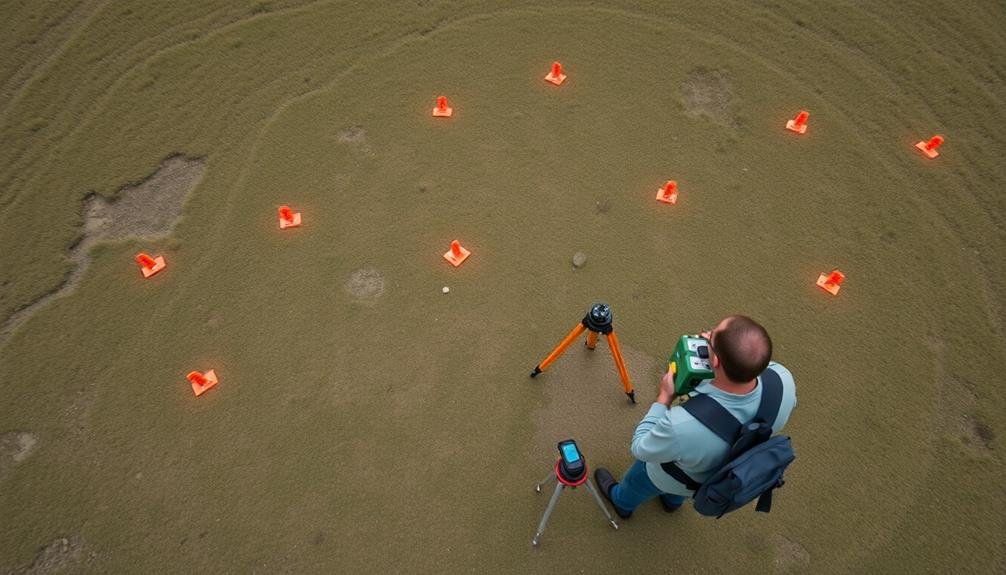
How can you enhance the precision of your georeferencing process? The key lies in utilizing ground control points (GCPs). These are identifiable points on the ground with known coordinates that you'll use to align your aerial imagery with real-world locations.
To maximize effectiveness, select GCPs that are easily recognizable in both your imagery and on the ground, such as road intersections, building corners, or distinctive landmarks.
Distribute your GCPs evenly across the area you're mapping, paying special attention to the corners and edges. Aim for at least four GCPs, but remember that more points generally lead to higher accuracy.
When collecting GCP data, use high-precision GPS equipment to guarantee the most accurate coordinates possible.
During the georeferencing process, carefully match each GCP in your imagery to its corresponding real-world coordinates. Use appropriate transformation methods, such as polynomial or projective transformations, based on your imagery and terrain.
After applying the transformation, assess the root mean square error (RMSE) to gauge accuracy. If the RMSE is too high, consider adding more GCPs or removing outliers to improve precision.
Distribute GCPS Strategically
Strategic distribution of Ground Control Points (GCPs) is crucial for achieving accurate georeferencing results. When placing GCPs, you'll want to cover the entire extent of your aerial imagery, paying special attention to the corners and edges.
Don't cluster them in one area, as this can lead to distortions in other parts of the map. Aim for a minimum of four well-distributed GCPs, but remember that more points generally lead to better accuracy.
Consider the terrain and features in your imagery when selecting GCP locations. Choose easily identifiable landmarks that will remain stable over time, such as road intersections, building corners, or distinctive natural features.
For ideal GCP distribution, keep these tips in mind:
- Place GCPs at different elevations to account for terrain variations
- Avoid areas with heavy shadows or obstructions that may affect visibility
- Use a grid-like pattern to guarantee even coverage across the image
- Include additional GCPs in areas of particular interest or complexity
Select Appropriate Software

Selecting the right software is essential for transforming aerial imagery into accurate maps. You'll need to choose a program that can handle the specific requirements of your project, including the volume of data, desired output format, and level of automation.
Take into account these key factors when selecting your software:
- Compatibility with your data formats
- Processing speed and efficiency
- User-friendliness and learning curve
- Available features and tools
- Cost and licensing options
Here's a comparison of popular aerial imagery processing software:
| Software | Pros | Cons |
|---|---|---|
| Pix4D | User-friendly, thorough | Expensive, resource-intensive |
| Agisoft Metashape | Versatile, powerful | Steeper learning curve |
| DroneDeploy | Cloud-based, fast processing | Limited customization options |
Remember to evaluate free trials or demo versions before committing to a purchase. You may also want to think about open-source alternatives like OpenDroneMap if you're working on a tight budget or need more flexibility in customization.
Once you've selected your software, invest time in learning its features and workflows. This will help you maximize efficiency and produce high-quality maps from your aerial imagery.
Calibrate Camera Parameters

You'll need to calibrate your camera parameters to guarantee accurate map creation from aerial imagery.
Start by correcting lens distortion, which can warp your images and lead to mapping inaccuracies.
Next, establish ground control points to georeference your imagery and improve the overall precision of your map.
Lens Distortion Correction
Before diving into the mapping process, it's crucial to address lens distortion in your aerial imagery. Lens distortion can greatly impact the accuracy of your maps, causing straight lines to appear curved and distorting the overall geometry of the image.
To correct this issue, you'll need to apply lens distortion correction techniques. Start by identifying the type of distortion present in your images, typically either barrel or pincushion distortion. Use specialized software or tools to calculate the distortion parameters for your specific camera and lens combination.
Once you've determined these parameters, apply them to your images to remove the distortion effects.
Here are key points to remember when correcting lens distortion:
- Use a calibration target or known reference points to improve accuracy
- Consider both radial and tangential distortion components
- Apply corrections consistently across all images in your dataset
- Verify the results by checking straight lines and known geometric features
Ground Control Points
With lens distortion corrected, the next step in transforming aerial imagery into accurate maps involves establishing Ground Control Points (GCPs) and calibrating camera parameters. GCPs are identifiable features on the ground with known coordinates that you'll use to georeference your aerial images. You'll need to distribute these points evenly across your survey area for ideal results.
To set up GCPs, you'll:
- Select easily identifiable locations
- Mark them with visible targets
- Measure their precise coordinates using GPS equipment
- Record their positions for later use in processing software
Calibrating camera parameters is essential for accurate photogrammetry. You'll need to determine:
| Parameter | Description |
|---|---|
| Focal length | Distance between lens and image sensor |
| Principal point | Center of the image sensor |
| Lens distortion | Remaining radial and tangential distortion |
| Pixel size | Physical dimensions of image sensor pixels |
| Exterior orientation | Camera position and orientation for each image |
Perform Image Alignment
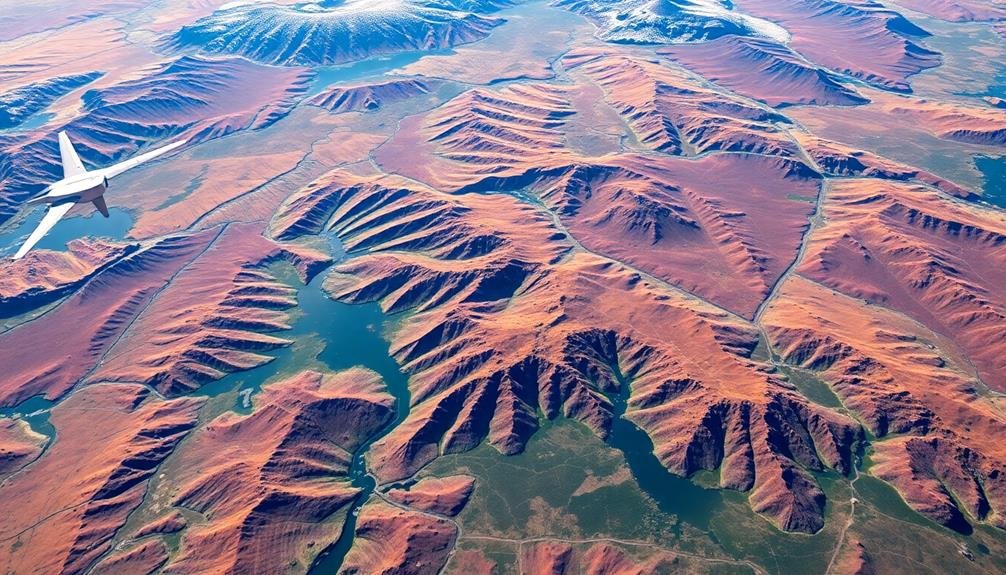
Image alignment is an essential step in transforming aerial imagery into accurate maps. It guarantees that all your captured images are properly positioned relative to each other, creating a seamless mosaic. You'll need specialized software to perform this task, which analyzes the overlap between adjacent images and aligns them based on common features.
To achieve the best outcomes, you should capture images with sufficient overlap, typically 60-80% front overlap and 20-40% side overlap. This redundancy allows the software to identify matching points across multiple images. During the alignment process, the software will also account for variations in camera orientation and perspective distortions.
Once aligned, you'll have a cohesive set of images ready for further processing. Pay attention to the alignment quality report, as it'll highlight any potential issues or areas that may require manual adjustment.
- Guarantee consistent lighting conditions during image capture
- Use high-quality, calibrated cameras for peak results
- Consider using oblique imagery to improve alignment accuracy
- Regularly check for and remove any blurry or distorted images
Generate Dense Point Cloud
The heart of map creation lies in generating a dense point cloud. This vital step transforms your aligned images into a detailed 3D representation of the surveyed area. You'll use photogrammetry software to analyze the overlapping portions of your images and calculate the precise position of millions of points in 3D space.
To generate an accurate point cloud, verify your images have sufficient overlap and are of high quality. The software will identify matching features across multiple images and use these to triangulate the position of each point. You'll need to set appropriate parameters for point density and quality to balance detail with processing time.
As the software works, it'll create a cloud of colored points that represent the surface of the terrain and objects within it. You can refine this cloud by filtering out noise and outliers. Pay attention to areas with complex geometry or vegetation, as these may require additional processing.
Once complete, your dense point cloud will serve as the foundation for creating digital elevation models, orthomosaics, and 3D models. It's important to review the point cloud thoroughly before proceeding to confirm it accurately represents the surveyed area.
Create Digital Elevation Model
From the dense point cloud, you'll now generate a Digital Elevation Model (DEM), an important representation of the terrain's topography. This step involves interpolating the elevations between known points to create a continuous surface.
You'll need to choose between a Digital Surface Model (DSM), which includes objects like buildings and trees, or a Digital Terrain Model (DTM), which represents the bare earth.
To create an accurate DEM, you'll filter and classify your point cloud data, removing noise and outliers. Next, you'll select an appropriate interpolation method, such as inverse distance weighting or kriging, based on your terrain's characteristics.
You'll also need to set the desired resolution, balancing detail with processing time and file size.
Once you've generated your DEM, it's vital to validate its accuracy:
- Compare it with known ground control points
- Check for anomalies or artifacts in the model
- Assess the consistency of elevation values
- Verify the model's edge effects and changes
After validation, you can use your DEM for various applications, including flood modeling, land-use planning, and volumetric calculations.
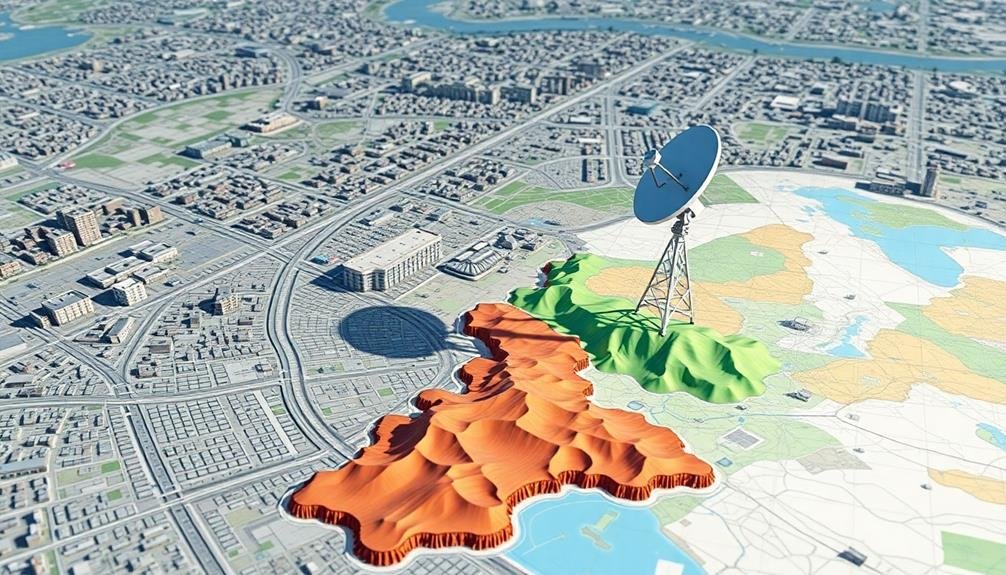
Orthorectify Imagery
With your Digital Elevation Model in hand, it's time to address image distortions caused by terrain variations and camera tilt. Orthorectification is the process that corrects these distortions, creating a planimetrically accurate image. You'll need specialized software to perform this task effectively.
Begin by importing your raw aerial imagery and DEM into your orthorectification software. Next, input the camera's exterior orientation parameters, including its position and attitude at the time of image capture. These details are vital for accurate correction.
The software will then use the DEM to adjust each pixel's position based on the terrain elevation and camera angle. This process eliminates perspective distortions and guarantees that objects appear in their true ground positions.
Pay close attention to the resulting orthoimage's quality. Check for any remaining distortions or artifacts, particularly in areas with steep terrain or tall structures. You may need to fine-tune parameters or use additional control points for ideal results.
Once satisfied, export your orthorectified image. It's now ready for further processing or integration into your mapping workflow.
Apply Georeferencing Techniques
When applying georeferencing techniques, you'll need to start with control point selection.
Choose recognizable features in your aerial imagery that correspond to known locations on the ground. You'll then align these points with their real-world coordinates, ensuring your imagery matches the desired coordinate system.
This process creates a spatial reference for your aerial data, allowing it to be accurately overlaid with other geographic information.
Control Point Selection
Control point selection is a crucial step in applying georeferencing techniques to transform aerial imagery into accurate maps. You'll need to choose easily identifiable features that appear in both your aerial image and your reference map. These points should be evenly distributed across the image to guarantee proper alignment and minimize distortion.
When selecting control points, focus on stable, permanent features like road intersections, building corners, or distinctive landmarks. Avoid using temporary objects or those that may have changed since the reference map was created. Aim for at least four control points, but remember that more points generally lead to better accuracy.
To achieve the best results in your control point selection:
- Use high-contrast features that are clearly visible in both the image and reference map
- Select points at different elevations to account for terrain variations
- Avoid clustering points in one area; spread them out evenly
- Double-check each point's accuracy before finalizing your selection
Coordinate System Alignment
After selecting your control points, the next step is aligning the coordinate systems. This process, known as georeferencing, involves matching the image's pixel coordinates to real-world geographic coordinates. You'll need to choose an appropriate coordinate system for your project, such as UTM or State Plane.
Begin by inputting the known coordinates for your control points into your GIS software. The software will then calculate the transformation needed to align the image with these coordinates. You'll typically have several transformation options, including first-order polynomial, second-order polynomial, or projective transformation. Choose the method that provides the best fit for your data while minimizing distortion.
As you apply the transformation, pay close attention to the root mean square (RMS) error. This value indicates how well your transformed image fits the real-world coordinates. Aim for an RMS error of less than one pixel for high-precision work. If your error is too high, you may need to adjust your control points or select a different transformation method.
Once you're satisfied with the alignment, save your georeferenced image. It's now ready for further analysis or integration with other spatial data in your GIS project.
Frequently Asked Questions
How Long Does It Take to Process Aerial Imagery Into Maps?
Processing time for aerial imagery into maps varies greatly. You'll find it depends on factors like image quality, area size, and processing power. It can take anywhere from a few hours to several weeks for complex projects.
What Are the Legal Considerations When Capturing Aerial Imagery for Mapping?
You'll need to take into account privacy laws, airspace regulations, and property rights. Obtain necessary permits and permissions. Be aware of restricted areas and no-fly zones. Comply with data protection regulations when processing and sharing imagery.
Can Aerial Imagery Be Used for Real-Time Mapping Applications?
Yes, you can use aerial imagery for real-time mapping. It's increasingly common in applications like disaster response, traffic monitoring, and urban planning. You'll need fast data processing and transmission systems to make it work effectively.
How Often Should Aerial Imagery Be Updated for Accurate Map Maintenance?
You'll need to update aerial imagery regularly for accurate maps. It's best to refresh annually, but factors like urban development, natural disasters, or seasonal changes may require more frequent updates. Consider your specific mapping needs and budget.
What Are the Cost Implications of Transforming Aerial Imagery Into Precise Maps?
You'll face significant costs when transforming aerial imagery into precise maps. You're looking at expenses for data acquisition, specialized software, skilled personnel, and powerful hardware. Don't forget ongoing maintenance and updates to keep your maps accurate.
In Summary
You've now learned the key steps to turn aerial images into accurate maps. By following these tips, you'll produce high-quality results that meet professional standards. Remember, practice makes perfect. Don't be discouraged if your first attempts aren't flawless. Keep refining your techniques, stay updated on the latest software, and you'll soon be creating precise, detailed maps from aerial imagery with confidence. Your newfound skills will open up exciting possibilities in various fields.
As educators and advocates for responsible drone use, we’re committed to sharing our knowledge and expertise with aspiring aerial photographers.


Leave a Reply