To conduct precision agriculture aerial mapping, you'll need to follow these essential steps: Define clear objectives, choose appropriate drone equipment, plan your flight path, set camera parameters, and conduct pre-flight checks. Once airborne, execute the aerial survey carefully. After landing, process the captured images, generate orthomosaic and 3D models, analyze the agricultural data, and implement precision farming strategies based on your findings. Each step is vital for obtaining accurate, actionable insights about your fields. By mastering these techniques, you'll access the full potential of drone technology in revolutionizing your farm management practices.
Key Takeaways
- Define clear mapping objectives, including crop health assessment, pest detection, and irrigation planning.
- Choose appropriate drone equipment with sufficient flight time, payload capacity, and GPS accuracy.
- Plan a detailed flight path considering coverage area, resolution requirements, and potential obstacles.
- Set optimal camera parameters for exposure, shutter speed, and image quality.
- Process captured images to generate orthomosaic maps and 3D models for comprehensive field analysis.
Define Mapping Objectives
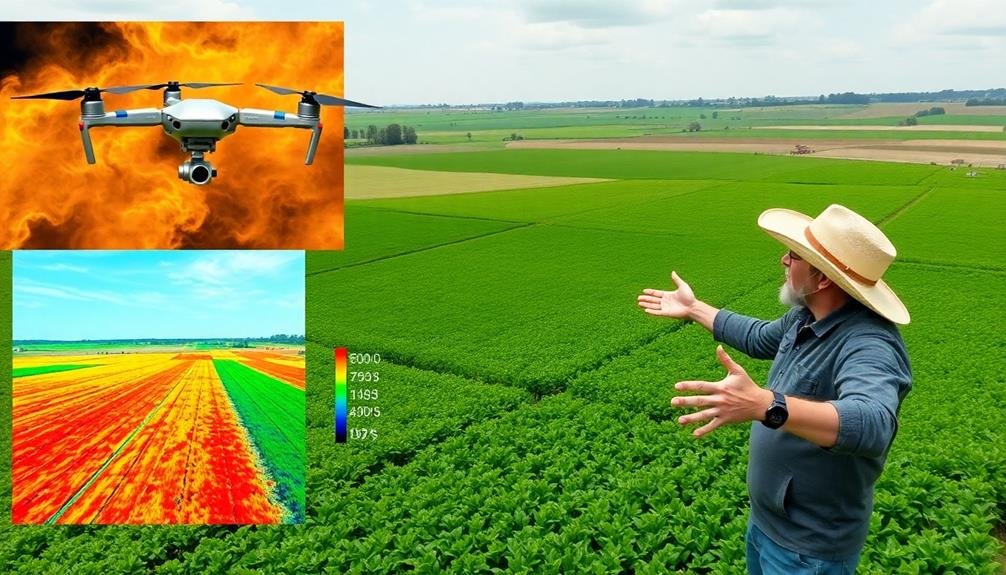
Clarity is key when starting any precision agriculture aerial mapping project. You'll need to establish clear, specific objectives for your mapping mission.
Begin by identifying the primary purpose of your aerial survey. Are you looking to assess crop health, detect pest infestations, or plan irrigation systems? Your goals will dictate the type of data you'll collect and the sensors you'll use.
Next, determine the level of detail required for your maps. Evaluate factors like resolution, accuracy, and the specific crop metrics you need to measure.
You should also define the area you'll be mapping and any time constraints for data collection and processing.
Don't forget to reflect on how you'll use the mapping data once it's collected. Will you be integrating it with other farm management systems? Sharing it with agronomists or crop consultants?
Understanding the end use will help you tailor your mapping approach.
Choose Appropriate Drone Equipment
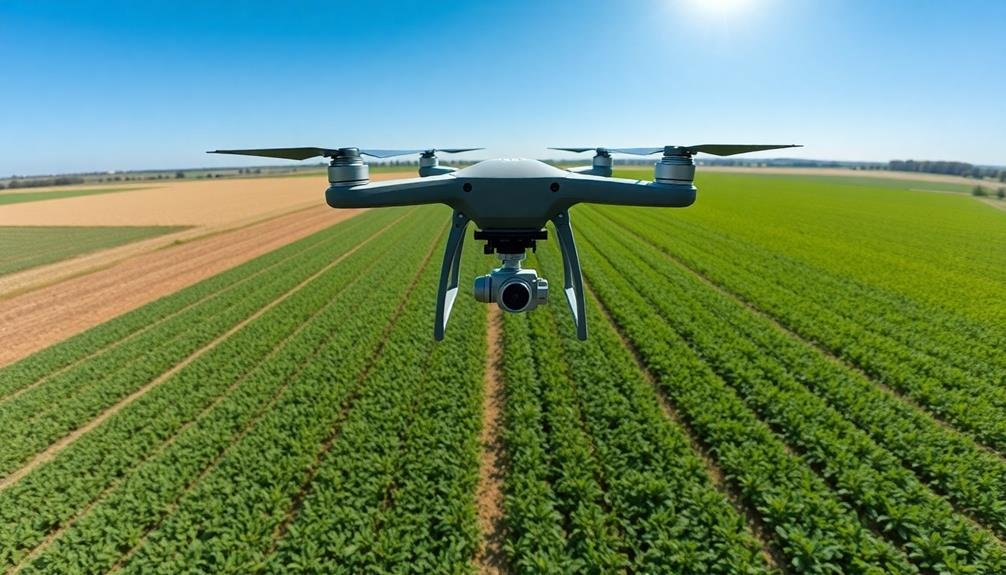
With your mapping objectives set, it's time to select the right drone equipment for your precision agriculture project. Consider both fixed-wing and multirotor drones, each with unique advantages. Fixed-wing drones cover larger areas efficiently, while multirotor drones offer better maneuverability and hovering capabilities.
Choose a drone with sufficient flight time to complete your mapping missions without interruption. Look for models with at least 30 minutes of flight time. Verify the drone can carry your chosen payload, typically a high-resolution camera or multispectral sensor. For precision agriculture, multispectral sensors are vital as they capture data across various light spectrums, revealing crop health information invisible to the naked eye.
Don't forget about the importance of GPS accuracy. RTK (Real-Time Kinematic) or PPK (Post-Processed Kinematic) systems greatly improve mapping precision.
Consider the drone's wind resistance, as agricultural areas often experience varying weather conditions. Finally, check if the drone is compatible with your preferred mapping software to guarantee seamless data processing and analysis.
Plan Flight Path
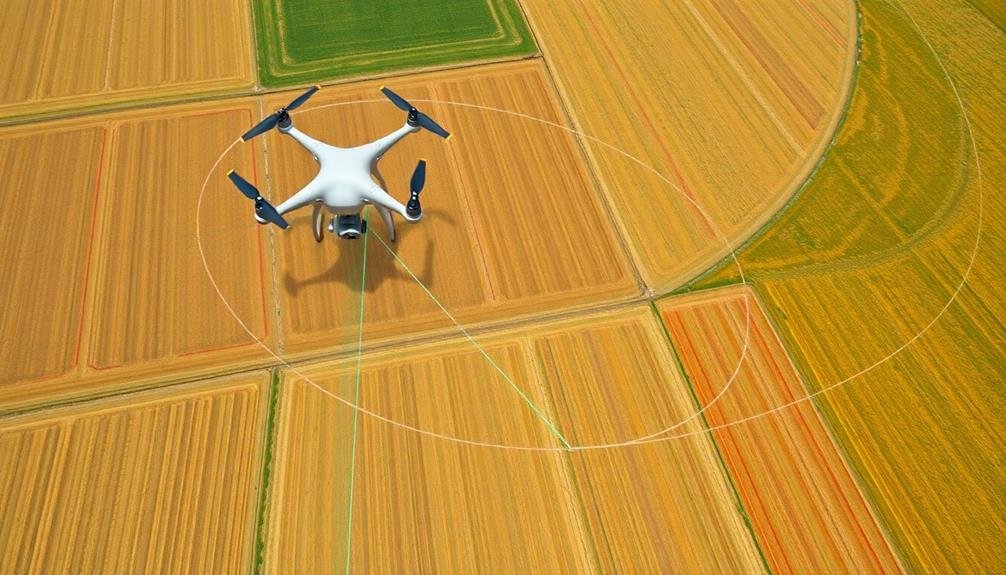
Effective flight path planning is vital for successful precision agriculture mapping. You'll need to take into account several factors when designing your flight path. First, determine the area you want to cover and its shape. Use mapping software to create a flight plan that guarantees complete coverage without gaps or excessive overlap.
Reflect on the resolution you need for your imagery. This will affect your flight altitude and the number of passes required. Lower altitudes provide higher resolution but may require more time and battery power. Factor in obstacles like trees, buildings, or power lines that could interfere with your drone's path.
Weather conditions play an important role in planning. Wind speed and direction can impact your drone's performance and battery life. Schedule your flight during ideal weather windows for the best results. Don't forget to account for the sun's position to minimize shadows in your imagery.
Set appropriate waypoints and flight speed to guarantee stable image capture. Plan for multiple battery changes if needed, designating safe landing zones.
Set Camera Parameters
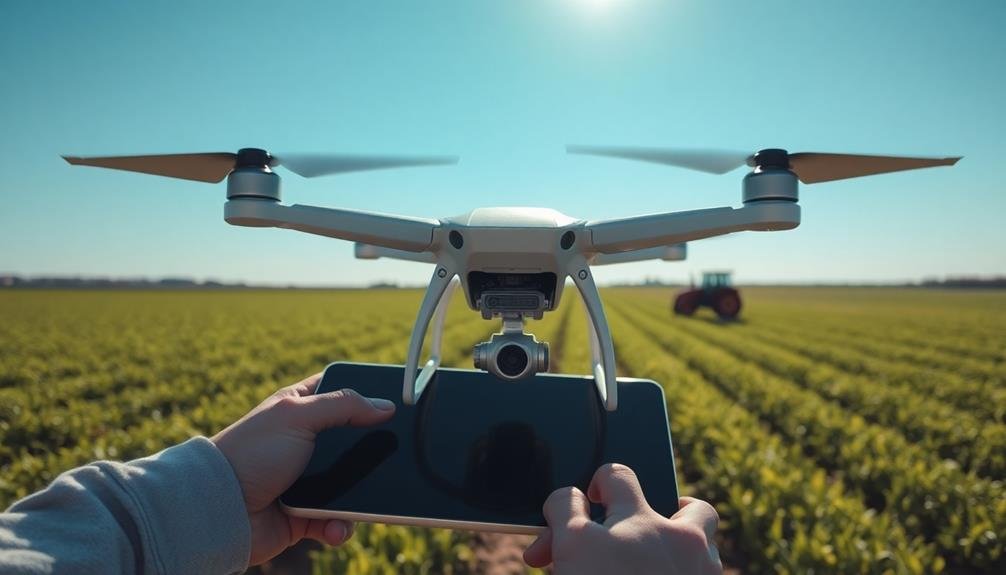
To capture high-quality aerial imagery, you'll need to optimize your camera settings.
Start by adjusting the aperture and ISO to guarantee proper exposure and image clarity.
It's essential to set the shutter speed correctly, considering factors like flight speed and altitude, to avoid motion blur and achieve sharp, usable images for precision agriculture analysis.
Adjust Aperture and ISO
Two critical camera settings you'll need to adjust for precision agriculture aerial mapping are the aperture and ISO.
For aperture, aim for a smaller f-number (larger aperture) to allow more light into the sensor, typically between f/2.8 and f/5.6. This helps maintain faster shutter speeds, reducing motion blur in your aerial images.
When it comes to ISO, start with the lowest possible setting, usually 100 or 200, to minimize noise in your images. However, you may need to increase the ISO in low-light conditions or when flying in overcast weather. Be cautious not to set it too high, as excessive noise can interfere with image analysis.
Remember that aperture and ISO work together with shutter speed to achieve proper exposure. You'll want to prioritize a fast shutter speed (at least 1/1000s) to freeze motion and capture sharp images. Adjust your aperture and ISO accordingly to maintain this shutter speed while ensuring proper exposure.
Test different combinations of these settings before your mapping flight to find the best balance for your specific drone, camera, and lighting conditions.
This preparation will help you capture high-quality images for accurate precision agriculture analysis.
Set Shutter Speed Correctly
For precision agriculture aerial mapping, setting the correct shutter speed is vital. You'll need to balance between capturing sharp images and allowing enough light for proper exposure.
As you're typically shooting from a moving aircraft or drone, faster shutter speeds are essential to avoid motion blur. Start with a shutter speed of at least 1/1000th of a second. This speed generally works well for most aerial mapping scenarios.
However, you may need to adjust based on your flight altitude and speed. If you're flying lower or faster, increase the shutter speed to 1/2000th or even 1/4000th of a second.
Remember that higher shutter speeds require more light. You might need to compensate by increasing ISO or widening the aperture. But be cautious not to compromise image quality with excessive noise or reduced depth of field.
Consider your camera's sync speed if you're using flash. Most cameras can't sync with flash at very high shutter speeds, so you may need to find a balance.
Always test your settings before the actual mapping flight. Take a few test shots and review them for sharpness and exposure. Adjust as needed to guarantee you're capturing the clearest, most detailed images possible for your precision agriculture mapping project.
Conduct Pre-Flight Checks
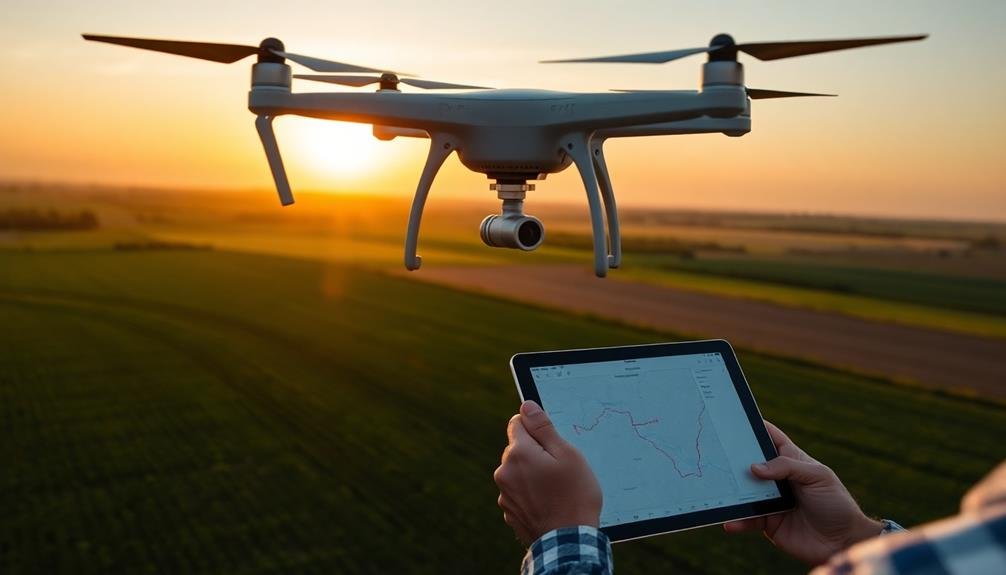
Before you take off, it's essential to perform thorough pre-flight checks.
Start by inspecting and calibrating all equipment, including your drone and camera, to secure peak performance.
Assess current weather conditions and verify your flight plan to guarantee safe and effective aerial mapping for your precision agriculture needs.
Equipment Inspection and Calibration
Safety and reliability form the foundation of successful aerial mapping missions. Before you take to the skies, it's vital to inspect and calibrate your equipment thoroughly. Start by examining your drone's physical condition, checking for any signs of damage or wear. Confirm all components are securely attached and functioning correctly.
Next, focus on your camera and sensor equipment. Clean the lenses and verify that all settings are optimized for the specific mapping task at hand. Calibrate your camera's white balance and exposure settings to match the current lighting conditions. Don't forget to check and format your storage devices to confirm ample space for data collection.
To create vivid imagery in your mind, consider these essential steps:
- Meticulously inspect propellers for nicks or cracks, running your fingers along each blade's edge.
- Power up your drone and listen intently for any unusual sounds or vibrations.
- Test your camera's focus by capturing sample images of distant objects and reviewing them for clarity.
Lastly, calibrate your drone's compass and GPS systems to guarantee accurate positioning during flight. By diligently performing these equipment checks and calibrations, you'll greatly enhance the quality and reliability of your aerial mapping data.
Weather Conditions Assessment
Once you've confirmed your equipment is in top shape, it's important to evaluate the weather conditions before takeoff. Start by checking the current and forecasted weather for your flight area. Pay close attention to wind speed and direction, as they can greatly impact your drone's stability and battery life. Aim for wind speeds below 15 mph for ideal results.
Temperature and humidity also play significant roles. Extreme temperatures can affect battery performance and sensor accuracy, while high humidity may lead to condensation on camera lenses. Avoid flying in temperatures below 32°F or above 104°F.
Cloud cover and lighting conditions are crucial for image quality. Overcast skies provide even lighting, reducing shadows and glare. However, verify visibility isn't compromised by fog or haze.
Check for precipitation in the forecast, as rain or snow can damage your equipment and reduce image clarity. Additionally, be aware of air pressure changes, which can affect your drone's altitude readings.
Lastly, confirm that there are no temporary flight restrictions in your area due to weather events or other factors. By thoroughly evaluating weather conditions, you'll guarantee a safe and productive aerial mapping mission.
Flight Plan Verification
Verifying your flight plan and conducting pre-flight checks are essential steps before launching your drone for aerial mapping. You'll need to guarantee that your planned flight path aligns with the field boundaries and covers the entire area of interest. Double-check that your flight altitude and speed are appropriate for the desired image resolution and overlap.
It's also vital to review any no-fly zones, obstacles, or restricted airspace within your planned route.
During your pre-flight checks, focus on these key areas:
- Drone hardware: Inspect propellers for damage, confirm batteries are fully charged, and verify that all connections are secure.
- Camera settings: Confirm proper exposure, focus, and image format settings for peak data collection.
- Ground control points: Verify that you've placed and marked GCPs accurately across the field for improved mapping accuracy.
Don't forget to test your drone's GPS signal strength and calibrate the compass if needed.
Review your emergency procedures and have a plan in place for unexpected situations. By thoroughly verifying your flight plan and conducting these pre-flight checks, you'll greatly increase the chances of a successful and efficient aerial mapping mission.
Execute Aerial Survey
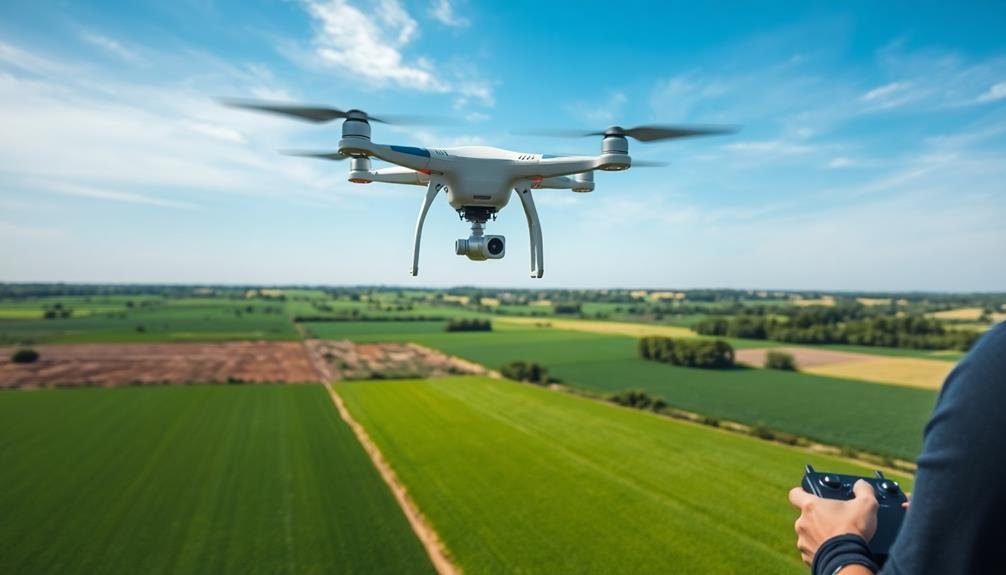
Execution marks the pivotal moment when your aerial survey takes flight. As you begin, confirm your drone's battery is fully charged and all equipment is securely attached.
Double-check that your camera settings align with your flight plan and survey requirements.
Take off from your designated launch area and monitor the drone's progress throughout the flight. Keep a close eye on the real-time feed to guarantee image quality and coverage. Be prepared to abort the mission if you encounter unexpected obstacles or weather changes.
During the survey, maintain visual line of sight with your drone and adhere to local regulations. If you're using automated flight software, stay vigilant and be ready to take manual control if necessary. Monitor battery levels and plan for a safe return before power becomes critical.
As you capture images, verify that they're being properly stored and backed up. If you notice any issues with image quality or coverage, make adjustments to your flight plan on the spot. Remember, it's better to extend your survey time than to miss vital data.
Once you've completed the planned flight path, safely land your drone and immediately secure the collected data.
Process Captured Images
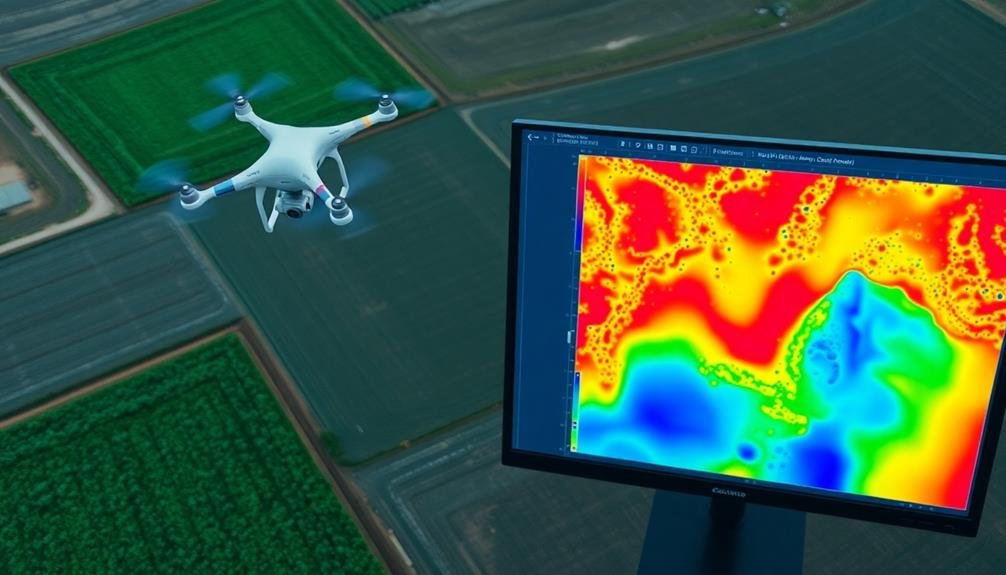
After landing your drone, the real work of processing the captured images begins. You'll need to transfer the data from your drone to a computer equipped with specialized software for stitching and analyzing aerial imagery. This software will combine your individual photos into a single, large-scale orthomosaic map of your entire field.
During the processing stage, you'll:
- Calibrate and georeference your images using ground control points
- Apply color correction and balance to guarantee consistency across the entire map
- Generate various data layers, such as NDVI (Normalized Difference Vegetation Index) for crop health analysis
Once your orthomosaic map is complete, you can start extracting valuable insights about your fields. You'll be able to identify problem areas, assess crop health, and make data-driven decisions about irrigation, fertilization, and pest management.
The software will help you create prescription maps for variable rate applications, allowing you to optimize resource use and maximize yields.
Remember to save your processed data in multiple formats and back it up securely. You'll want to compare this data with future surveys to track changes in your fields over time and measure the effectiveness of your management strategies.
Generate Orthomosaic and 3D Models
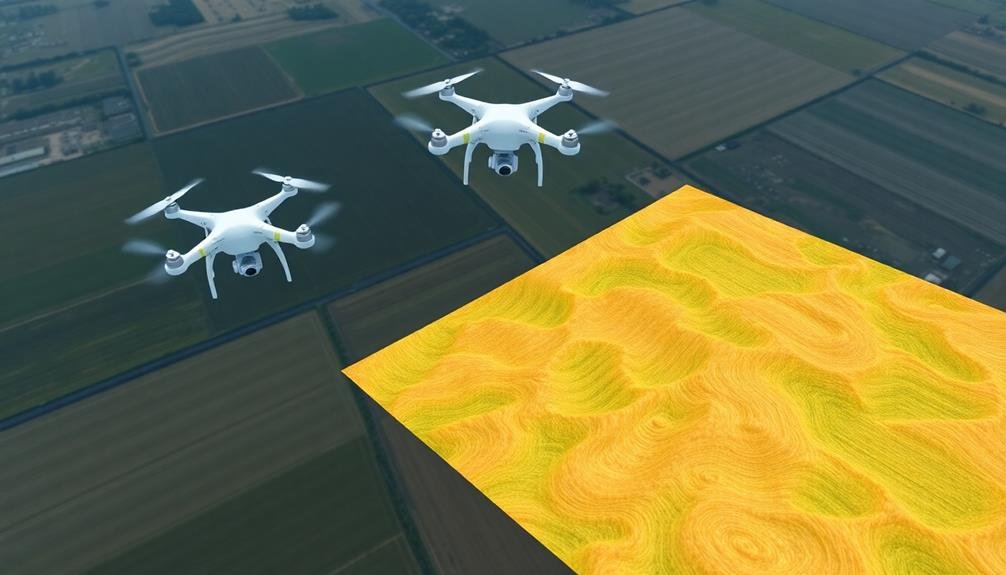
To generate orthomosaic and 3D models from your aerial imagery, you'll need to select appropriate software for processing.
Once you've chosen your software, you'll stitch the individual images together to create a thorough view of the surveyed area.
Software Selection for Processing
Selecting the right software for processing your aerial imagery is essential for generating high-quality orthomosaics and 3D models. You'll want to take into account factors like ease of use, processing speed, and compatibility with your drone's data format. Popular options include Pix4D, Agisoft Metashape, and DroneDeploy, each offering unique features tailored to precision agriculture needs.
When choosing your software, look for these key capabilities:
- Automated ground control point (GCP) detection
- Vegetation index calculations (e.g., NDVI, NDRE)
- Seamless integration with farm management platforms
Ensure the software can handle large datasets efficiently, as precision agriculture often involves processing thousands of high-resolution images.
You'll also want to check if the software offers cloud-based processing options, which can greatly reduce the strain on your local hardware.
Don't forget to take into account the learning curve associated with each software package. Some may offer more advanced features but require more time to master.
Ultimately, choose a solution that balances your technical needs with your team's expertise and time constraints.
Stitching Individual Images Together
Once you've processed your aerial imagery, the next step is stitching individual images together to create a detailed orthomosaic or 3D model of your agricultural land. This process combines overlapping images to form a seamless, high-resolution map of your entire field. You'll need to use specialized software that can handle large datasets and perform complex algorithms.
During the stitching process, pay attention to key factors like image alignment, color balancing, and resolution consistency. Make sure that your software accurately georeferences the final product, aligning it with real-world coordinates for precise field analysis.
Here's a quick overview of the stitching process and its benefits:
| Step | Benefit |
|---|---|
| Image alignment | Guarantees accurate positioning |
| Color balancing | Creates consistent appearance |
| Blending | Smooths shifts between images |
| Georeferencing | Aligns map with real-world coordinates |
| Quality control | Identifies and corrects errors |
The resulting orthomosaic or 3D model will provide you with a thorough view of your agricultural land, enabling precise crop monitoring, yield estimation, and decision-making. You'll be able to identify problem areas, track plant health, and plan interventions more effectively. Remember to regularly update your maps to maintain an accurate representation of your fields throughout the growing season.
Creating Elevation Maps
Elevation maps serve as an essential component in precision agriculture aerial mapping. They provide significant information about terrain variations, allowing farmers to make informed decisions about drainage, irrigation, and crop management.
To create accurate elevation maps, you'll need to generate orthomosaic images and 3D models from your stitched aerial photographs.
Start by using specialized software to process your georeferenced images. This software will analyze the overlapping areas between photos and calculate the precise elevation for each point. As the program works, it'll create a dense point cloud, which forms the basis of your 3D model.
Next, you'll refine this point cloud into a digital elevation model (DEM) or digital surface model (DSM). These models offer detailed representations of your field's topography, including:
- Slope gradients and aspects
- Drainage patterns and potential water accumulation areas
- Microtopography features like small hills, depressions, and terraces
Analyze Agricultural Data
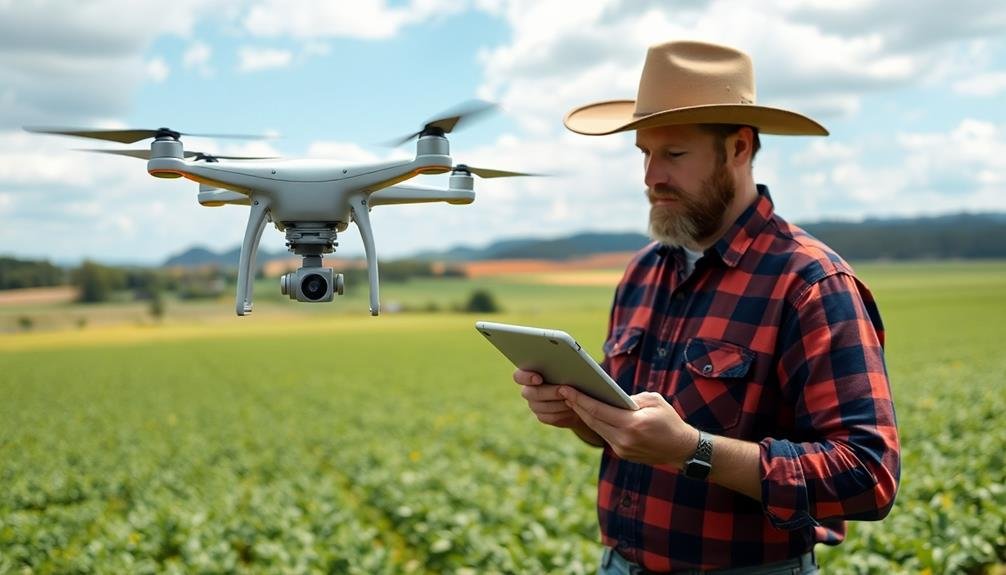
After collecting aerial imagery and data, it's time to plunge into analysis. You'll need to process the raw data using specialized software to extract meaningful insights.
Start by calibrating and georeferencing your images to guarantee accuracy. Then, apply vegetation indices like NDVI (Normalized Difference Vegetation Index) to assess crop health and vigor.
Next, you'll want to identify patterns and anomalies in the data. Look for areas of stress, nutrient deficiencies, or pest infestations. Use classification algorithms to categorize different crop types or soil conditions.
Don't forget to take into account historical data and compare it with current findings to track changes over time.
Generate prescription maps based on your analysis. These maps will guide variable rate applications of inputs like fertilizers, pesticides, or water. You can also use the data to optimize irrigation schedules and predict crop yields.
Implement Precision Farming Strategies
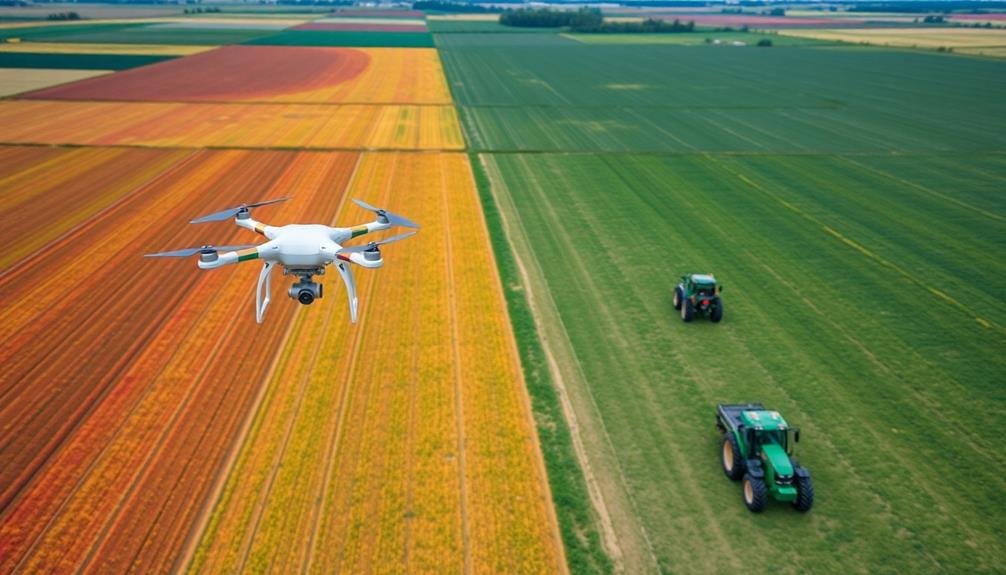
Armed with your detailed analysis and prescription maps, it's time to put your precision farming strategies into action. Implement variable rate application techniques for fertilizers, pesticides, and water based on your field's specific needs. Use GPS-guided machinery to guarantee precise placement of inputs, reducing waste and maximizing efficiency.
Don't forget to integrate your aerial mapping data with other precision farming tools, such as soil moisture sensors and weather stations, for a thorough approach.
Regularly monitor your crops' progress using ongoing aerial surveys and ground-truthing. This allows you to make real-time adjustments to your strategies as needed. Keep detailed records of your implementations and their results to refine your approach over time.
Remember, precision farming is an iterative process that improves with each season.
To create vivid imagery of precision farming in action, imagine:
- A tractor equipped with GPS, automatically adjusting its spray nozzles as it moves across varying soil types
- Drones buzzing overhead, capturing multispectral images of crop health in real-time
- Farmers analyzing 3D field models on tablets, making informed decisions about irrigation and pest control
Frequently Asked Questions
How Long Does It Take to Become Proficient in Agricultural Drone Mapping?
You'll need about 3-6 months to become proficient in agricultural drone mapping. You're looking at learning flight skills, software operation, and data analysis. Practice regularly and stay updated on regulations to master this skill efficiently.
What Are the Legal Requirements for Using Drones in Agriculture?
You'll need to obtain a remote pilot certificate from the FAA, register your drone, and follow airspace regulations. You must also comply with privacy laws and obtain permission to fly over private property for agricultural purposes.
How Often Should Aerial Mapping Be Conducted for Optimal Results?
You'll want to conduct aerial mapping every 2-4 weeks during the growing season. However, you should adjust this frequency based on your specific crop needs, growth stages, and any environmental factors that might affect your fields.
Can Aerial Mapping Be Done Effectively in All Weather Conditions?
You can't rely on aerial mapping in all weather conditions. It's best done in clear, calm weather. Rain, strong winds, and heavy cloud cover can interfere with image quality and data collection accuracy. Plan your flights carefully.
What's the Average Cost of Implementing a Precision Agriculture Aerial Mapping System?
You'll find costs vary widely, but expect to invest $5,000 to $50,000 for a basic precision agriculture aerial mapping system. This includes drones, sensors, software, and training. Larger operations may require more advanced, pricier setups.
In Summary
You've now mastered the key steps for precision agriculture aerial mapping. By following this process, you'll gather invaluable data about your fields. Remember, it's not just about collecting images—it's about turning that information into actionable insights. Use your maps to make informed decisions, optimize resource allocation, and boost crop yields. Keep refining your techniques, and you'll soon see the benefits of precision agriculture in your farm's productivity and profitability.

As educators and advocates for responsible drone use, we’re committed to sharing our knowledge and expertise with aspiring aerial photographers.


Leave a Reply