To achieve buttery-smooth shots with your gimbal, start by perfectly balancing it on all axes. Master static calibration techniques on a stable surface, and perform dynamic calibration regularly to maintain peak performance. Adjust motor strength settings to match your camera's weight and shooting style. Fine-tune gimbal responsiveness by tweaking follow speed and deadband settings. Keep your gimbal's firmware up-to-date for the latest features and improvements. Finally, maintain clean components to guarantee smooth operation. By implementing these secrets, you'll elevate your footage to new heights of professionalism and cinematic quality. Dive deeper to access even more gimbal mastery techniques.
Key Takeaways
- Perfect balance is crucial; adjust tilt, roll, and pan axes meticulously for optimal weight distribution and stability.
- Perform static calibration on a flat, stable surface using alignment tools for precision adjustments.
- Optimize motor strength gradually, considering camera weight, shooting style, and environmental conditions.
- Fine-tune gimbal responsiveness by adjusting follow speed, deadband, and smoothing settings for desired performance.
- Maintain clean components and update firmware regularly to ensure consistent, smooth operation and longevity.
Balance Your Gimbal Perfectly
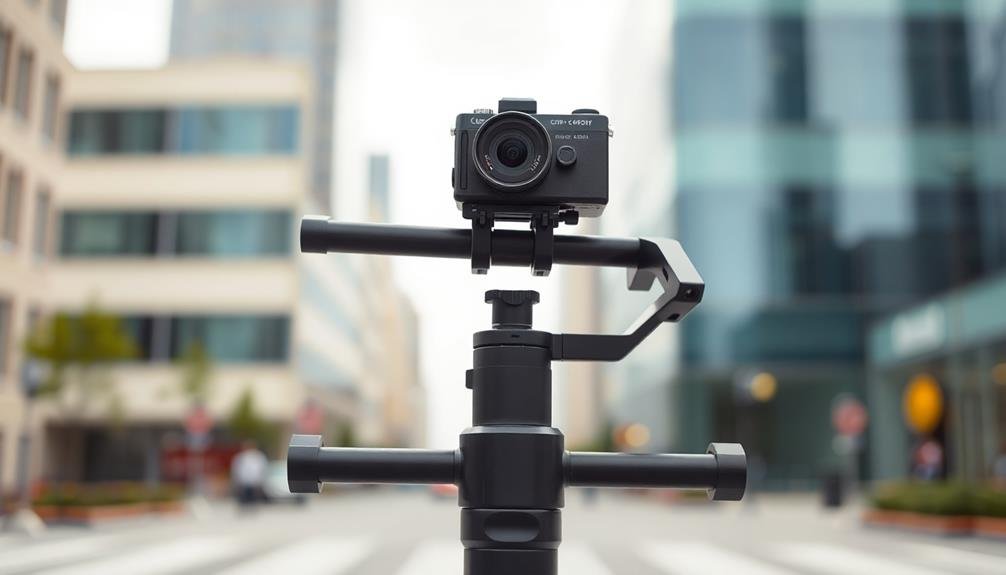
Mastering the art of balancing your gimbal is essential for achieving smooth, professional-looking footage. Start by ensuring your camera is securely attached to the mounting plate.
Adjust the tilt axis first, sliding the camera forward or backward until it remains level when you let go. Next, tackle the roll axis by shifting the camera left or right until it stays horizontal. Finally, balance the pan axis by moving the entire gimbal head forward or backward on the main arm.
For precise adjustments, use the fine-tuning knobs on your gimbal. Don't rush this process; take your time to get it right. A well-balanced gimbal requires less motor power, extending battery life and reducing unwanted vibrations.
Test your balance by moving the gimbal into various positions and observing how the camera responds. It should hold its position without drifting.
Master Static Calibration Techniques
To master static calibration techniques, you'll need to start with a perfectly flat surface setup.
Guarantee your gimbal is placed on a level, stable platform to achieve accurate results.
Next, focus on fine-tuning the weight distribution, adjusting each axis carefully to achieve ideal balance and performance.
Flat Surface Setup Essentials
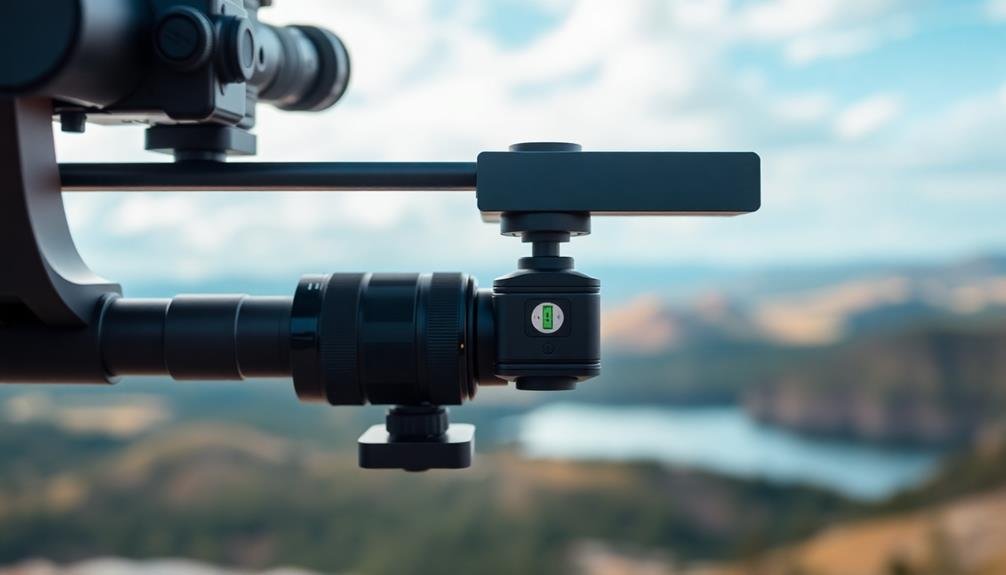
Three key elements form the foundation of successful static calibration: a perfectly level surface, a stable mounting system, and precise alignment tools.
To achieve a level surface, use a high-quality spirit level or digital level to check your workspace. Adjust table legs or use shims to correct any inconsistencies. A granite surface plate offers the ultimate flat foundation, but a sturdy table can suffice for most setups.
For stability, secure your gimbal to a robust tripod or mounting plate. Avoid flimsy supports that might introduce vibrations or movement during calibration. Confirm all locking mechanisms are tight and the gimbal is firmly attached.
Alignment tools are essential for precision. Invest in a laser level to project perfectly straight lines across your setup. This helps you align the gimbal's axes with true horizontal and vertical planes. Use small targets or marks on your calibration surface to verify alignment visually.
Don't overlook the importance of a clean environment. Dust, debris, or magnetic interference can affect calibration accuracy. Keep your workspace tidy and free from potential disruptions.
Weight Distribution Adjustments
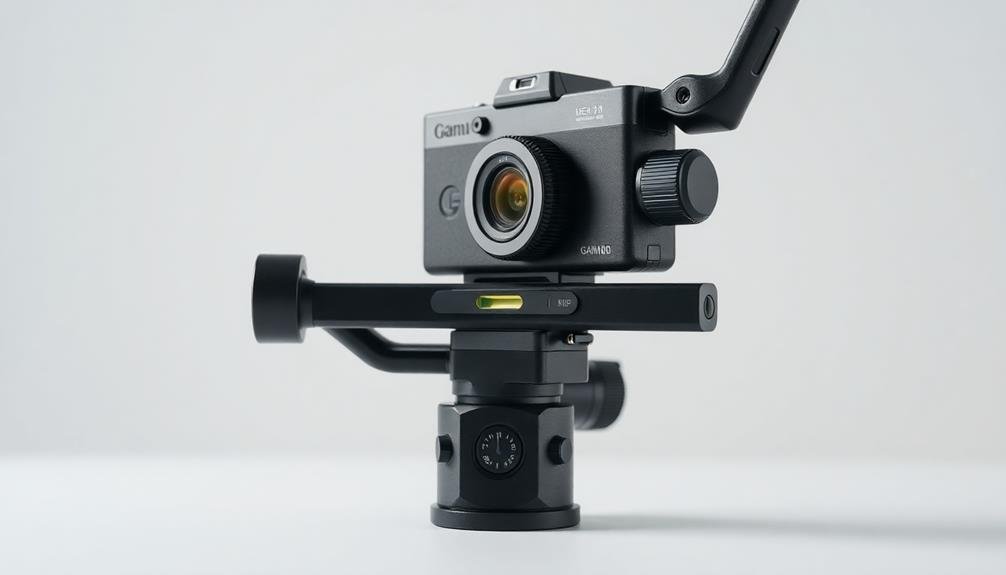
With proper weight distribution adjustments, you'll release the full potential of your gimbal's static calibration.
Start by ensuring your camera is centered on the tilt axis. Loosen the quick release plate and slide the camera forward or backward until it's perfectly balanced.
Next, adjust the roll axis by loosening the roll arm and shifting it left or right until the camera remains level when you let go.
For the pan axis, loosen the vertical arm and move it forward or backward. The camera should stay in place when you rotate it horizontally. If it's front or back-heavy, keep adjusting until it's neutral.
Remember, precision is key – even small imbalances can affect your footage.
Don't forget to check the overall weight capacity of your gimbal. If you're using heavy lenses or accessories, you might need to add counterweights. These attach to the gimbal arms and help distribute weight evenly.
Perform Dynamic Calibration Regularly
Dynamic calibration is an essential maintenance task you'll need to perform regularly to keep your gimbal operating at peak performance.
You should aim to calibrate in ideal environments with stable temperatures and minimal vibrations for the best results.
Follow a step-by-step calibration process, typically outlined in your gimbal's manual, to guarantee accuracy and consistency in your calibrations.
Frequency of Dynamic Calibration
While static calibration is crucial, regular dynamic calibration guarantees your gimbal maintains peak performance over time. The frequency of dynamic calibration depends on several factors, including your usage patterns, environmental conditions, and the specific gimbal model you're using.
As a general rule, perform dynamic calibration at least once a month if you're a frequent user. If you use your gimbal professionally or in demanding conditions, increase the frequency to once a week or even before each major shoot. Pay attention to your gimbal's behavior; if you notice any instability or drift, it's time for a calibration.
After traveling, especially by air, always recalibrate your gimbal. Vibrations and pressure changes can affect its sensors. Similarly, calibrate after any impact or if you've changed accessories or payload.
Temperature fluctuations can also influence gimbal performance, so recalibrate when moving between considerably different climates.
Some high-end gimbals feature auto-calibration functions. While convenient, don't rely solely on these. Supplement auto-calibration with manual dynamic calibration to guarantee ideal results.
Optimal Calibration Environments
Guaranteeing ideal conditions for dynamic calibration is vital for achieving accurate results. You'll want to find a stable, level surface to place your gimbal during the process. Avoid areas with vibrations or movement, as these can interfere with the calibration's accuracy.
Choose a location with consistent lighting to prevent sudden changes that might affect the gimbal's sensors. Temperature plays a significant role in calibration. Aim for a room-temperature environment, as extreme heat or cold can impact the gimbal's performance.
Make certain there's no direct sunlight or strong artificial light sources hitting the gimbal, as this can cause sensor issues. Minimize electromagnetic interference by keeping your gimbal away from large metal objects, power lines, or electronic devices.
If possible, perform the calibration outdoors in an open area, away from buildings and structures. Before starting, clean the gimbal's sensors and moving parts to remove any dust or debris that could affect the calibration.
Verify that your camera is properly balanced on the gimbal, as an unbalanced setup can lead to inaccurate results. Lastly, be patient and allow the gimbal to complete the calibration process without interruption. Rushing or disturbing the gimbal during this time can compromise the entire procedure.
Step-By-Step Calibration Process
With the ideal environment set, it's time to tackle the step-by-step calibration process. Follow these instructions carefully to guarantee your gimbal performs at its best:
- Power on your gimbal and camera.
- Enter calibration mode (usually through the app or button combination).
- Place the gimbal on a level surface and don't touch it during calibration.
- Wait for the automatic process to complete, which may take 30-60 seconds.
- Test the gimbal's responsiveness and stability.
Remember to perform dynamic calibration regularly, especially before important shoots. Here's a quick guide to dynamic calibration frequency:
| Shooting Condition | Calibration Frequency |
|---|---|
| Indoor, controlled | Every 2-3 weeks |
| Outdoor, mild weather | Weekly |
| Extreme temperatures | Before each use |
| After travel | Before first use |
| New lens or accessory | Immediately |
Adjust Motor Strength Settings
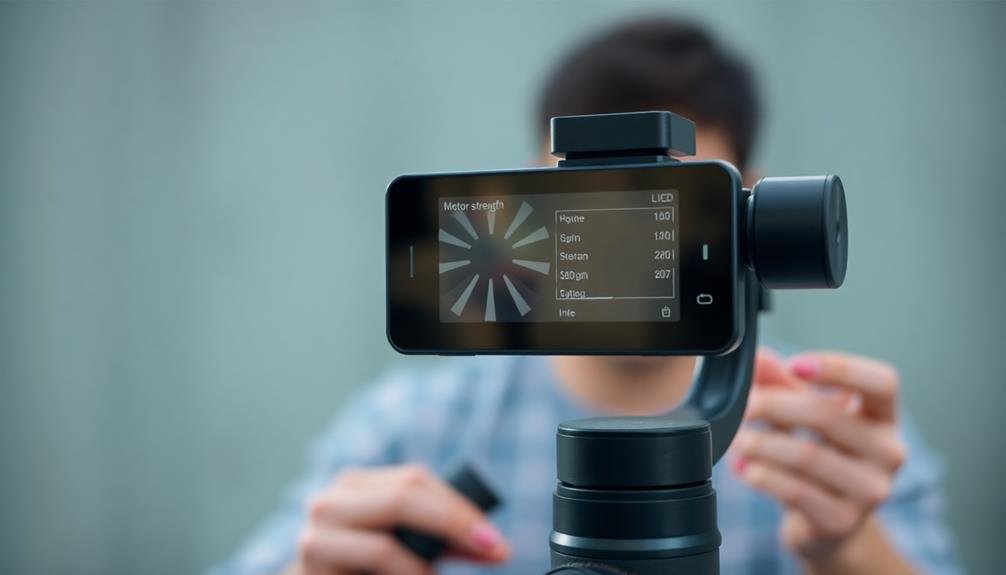
In light of the gimbal's overall performance, adjusting motor strength settings is an essential step in the calibration process.
You'll need to fine-tune these settings to achieve the perfect balance between stability and responsiveness. Start by accessing your gimbal's motor strength controls, usually found in the companion app or on-device menu.
Begin with the default settings and gradually increase the motor strength for each axis. Test the gimbal's performance after each adjustment, paying close attention to how it handles different movements and payloads.
You're aiming for a setting that provides smooth motion without jittering or overcompensation.
Consider these factors when adjusting motor strength:
- Camera weight and balance
- Shooting style (e.g., fast-paced or slow, steady shots)
- Environmental conditions (wind, vibrations)
- Battery life impact
- Noise levels produced by motors
Fine-Tune Gimbal Responsiveness

Responsiveness is the key to a smooth, professional-looking shot. To fine-tune your gimbal's responsiveness, start by adjusting the follow speed settings. You'll want to find the sweet spot between too slow (which can result in jerky movements) and too fast (which can cause overshooting).
Next, focus on the deadband settings. This determines how much movement is required before the gimbal responds. A smaller deadband increases sensitivity, while a larger one reduces unwanted micro-movements. Experiment with different values to find what works best for your shooting style and environment.
Don't forget to tweak the acceleration and deceleration settings. These control how quickly the gimbal starts and stops moving. Slower settings can create smoother shifts, but may feel less responsive. Faster settings offer more immediate control but can introduce abrupt changes.
Lastly, adjust the smoothing settings. This helps to even out small imperfections in your movements. Higher smoothing values create a more cinematic feel but can introduce lag. Lower values offer more immediate response but may reveal hand shakiness. Test different combinations until you achieve the perfect balance for your needs.
Optimize Gimbal Firmware Updates

Firmware updates play an essential role in keeping your gimbal performing at its best. They often introduce new features, fix bugs, and improve overall stability.
To optimize your gimbal's firmware updates, always check the manufacturer's website or official app for the latest version. Before updating, verify your gimbal's battery is fully charged and your device has a stable internet connection.
When you're ready to update, follow these best practices:
- Back up your current settings
- Close all other apps on your device
- Keep the gimbal and device connected throughout the process
- Don't interrupt the update, even if it seems to take a while
- After updating, recalibrate your gimbal
After the update, test your gimbal thoroughly to verify everything's working correctly. If you encounter any issues, don't hesitate to reach out to the manufacturer's support team. They can often provide quick solutions or additional guidance.
Maintain Clean Gimbal Components
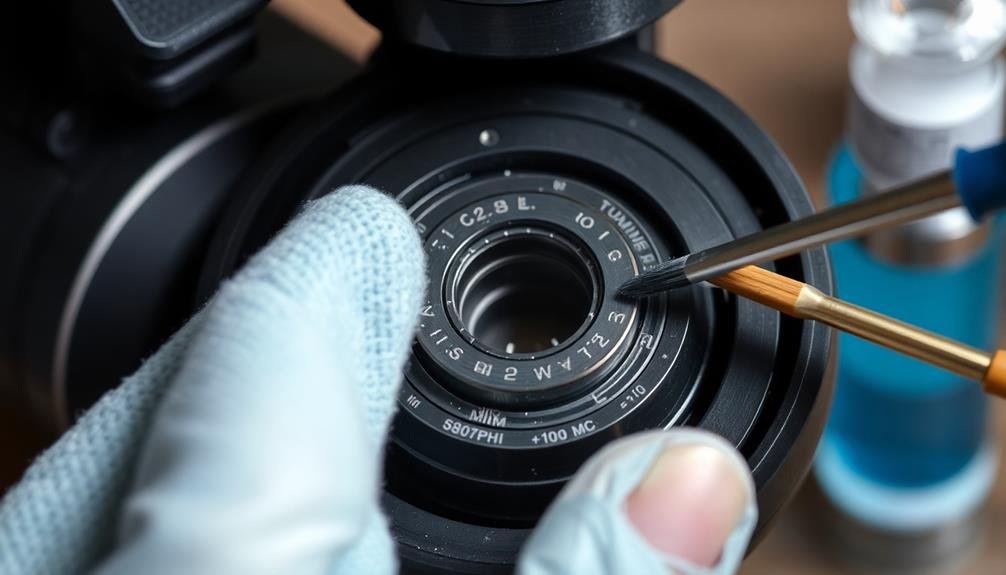
Keeping your gimbal components clean is essential for ideal performance and longevity. Dust, debris, and residue can accumulate on your gimbal's moving parts, hindering its smooth operation and potentially causing damage over time. To maintain your gimbal's performance, you'll need to clean it regularly.
Start by powering off your gimbal and removing the camera. Use compressed air to blow away loose dust and particles from all surfaces, paying special attention to the motors and joints.
For stubborn dirt, gently wipe the components with a microfiber cloth slightly dampened with isopropyl alcohol. Be careful not to let any liquid seep into the motors or electronic components.
Don't forget to clean the mounting plates and quick-release mechanisms, as build-up here can affect balance. Use cotton swabs to reach tight spaces and remove any grime.
Inspect and clean the gimbal's cables, guaranteeing they're free from kinks or fraying.
After cleaning, allow all components to dry completely before reassembling and powering on your gimbal. By maintaining clean components, you'll guarantee smoother motion, reduce wear and tear, and extend your gimbal's lifespan.
Frequently Asked Questions
Can I Use a Gimbal Effectively in Extreme Weather Conditions?
You can use a gimbal in extreme weather, but you'll need to take precautions. Protect it from moisture, extreme temperatures, and dust. Consider weatherproof models or protective cases. Always check your gimbal's specifications for temperature and humidity limits.
How Do I Troubleshoot Sudden Jerky Movements in My Gimbal?
If you're experiencing sudden jerky movements in your gimbal, check your balance setup first. Make certain it's correctly calibrated. Clean the motors and sensors, update the firmware, and confirm your camera's weight is within the gimbal's capacity.
Are There Specific Gimbal Settings for Different Camera Lenses?
Yes, you'll need to adjust your gimbal settings for different lenses. Heavier lenses require stronger motor strength. You should also recalibrate balance and adjust follow speed based on focal length for peak performance.
What's the Average Lifespan of a Well-Maintained Gimbal?
You'll find that a well-maintained gimbal typically lasts 3-5 years. However, your usage, care, and storage habits greatly influence its lifespan. Regular cleaning, proper storage, and avoiding overloading can extend your gimbal's longevity considerably.
Can Gimbals Be Used for Underwater or Submerged Videography?
You can use gimbals underwater, but you'll need a specialized waterproof housing. Standard gimbals aren't designed for submersion. If you're planning underwater videography, look for gimbals specifically made for aquatic use to protect your equipment and guarantee functionality.
In Summary
You've now got the inside scoop on gimbal calibration secrets. By implementing these techniques, you'll achieve those buttery-smooth shots you've been dreaming of. Remember, it's all about balance, regular calibration, and fine-tuning. Don't forget to keep your firmware updated and your gimbal clean. With practice and patience, you'll master these skills and take your cinematography to the next level. So go ahead, grab your gimbal, and start creating stunning, professional-looking footage today!
As educators and advocates for responsible drone use, we’re committed to sharing our knowledge and expertise with aspiring aerial photographers.


Leave a Reply