To enhance your GPS module for precision flight control, start by checking the antenna connection and updating the firmware. Calibrate the module and consider relocating the antenna for better signal reception. If issues persist, replace the faulty module. Boost signal strength with an external antenna and clear the GPS cache data regularly. Adjust the refresh rate for ideal performance and implement a redundancy system for added reliability. Don't forget to minimize electromagnetic interference by shielding sensitive components. These fixes will greatly improve your drone's navigation accuracy and stability. Explore further to access even more advanced GPS optimization techniques.
Key Takeaways
- Calibrate the GPS module regularly to ensure accurate positioning and minimize magnetic interference.
- Update GPS firmware to access the latest features and bug fixes for improved performance.
- Relocate the GPS antenna for optimal sky visibility and reduced electromagnetic interference.
- Implement a GPS redundancy system to enhance reliability and maintain precise flight control.
- Clear GPS cache data periodically to improve satellite acquisition time and overall accuracy.
Check GPS Antenna Connection
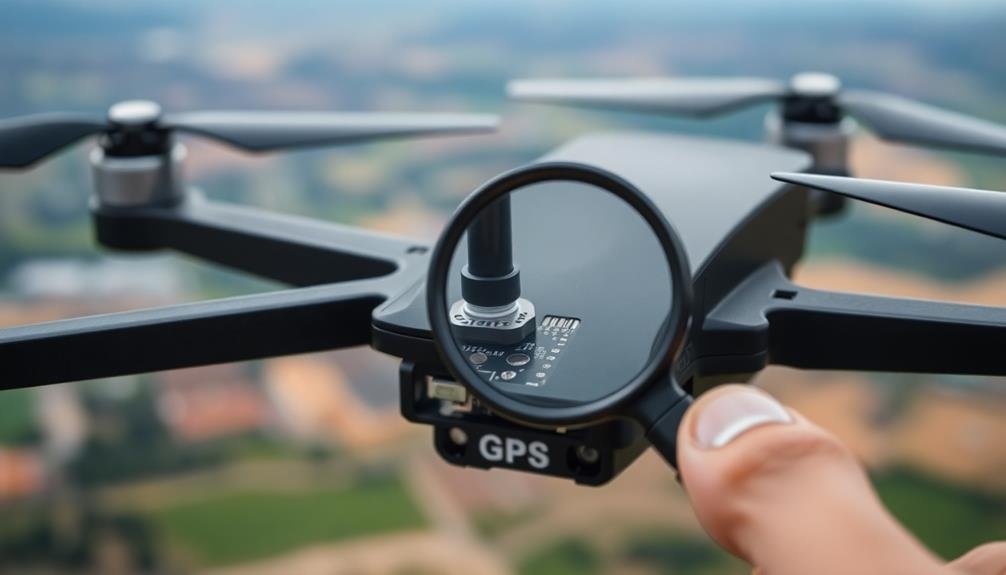
Troubleshooting often starts with the basics. When your GPS module isn't performing effectively for flight control, check the antenna connection first. Verify the antenna is securely attached to the GPS module and hasn't come loose during flight or transport. Look for any visible damage to the antenna or its cable, such as fraying, kinks, or exposed wires.
If you're using an external antenna, confirm it's positioned correctly with a clear view of the sky. Obstructions like metal surfaces or electronic components can interfere with signal reception. For internal antennas, ensure the module is oriented properly according to the manufacturer's specifications.
Clean the antenna connector and module port to remove any dirt or debris that might be causing poor contact. If you're using a detachable antenna, try swapping it with a known working one to isolate the issue. Don't forget to check the connection at the flight controller end as well.
For more advanced troubleshooting, use a multimeter to test for continuity in the antenna cable. If you suspect internal damage to the GPS module, consider replacing it entirely.
Update GPS Firmware
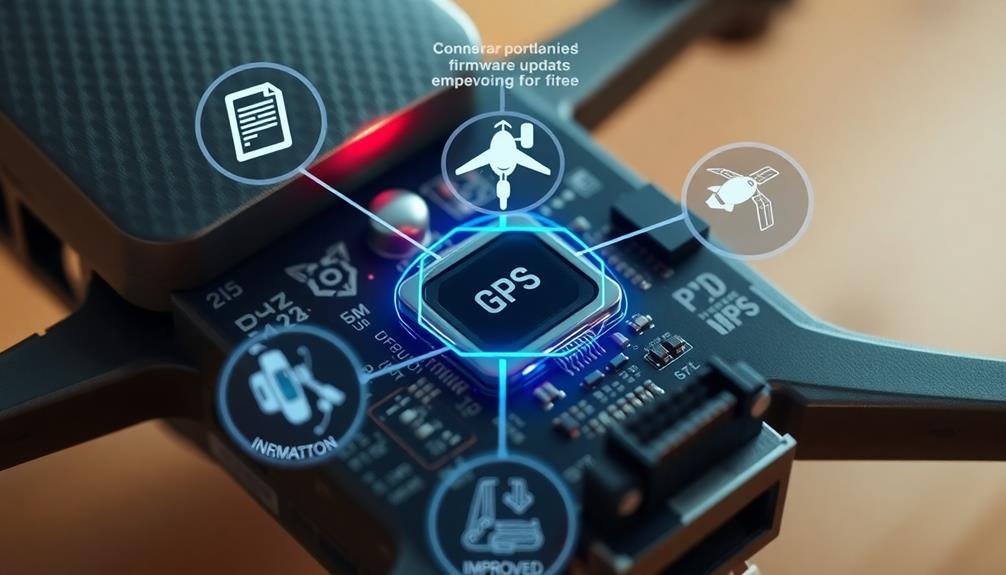
Updating your GPS module's firmware can often resolve performance issues and enhance functionality for flight control. It's an essential step in maintaining peak performance and guaranteeing your drone's navigation system is up to date.
Begin by checking the manufacturer's website for the latest firmware version compatible with your specific GPS module. Download the update file and follow the provided instructions carefully.
Before initiating the update process, confirm your drone's battery is fully charged to prevent interruptions. Connect your GPS module to a computer using the appropriate cable or interface. Launch the firmware update tool provided by the manufacturer and select the downloaded firmware file. Follow the on-screen prompts to complete the update process.
- Improved satellite acquisition and tracking
- Enhanced positioning accuracy
- Reduced susceptibility to interference
- New features and bug fixes
- Compatibility with latest flight control software
After the update, verify that the new firmware version is correctly installed. Perform a test flight in an open area to confirm proper GPS functionality.
If issues persist, consult the manufacturer's support resources or seek assistance from a professional technician. Regular firmware updates help maintain your GPS module's performance and guarantee reliable navigation during flight operations.
Calibrate GPS Module
After updating your GPS firmware, the next essential step is to calibrate your GPS module. This process guarantees your GPS provides accurate position data for precise flight control.
Begin by placing your drone on a flat, open surface with a clear view of the sky. Turn on your drone and allow the GPS to acquire satellites for at least 5 minutes.
Next, access your flight controller's calibration menu and select the GPS calibration option. Follow the on-screen instructions, which typically involve rotating your drone slowly in different directions. This helps the GPS module map the surrounding magnetic field and compensate for any interference.
During calibration, maintain a steady pace and avoid sudden movements. You'll need to complete a full 360-degree rotation on each axis: yaw, pitch, and roll. Some systems may require multiple rotations or specific patterns.
Once you've finished the rotations, wait for the calibration to complete. Your flight controller will confirm successful calibration. If it fails, repeat the process in a different location away from potential sources of magnetic interference.
Remember to recalibrate your GPS module regularly, especially when flying in new locations or after making changes to your drone's configuration.
Relocate GPS Antenna
When relocating your GPS antenna, prioritize clear sky visibility to guarantee ideal signal reception.
Position the antenna away from other electronic components to minimize electromagnetic interference, which can disrupt GPS accuracy.
You'll want to find a balance between an unobstructed view of the sky and protection from potential physical damage during flight operations.
Clear Sky Visibility
The GPS antenna's location on your aircraft can make or break its performance. To guarantee ideal clear sky visibility, you'll need to carefully consider where you place the antenna. Ideally, it should have an unobstructed view of the sky to receive signals from as many satellites as possible. This means avoiding obstructions like the aircraft's body, wings, or other equipment that could block the antenna's line of sight.
When selecting the perfect spot for your GPS antenna, keep these factors in mind:
- Elevation: Higher placement often yields better results
- Interference: Keep it away from other electronic components
- Stability: Choose a location that minimizes vibration
- Weather protection: Confirm it's shielded from the elements
- Aerodynamics: Consider the impact on your aircraft's performance
Don't underestimate the importance of clear sky visibility for your GPS module. A poorly placed antenna can lead to weak signals, inaccurate positioning, and unreliable flight control.
By prioritizing an unobstructed view of the sky, you'll greatly enhance your GPS module's performance. This, in turn, will improve your aircraft's navigation accuracy, stability, and overall flight precision.
Minimize Electromagnetic Interference
While clear sky visibility is essential, it's not the only factor affecting your GPS module's performance. Electromagnetic interference (EMI) can greatly impact GPS signal reception and accuracy. To minimize EMI, you'll need to carefully consider the placement of your GPS antenna.
Start by identifying potential sources of EMI on your aircraft, such as motors, servos, and other electronic components. Next, relocate your GPS antenna as far away from these sources as possible. Ideally, position it on the top of your aircraft, away from any metal surfaces that could interfere with signal reception.
Consider using shielding materials to further reduce EMI. Here's a quick guide to common shielding options:
| Material | Effectiveness | Weight Impact |
|---|---|---|
| Aluminum | High | Low |
| Copper | Very High | Moderate |
| Mu-metal | Excellent | High |
When relocating your GPS antenna, verify it's mounted securely and protected from vibration. Use high-quality, shielded cables to connect the antenna to your flight controller, keeping cable runs as short as possible. By minimizing EMI through careful antenna placement and shielding, you'll greatly improve your GPS module's performance and enhance your flight control precision.
Replace Faulty GPS Module
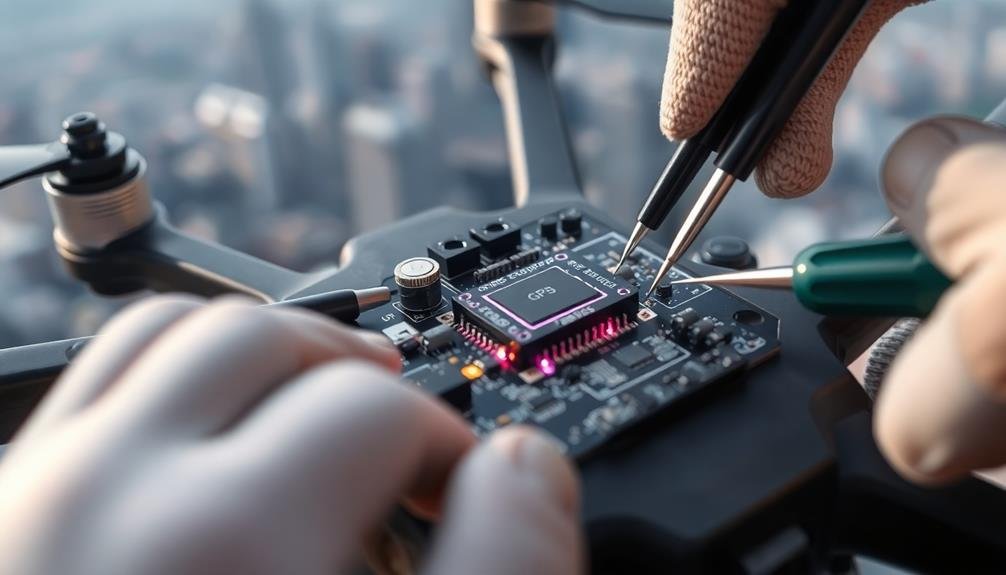
Replacing a faulty GPS module is essential for maintaining accurate flight control.
You'll need to recognize signs of module failure, such as inconsistent positioning or complete signal loss.
Once you've identified the issue, follow a step-by-step process to remove the old module and install a new one, ensuring proper connections and calibration.
Identify Module Failure Signs
Recognizing GPS module failure symptoms is vital for maintaining accurate flight control systems. You'll need to be vigilant and monitor your system's performance regularly to catch any issues early.
Watch for sudden drops in position accuracy, inconsistent altitude readings, or frequent loss of satellite lock. These signs often indicate a failing GPS module.
Pay attention to:
- Erratic position jumps on your navigation display
- Increased time to acquire a GPS fix after power-up
- Unexplained deviations from planned flight paths
- Intermittent loss of GPS signal in clear sky conditions
- Discrepancies between GPS altitude and barometric altitude
If you notice any of these symptoms, it's important to investigate further. Check your GPS antenna connections and verify there's no physical damage to the module or its wiring.
Confirm that the module's firmware is up-to-date and compatible with your flight control system. Sometimes, environmental factors like electromagnetic interference can mimic GPS module failure, so rule out external sources before concluding the module itself is faulty.
If the issues persist after these checks, it's likely time to replace the GPS module to maintain the reliability and safety of your flight control system.
Step-By-Step Replacement Process
Once you've confirmed that your GPS module needs replacement, it's time to take action. Begin by powering down your flight controller and disconnecting all power sources.
Carefully remove the faulty GPS module, taking note of its orientation and connection points. Consult your flight controller's manual to guarantee you're following the correct procedure for your specific model.
Next, prepare the new GPS module by checking its compatibility with your flight controller. Align the new module in the same orientation as the old one and secure it firmly in place.
Reconnect all wires, making sure they're properly seated and color-coded correctly. Double-check your connections to avoid any short circuits or loose contacts.
Power up your flight controller and verify that the new GPS module is recognized. Use your flight control software to confirm proper communication and signal strength.
Calibrate the new module according to the manufacturer's instructions, which may involve rotating the aircraft or performing specific movements.
Shield From Electromagnetic Interference
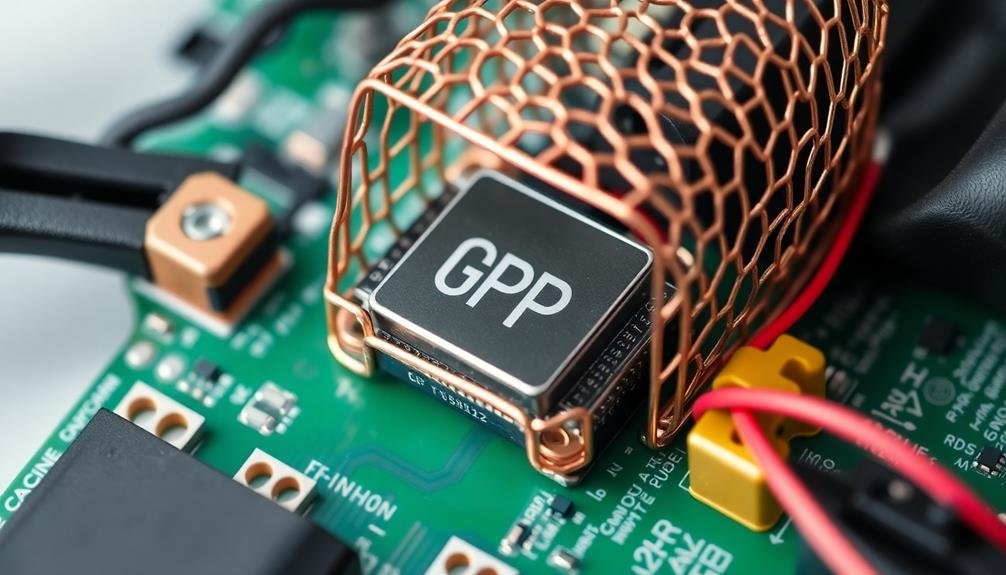
Electromagnetic interference can wreak havoc on GPS modules in flight control systems. To protect your GPS module effectively, you'll need to implement multiple layers of protection.
Start by encasing the module in a metal housing, which acts as a Faraday cage to deflect electromagnetic waves. Use ferrite beads on all incoming and outgoing wires to suppress high-frequency noise. Additionally, incorporate proper grounding techniques to divert unwanted electrical currents away from sensitive components.
When designing your flight control system, consider the placement of the GPS module carefully. Keep it away from other electronic components that may emit interference, such as motors, servos, or radio transmitters. You can further enhance protection by using shielded cables and connectors throughout your system.
To guarantee peak GPS performance, consider these additional measures:
- Apply conductive EMI shielding tape to seams and openings
- Use EMI-absorbing materials in critical areas
- Implement digital filtering algorithms in your software
- Regularly calibrate and test your GPS module
- Consider redundant GPS systems for mission-critical applications
Enhance Signal With External Antenna

To boost your GPS module's performance, consider adding an external antenna.
Proper antenna placement and positioning are essential; mount it in a clear, unobstructed location for best signal reception.
If you're still struggling with weak GPS signals, you can amplify them using a signal booster or a higher-gain antenna.
Antenna Placement and Positioning
Proper antenna placement and positioning are essential for enhancing GPS signal reception in flight control systems. When installing an external GPS antenna, consider the aircraft's structure and potential sources of interference. Mount the antenna on a clear, unobstructed surface with a direct view of the sky. Avoid placing it near metal objects, electrical equipment, or other antennas that might cause signal degradation.
For ideal performance, follow these key guidelines:
- Position the antenna on the aircraft's upper surface
- Maintain a minimum distance of 1 meter from other antennas
- Use a ground plane to improve signal quality
- Confirm the antenna is level and parallel to the horizon
- Secure the antenna firmly to prevent movement during flight
Remember that antenna orientation matters. Most GPS antennas are designed to be mounted vertically, facing upwards. If you're using a patch antenna, verify it's oriented correctly according to the manufacturer's instructions.
Pay attention to cable routing, keeping antenna cables away from power lines and other potential sources of electromagnetic interference. Regularly inspect the antenna installation for any signs of damage or loosening.
Amplifying Weak GPS Signals
External antennas can substantially boost weak GPS signals, enhancing your flight control system's performance. When you're dealing with weak GPS reception, an external antenna can be a game-changer.
These antennas are designed to capture and amplify signals more effectively than built-in antennas, providing better accuracy and reliability for your flight control.
To implement an external antenna, you'll need to choose one that's compatible with your GPS module. Look for antennas with high gain and low noise figures.
Mount the antenna in a location with a clear view of the sky, ideally on top of your aircraft. Use high-quality, low-loss coaxial cable to connect the antenna to your GPS module, keeping the cable length as short as possible to minimize signal degradation.
Some external antennas come with built-in amplifiers, which can further boost weak signals. However, be cautious not to over-amplify, as this can introduce noise and reduce accuracy.
If you're operating in areas with known GPS interference, consider using a filter to remove unwanted signals. Remember to calibrate your system after installing the external antenna to guarantee peak performance and accuracy in your flight control operations.
Clear GPS Cache Data
Clearing your GPS cache data can greatly improve your flight control system's performance. Over time, your GPS module accumulates outdated information that can interfere with accurate positioning. By regularly clearing this cache, you'll guarantee your module is working with the most up-to-date data, resulting in more precise flight control.
To clear your GPS cache, you'll need to access your module's settings. This process varies depending on your specific hardware, but generally involves maneuvering to the GPS configuration menu and selecting the "Clear Cache" or "Reset" option. It's essential to perform this action when your drone is safely on the ground and powered off.
Here are some key benefits of clearing your GPS cache:
- Improved satellite acquisition time
- Enhanced position accuracy
- Reduced likelihood of navigation errors
- Better performance in changing environments
- Minimized impact of outdated ephemeris data
After clearing the cache, allow your GPS module to perform a cold start. This process may take a few minutes but will guarantee your module rebuilds its database with fresh, accurate information.
Adjust GPS Refresh Rate
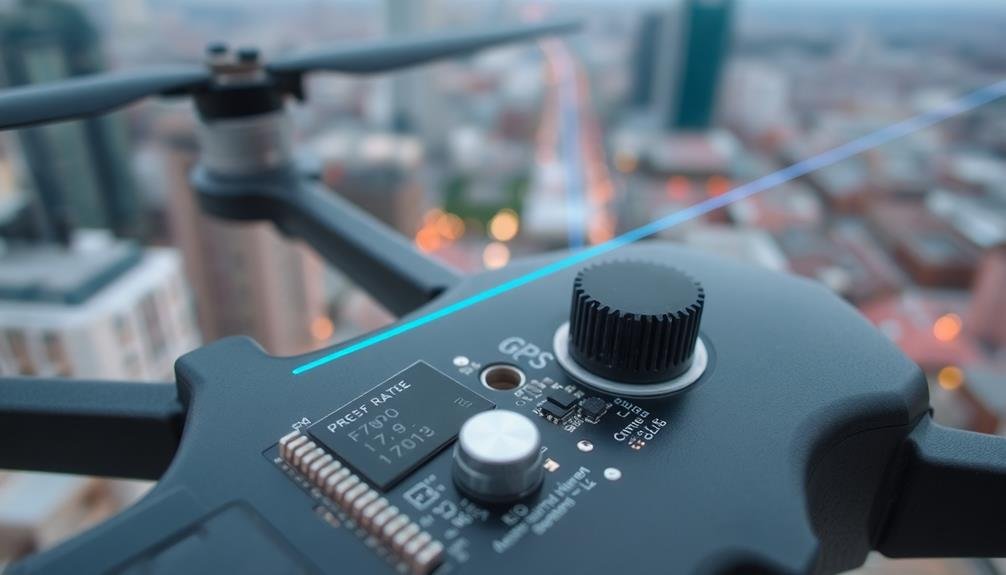
While clearing your GPS cache is important, fine-tuning your GPS refresh rate can greatly boost your flight control system's responsiveness.
The GPS refresh rate determines how often your module updates its position data. A higher refresh rate provides more frequent updates, which can lead to more precise navigation and smoother flight control.
To adjust your GPS refresh rate, you'll need to access your module's settings. This is typically done through your flight controller's software interface. Look for options like "GPS update frequency" or "position update rate." Most GPS modules allow you to choose from preset rates, usually ranging from 1 Hz to 10 Hz.
For general flying, a 5 Hz refresh rate often suffices. However, if you're engaged in high-speed or precision flying, you might want to bump it up to 10 Hz.
Keep in mind that higher refresh rates consume more power and may generate more heat. They also produce more data, which can potentially overwhelm your flight controller if it's not designed to handle such high-frequency updates.
Experiment with different rates to find the sweet spot for your specific needs and hardware capabilities.
Always test your adjustments in a safe environment before attempting any critical flights.
Implement GPS Redundancy System

In light of potential GPS failures, implementing a redundancy system can greatly enhance your flight control's reliability. By incorporating multiple GPS modules, you'll create a robust backup system that guarantees continuous positioning data even if one module malfunctions. This redundancy approach considerably reduces the risk of navigation errors and improves overall flight safety.
To implement a GPS redundancy system, reflect on these key aspects:
- Use different GPS module brands or models to mitigate common-mode failures
- Implement voting algorithms to compare data from multiple modules
- Install GPS antennas in diverse locations on the aircraft to minimize interference
- Integrate inertial measurement units (IMUs) for additional position verification
- Employ sensor fusion techniques to combine data from various sources
When setting up your redundancy system, verify that your flight controller can handle multiple GPS inputs. Configure your software to seamlessly switch between GPS modules if one fails or provides inconsistent data.
Regularly calibrate and test all GPS modules to maintain accuracy. Remember to take into account the additional power requirements and weight implications of multiple GPS units.
Frequently Asked Questions
How Do GPS Modules Affect Battery Life in Drones?
GPS modules in your drone can drain battery life. They're constantly working to provide location data, which consumes power. Higher-quality modules may be more efficient, but they'll still impact your flight time. Consider this when planning missions.
Can Weather Conditions Impact GPS Module Performance?
Yes, weather can affect your GPS module's performance. You'll notice reduced accuracy in heavy cloud cover, rain, or storms. Atmospheric conditions can interfere with signal reception, and extreme temperatures may impact the module's functionality. Always check forecasts before flying.
What's the Difference Between Consumer and Professional-Grade GPS Modules?
You'll find professional-grade GPS modules offer higher accuracy, faster update rates, and better signal reception than consumer versions. They're more robust, reliable in challenging environments, and often include advanced features like multi-constellation support and anti-jamming capabilities.
How Often Should GPS Modules Be Replaced for Optimal Performance?
You should replace your GPS modules every 3-5 years for ideal performance. However, if you notice decreased accuracy or reliability, don't wait. Regular firmware updates can extend their lifespan, but hardware eventually degrades, affecting precision.
Are There Legal Restrictions on Using High-Precision GPS Modules in Certain Areas?
You'll find legal restrictions on high-precision GPS modules in some areas. They're often regulated for national security reasons. Before using one, check local laws and obtain necessary permits to avoid potential fines or legal issues.
In Summary
You've now got a toolkit of GPS fixes to enhance your flight control precision. By implementing these solutions, you'll improve signal quality, reduce errors, and boost overall performance. Don't hesitate to try multiple approaches if needed. Remember, a well-functioning GPS is essential for safe and accurate flights. Keep experimenting and fine-tuning your setup to achieve the best results. With these tips, you're on your way to smoother, more reliable flights.

As educators and advocates for responsible drone use, we’re committed to sharing our knowledge and expertise with aspiring aerial photographers.


Leave a Reply