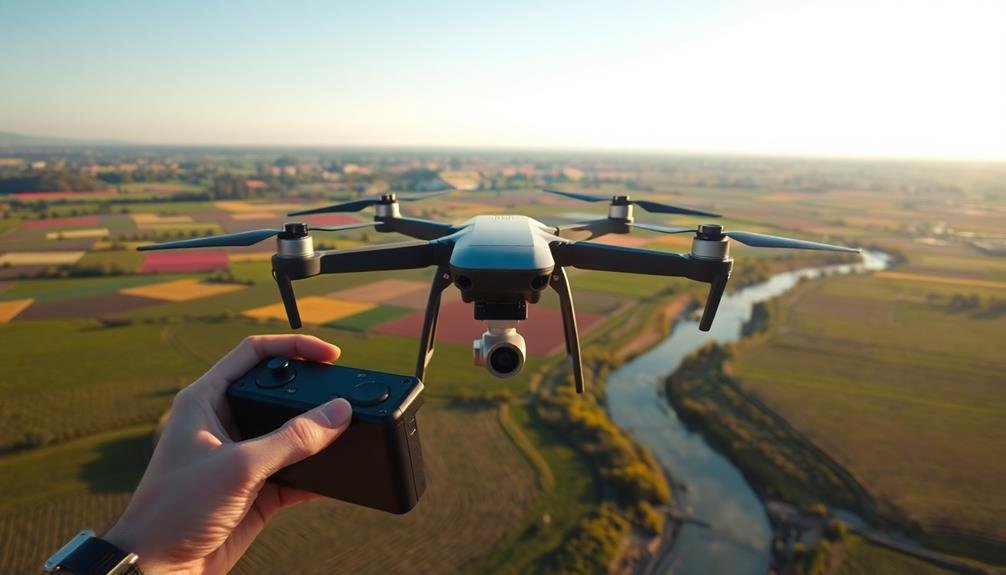
To capture stunning aerial photos, start by choosing a drone that fits your skill level and budget. Familiarize yourself with your drone's camera settings, focusing on ISO, shutter speed, and aperture. Practice basic flight controls in open areas before attempting complex shots. Apply composition techniques like the Rule of Thirds and leading lines to create visually appealing images. Shoot during golden hours for ideal lighting, and always adhere to local regulations and safety guidelines. Invest in essential accessories like gimbals and filters to enhance image quality. Post-processing can further elevate your shots. By mastering these fundamentals, you'll be on your way to creating breathtaking aerial photography.
Key Takeaways
- Choose a suitable drone based on your skill level, budget, and desired camera specifications.
- Master basic drone controls and practice flying in open areas before attempting complex shots.
- Apply composition techniques like Rule of Thirds and Leading Lines to create visually appealing aerial images.
- Understand and adjust camera settings, including ISO, shutter speed, and aperture, for optimal image quality.
- Plan your aerial shoot by researching locations, regulations, and optimal lighting conditions for the best results.
Choosing the Right Drone
Selecting the perfect drone is vital for your aerial photography journey. Consider your skill level and budget when making your choice. For beginners, a smaller, more affordable drone with basic features is often ideal. Look for models with built-in cameras, GPS, and stabilization technology to guarantee smooth flights and clear images.
As you progress, you might want to invest in a more advanced drone with higher-quality cameras and longer flight times. Pay attention to the drone's camera specifications, including sensor size, resolution, and video capabilities. Some drones offer interchangeable lenses, giving you more creative control over your shots.
Battery life is significant, so opt for a drone that can stay airborne for at least 20-30 minutes. Additionally, consider the drone's portability if you plan to travel with it. Foldable designs are convenient for on-the-go photographers.
Don't forget to check local regulations regarding drone usage and registration. Some areas have restrictions on where you can fly, so it's important to be aware of these rules before making your purchase.
Understanding Drone Camera Basics
To capture stunning aerial shots, you'll need to grasp the fundamentals of drone cameras.
Familiarize yourself with the various camera types and their specifications, such as sensor size, resolution, and lens options.
Additionally, learn the basic controls and settings, including shutter speed, aperture, and ISO, to achieve the desired exposure and effects in your aerial photographs.
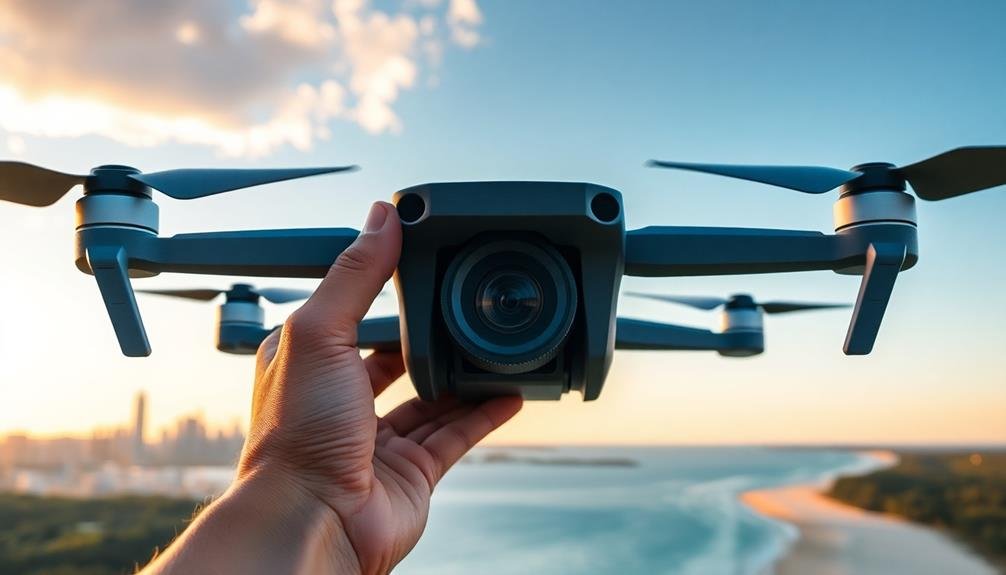
Camera Types and Specs
When diving into aerial photography, understanding drone camera basics is essential for capturing stunning images from above. There are two main types of cameras used in drones: built-in and attachable. Built-in cameras are integrated into the drone's body, while attachable cameras can be mounted on compatible drones.
When comparing camera specs, pay attention to sensor size, resolution, and field of view. Larger sensors typically offer better low-light performance and image quality. Resolution, measured in megapixels, determines the level of detail in your photos. A wider field of view allows you to capture more of the scene in a single shot.
Consider the camera's ISO range, which affects its light sensitivity. Higher ISO capabilities enable better performance in low-light conditions. Look for cameras with adjustable aperture and shutter speed for greater control over exposure. Some advanced drone cameras offer RAW image capture, giving you more flexibility in post-processing.
Stabilization features like gimbals are vital for smooth footage and sharp images. Three-axis gimbals provide the best stabilization, compensating for pitch, roll, and yaw movements.
Controls and Settings Basics
Getting to grips with your drone camera's controls and settings is essential for capturing impressive aerial shots. Start by familiarizing yourself with the basic camera modes: auto, aperture priority, shutter priority, and manual. Auto mode is great for beginners, but as you progress, you'll want to experiment with manual settings for more creative control.
Pay attention to your camera's ISO, aperture, and shutter speed. Lower ISO values (100-400) produce less noise, while higher apertures (f/8-f/11) increase depth of field. Faster shutter speeds (1/500s or higher) help reduce motion blur in aerial shots.
Learn to use exposure compensation to adjust for bright skies or dark landscapes. White balance settings can help you achieve accurate colors in various lighting conditions. Consider shooting in RAW format for greater flexibility in post-processing.
Many drone cameras offer intelligent flight modes like follow me, orbit, or waypoints. These can help you create dynamic shots while focusing on composition.
Essential Accessories for Aerial Photography
When venturing into aerial photography, you'll need more than just a drone and camera.
Essential accessories like camera mounts, gimbals, remote controllers, and monitors will enhance your control and image quality.
Don't forget to invest in protective gear and cases to safeguard your equipment during transport and flights.
Camera Mounts and Gimbals
A sturdy foundation is essential for capturing stunning aerial shots. Camera mounts and gimbals provide this stability, allowing you to take crisp, clear photos from the air.
Mounts secure your camera to your drone, while gimbals use motorized axes to keep the camera level and counteract any movement or vibrations.
When choosing a mount, verify it's compatible with both your drone and camera. Look for mounts made from lightweight yet durable materials like carbon fiber or aluminum. Some mounts offer quick-release mechanisms, making it easy to switch between different cameras or setups.
Gimbals come in various types, including 2-axis and 3-axis models. A 3-axis gimbal provides the most stability, controlling pitch, roll, and yaw. Many modern drones come with built-in gimbals, but you can also find aftermarket options for improved performance.
Consider features like follow mode, which automatically tracks subjects, and first-person view (FPV) capabilities that let you see what your camera sees in real-time.
Remember to check the weight capacity of your gimbal to verify it can support your camera and lens combination.
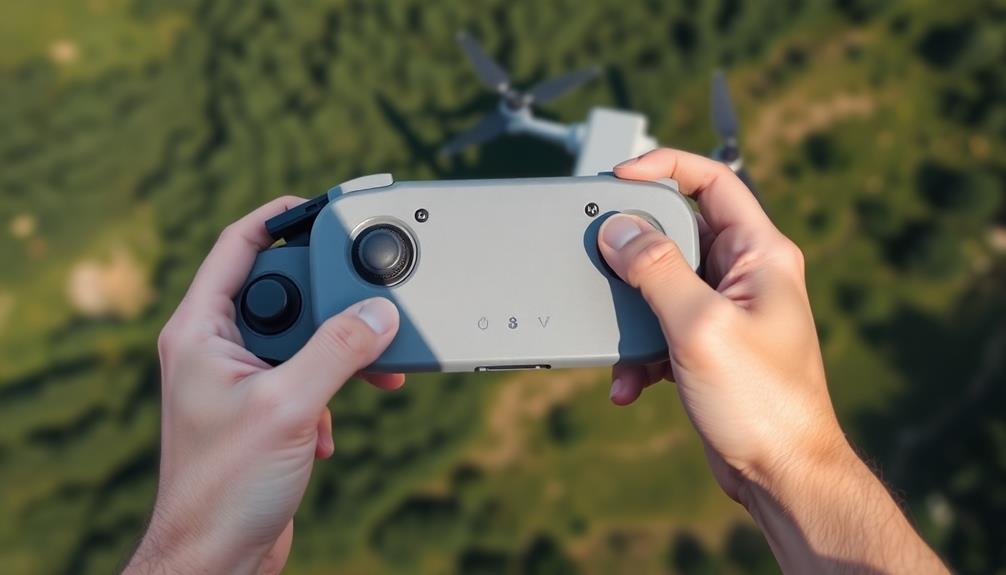
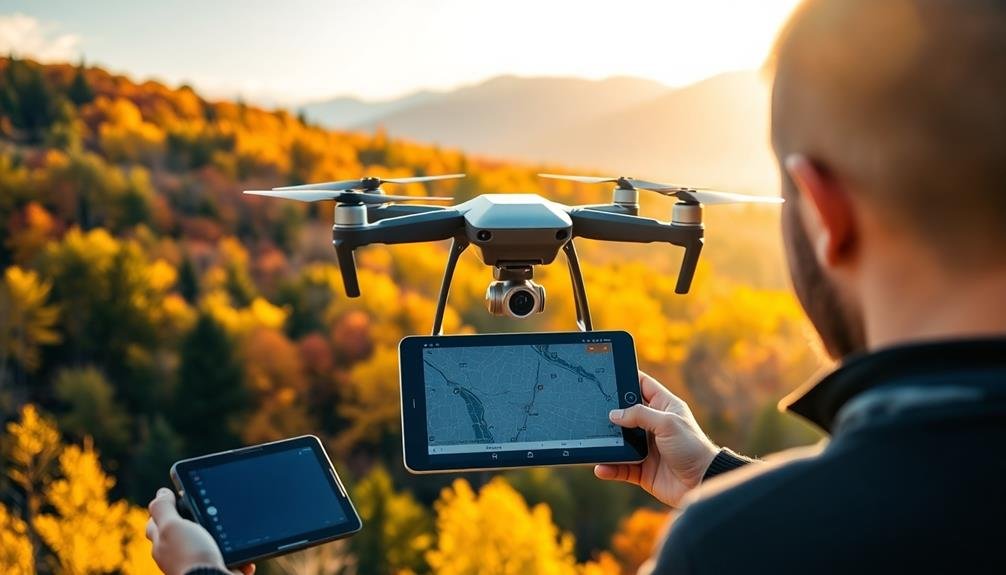
Remote Controllers and Monitors
Remote controllers and monitors are indispensable tools for aerial photographers. They allow you to control your drone and view real-time footage from a safe distance on the ground. When choosing a remote controller, look for one with intuitive controls, a comfortable grip, and long battery life. Many modern controllers come with built-in screens, but for better visibility, you might want to evaluate a separate monitor or tablet mount.
Monitors provide a larger, clearer view of your drone's camera feed, helping you compose shots more accurately. Opt for a high-brightness display that's visible in direct sunlight. Some monitors even offer advanced features like focus peaking and exposure zebras, which can greatly improve your aerial photography.
To make the most of your remote controller and monitor setup:
- Practice flying with the controller before attempting complex shots
- Customize button mappings to suit your shooting style
- Use a sun hood or anti-glare screen protector for better visibility
Protective Gear and Cases
As you venture into aerial photography, protecting your equipment becomes paramount. Invest in a sturdy, waterproof case for your drone, camera, and accessories. Look for cases with customizable foam inserts to snugly fit your gear, preventing damage during transport. For added security, consider a hard-shell case with locks.
Don't forget about lens protection. Use lens filters to shield your camera's optics from dust, scratches, and harsh light. UV filters are a great starting point, while polarizing filters can enhance contrast and reduce glare in your aerial shots.
Propeller guards are essential for beginner pilots. They'll protect your drone's rotors from damage during minor collisions and help prevent injury to people or objects nearby.
Landing gear extensions can also safeguard your camera during takeoffs and landings on uneven terrain.
For your remote controller, a lanyard or neck strap will prevent accidental drops. A sun hood for your monitor or smartphone will improve screen visibility in bright conditions.
Mastering Drone Controls
Mastering your drone's controls is vital for capturing stunning aerial photographs. Start by familiarizing yourself with the basic functions: ascend, descend, rotate, and move forward or backward. Practice these movements in an open area, away from obstacles, until they become second nature.
As you gain confidence, focus on smooth, controlled movements to guarantee stable footage and crisp images.
Next, learn to use your drone's advanced features. Many modern drones offer intelligent flight modes like orbit, follow-me, and waypoints. These can help you achieve complex shots with minimal piloting effort. Experiment with different modes to find which ones suit your photography style best.
Understanding your drone's camera settings is essential for capturing high-quality images. Learn to adjust exposure, ISO, and shutter speed on the fly. Remember that lighting conditions can change rapidly during flight, so be prepared to make quick adjustments.
To further improve your aerial photography skills:
- Practice composition techniques specific to aerial shots
- Experiment with different altitudes and angles
- Develop a pre-flight checklist to guarantee you're always prepared
As you continue to practice, you'll develop a natural feel for your drone's capabilities and limitations. This intuition will allow you to focus on creativity and composition, resulting in truly breathtaking aerial photographs.
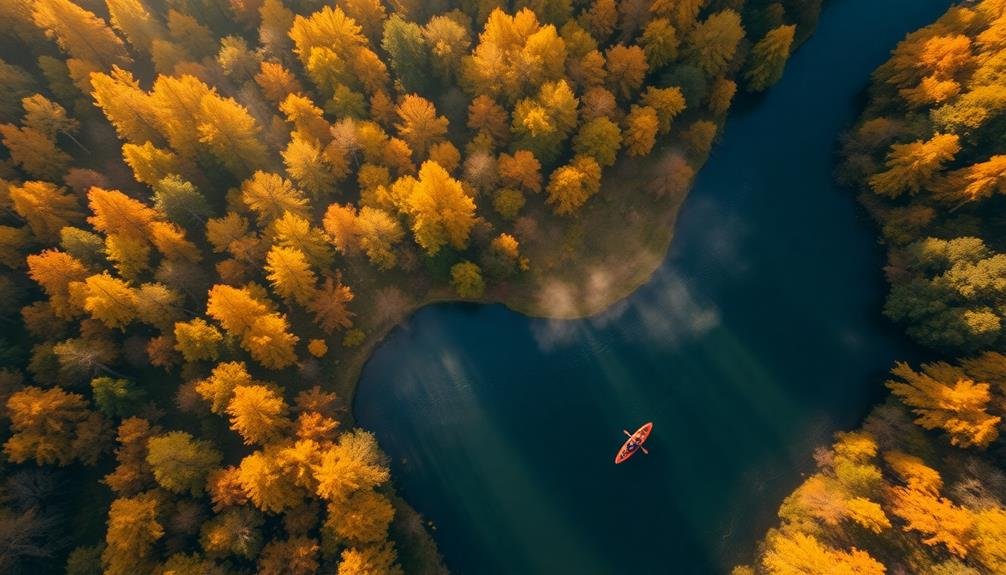
Composition Techniques for Aerial Shots
When composing your aerial shots, you'll want to apply traditional photography principles to this unique perspective.
Start by implementing the Rule of Thirds, dividing your frame into a 3×3 grid and placing key elements along these lines or at their intersections.
You can also enhance your compositions by incorporating the Leading Lines technique, using natural or man-made linear features to guide the viewer's eye through the image.
Rule of Thirds
The rule of thirds is a fundamental composition technique that's especially powerful in aerial photography. It involves dividing your frame into a 3×3 grid and placing key elements along these lines or at their intersections. This creates a more balanced and visually appealing image than simply centering your subject.
When shooting from above, use the rule of thirds to highlight landscape features, structures, or patterns. Position horizon lines along the top or bottom third of the frame, rather than cutting the image in half. For cityscapes, align buildings or roads with vertical grid lines to create a sense of order and symmetry.
Remember, the rule of thirds isn't a strict law but a guideline. You can break it intentionally for creative effect, but understanding it will help you compose stronger aerial shots.
Here's how to apply the rule of thirds effectively:
- Use your camera's grid overlay feature to visualize the lines
- Place points of interest at grid intersections to draw the viewer's eye
- Experiment with different placements to find the most compelling composition
Leading Lines Technique
Leading lines are a powerful composition tool in aerial photography that guide the viewer's eye through your image. When shooting from above, you'll find natural lines in landscapes, roads, rivers, and urban structures.
To use this technique effectively, identify strong linear elements and position them to draw attention to your main subject or create a sense of depth.
Look for converging lines that lead to a focal point, such as a winding road disappearing into the horizon or a row of trees pointing towards a landmark. You can also use parallel lines, like railroad tracks or farm rows, to create a sense of symmetry and order in your shots.
Experiment with different angles to maximize the impact of leading lines. Try shooting directly above your subject for a top-down perspective, or tilt your camera slightly to create diagonal lines that add dynamism to your composition.
Don't forget to adjust your drone's altitude to find the perfect balance between showcasing the lines and revealing the surrounding context.
Lighting Considerations in Drone Photography
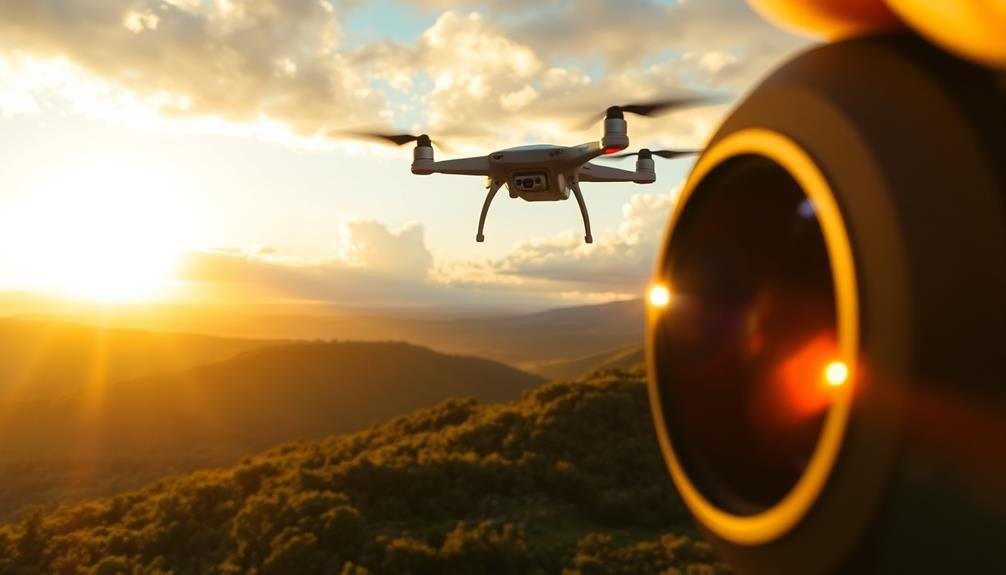
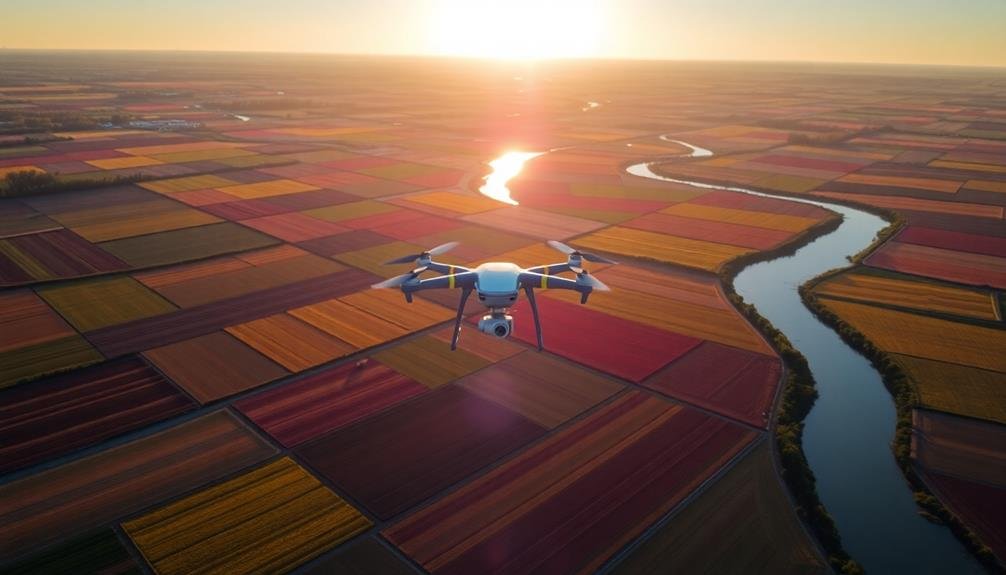
Mastering lighting techniques can make or break your aerial photos. When flying your drone, pay close attention to the sun's position and how it affects your shots. Early morning and late afternoon offer the best lighting conditions, creating long shadows and warm, golden hues.
During these "golden hours," you'll capture stunning contrasts and depth in your images.
Avoid shooting during midday when the sun is directly overhead, as this creates harsh shadows and washes out colors. If you must fly at this time, try using filters or adjusting your camera settings to compensate for the intense light.
Overcast days can be surprisingly ideal for aerial photography, providing soft, diffused light that eliminates harsh shadows and evens out exposure.
Consider these lighting tips for drone photography:
- Use backlighting to create silhouettes and dramatic sky effects
- Experiment with side lighting to add texture and dimension to landscapes
- Capture reflections on water surfaces during calm, well-lit conditions
Don't forget to adjust your drone's camera settings as lighting conditions change. Manually setting your ISO, shutter speed, and aperture will give you more control over exposure and help you achieve the desired look for your aerial shots.
Best Camera Settings for Drones
Now that you understand the importance of lighting, let's focus on optimizing your drone's camera settings.
Start by shooting in RAW format to capture more image data and allow for greater flexibility in post-processing. Set your ISO as low as possible, ideally between 100-400, to minimize noise.
For shutter speed, aim for 1/250th of a second or faster to avoid motion blur, especially in windy conditions. Choose an aperture between f/2.8 and f/5.6 to balance depth of field and sharpness.
Use autofocus for most situations, but switch to manual focus when shooting distant landscapes or in low-contrast scenes. Enable your drone's built-in stabilization features to reduce camera shake.
For exposure, use the histogram to guarantee you're not clipping highlights or shadows. Consider bracketing your shots to capture a wider dynamic range.
Set your white balance to match the lighting conditions, or use auto white balance if you're shooting in RAW.
Planning Your Aerial Shoot
Proper planning is essential for a successful aerial photography shoot. Before you take off, research your location thoroughly. Check local regulations, weather conditions, and potential obstacles. Identify key landmarks or subjects you want to capture and consider the best angles to approach them from the air.
Time your shoot carefully. The golden hours just after sunrise or before sunset often provide the most flattering light for aerial photography. However, don't discount midday shots, which can create striking shadows and contrasts. Plan your flight path to maximize battery life and guarantee you capture all desired shots within your drone's operational limits.
Consider these factors when planning your aerial shoot:
- Composition: Visualize how elements will look from above and plan shots that utilize unique aerial perspectives.
- Safety: Identify safe takeoff and landing zones, and plan alternative routes in case of unexpected obstacles.
- Permissions: Obtain necessary permits or clearances for flying in your chosen location.
Lastly, prepare your equipment. Confirm your drone's firmware is up-to-date, batteries are fully charged, and you have spare memory cards.
Safety and Legal Considerations
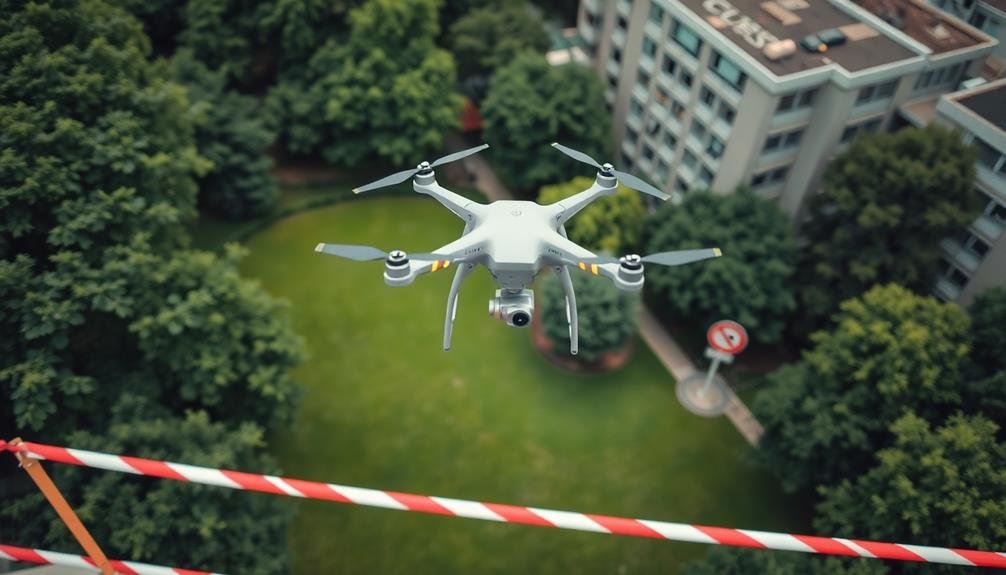
Three critical aspects of aerial photography are safety, legality, and ethics. When flying a drone or operating from an aircraft, prioritize safety above all else. Always maintain visual line of sight with your drone and avoid flying near people, vehicles, or buildings.
Be aware of your surroundings and potential obstacles, especially power lines and trees.
Familiarize yourself with local laws and regulations governing aerial photography. In many countries, you'll need to register your drone and obtain proper certifications. Respect no-fly zones, including airports, military bases, and national parks.
Check for temporary flight restrictions in your area before each flight.
Consider the ethical implications of your aerial photography. Respect people's privacy by avoiding shots that intrude on private property or capture identifiable individuals without consent.
Be mindful of wildlife and don't disturb natural habitats.
Invest in quality equipment, including propeller guards and a reliable GPS system. Carry spare batteries and memory cards.
Monitor weather conditions closely, avoiding flights in high winds, rain, or extreme temperatures.
Post-Processing Aerial Images
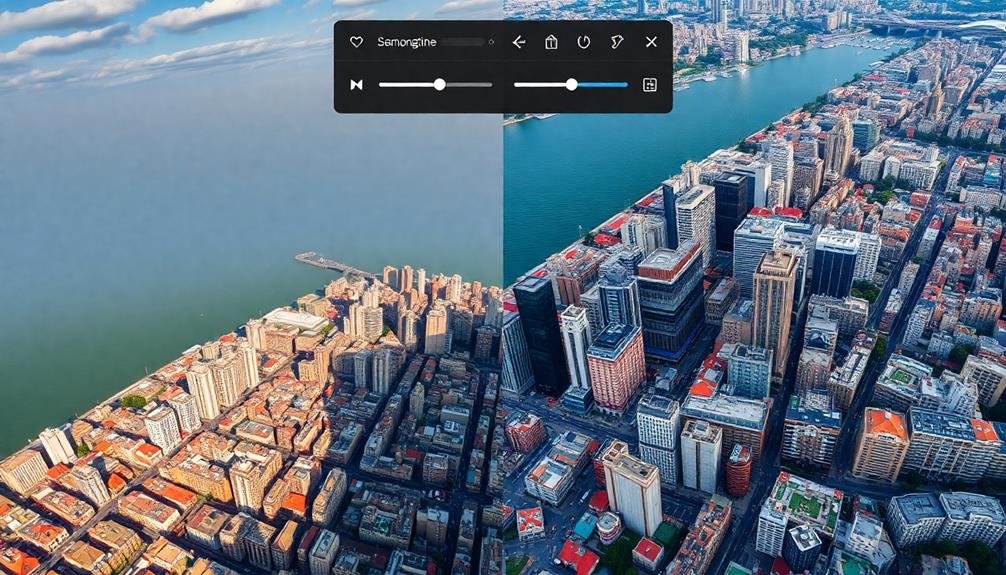
In light of capturing aerial images, post-processing is an essential step to elevate your photography. After you've landed your drone and transferred the raw files to your computer, it's time to enhance your shots.
Start by importing your images into your preferred editing software, such as Adobe Lightroom or Capture One.
Begin with basic adjustments like exposure, contrast, and white balance. Aerial photos often benefit from subtle tweaks to highlight details and improve overall clarity. Pay special attention to the horizon line, ensuring it's perfectly level for a polished look. Use the crop tool to refine your composition and remove any distracting elements.
For more advanced editing:
- Experiment with graduated filters to balance the sky and ground exposure
- Apply selective adjustments to enhance specific areas of interest
- Use noise reduction techniques to minimize grain in low-light shots
Don't be afraid to get creative with your edits, but remember to maintain a natural look. Overly processed aerial images can appear artificial and lose their impact.
Common Mistakes to Avoid
While mastering post-processing techniques is important, it's equally essential to steer clear of common pitfalls in aerial photography. One frequent mistake is flying too high, resulting in bland, featureless images. Instead, maintain a lower altitude to capture more detail and create a sense of scale.
Another error is neglecting composition rules. Don't forget about the rule of thirds, leading lines, and symmetry just because you're shooting from above. Pay attention to shadows, as they can add depth and interest to your shots. Avoid shooting in harsh midday light, which can create unflattering shadows and reduce contrast.
Many beginners overlook weather conditions. Wind can cause camera shake and affect image quality, so choose calm days for better results.
Also, don't ignore your drone's limitations. Pushing its capabilities can lead to poor image quality or even accidents.
Lastly, remember to respect privacy and local regulations. Flying too close to people or restricted areas can result in legal issues and ruin your shooting experience. Always research and follow local drone laws before taking to the skies.
Creative Ideas for Drone Photos
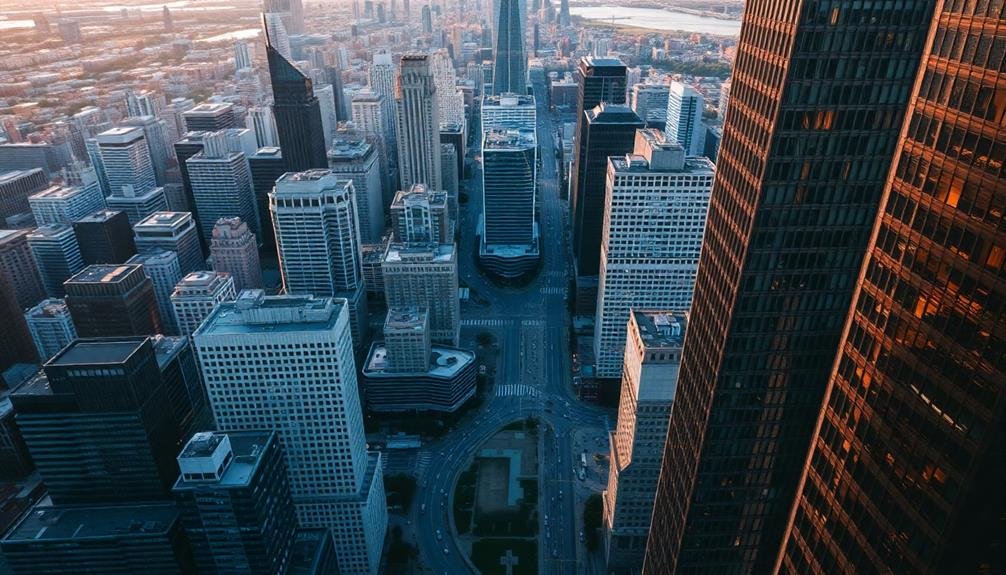
Drones open up a world of creative possibilities for photographers. You can capture stunning aerial shots that were once impossible or expensive to achieve. To make your drone photos stand out, experiment with different perspectives and compositions.
Try shooting directly downward for a bird's-eye view of landscapes, cityscapes, or even people. This unique angle can transform familiar scenes into abstract patterns and shapes.
Explore the interplay of light and shadow by flying your drone during golden hour or just after sunset. The long shadows and warm light can add depth and drama to your images.
Don't be afraid to include human elements in your shots to provide scale and context. A lone person walking on a beach or a car driving down a winding road can make your aerial photos more compelling.
Here are some creative ideas to inspire your drone photography:
- Capture symmetry in nature or architecture from above
- Create abstract compositions using colors and textures in landscapes
- Tell a story by juxtaposing different elements in a single frame
Remember to always follow local drone regulations and prioritize safety when flying.
With practice and creativity, you'll soon be capturing breathtaking aerial images that showcase the world from a whole new perspective.
Improving Your Aerial Photography Skills
To truly excel at aerial photography, you'll need to hone your skills through practice and experimentation. Start by mastering your drone's controls, ensuring smooth movements for steady shots.
Familiarize yourself with your camera settings, adjusting exposure, ISO, and shutter speed to capture the best images in various lighting conditions.
Study composition techniques specific to aerial photography, such as leading lines, symmetry, and patterns visible from above. Experiment with different altitudes and angles to find unique perspectives.
Pay attention to lighting conditions, especially during golden hour for warm, dramatic shots.
Post-processing is essential for enhancing your aerial images. Learn to use editing software to adjust color balance, contrast, and sharpness. Don't be afraid to crop your photos to improve composition.
Challenge yourself by shooting in diverse locations and weather conditions. Try capturing both expansive landscapes and intimate details from above.
Practice tracking moving subjects and experiment with long-exposure shots for creative effects.
Frequently Asked Questions
How Do I Protect My Drone From Bird Attacks While Flying?
To protect your drone from bird attacks, you'll want to avoid nesting areas and fly at higher altitudes. Keep your drone moving and consider using bright colors or reflective tape. If birds approach, descend quickly or return home.
Can I Use My Drone for Commercial Real Estate Photography?
Yes, you can use your drone for commercial real estate photography. You'll need to obtain a Part 107 license from the FAA and follow local regulations. It's a great way to showcase properties with unique aerial perspectives.
What's the Best Way to Clean Drone Propellers and Motors?
You'll want to clean your drone's propellers and motors regularly. Use a soft brush to remove dust and debris. For stubborn dirt, try a microfiber cloth with isopropyl alcohol. Always make certain parts are dry before flying again.
How Does Extreme Cold or Heat Affect Drone Battery Performance?
You'll notice reduced battery life in extreme temperatures. Cold weather slows chemical reactions, decreasing capacity. Heat can cause overheating and permanent damage. To maximize performance, keep your drone's batteries at moderate temperatures before and during flights.
Are There Special Considerations for Drone Photography in Coastal Areas?
When flying drones in coastal areas, you'll need to watch out for strong winds, salt spray, and corrosion. You should also be aware of local regulations, wildlife, and privacy concerns. Don't forget to capture the unique coastal landscapes!
In Summary
You've now got the tools to take your photography to new heights – literally! Remember, practice makes perfect. Don't be afraid to experiment with angles, lighting, and composition. As you gain confidence, you'll discover your unique aerial style. Keep safety in mind, respect local regulations, and always be considerate of others. With patience and persistence, you'll soon be capturing breathtaking aerial shots that'll make your portfolio soar. Happy flying and shooting!
As educators and advocates for responsible drone use, we’re committed to sharing our knowledge and expertise with aspiring aerial photographers.


Leave a Reply