To capture stunning aerial shots, you'll need to master your drone's camera settings. Start by understanding aperture, shutter speed, and ISO for ideal exposure. Use lower f-stops for subject isolation and higher ones for landscape sharpness. Adjust shutter speed to freeze action or create motion blur. Keep ISO low in bright conditions and increase it for low light. Don't forget white balance for accurate colors. Experiment with RAW format for greater editing flexibility, and consider using filters for creative effects. Bracketing can help in challenging lighting situations. By fine-tuning these settings, you'll elevate your aerial photography to new heights.
Key Takeaways
- Adjust aperture for desired depth of field, using f/8 to f/11 for balance or f/11 to f/16 for landscapes.
- Set faster shutter speeds (1/500th sec or higher) to freeze action or slower speeds for dynamic motion blur.
- Choose lower ISO settings (100-200) in bright conditions for clarity, increasing as needed in low-light situations.
- Use exposure compensation to fine-tune brightness without altering other settings, especially in high-contrast scenes.
- Apply composition techniques like the rule of thirds, framing, and negative space to create visually striking aerial shots.
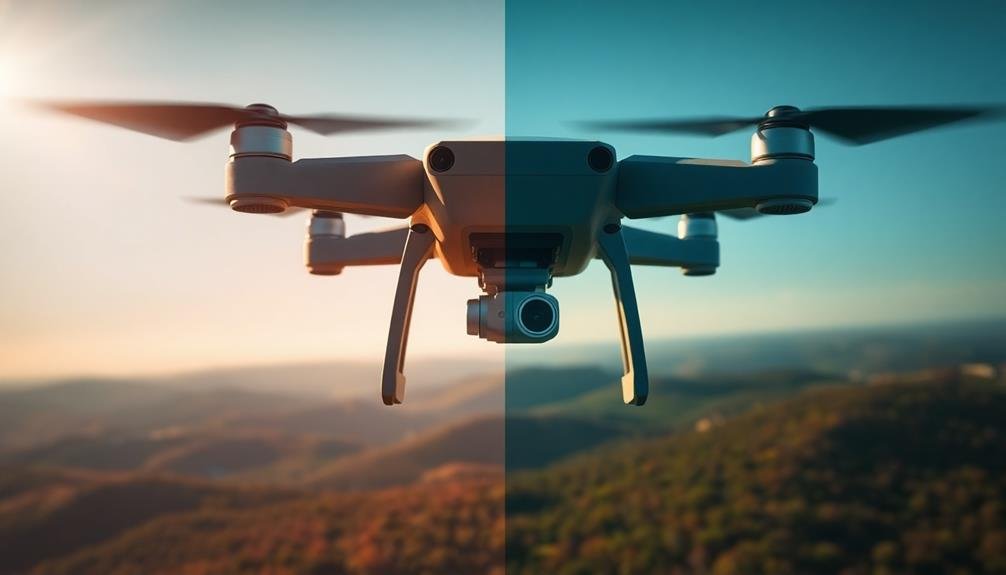
Understanding Your Drone Camera
Nearly every modern drone comes equipped with a high-quality camera, but understanding its capabilities is essential for capturing stunning aerial imagery. Your drone's camera likely features a wide-angle lens, perfect for capturing expansive landscapes and cityscapes.
Most models offer adjustable settings for ISO, shutter speed, and aperture, allowing you to fine-tune your shots for various lighting conditions. Pay attention to your camera's resolution and frame rate options. Higher resolutions like 4K provide crisp, detailed images, while faster frame rates enable smooth slow-motion footage.
Many drone cameras also offer different color profiles, letting you capture flat footage for post-processing or vibrant, ready-to-share content. Don't overlook your camera's gimbal, an important component that stabilizes your shots.
Familiarize yourself with its various modes, such as follow mode or FPV mode, to achieve different creative effects. Finally, check if your drone supports RAW image capture, which preserves more data and gives you greater flexibility in post-processing.
Mastering Aperture for Aerial Photography
When flying your drone, mastering aperture is essential for capturing stunning aerial shots.
You'll need to understand how F-stops affect your image's depth of field and overall sharpness at different altitudes.
Additionally, you'll face unique challenges in low-light conditions, where wider apertures can help maintain image quality while keeping your shutter speed fast enough to avoid blur.
Understanding F-Stops for Altitude
From the cockpit of a plane or the basket of a hot air balloon, mastering aperture settings is essential for capturing stunning aerial photographs.
When shooting from high altitudes, you'll need to adjust your f-stops to account for the increased distance between your camera and your subject. As you climb higher, the atmosphere becomes thinner, affecting light transmission and potentially impacting image quality.
To optimize your aerial shots, consider these f-stop guidelines:
- f/8 to f/11: Ideal for most aerial photography, providing a good balance between depth of field and sharpness
- f/5.6 to f/7.1: Use in low light conditions or when you need faster shutter speeds
- f/11 to f/16: Best for capturing expansive landscapes with maximum depth of field
- f/4 to f/5.6: Perfect for isolating specific subjects against a blurred background
Depth of Field Control
Mastering depth of field control is essential for creating compelling aerial photographs. When shooting from above, you'll want to carefully consider your aperture settings to achieve the desired effect. A wider aperture (smaller f-number) creates a shallow depth of field, which can isolate your subject against a blurred background. This technique works well for highlighting specific landmarks or features in your aerial shots.
Conversely, a narrower aperture (larger f-number) increases the depth of field, keeping more of the scene in focus. This is ideal for capturing sweeping landscapes or cityscapes where you want to maintain sharpness throughout the image.
To maximize depth of field in aerial photography, try using the hyperfocal distance technique. Set your focus to the hyperfocal point, which allows everything from half that distance to infinity to appear sharp.
Remember that altitude affects depth of field as well. As you increase your height, the perceived depth of field naturally increases. This means you can often use wider apertures at higher altitudes without sacrificing overall sharpness.
Experiment with different aperture settings and altitudes to find the perfect balance for your aerial compositions.
Low-Light Aerial Challenges
Aerial photography in low-light conditions presents unique challenges that require a thorough understanding of aperture settings. When you're shooting from above in dim environments, you'll need to balance your camera's exposure triangle carefully.
Open up your aperture to allow more light into the sensor, but be mindful of how this affects your depth of field. A wider aperture (smaller f-number) will help you capture clearer images in low light, but it'll also reduce the area in focus.
To master aperture for aerial low-light photography:
- Start with a wide aperture (f/2.8 or f/4) to maximize light intake
- Increase your ISO to compensate for the lack of light, but watch for noise
- Use a slower shutter speed, but be cautious of motion blur
- Experiment with different apertures to find the sweet spot for your scene
Shutter Speed in Drone Shots
Nearly every drone pilot grapples with shutter speed when capturing aerial footage. It's a critical setting that can make or break your shots, affecting both motion blur and exposure. To freeze action and capture sharp images, you'll want a faster shutter speed, typically 1/500th of a second or higher. This is especially important when your drone is moving or capturing fast-moving subjects.
However, don't always default to the fastest shutter speed. Slower speeds can create a sense of motion in your images, adding dynamism to flowing water or moving vehicles. Experiment with speeds between 1/30th and 1/250th of a second for this effect. Remember, slower shutter speeds require a steady drone, so use this technique in calm conditions.
When shooting video, follow the 180-degree shutter rule: set your shutter speed to double your frame rate. For 30fps footage, use a 1/60th shutter speed. This creates natural-looking motion blur in your videos.
Adjust your ISO and aperture to maintain proper exposure while keeping this shutter speed. In bright conditions, use ND filters to avoid overexposure without compromising your desired shutter speed.
ISO Settings for Clear Images
When it comes to ISO settings, you'll want to keep them low in bright conditions for the clearest images.
In daylight, stick to ISO 100 or 200 to minimize noise and maintain sharpness.
As darkness falls, you'll need to bump up your ISO, but remember that higher values can introduce graininess, so balance this carefully with your aperture and shutter speed settings.
Low ISO for Daylight
While shooting in daylight conditions, you'll want to use a low ISO setting to capture the clearest images possible. Typically, ISO 100 or 200 is ideal for bright, sunny days. These low settings allow your camera's sensor to capture light without introducing unnecessary noise or grain, resulting in crisp, high-quality images.
When using low ISO in daylight, you'll benefit from:
- Sharper details and better overall image quality
- Richer colors and more accurate color reproduction
- Greater flexibility in post-processing without degrading the image
- Improved dynamic range, capturing both highlights and shadows effectively
Remember to adjust your aperture and shutter speed accordingly when using low ISO. In bright conditions, you may need to use a smaller aperture (higher f-number) or faster shutter speed to avoid overexposure.
If you're shooting moving subjects, consider using shutter priority mode to maintain a fast enough shutter speed while keeping the ISO low.
Higher ISO in Darkness
How do you capture clear images in low-light conditions? The key lies in adjusting your camera's ISO settings. As darkness falls, you'll need to increase your ISO to maintain image clarity without sacrificing shutter speed or aperture.
Start by raising your ISO gradually. If you're shooting at ISO 100 in daylight, try doubling it to 200 or 400 as the light fades. For nighttime shots, you might need to push it even higher, to 1600 or 3200. Remember, higher ISO values can introduce noise, so find the sweet spot that balances brightness and image quality.
Here's a quick guide to ISO settings for different lighting scenarios:
| Lighting Condition | Recommended ISO | Potential Noise Level |
|---|---|---|
| Bright Daylight | 100-200 | Minimal |
| Overcast Day | 400-800 | Low |
| Indoor Lighting | 800-1600 | Moderate |
| Night/Low Light | 1600-3200+ | High |
Experiment with these settings to find what works best for your camera and shooting style. Don't be afraid to push your ISO higher if needed, especially if you're using a modern camera with good noise reduction capabilities. With practice, you'll learn to balance ISO with other settings to capture stunning shots, even in challenging light conditions.
White Balance in Different Lighting
Three key lighting scenarios often challenge photographers when it comes to white balance: daylight, indoor lighting, and mixed lighting conditions.
In daylight, you'll usually find the auto white balance (AWB) setting works well, but for more control, try the daylight or cloudy presets.
Indoor lighting can be trickier, as different light sources produce varying color temperatures. Fluorescent lights often cast a greenish tint, while incandescent bulbs create a warm, orange glow. Use your camera's corresponding presets or adjust manually for best results.
Mixed lighting presents the greatest challenge, as you're dealing with multiple color temperatures simultaneously. In these situations, you might need to compromise or use post-processing techniques.
To master white balance, practice these techniques:
- Experiment with different presets to understand their effects
- Use a gray card for precise custom white balance
- Shoot in RAW format for greater flexibility in post-processing
- Learn to recognize color casts and adjust accordingly
Focusing Techniques for Aerial Shots
When capturing aerial shots, you'll need to decide between autofocus and manual focus for ideal results.
Autofocus can be quick and convenient, but manual focus gives you more control in challenging situations.
For maximum sharpness across the entire frame, you might want to try focus stacking, a technique that combines multiple images focused at different distances.
Autofocus vs. Manual Focus
For aerial photography, choosing between autofocus and manual focus can greatly impact your shot's quality. Autofocus is often the go-to option for beginners, as it's quick and convenient. It works well when your subject is clearly defined and contrasts with the background.
However, in aerial shots, where there's a vast landscape or multiple focal points, autofocus might struggle to lock onto your intended subject.
Manual focus gives you complete control over your image's sharpness. It's particularly useful when shooting through obstacles like helicopter windows or when capturing fast-moving subjects.
While it requires more practice and patience, manual focus can yield sharper, more precise results in challenging aerial conditions.
To help you decide which focusing technique to use, consider these emotional factors:
- The thrill of nailing a perfectly sharp shot manually
- The frustration of autofocus constantly hunting for the right point
- The satisfaction of having full creative control over your image
- The disappointment of missing a significant moment due to focus issues
Ultimately, the choice between autofocus and manual focus depends on your shooting conditions, subject matter, and personal preferences.
Experiment with both to find what works best for your aerial photography style.
Focus Stacking for Sharpness
Focus stacking is a game-changer for aerial photographers seeking razor-sharp images from foreground to background. This technique involves taking multiple shots of the same scene at different focus points and then combining them in post-processing.
When you're shooting from above, it's especially useful for capturing landscapes with varying depths.
To start focus stacking, set your camera to aperture priority mode and choose a mid-range aperture like f/8. Begin by focusing on the nearest point of interest, then gradually shift your focus to the farthest point, taking shots at each step.
You'll want to overlap your focus points to guarantee seamless blending later.
Use a stable platform or drone with minimal movement between shots. If you're hand-holding, increase your shutter speed to reduce camera shake.
In post-processing, use software like Photoshop or Helicon Focus to align and blend your images. The result is a final photograph with enhanced depth of field and incredible detail throughout.
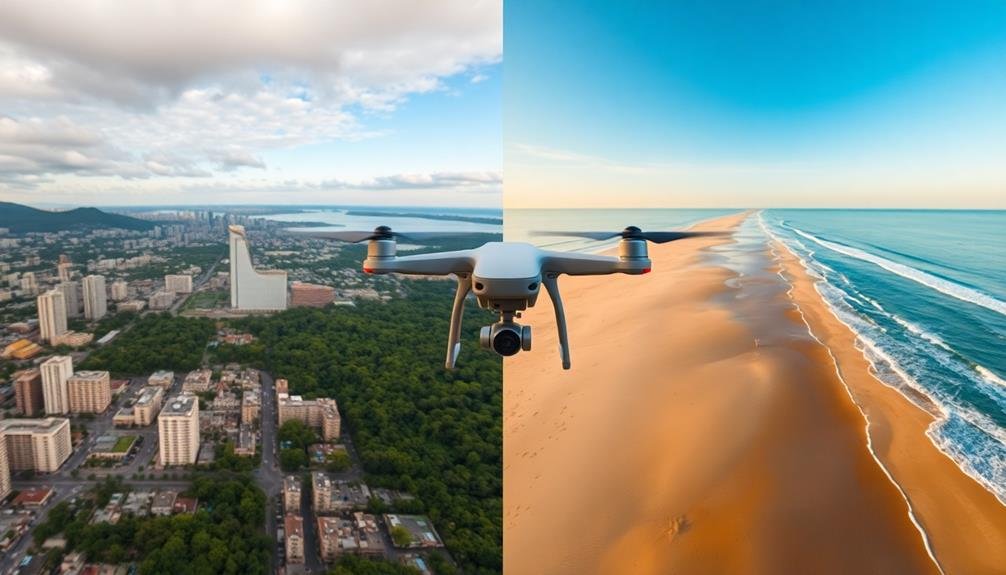
Composition Rules From Above
Photography's aerial perspective offers a unique opportunity to capture stunning compositions from above. When shooting from elevated positions, you'll want to pay attention to different compositional elements than you'd at ground level. Look for patterns, symmetry, and leading lines that become more apparent from a bird's-eye view. Consider the rule of thirds, but don't be afraid to break it for dramatic effect.
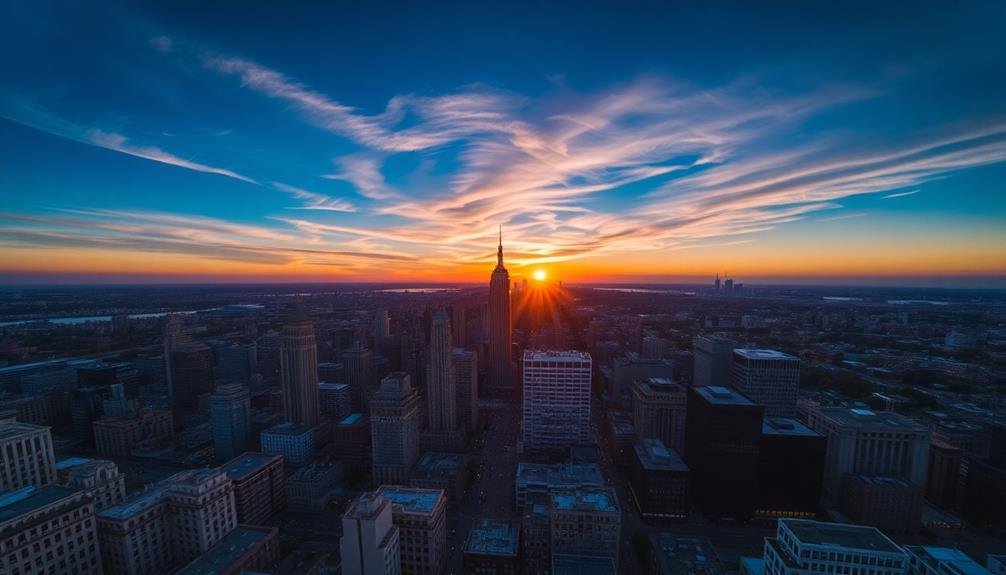
Experiment with negative space to create a sense of isolation or vastness. Use natural or man-made elements to frame your subject and draw the viewer's eye. Pay attention to shadows, which can add depth and interest to your aerial shots, especially during golden hour.
To evoke emotion in your audience, focus on these four elements:
- Scale: Showcase the grandeur of landscapes or the minuteness of human activity
- Contrast: Highlight the interplay between natural and urban environments
- Rhythm: Capture repeating patterns in fields, cityscapes, or waterways
- Isolation: Draw attention to lone objects or figures amidst expansive surroundings
Remember to adjust your camera settings for aerial photography, accounting for potential vibrations and movement. With practice, you'll develop an eye for compelling compositions from above.
Exposure Compensation for Drones
When it comes to drone photography, exposure compensation is an essential tool in your arsenal. It allows you to adjust the brightness of your images without changing your shutter speed, aperture, or ISO. This is particularly useful when shooting in challenging lighting conditions or when your drone's camera meter is fooled by bright skies or dark landscapes.
To use exposure compensation effectively, start by evaluating the scene. If your image looks too dark, increase the exposure compensation value. Conversely, if it's too bright, decrease it. Most drones allow you to adjust exposure compensation in 1/3 stop increments. Here's a quick reference guide:
| Scenario | Exposure Compensation | Expected Result |
|---|---|---|
| Bright sky | -1 to -2 EV | Balanced exposure |
| Dark subject | +1 to +2 EV | Brighter details |
| Snow/Beach | +1 EV | Correct white balance |
| Backlit subject | +1 to +2 EV | Visible foreground |
| High contrast | -1/3 to +1/3 EV | Balanced highlights/shadows |
Choosing the Right Camera Mode

Now that you've mastered exposure compensation, let's explore camera modes.
When flying your drone, selecting the right camera mode can make or break your aerial shots. Most drones offer various modes, each suited for different scenarios and creative visions.
Auto mode is a great starting point for beginners, allowing the drone to handle most settings. However, as you gain confidence, you'll want to experiment with more advanced modes.
Aperture Priority gives you control over depth of field, while Shutter Priority is ideal for capturing fast-moving subjects or creating motion blur effects. Manual mode offers complete control over all settings, perfect for experienced photographers who want to fine-tune every aspect of their shots.
To help you choose the right mode for your needs, consider these emotional factors:
- Excitement: Does the scene require quick adjustments to capture fleeting moments?
- Tranquility: Are you shooting serene landscapes that benefit from careful composition?
- Creativity: Do you want to experiment with unique effects and push your artistic boundaries?
- Confidence: How comfortable are you with adjusting multiple settings on the fly?
RAW Vs JPEG for Drone Photography
In the domain of drone photography, choosing between RAW and JPEG formats is an essential decision that can greatly impact your final images. RAW files offer more flexibility in post-processing, allowing you to adjust exposure, white balance, and color with greater precision. However, they require more storage space and processing time. JPEG files, on the other hand, are smaller and ready to use straight out of the camera, but they offer limited editing capabilities.
When shooting in RAW, you'll have more control over highlights and shadows, making it easier to recover details in high-contrast scenes. This can be particularly useful in drone photography, where you're often dealing with challenging lighting conditions. JPEG files are compressed and processed in-camera, which can result in loss of detail and reduced dynamic range.
Here's a quick comparison of RAW and JPEG formats for drone photography:
| Feature | RAW | JPEG |
|---|---|---|
| File Size | Larger | Smaller |
| Editing Flexibility | High | Limited |
| In-camera Processing | None | Yes |
| Dynamic Range | Higher | Lower |
Consider your workflow, storage capacity, and post-processing needs when deciding between RAW and JPEG. If you're aiming for maximum quality and flexibility, RAW is the way to go. For quick sharing or when storage is limited, JPEG can be a suitable option.
Using Filters on Drone Cameras

Filters can take your drone photography to new heights, enhancing image quality and creative possibilities. When selecting filters for your drone camera, consider neutral density (ND) filters, polarizing filters, and UV filters. ND filters reduce light entering the lens, allowing for longer exposures and smoother motion blur in bright conditions.
Polarizing filters minimize glare and reflections, especially useful when shooting over water or capturing landscapes. UV filters protect your lens while reducing haze in aerial shots.
To get the most out of your drone camera filters:
- Experiment with different ND strengths to capture silky-smooth waterfalls or dreamy cloud movements.
- Use polarizing filters to bring out vivid colors and contrast in landscape shots, making your images pop.
- Combine ND and polarizing filters for stunning long-exposure seascapes with rich, saturated colors.
- Try gradient filters to balance exposure between bright skies and darker foregrounds, creating more dynamic compositions.
Remember to clean your filters regularly and store them properly to prevent scratches.
With practice, you'll master the art of using filters to elevate your drone photography, capturing breathtaking images that stand out from the crowd.
Bracketing for High Dynamic Range
Imagine capturing a scene with both deep shadows and bright highlights in perfect detail. That's the power of bracketing for high dynamic range (HDR) in drone photography. When you're faced with challenging lighting conditions, bracketing allows you to shoot multiple exposures of the same scene, which you'll later combine in post-processing.
To bracket effectively, set your drone camera to Aperture Priority mode and use the Auto Exposure Bracketing (AEB) feature. Typically, you'll want to capture at least three exposures: one underexposed, one properly exposed, and one overexposed. Here's a quick guide to bracketing steps:
| Step | Action | Purpose |
|---|---|---|
| 1 | Enable AEB | Automate multiple exposures |
| 2 | Set exposure range | Determine light/dark extremes |
| 3 | Compose shot | Frame your scene |
| 4 | Trigger shutter | Capture bracketed exposures |
| 5 | Review results | Check exposure variations |
Settings for Different Weather Conditions
Adapting your drone camera settings to various weather conditions guarantees you'll capture stunning images regardless of the elements. In bright sunlight, lower your ISO to 100 and use a faster shutter speed to avoid overexposure.
For cloudy days, increase your ISO to 400-800 and open up your aperture to let in more light. During golden hour, set your white balance to "cloudy" to enhance warm tones and use a slower shutter speed for dreamy effects.
When shooting in challenging weather, remember these tips:
- Rain: Use a polarizing filter to reduce glare and increase your shutter speed to freeze droplets.
- Snow: Overexpose by 1-2 stops to compensate for the camera's tendency to underexpose bright scenes.
- Fog: Increase contrast in post-processing to add depth and mystery to your images.
- Wind: Boost your shutter speed to at least 1/500s to minimize motion blur from drone movement.
Don't let adverse weather deter you; it often provides unique opportunities for dramatic shots.
Experiment with different settings and techniques to capture the mood and atmosphere of each condition, creating images that truly stand out.
Frequently Asked Questions
How Do I Avoid Propellers Appearing in My Drone Shots?
To avoid propellers in your drone shots, you'll want to adjust your camera angle downward. Use slower shutter speeds and ND filters to blur propellers. Additionally, consider investing in a drone with retractable landing gear for unobstructed views.
What's the Best Way to Handle Glare From Water Surfaces?
To handle water glare, you'll want to use a polarizing filter on your drone's camera. It'll reduce reflections and enhance colors. Adjust your camera angle and shoot during golden hours for better results. Experiment with different settings too.
How Can I Capture Smooth Panning Shots With My Drone?
To capture smooth panning shots with your drone, you'll want to use slow, steady movements. Practice flying at a consistent speed and altitude. Adjust your drone's gimbal settings and use intelligent flight modes for cinematic results.
Are There Specific Settings for Shooting at Night With a Drone?
For night drone shots, you'll want to use slower shutter speeds, higher ISO, and wider apertures. Don't forget to stabilize your drone and use manual focus. Experiment with long exposures for light trails and cityscapes.
How Do I Compensate for Wind When Adjusting Camera Settings?
To compensate for wind, you'll want to increase your shutter speed to reduce motion blur. Use a higher ISO if needed, and consider shooting in burst mode. Stabilize your drone with its built-in features or post-processing software.
In Summary
You've now got the tools to take your drone photography to new heights. Remember, practice makes perfect. Don't be afraid to experiment with different settings and techniques. As you gain experience, you'll develop an intuitive feel for what works best in various situations. Keep pushing your boundaries, and soon you'll be capturing breathtaking aerial shots that'll leave viewers in awe. The sky's the limit – so get out there and start shooting!
As educators and advocates for responsible drone use, we’re committed to sharing our knowledge and expertise with aspiring aerial photographers.


Leave a Reply