As a beginner pilot, mastering your drone's camera modes is essential for stunning aerial photography. Start with Auto Mode to focus on framing, then progress to Aperture Priority for depth control. Shutter Priority helps capture dynamic shots, while Manual Mode offers complete creative freedom. Portrait Mode is perfect for vertical compositions, and Landscape Mode excels at expansive views. For low-light situations, Night Mode is your go-to setting. Each mode serves a unique purpose, allowing you to capture diverse scenes with precision. By understanding these seven modes, you'll be well-equipped to take your aerial photography skills to new heights.
Key Takeaways
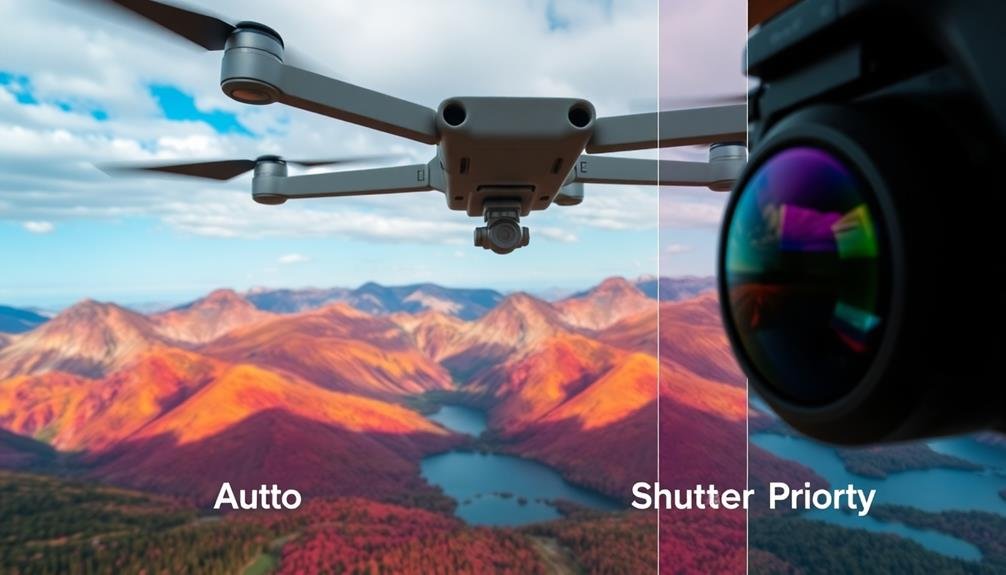
- Auto Mode is ideal for beginners, automatically adjusting settings to help focus on framing and composition.
- Aperture Priority Mode allows control over depth of field, useful for isolating subjects or capturing landscapes.
- Shutter Priority Mode enables control of motion blur, essential for capturing dynamic aerial shots.
- Manual Mode offers complete control over camera settings, ideal for fine-tuning shots in diverse environments.
- Night Mode is designed for low-light photography, requiring steady flying and slower shutter speeds for clear images.
Auto Mode
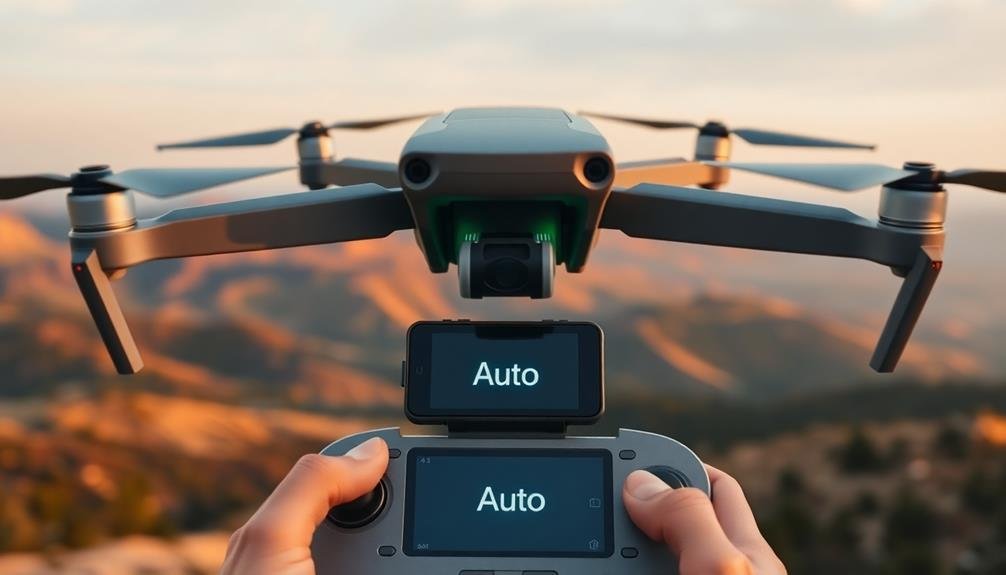
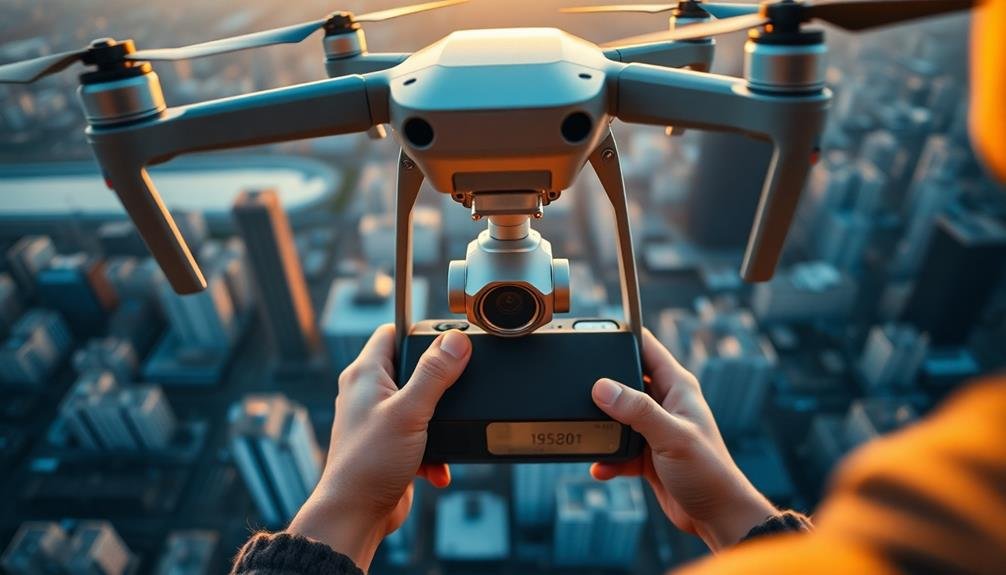
Auto mode is a beginner-friendly camera setting that takes the guesswork out of aerial photography. When you're just starting out with drone piloting, it's essential to focus on flying safely and maintaining control of your aircraft.
Auto mode allows you to capture decent images without worrying about complex camera settings. In this mode, your drone's camera automatically adjusts settings like aperture, shutter speed, and ISO based on the lighting conditions. It analyzes the scene and selects what it determines to be the best settings for a well-exposed shot.
This means you can concentrate on framing your shots and steering your drone without getting bogged down in technical details. While auto mode won't always produce professional-quality results, it's an excellent starting point for new pilots.
It helps you understand basic composition and framing without overwhelming you with technical aspects. As you gain experience, you'll start to recognize situations where auto mode excels and where it falls short. This knowledge will prove invaluable as you progress to more advanced camera modes and manual settings in the future.
Aperture Priority Mode
Aperture Priority Mode gives you more creative control over your aerial shots.
You'll be able to adjust the depth of field, determining how much of your image is in sharp focus.
This mode is particularly useful for blurring backgrounds effectively, allowing you to highlight specific subjects in your aerial photographs.
Control Depth of Field
Depth control is a powerful tool in a pilot's photography arsenal, and Aperture Priority mode puts you in the driver's seat. By adjusting the aperture, you'll determine how much of your image is in focus, from foreground to background.
A wide aperture (small f-number) creates a shallow depth of field, blurring the background and isolating your subject. This is perfect for capturing detailed shots of aircraft components or portraits of fellow pilots.
Conversely, a narrow aperture (large f-number) increases the depth of field, keeping more of the scene in focus. This setting is ideal for landscape shots or capturing the entirety of an aircraft on the runway.
As you fly, you'll encounter various lighting conditions. Aperture Priority mode automatically adjusts the shutter speed to maintain proper exposure, allowing you to concentrate on composition and depth of field.
Blurring Backgrounds Effectively
Building on the concept of depth of field, let's focus on one of its most popular applications: background blur. Aperture Priority mode is your go-to setting for creating this effect in your drone photography.
To blur backgrounds effectively, set your camera to Aperture Priority mode (often denoted as "A" or "Av" on your drone's camera settings). Choose a wide aperture (small f-number) like f/2.8 or f/4 to create a shallow depth of field. This will keep your subject sharp while blurring the background.
Position your drone to maximize the distance between your subject and the background. The greater this separation, the more pronounced the blur effect will be. Consider the composition carefully, ensuring your subject stands out against the softened backdrop.
When shooting, focus on your main subject precisely. Many drone cameras offer touch-to-focus features, making this process easier. If your drone has adjustable ISO, keep it as low as possible to maintain image quality.
Experiment with different apertures and distances to achieve varying levels of background blur. Remember, the wider the aperture and the closer you're to your subject, the more dramatic the effect will be.
Shutter Priority Mode
With shutter speed in your control, Shutter Priority mode empowers beginner pilots to capture crisp aerial shots. You'll set the shutter speed while your camera adjusts the aperture automatically, ensuring proper exposure. This mode is ideal for freezing fast-moving subjects or creating motion blur effects in your aerial photography.
When using Shutter Priority mode, remember these key points:
- Fast shutter speeds (e.g., 1/1000s) freeze action and reduce motion blur
- Slower speeds (e.g., 1/30s) create intentional blur for artistic effects
- Higher speeds require more light, so consider your lighting conditions
- Use a tripod or stabilizer for slower shutter speeds to avoid camera shake
To get started, select "S" or "Tv" on your camera's mode dial. Choose a shutter speed based on your subject and desired effect. For sharp images of moving objects, opt for faster speeds. If you want to capture light trails or convey motion, go for slower speeds.
Experiment with different settings to find what works best for your aerial shots. As you gain experience, you'll develop an intuition for which shutter speeds suit various scenarios, enhancing your ability to capture stunning aerial photographs.
Manual Mode
For those seeking complete control over their aerial photography, Manual mode offers the ultimate flexibility. In this mode, you'll adjust aperture, shutter speed, and ISO independently, allowing you to fine-tune your shots for any situation. While it's more challenging than automatic modes, mastering Manual mode will elevate your drone photography skills.
To use Manual mode effectively, you'll need to understand how these settings interact:
| Setting | Controls | Effect |
|---|---|---|
| Aperture | Depth of field | Background blur |
| Shutter Speed | Motion blur | Freeze/blur movement |
| ISO | Light sensitivity | Image noise |
| White Balance | Color temperature | Overall image tone |
| Exposure Compensation | Brightness | Image lightness |
Start by setting your ISO to the lowest possible value for the lighting conditions. Then, adjust your aperture for desired depth of field. Finally, set your shutter speed to achieve proper exposure. Remember, slower shutter speeds may require a gimbal or post-processing stabilization. As you practice, you'll develop an intuition for balancing these settings to capture stunning aerial shots in any environment.
Portrait Mode
Many drone pilots overlook Portrait mode, but it's a powerful tool for capturing stunning vertical images and videos. This mode allows you to rotate your drone's camera 90 degrees, transforming the frame from landscape to portrait orientation. It's particularly useful for social media content, where vertical formats often perform better.
To make the most of Portrait mode, consider these tips:
- Look for tall subjects: Skyscrapers, waterfalls, and towering trees are perfect for this orientation.
- Experiment with symmetry: Use the vertical frame to create striking symmetrical compositions.
- Capture human subjects: Portrait mode is ideal for photographing people from above, creating unique perspectives.
- Explore negative space: Use the elongated frame to emphasize emptiness and create a sense of scale.
When using Portrait mode, pay attention to your drone's position and movement. Slower, more deliberate movements often yield better results.
Remember to adjust your camera settings accordingly, as the change in orientation can affect exposure and focus. With practice, you'll find that Portrait mode opens up new creative possibilities, allowing you to capture scenes in ways that stand out from typical drone footage.
Landscape Mode
You'll find landscape mode essential for capturing breathtaking aerial views that showcase the vastness of your surroundings.
This mode optimizes your camera's settings to guarantee sharp, well-exposed images of expansive scenes from above.
We'll explore the ideal camera settings for landscape mode, helping you make the most of your drone's aerial perspective.
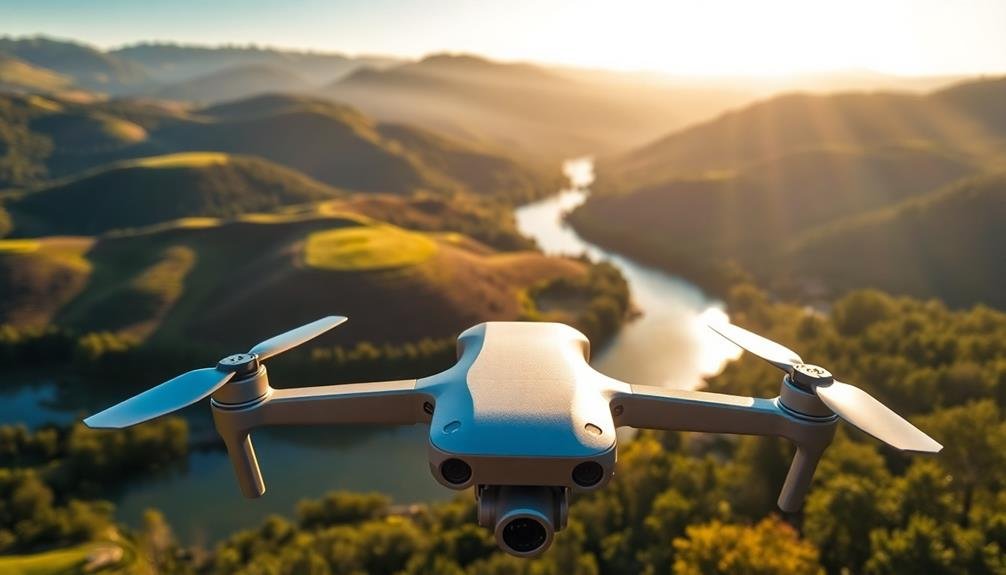
Capturing Expansive Aerial Views
Landscape mode is the go-to setting for capturing breathtaking aerial vistas. It's designed to maximize the field of view, allowing you to capture the expansive scenery below. When you're flying your drone, switch to landscape mode to guarantee you're getting the widest possible shot of the terrain.
This mode is particularly useful for:
- Showcasing vast natural landscapes like mountains, coastlines, or forests
- Capturing sprawling urban environments and cityscapes
- Highlighting the contrast between different land features
- Documenting large-scale events or gatherings from above
To make the most of landscape mode, fly your drone at a higher altitude to encompass more of the scene. Keep the horizon level in your frame for a balanced composition.
If your drone has a wide-angle lens, use it to your advantage in this mode. Remember to adjust your camera settings for the lighting conditions – bright sunlight might require a lower ISO and faster shutter speed.
Don't forget to experiment with different angles and perspectives. Try flying your drone in a sweeping motion to create dynamic panoramic shots.
With practice, you'll master the art of capturing stunning aerial landscapes that showcase the beauty of our world from above.
Optimal Camera Settings Explained
While landscape mode is excellent for capturing wide aerial views, understanding the ideal camera settings will elevate your drone photography to new heights.
Start by setting your camera's aspect ratio to 16:9 for a cinematic feel. This wider format allows you to capture more of the scene horizontally, perfect for sweeping landscapes.
Next, adjust your ISO to the lowest possible setting, typically 100 or 200, to minimize noise in your images. For shutter speed, aim for 1/60th to 1/125th of a second to guarantee sharp images while allowing enough light. If you're shooting in bright conditions, you may need to increase this to avoid overexposure.
Set your aperture between f/4 and f/8 for a good balance between depth of field and image sharpness.
Use autofocus for ease, but don't hesitate to switch to manual focus for more control in challenging lighting situations.
Night Mode
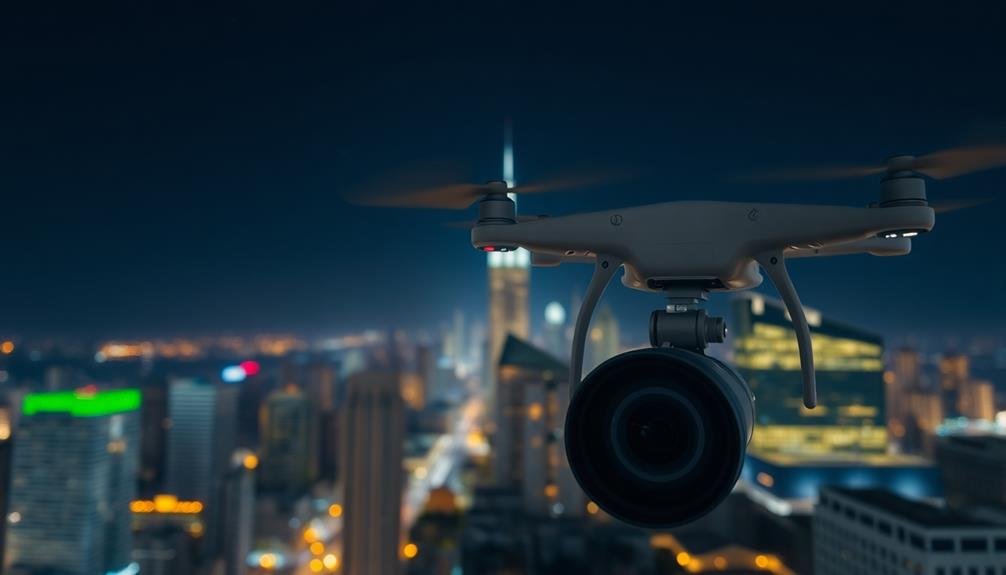
The night mode on your drone's camera opens up a world of enchanting low-light photography opportunities. It's designed to capture stunning images and videos in dimly lit environments, allowing you to explore nighttime scenes with clarity and detail.
When using night mode, you'll need to adjust your flying technique and camera settings. Keep your drone steady and move slowly to avoid motion blur. Increase your ISO to capture more light, but be cautious of introducing excessive noise. Use a slower shutter speed to let in more light, but remember this may require a tripod or very stable hovering.
Here are some tips to make the most of night mode:
- Scout locations during daylight to plan your shots
- Use manual focus to prevent autofocus hunting in low light
- Experiment with long exposures for light trails and star photography
- Consider using neutral density filters for more control over exposure
Night mode isn't just for cityscapes; it's perfect for capturing moonlit landscapes, starry skies, and even wildlife at dusk.
With practice, you'll master the art of nighttime drone photography, creating mesmerizing images that showcase the world after dark.
Frequently Asked Questions
How Do I Clean My Camera Lens Safely?
To clean your camera lens safely, you'll need a microfiber cloth and lens cleaning solution. Gently blow off dust, then apply a small amount of solution to the cloth. Wipe the lens in circular motions from center to edge.
What's the Best Way to Store My Camera When Not in Use?
You'll want to store your camera in a cool, dry place. Keep it in a padded camera bag or case to protect it from dust and bumps. Don't forget to remove the battery and store it separately to prevent corrosion.
Can I Use My Smartphone Camera Instead of a Dedicated Camera?
You can definitely use your smartphone camera instead of a dedicated one. It's convenient and often produces great results. However, you'll miss out on some advanced features and image quality that dedicated cameras offer. Consider your specific needs.
How Often Should I Update My Camera's Firmware?
You should check for firmware updates every few months. It's essential to keep your camera's software current. Don't ignore updates, as they often fix bugs, improve performance, and add new features to your device.
What Accessories Are Essential for Beginner Photographers Using These Camera Modes?
You'll need a sturdy tripod for stability, extra batteries for longer shoots, and a variety of lenses to explore different perspectives. Don't forget a camera bag to protect your gear and memory cards for ample storage space.
In Summary
You've now got a solid grasp of the essential camera modes for beginner pilots. Remember, practice makes perfect. Don't be afraid to experiment with each mode to understand its strengths and limitations. As you gain confidence, you'll naturally start to switch between modes to capture the best shots. Keep exploring, and soon you'll be taking stunning aerial photos with ease. Your journey as a pilot photographer is just beginning!
As educators and advocates for responsible drone use, we’re committed to sharing our knowledge and expertise with aspiring aerial photographers.


Leave a Reply