To excel in real estate aerial photography, start by choosing a drone with a high-quality camera and GPS. Master your flight controls and plan your shots carefully, focusing on key property features. Optimize camera settings for sharpness and depth of field, and shoot during golden hour for stunning lighting. Experiment with unique angles to showcase the property's best attributes. Always comply with local drone regulations and obtain necessary permissions. In post-processing, enhance images subtly to maintain authenticity. Finally, integrate your aerial shots into a thorough marketing strategy across various platforms. These tips will elevate your property listings, but there's even more to discover about this game-changing technique.
Key Takeaways
- Master drone controls and practice smooth maneuvers for professional-looking footage.
- Plan flight paths and shot lists to capture key property features efficiently.
- Optimize camera settings, focusing on shutter speed and aperture for sharp, well-exposed images.
- Utilize golden hour lighting to enhance property appeal with warm, soft tones.
- Explore unique angles and perspectives to showcase the property's best features and context.
Choose the Right Drone
Selecting the right drone is vital for successful real estate aerial photography. You'll want to take into account several factors when making your choice.
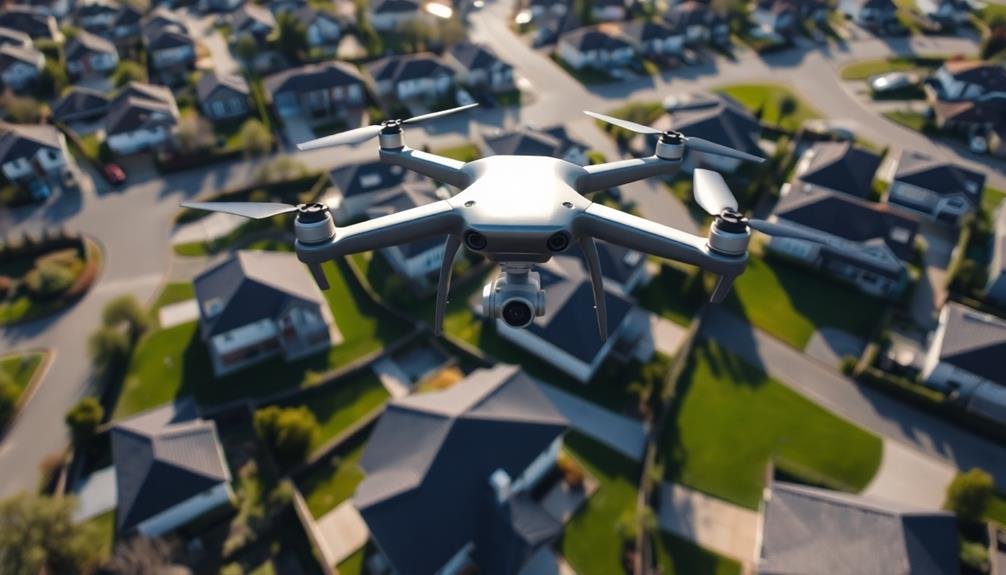
First, look for a drone with a high-quality camera capable of capturing at least 4K resolution. This guarantees sharp, detailed images that showcase properties in their best light.
Opt for a drone with GPS capabilities and obstacle avoidance features. These will help you navigate safely around buildings and trees while maintaining stable flight paths.
Battery life is important, so choose a model that offers at least 20-30 minutes of flight time per charge. This allows you to capture multiple shots without frequent interruptions.
Evaluate the drone's size and portability. A compact, foldable design makes transportation easier and setup quicker on location.
Look for models with intelligent flight modes, such as orbit or waypoint flying, which can help you capture smooth, professional-looking footage.
Don't forget about wind resistance. Real estate shoots often take place in various weather conditions, so select a drone that can handle moderate winds.
Master Flight Controls
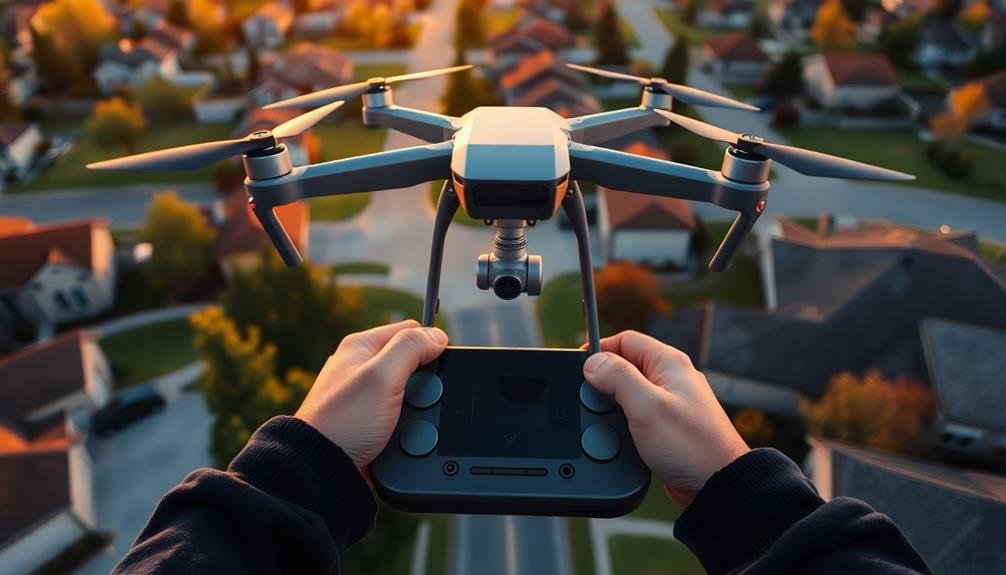
Once you've chosen the right drone, it's time to master its flight controls. Familiarize yourself with the controller's layout and functions. Practice in an open area, away from obstacles and people. Focus on smooth, controlled movements to capture steady footage.
Learn these essential maneuvers:
| Maneuver | Description |
|---|---|
| Hover | Keep the drone stationary in mid-air |
| Yaw | Rotate the drone left or right on its axis |
| Pitch | Tilt the drone forward or backward |
| Roll | Move the drone sideways left or right |
| Throttle | Adjust altitude by increasing/decreasing power |
Master these moves individually, then combine them for complex flight patterns. Pay attention to your drone's orientation and maintain visual contact at all times. Practice flying in various weather conditions, but always prioritize safety.
Develop muscle memory for precise control adjustments. This will help you react quickly to changing environments and capture the perfect shots. Remember, smooth movements result in better footage. Start with simple flight paths and gradually increase complexity as your skills improve. With consistent practice, you'll soon be able to execute intricate maneuvers effortlessly, enhancing your real estate aerial photography.
Plan Your Shot List
Before you take flight, you'll need to plan your shot list carefully.
Start by identifying the key features of the property that will showcase its best attributes.
Next, consider the lighting conditions throughout the day and schedule your shoot accordingly.
Then map out your flight paths to capture all the necessary angles efficiently.
Identify Key Property Features
A well-planned shot list is essential for successful real estate aerial photography. When identifying key property features, you'll want to focus on elements that showcase the property's unique selling points and appeal to potential buyers.
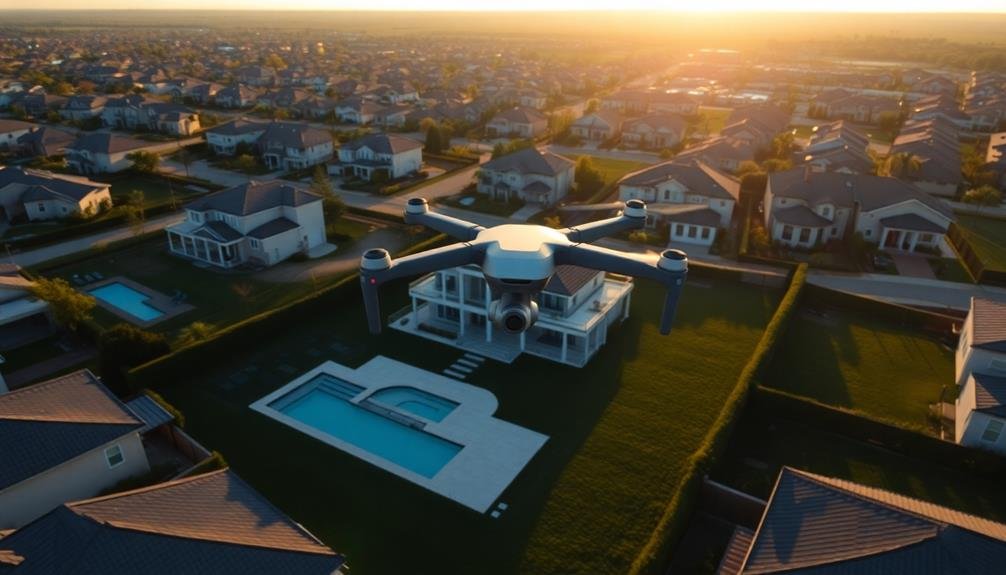
Start by highlighting the home's overall layout and positioning on the lot. Capture aerial views that emphasize the property's size, shape, and relationship to its surroundings.
Don't forget to showcase any standout exterior features like pools, patios, or landscaped gardens.
Next, consider the property's location advantages. Capture shots that highlight nearby amenities, such as parks, schools, or shopping centers. If the property boasts scenic views, make sure to include them in your shot list.
For larger properties or estates, prioritize shots that showcase the full expanse of the land. Capture images of any outbuildings, recreational areas, or unique landscape features.
Remember to include contextual shots that give potential buyers a sense of the neighborhood and surrounding area. These might include views of nearby landmarks, community features, or local attractions that add value to the property's location.
Consider Lighting Conditions
Lighting conditions play a pivotal role in the success of your aerial real estate photography. To capture stunning images, you'll need to take into account the time of day and weather conditions carefully. The golden hours, just after sunrise and before sunset, offer warm, soft light that can make properties look their best. During these times, you'll get long shadows and a beautiful glow that enhances architectural details.
Avoid shooting during midday when the sun is directly overhead, as this can create harsh shadows and overexposed areas. Cloudy days can be excellent for aerial photography, providing even, diffused light that minimizes shadows and reduces glare. However, be mindful of overcast conditions that might make the scene appear dull.
When planning your shoot, check the weather forecast and sun position for your location. Use apps or websites that provide sun path information to determine the best angles and times for your shots.
Remember that different sides of the property will be lit differently throughout the day, so you may need to revisit the location at various times to capture all angles in ideal light. By carefully taking into account lighting conditions, you'll greatly improve the quality and appeal of your aerial real estate photographs.
Map Out Flight Paths
Once you've considered lighting conditions, it's crucial to map out your flight paths and plan your shot list.
Begin by studying the property layout and identifying key features you want to highlight. Create a rough sketch of the area, marking potential takeoff and landing spots, as well as any obstacles or no-fly zones.
Outline a series of flight paths that will capture the property from various angles and altitudes. Consider starting with a wide establishing shot, then moving in closer to showcase specific features.
Plan for both static shots and dynamic movements, such as slow pans or reveals. Don't forget to include shots that demonstrate the property's context within the surrounding area.
Prioritize your shots based on importance and lighting conditions. Be prepared to adjust your plan on-site if needed.
Remember to factor in battery life and flight time limitations when planning your routes. It's often better to capture fewer, high-quality shots than to rush through a long list of mediocre ones.
Optimize Camera Settings
When optimizing your camera settings for aerial real estate photography, you'll need to focus on two key elements: shutter speed and aperture.
To capture crisp, clear images from a moving drone, you should increase your shutter speed to at least 1/500th of a second.
Set your aperture between f/4 and f/8 to guarantee a good balance between depth of field and image sharpness while allowing enough light for proper exposure.
Adjust Shutter Speed
Shutter speed plays an essential role in capturing sharp, clear aerial photos for real estate. When shooting from a drone, you'll need to adjust your shutter speed to compensate for movement and vibration. Generally, aim for a shutter speed of at least 1/500th of a second to freeze motion and guarantee crisp images. In bright conditions, you can increase this to 1/1000th or higher for even sharper results.
Remember that faster shutter speeds require more light, so you may need to adjust your ISO or aperture accordingly. If you're shooting in low light conditions, consider using a lower shutter speed and a gimbal to stabilize your camera. However, be cautious not to go too slow, as this can introduce motion blur.
To evoke emotion in your aerial real estate photos, consider these shutter speed techniques:
- Use a fast shutter speed to capture the crisp, clean lines of modern architecture.
- Slow down your shutter for dreamy, flowing water features on the property.
- Experiment with panning shots to convey a sense of movement and energy.
- Try long exposures at twilight to create a warm, inviting glow in windows.
Set Appropriate Aperture
While shutter speed controls motion blur, aperture is essential for managing depth of field in your aerial real estate photos. When shooting properties from above, you'll want to guarantee that both the foreground and background are in sharp focus. To achieve this, aim for a smaller aperture (higher f-number) like f/8 or f/11.
Keep in mind that smaller apertures require more light, so you may need to adjust your ISO or shutter speed accordingly. In bright daylight conditions, this shouldn't be an issue. However, during golden hour or overcast days, you might need to find a balance between aperture and other settings.
For most real estate aerial shots, you'll want to capture the entire property and its surroundings. A deep depth of field helps potential buyers see details clearly across the entire image. If you're highlighting specific features, like a unique roofline or landscaping element, you can experiment with wider apertures to create a shallow depth of field and draw attention to that area.
Remember to check your camera's sweet spot aperture, typically between f/8 and f/11, where image quality is at its best. This range often provides the ideal balance between sharpness and depth of field for real estate aerial photography.
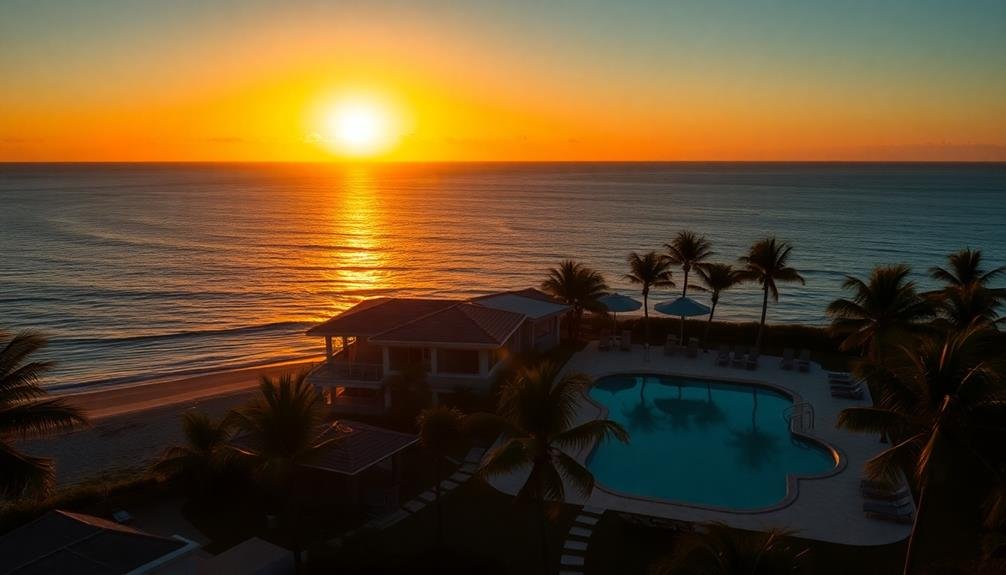
Utilize Golden Hour Lighting
The golden hour, those magical moments just after sunrise or before sunset, offers unparalleled lighting conditions for aerial real estate photography.
During this time, you'll capture warm, soft light that bathes properties in a golden glow, enhancing their appeal. Plan your shoots around these times to maximize the visual impact of your images.
To make the most of golden hour lighting:
- Scout locations in advance to determine the best angles and positions for your drone.
- Arrive early to set up and be ready when the light is perfect.
- Use a polarizing filter to reduce glare and enhance colors.
- Experiment with backlighting to create dramatic silhouettes and highlights.
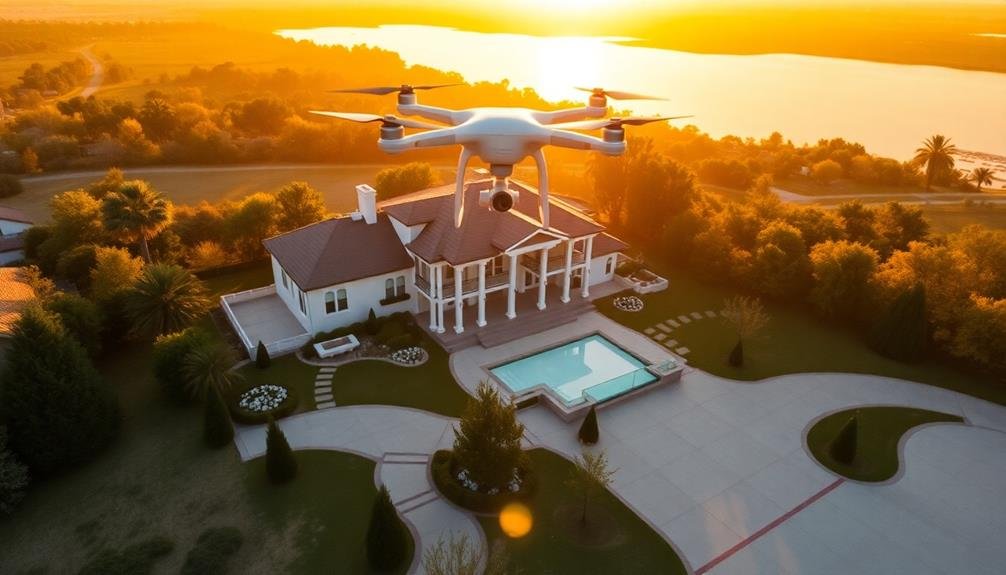
Showcase Property Features
When showcasing property features through aerial photography, focus on highlighting the home's unique selling points.
You'll want to capture outdoor living spaces like pools, patios, and expansive gardens from above to give potential buyers a thorough view.
Remember to emphasize standout elements such as a sprawling layout, proximity to amenities, or impressive landscaping that mightn't be apparent from ground-level photos.
Highlight Unique Selling Points
Aerial photography offers a unique opportunity to showcase a property's most attractive features. Use this vantage point to highlight the unique selling points that set the property apart from others.
Focus on capturing elements that aren't easily visible from ground level, such as expansive lawns, intricate landscaping, or proximity to desirable amenities.
When highlighting unique selling points, consider these emotionally evocative aspects:
- Breathtaking views: Capture panoramic vistas of surrounding mountains, lakes, or cityscapes.
- Privacy and seclusion: Showcase the property's boundaries and natural barriers.
- Exclusive amenities: Highlight pools, tennis courts, or guest houses.
- Prime location: Emphasize proximity to schools, parks, or shopping centers.
Use different angles and altitudes to emphasize these features. For waterfront properties, capture the shoreline and access points.
If the home has a unique architectural design, showcase it from various perspectives. Don't forget to highlight the property's size and layout by including neighboring properties for scale.
Capture Outdoor Living Spaces
Outdoor living spaces have become increasingly important to homebuyers, making them a key focus for aerial real estate photography. When capturing these areas, you'll want to showcase their full potential and how they integrate with the property's overall design.
Start by identifying the main outdoor features, such as patios, decks, pools, or gardens. Plan your drone flight path to capture these elements from various angles and heights. Shoot during the golden hour for warm, inviting lighting that enhances the appeal of outdoor spaces.
If the property has a pool, capture it with water features running to add movement and life to your shots. Don't forget to highlight how outdoor areas connect to the interior living spaces. Capture connections between indoor and outdoor areas, such as sliding glass doors or covered patios.
Show how these spaces can be used for entertaining by including outdoor kitchens, fire pits, or seating areas in your shots. For larger properties, use your drone to capture the full scope of landscaping and any recreational features like tennis courts or putting greens.
This gives potential buyers a detailed view of the outdoor amenities and how they fit into the property's overall layout.
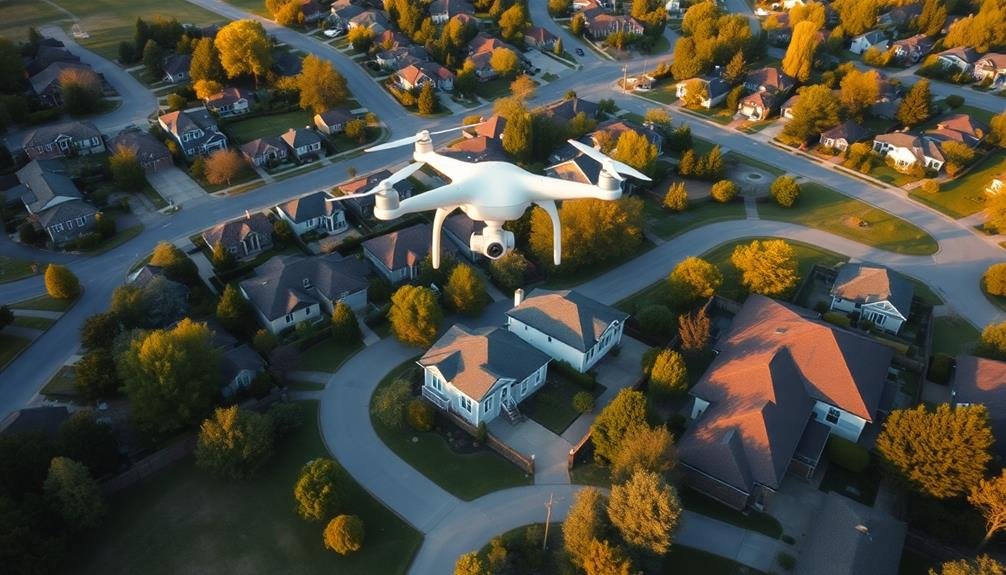
Leverage Unique Angles
Countless unique angles await you when capturing aerial real estate photos. Don't settle for standard overhead shots; instead, explore the property from various perspectives to showcase its best features.
Tilt your camera to capture diagonal lines, which can add dynamic energy to your images. Experiment with height, flying lower for intimate details or higher for grand, sweeping views that highlight the property's location and surroundings.
Consider these emotion-evoking angles:
- The approach shot: Capture the home from the street, simulating a buyer's first impression.
- The bird's eye view: Show the entire property layout, emphasizing spaciousness.
- The golden hour glow: Use sunrise or sunset light to bathe the property in warm, inviting hues.
- The neighborhood context: Frame the home within its community, highlighting nearby amenities.
Don't forget to showcase unique architectural features from unconventional angles. Capture roof lines, chimneys, or balconies from perspectives impossible to achieve from the ground.
Maintain Legal Compliance
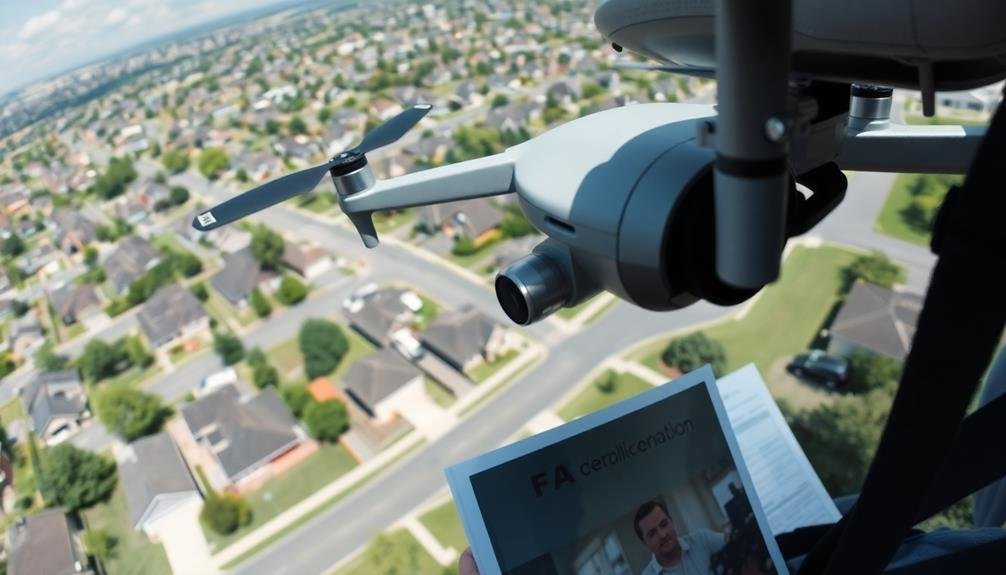
Safety and legality must be your top priorities when capturing aerial real estate photos. Familiarize yourself with local and federal regulations governing drone usage for commercial purposes. Register your drone with the FAA and obtain the necessary certifications, such as a Part 107 license for commercial operations. Always fly within visual line of sight and respect airspace restrictions.
Before each flight, check weather conditions and verify your equipment is in proper working order. Obtain property owner permission and respect privacy laws. Avoid flying over people or occupied structures without consent. Be aware of no-fly zones and temporary flight restrictions in your area.
Here's a quick reference guide for legal compliance:
| Requirement | Description |
|---|---|
| FAA Registration | Register your drone if it weighs over 0.55 lbs |
| Part 107 License | Required for commercial drone operations |
| Flight Altitude | Stay below 400 feet above ground level |
| No-Fly Zones | Avoid restricted airspace and sensitive areas |
Edit for Maximum Impact
Post-processing is where your aerial real estate photos truly come to life. After capturing stunning aerial shots, it's time to enhance them for maximum impact. Use professional editing software to adjust exposure, contrast, and color balance.
Crop images to improve composition and remove distracting elements. Don't overdo it, though – keep your edits subtle and natural-looking to maintain authenticity.
Pay attention to the property's key features and guarantee they're showcased effectively. Brighten shadowy areas to reveal details, and use selective adjustments to make the property stand out from its surroundings.
Consider creating HDR images by blending multiple exposures for a more dynamic range.
To evoke emotion in potential buyers, focus on these four key aspects:
- Highlight the property's unique selling points
- Showcase the surrounding landscape and views
- Emphasize the lifestyle the property offers
- Create a sense of luxury and exclusivity
Integrate With Marketing Strategy
Once you've perfected your aerial photos, it's time to put them to work in your real estate marketing strategy. Incorporate these images across multiple platforms to maximize their impact.
Start by featuring them prominently on your property listings, using them as eye-catching header images or in photo galleries. Don't forget to add them to virtual tours, giving potential buyers a thorough view of the property and its surroundings.
Leverage social media platforms like Instagram, Facebook, and Pinterest to showcase your aerial shots. Create engaging posts that highlight unique property features or neighborhood amenities visible from above.
Use these images in your email marketing campaigns, making your newsletters and property alerts more visually appealing and informative.
Consider creating promotional videos that combine aerial footage with ground-level shots and property details. These can be powerful tools for attracting buyer interest and demonstrating your marketing expertise to potential sellers.
Integrate aerial photos into your print materials, such as brochures and flyers, to make them stand out from competitors.
Finally, use these images on your website to showcase your portfolio and demonstrate your commitment to innovative marketing techniques.
Frequently Asked Questions
How Do I Handle Unexpected Obstacles During a Real Estate Drone Shoot?
You'll face unexpected obstacles during drone shoots. Stay calm and assess the situation. Be flexible with your flight plan, adjust your altitude, or reschedule if necessary. Always prioritize safety and comply with local regulations.
What Insurance Coverage Should I Have for Aerial Real Estate Photography?
You'll need liability insurance to cover potential property damage or injuries. Get a drone-specific policy that includes hull coverage for your equipment. Don't forget to add aerial photography to your general business insurance too.
How Can I Effectively Communicate With Clients About Drone Photography Services?
You'll want to clearly explain your drone services, pricing, and timeline. Showcase your portfolio, highlight benefits, and address safety concerns. Be responsive to questions and flexible with scheduling to meet your clients' unique needs.
What Software Is Best for Planning and Mapping Real Estate Drone Flights?
You'll find DroneDeploy, Pix4D, and DJI GS Pro excellent for planning real estate drone flights. They offer user-friendly interfaces, automated flight paths, and mapping features. Try them out to see which best suits your specific needs.
How Do I Price My Aerial Photography Services for Real Estate Clients?
You'll want to contemplate your costs, experience, and local market rates. Start by researching competitors' prices. Factor in flight time, editing, and equipment expenses. Offer packages or hourly rates, and adjust as you gain experience.
In Summary
You've now got the tools to elevate your real estate photography game. Remember, it's not just about the gear, but how you use it. Keep practicing your flight skills, experimenting with angles, and refining your editing process. Stay up-to-date on local drone laws and integrate your aerial shots seamlessly into your marketing strategy. With these tips, you'll be capturing stunning aerial property images that'll make listings stand out and impress clients in no time.
As educators and advocates for responsible drone use, we’re committed to sharing our knowledge and expertise with aspiring aerial photographers.


Leave a Reply