To create stunning neighborhood overview videos, start by selecting the right drone equipment with stable flight and high-quality camera capabilities. Plan your flight path carefully, capturing diverse features like landmarks, parks, and local amenities. Incorporate seasonal footage to showcase the area's versatility. During editing, focus on smooth shifts and add informative text overlays to highlight key neighborhood features and statistics. Choose engaging background music that complements the visuals and pacing. Finally, optimize your video for multiple platforms to maximize its reach. By following these steps, you'll be well on your way to producing enchanting neighborhood overviews that truly shine.
Key Takeaways
- Choose high-quality drone equipment with stable flight and 4K video capability for smooth, professional-looking footage.
- Plan a diverse flight path showcasing key neighborhood features, landmarks, and amenities from various angles and altitudes.
- Capture footage across different seasons to highlight the neighborhood's versatility and year-round appeal.
- Edit footage with smooth transitions, engaging text overlays, and creative graphics to present local statistics and information.
- Select appropriate background music and optimize video versions for multiple social media platforms to maximize reach and engagement.
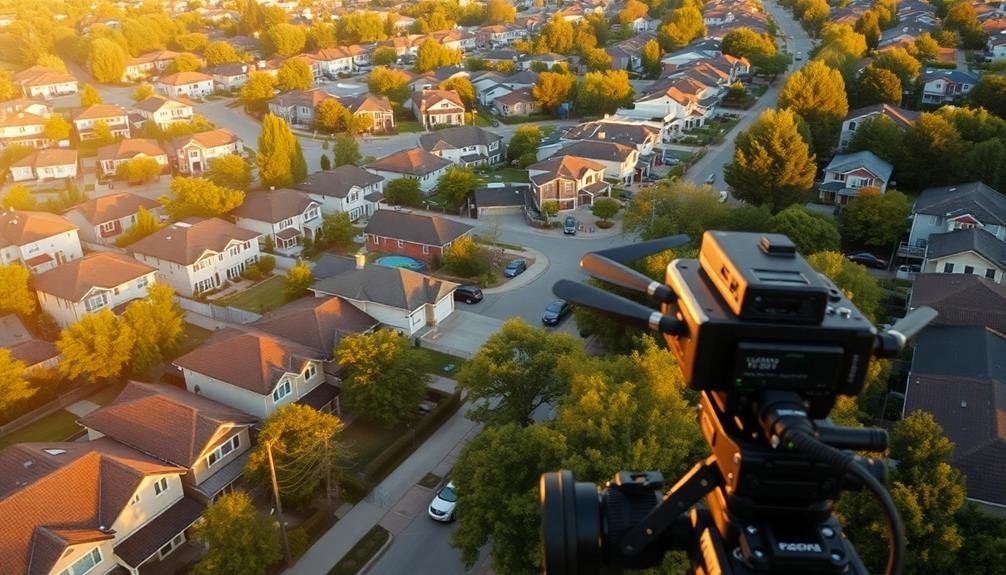
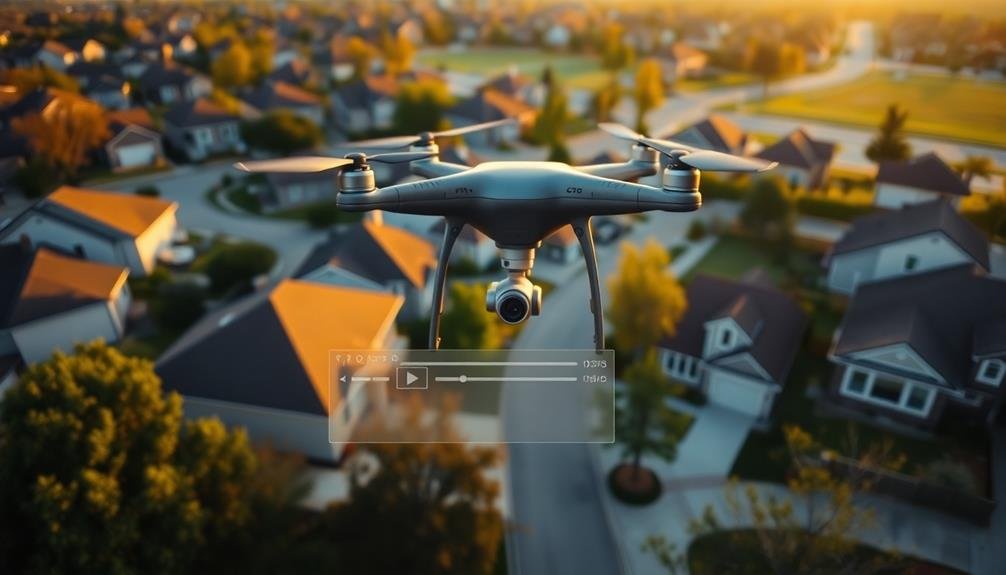
Choose the Right Drone Equipment
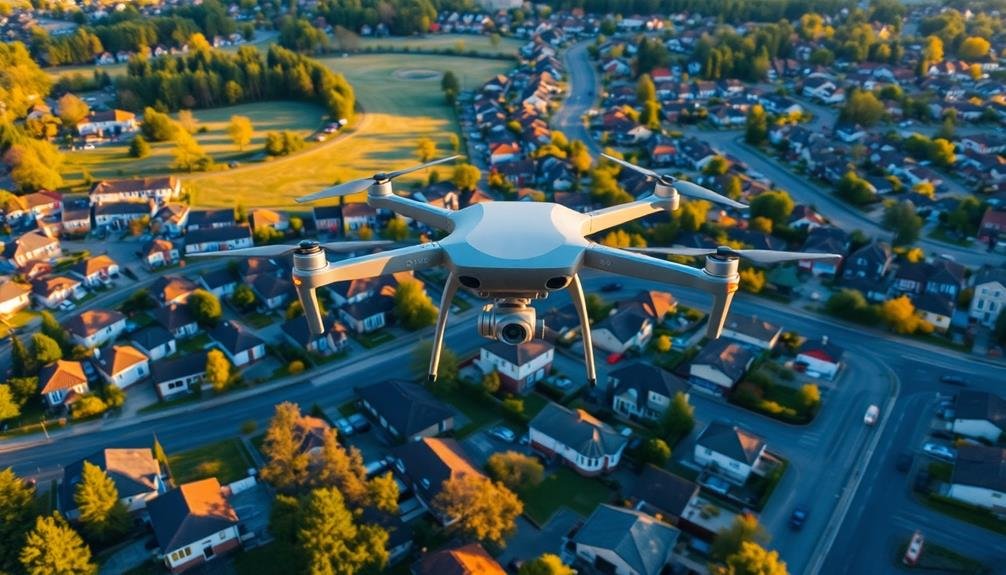
When it comes to choosing the right drone equipment for creating neighborhood overview videos, you'll need to focus on both quality and versatility. Start with a reliable drone that offers stable flight and smooth maneuverability. Look for models with GPS positioning, obstacle avoidance, and automated flight modes to guarantee steady shots.
Your drone's camera is vital. Opt for one that captures high-resolution 4K video and high-quality still images. A gimbal stabilizer is essential for reducing camera shake and producing professional-looking footage. Consider drones with adjustable camera angles to capture diverse perspectives of the neighborhood.
Battery life is another important factor. Choose a drone with a flight time of at least 20-30 minutes to cover larger areas without frequent landings. Pack extra batteries for extended shooting sessions.
Don't forget about accessories. A protective carrying case will safeguard your equipment during transport. Invest in ND filters to control exposure in bright conditions and polarizing filters to enhance colors and reduce glare.
Plan Your Flight Path
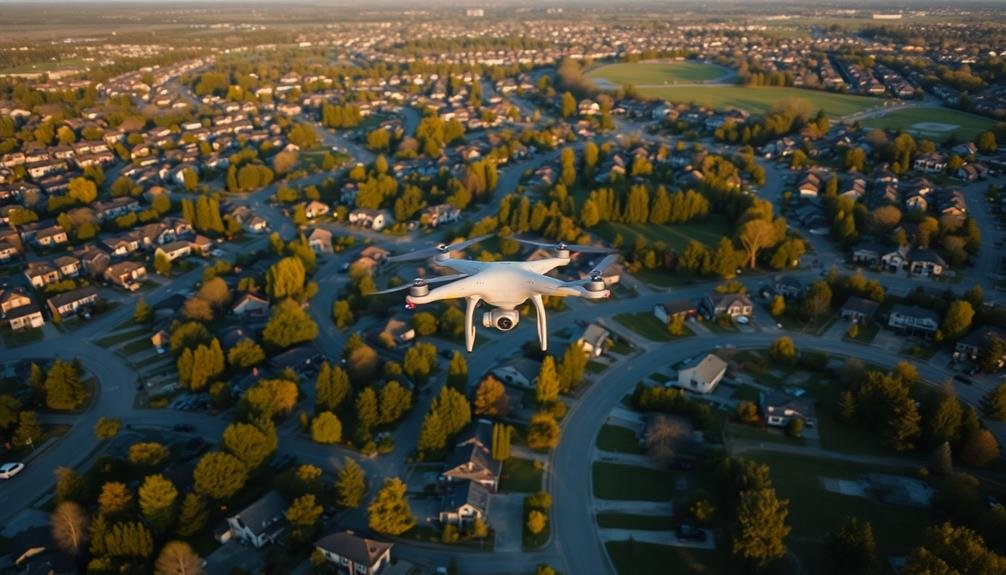
With your drone equipment ready, it's time to map out your flight path. Begin by scouting the neighborhood on foot or by car to identify key landmarks and attractive features. Consider the time of day for ideal lighting and visual appeal.
Plan a route that showcases the area's best attributes while maintaining a smooth, cinematic flow. Your flight path should include:
- Establishing shots of the entire neighborhood
- Sweeping views of main streets and thoroughfares
- Close-ups of notable landmarks or community spaces
- Changes between different areas or housing types
- A mix of altitudes for varied perspectives
As you plan, keep safety in mind. Avoid flying over private property without permission and steer clear of restricted airspace. Check local regulations regarding drone usage and obtain any necessary permits.
Factor in battery life and plan for multiple flights if needed to capture all desired footage. Consider the story you want to tell about the neighborhood. Your flight path should create a cohesive narrative, guiding viewers through the area's highlights.
Don't forget to plan for both wide-angle shots and more detailed views to provide a thorough overview of the community.
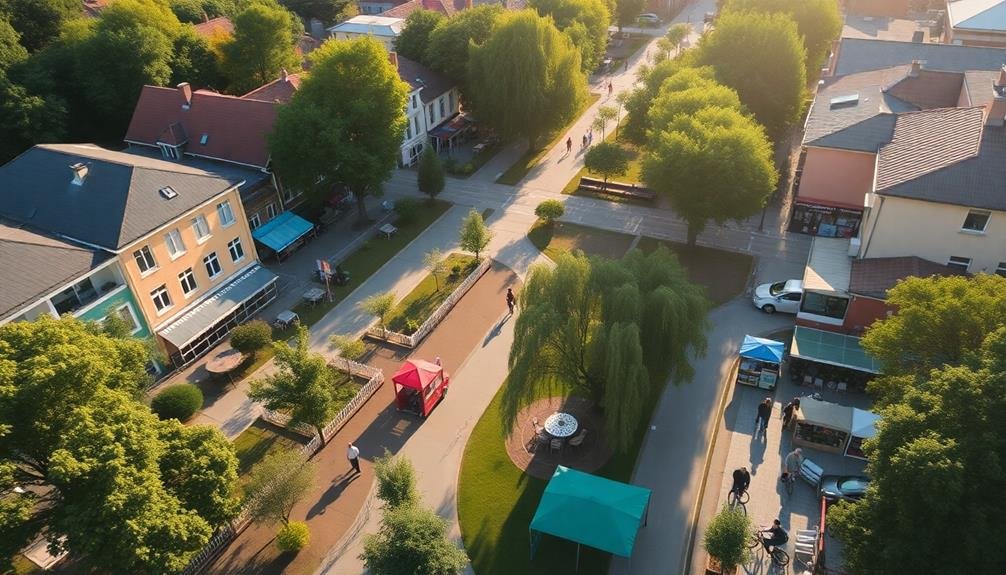
Capture Diverse Neighborhood Features
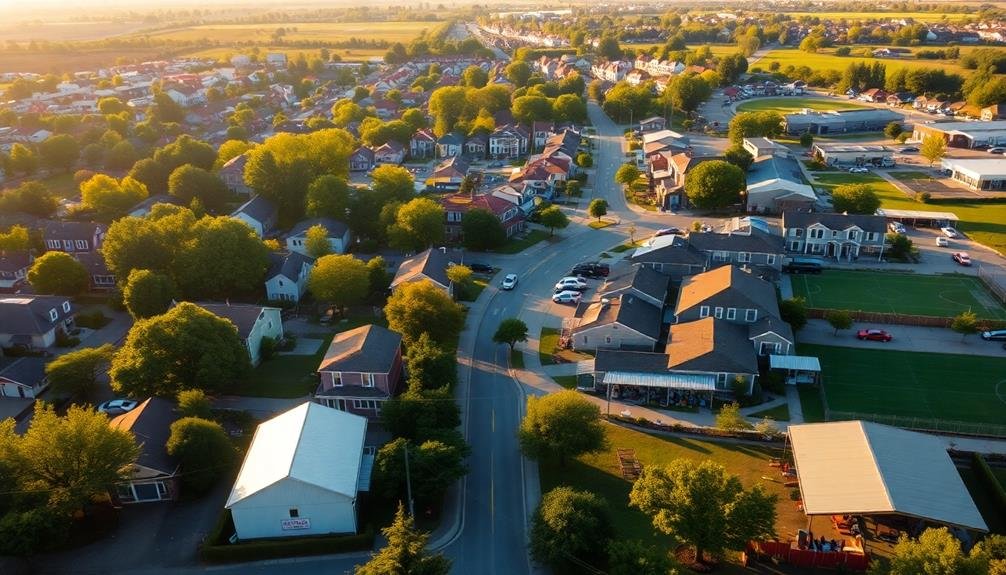
A well-rounded neighborhood overview showcases the area's diverse features. As you fly your drone, focus on capturing a variety of elements that define the community's character. Begin with wide aerial shots of the entire neighborhood, then zoom in on specific points of interest.
Include footage of local landmarks, parks, schools, and community centers. Don't forget to highlight unique architectural styles, street layouts, and natural features like rivers or wooded areas. Capture the neighborhood at different times of day to show its changing atmosphere.
Here's a table of key features to include in your video:
| Residential | Commercial |
|---|---|
| Houses | Shops |
| Apartments | Restaurants |
| Condos | Offices |
| Townhomes | Malls |
| Green spaces | Services |
Remember to showcase the neighborhood's infrastructure, such as roads, public transportation, and utilities. Include footage of people enjoying community amenities like playgrounds, sports fields, or hiking trails. If possible, capture events or gatherings that demonstrate the area's social dynamics.
Highlight Local Amenities
Local amenities are the lifeblood of any neighborhood, and your video should spotlight them effectively. Focus on capturing the most popular and unique attractions that define the area's character. Show parks, shopping centers, restaurants, and entertainment venues that residents frequent.
Don't forget to highlight public services like libraries, community centers, and schools.
When filming amenities, try to capture them during peak hours to showcase their vibrancy. Include shots of people enjoying these spaces to give viewers a sense of the community's atmosphere. Use a mix of wide shots to show the overall layout and close-ups to highlight specific features or details.
Consider including brief interviews with local business owners or community leaders to add personal insights about the neighborhood's offerings. This can provide valuable context and help potential residents envision themselves living in the area.
To make your video more engaging:
- Use drone footage for sweeping views of larger amenities
- Include time-lapse sequences of busy areas
- Showcase seasonal events or festivals
- Highlight hidden gems locals love
- Feature eco-friendly or sustainable amenities
Remember to balance your coverage of amenities to appeal to a wide range of potential residents, from families to young professionals to retirees.
Incorporate Seasonal Footage

Seasonal changes can dramatically transform a neighborhood's appearance and atmosphere, making it essential to include footage from different times of the year in your overview video. By incorporating seasonal footage, you'll provide a thorough view of the area's character throughout the year.
Start by planning your shoots to capture each season's unique qualities. In spring, focus on blooming flowers, budding trees, and increased outdoor activities. Summer footage should highlight lush greenery, community events, and residents enjoying outdoor spaces.
Fall brings vibrant foliage and harvest-themed decorations, while winter can showcase holiday lights, snow-covered landscapes, and cozy indoor scenes.
When editing, blend these seasonal clips seamlessly to create a cohesive narrative. Use shifts that emphasize the passage of time, such as fading from fall colors to winter snow. Include text overlays to indicate the season or month, helping viewers understand the context of each scene.
Don't forget to capture the same locations in different seasons to illustrate the neighborhood's versatility. This approach will give potential residents a realistic expectation of what life in the area is like year-round, helping them make informed decisions about moving to the neighborhood.
Edit for Smooth Transitions
With smooth changes, your neighborhood overview video will flow seamlessly from one scene to the next, keeping viewers engaged and interested. To achieve this, you'll need to master the art of editing for smooth shifts.
Start by organizing your footage in a logical sequence that tells a cohesive story about the neighborhood. Pay attention to the pacing of your video, ensuring that each scene has enough time to make an impact without dragging on too long.
Use a variety of transition techniques to maintain visual interest and guide viewers through different aspects of the neighborhood. Experiment with cross-dissolves, wipes, and fades to find what works best for your footage.
Don't forget to take into account the audio transitions as well, blending sound effects and background music to create a seamless auditory experience.
Here are five tips to help you create smooth transitions:
- Match the color grading between adjacent clips
- Use motion to lead the eye from one scene to the next
- Incorporate natural transitions like panning or zooming
- Utilize split-screen effects to showcase multiple areas simultaneously
- Employ J-cuts and L-cuts to overlap audio and video
Add Informative Text Overlays
As you add text overlays to your neighborhood video, focus on highlighting key features that make the area unique.
You'll want to showcase local landmarks, popular attractions, and community amenities that potential residents would find appealing.
Get creative with displaying local statistics, using eye-catching graphics or animations to present data on schools, crime rates, or property values in an engaging way.
Highlight Key Neighborhood Features
Frequently, the most effective way to convey key neighborhood information in your video is through well-placed text overlays. These can highlight important features that mightn't be immediately apparent from visuals alone.
When showcasing key neighborhood features, focus on elements that make the area unique and appealing to potential residents or visitors.
Consider including text overlays for:
- Local amenities (parks, shopping centers, restaurants)
- Transportation options (bus stops, train stations, bike lanes)
- Schools and educational institutions
- Historical landmarks or points of interest
- Community events or regular gatherings
As you highlight these features, verify your text is concise and easy to read. Use a font that contrasts well with the background and keeps the overlay brief.
You don't want to overwhelm viewers with too much information at once. Instead, time your text overlays to appear when relevant footage is on screen. For example, show a text overlay about the local farmer's market as you pan across the town square where it's held.
This approach helps viewers connect the information with the visuals, creating a more engaging and informative neighborhood overview video.
Display Local Statistics Creatively
Incorporating local statistics into your neighborhood overview video can provide valuable insights for viewers. Use creative text overlays to present these statistics in an engaging and visually appealing manner. Start by identifying key data points that potential residents would find most relevant, such as crime rates, school rankings, average home prices, and population demographics.
Design eye-catching graphics that complement your video's overall aesthetic. Use bold fonts, contrasting colors, and simple animations to make the statistics pop on screen. Consider using infographics, charts, or icons to represent numerical data more effectively.
Don't overwhelm viewers with too much information at once; instead, strategically place these overlays throughout your video to maintain a steady flow of information. To add context, compare local statistics to national or regional averages when appropriate. This helps viewers understand how the neighborhood stacks up against other areas.
Remember to keep text concise and easy to read, allowing enough time for viewers to process the information. By creatively displaying local statistics, you'll enhance your video's informative value and help potential residents make more informed decisions about the neighborhood.
Select Engaging Background Music
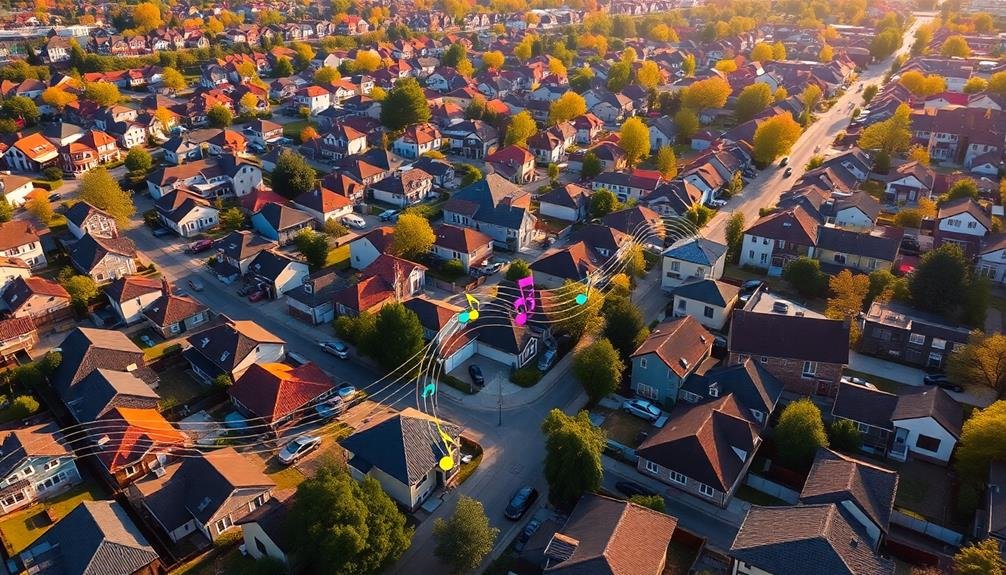
The soundtrack sets the tone for your neighborhood overview video. It's essential to choose music that complements the visuals and enhances the overall mood you're trying to convey.
Consider the neighborhood's character when selecting your background track. Upbeat, energetic music might suit a vibrant urban area, while softer, melodic tunes could work well for a quiet suburban setting.
Remember to use royalty-free music or obtain proper licenses to avoid copyright issues. Many online platforms offer a wide variety of tracks specifically designed for video projects.
Listen to multiple options before making your final decision, and make sure the music doesn't overpower your narration or other important audio elements.
Here are some tips for selecting engaging background music:
- Match the tempo and style to the pace of your video editing
- Choose instrumentals to avoid competing with voiceovers
- Consider using local artists or music that reflects the area's culture
- Adjust volume levels throughout the video to highlight key moments
- Use changes between different music tracks to maintain viewer interest
Optimize for Multiple Platforms

With your music selection complete, it's time to secure your neighborhood overview video reaches the widest possible audience. Enhancing for multiple platforms is essential to maximize your video's impact and visibility.
Start by creating different versions of your video to suit various social media platforms. For Instagram and TikTok, produce vertical 9:16 formats, while maintaining a 16:9 aspect ratio for YouTube and Facebook. Adjust your video length to fit each platform's requirements: 15-30 seconds for Instagram Stories, 60 seconds for Instagram feed posts, and up to 3 minutes for TikTok.
Compress your videos without sacrificing quality to guarantee quick loading times across devices. Use platform-specific features like hashtags, location tags, and mentions to increase discoverability. Add captions to make your content accessible and engaging for viewers watching without sound.
Consider creating teasers or shorter cuts of your main video to promote it across platforms. Use each platform's native publishing tools to schedule posts at ideal times for your target audience.
Frequently Asked Questions
What Legal Permits Are Required for Filming Neighborhood Overview Videos With Drones?
You'll need a Part 107 license from the FAA to fly drones commercially. Check local regulations, as some areas require additional permits. Always get permission from property owners and respect privacy laws when filming neighborhoods.
How Can I Protect Residents' Privacy While Capturing Aerial Footage?
You'll want to avoid filming private properties up close, blur identifiable faces and license plates, and stick to public areas. Don't capture through windows, and always respect no-fly zones. Inform residents about your filming plans beforehand.
What Time of Day Is Best for Filming Neighborhood Overview Videos?
You'll want to film during the "golden hour" just after sunrise or before sunset. It'll give your footage a warm, inviting glow. Mid-morning or late afternoon can also work well for balanced lighting conditions.
How Long Should an Ideal Neighborhood Overview Video Be?
You'll want to keep your neighborhood overview video concise, typically between 2-4 minutes long. It's enough time to showcase key features without losing viewer interest. Remember, you're aiming for a quick, engaging snapshot of the area.
Can I Use Stock Footage to Supplement My Neighborhood Overview Video?
Yes, you can use stock footage to enhance your neighborhood overview video. It's a great way to add variety and high-quality visuals. However, make sure to balance it with your own original footage for authenticity.
In Summary
You've now got the tools to create enchanting neighborhood overview videos. Remember, it's all about showcasing the area's unique charm and amenities. With the right equipment, planning, and editing techniques, you'll craft videos that truly resonate with viewers. Don't forget to adapt your content for different platforms and keep your footage current. By following these tips, you'll create stunning videos that bring neighborhoods to life and leave a lasting impression on potential residents.
As educators and advocates for responsible drone use, we’re committed to sharing our knowledge and expertise with aspiring aerial photographers.


Leave a Reply