
To perfect real estate sky-view imagery, you'll need to master several key techniques. Choose the right time of day for ideal lighting, typically during golden hour. Optimize your camera settings for clarity and exposure. Plan your flight path carefully to capture the best angles. Maintain a consistent altitude for uniform perspective. Use proper composition techniques like the rule of thirds. Remove unwanted objects in post-processing. Straighten horizon lines for balanced images. Highlight unique property features and create panoramic shots for an all-encompassing view. By focusing on these aspects, you'll elevate your aerial photography and captivate potential buyers. There's much more to explore in the world of sky-view real estate imagery.
Key Takeaways
- Plan shoots during golden hour for optimal lighting and enhanced property aesthetics.
- Adjust camera settings for proper exposure, using a fast shutter speed to freeze motion.
- Apply composition techniques like the rule of thirds and leading lines to create visually appealing shots.
- Highlight unique property features and include contextual shots to showcase the surrounding area.
- Enhance images in post-processing, adjusting colors and contrast to emphasize property characteristics without appearing unrealistic.
Choose the Right Time
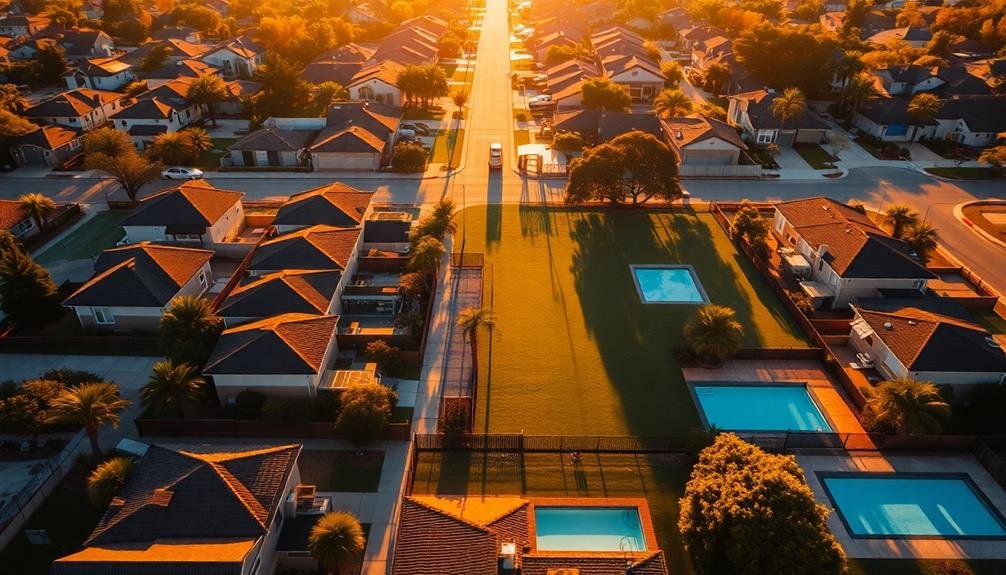
When it comes to capturing stunning real estate sky-view imagery, timing is everything. You'll want to carefully consider the time of day and season to showcase the property in its best light. Early morning or late afternoon, during the "golden hour," often provides warm, soft lighting that enhances architectural features and landscapes.
Avoid midday shoots when harsh shadows can obscure details and create unflattering contrasts. Instead, opt for overcast days that offer diffused light, perfect for highlighting textures and colors. If you're aiming to capture twilight shots, plan your session just after sunset when the sky's blue hues complement artificial lighting.
Consider seasonal changes too. Spring and summer typically offer lush greenery, while fall can provide striking foliage colors. Winter shots can be dramatic, especially for properties with scenic snow-covered landscapes.
Weather conditions play a vital role. Clear skies are ideal for most shots, but don't dismiss partly cloudy days, as they can add depth and interest to your images.
Always check the forecast and be prepared to reschedule if conditions aren't suitable. Remember, patience and flexibility are key to achieving the perfect real estate sky-view imagery.
Optimize Camera Settings

When capturing sky-view real estate imagery, you'll need to fine-tune your camera settings for ideal results.
Start by adjusting your shutter speed to freeze motion and maintain image sharpness, especially if you're shooting from a drone or helicopter.
Next, set your aperture to balance depth of field and light intake, ensuring both the property and its surroundings are in clear focus.
Adjust Shutter Speed
Shutter-speed adjustment is essential for capturing crisp, well-exposed aerial real estate images. When shooting from a drone or helicopter, you'll need to compensate for movement and vibration. Start with a faster shutter speed, typically 1/500th of a second or higher, to freeze motion and prevent blur.
Consider the lighting conditions and your drone's speed when adjusting shutter speed. In bright sunlight, you can use even faster speeds like 1/1000th or 1/2000th. For lower light situations, you may need to balance shutter speed with ISO and aperture to maintain proper exposure.
If you're aiming to capture smooth water features or create motion blur effects, experiment with slower shutter speeds. However, be cautious as this may introduce unwanted camera shake. Use your drone's stabilization features and consider post-processing techniques to enhance image sharpness.
Remember that shutter speed affects your ability to capture detail. Faster speeds will freeze even minor movements, ideal for showcasing intricate architectural features.
Slower speeds might introduce a soft, dreamy quality that can be appealing for certain property types or landscapes. Always review your images on a larger screen to verify you've achieved the desired clarity and exposure.
Set Ideal Aperture
Three key factors influence your aerial real estate photography: shutter speed, aperture, and ISO.
When it comes to setting the ideal aperture for real estate sky-view imagery, you'll want to strike a balance between depth of field and image sharpness. For most aerial real estate shots, aim for an aperture between f/5.6 and f/8. This range provides a good compromise between keeping the entire property in focus and maintaining image quality.
If you're shooting from a higher altitude or want to emphasize foreground elements, consider using a smaller aperture like f/11 to increase depth of field. However, be aware that using a smaller aperture can introduce diffraction, which may slightly reduce overall image sharpness.
In situations where you need to prioritize shutter speed, such as when shooting from a moving drone, you might need to open up the aperture to f/4 or wider.
Remember to adjust your ISO accordingly when changing the aperture to maintain proper exposure. Always take test shots and review them on a larger screen to ascertain you've achieved the desired depth of field and sharpness for your real estate sky-view images.
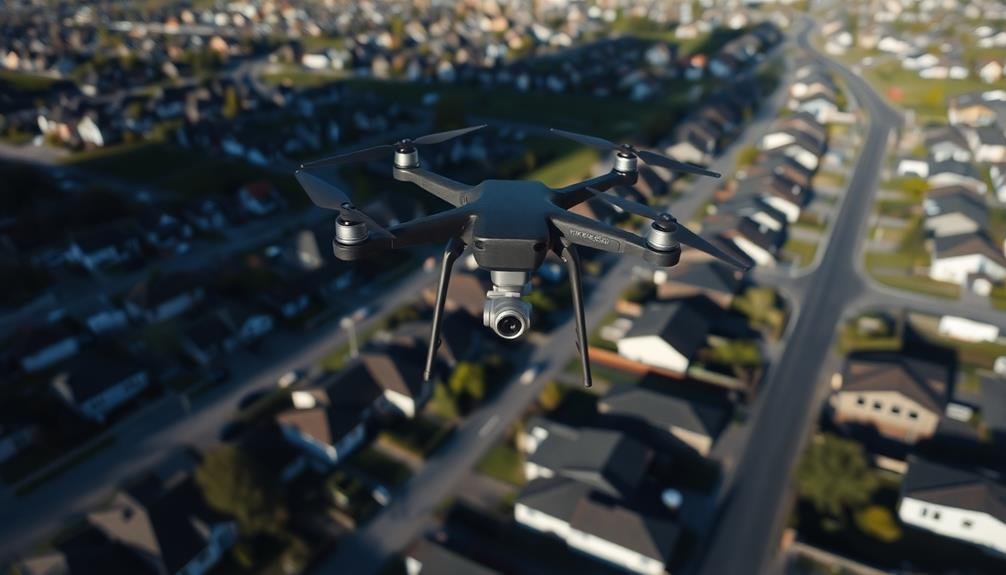
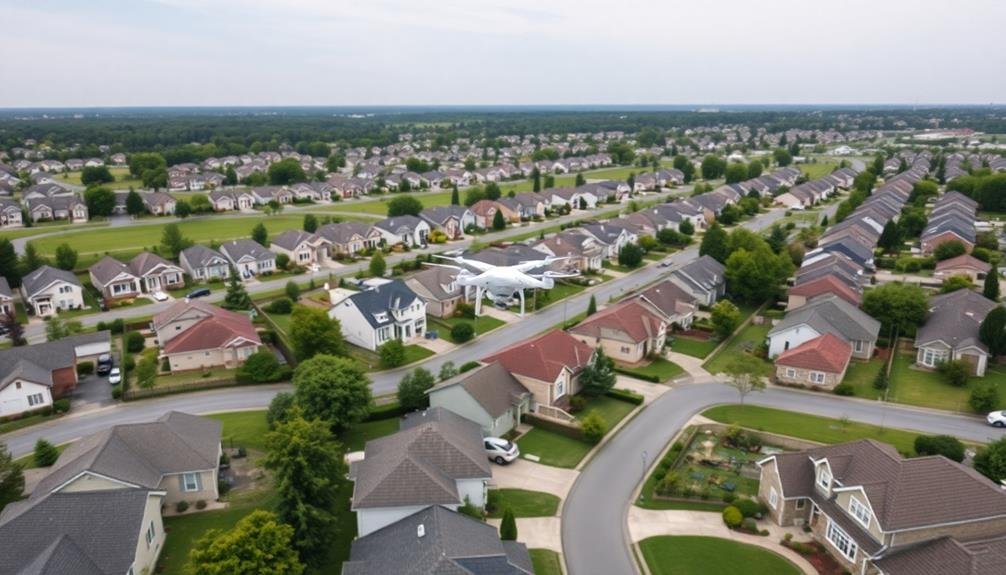
Plan Your Flight Path
Before launching your drone, carefully map out the ideal shooting angles to showcase the property's best features.
You'll need to take into account the sun's position, potential obstructions, and the most flattering perspectives of the real estate.
Always check for and avoid restricted airspace zones in your planned flight path to guarantee legal and safe operation of your drone.
Map Optimal Shooting Angles
Planning your flight path is essential for capturing stunning real estate aerial imagery. Once you've established your route, it's time to map out the best shooting angles for each property. Consider the sun's position throughout the day to guarantee you're capturing the best light for each shot. You'll want to avoid harsh shadows and glare that can detract from the property's features.
When mapping your shooting angles, keep these key points in mind:
- Highlight the property's best features: Identify unique selling points like a sprawling backyard, pool, or architectural details, and plan angles that showcase these elements.
- Capture context: Include shots that show the property's relationship to its surroundings, such as nearby amenities or scenic views.
- Vary your perspectives: Mix wide-angle shots with closer details to provide a thorough view of the property.
Don't forget to account for any potential obstacles like trees, power lines, or neighboring buildings that might interfere with your desired angles.
Avoid Restricted Airspace Zones
When capturing aerial real estate imagery, you must navigate more than just ideal shooting angles. Avoiding restricted airspace zones is vital for legal and safety reasons.
Before launching your drone, research and identify no-fly zones in your area using official FAA resources or drone apps like B4UFLY or AirMap.
Pay attention to temporary flight restrictions (TFRs) that may be in effect due to events, emergencies, or VIP movements.
Don't forget to check for controlled airspace near airports, military installations, and national security areas. If you're operating in these zones, you'll need proper authorization.
Always maintain a safe distance from critical infrastructure like power plants, prisons, and government buildings.
Be aware of state and local regulations that may impose additional restrictions on drone flights. When planning your route, factor in these no-fly zones and adjust your flight path accordingly.
Consider using geofencing features on your drone to prevent accidental entry into restricted areas.
If you're unsure about a location's status, err on the side of caution and seek clarification from local authorities or a certified drone pilot.
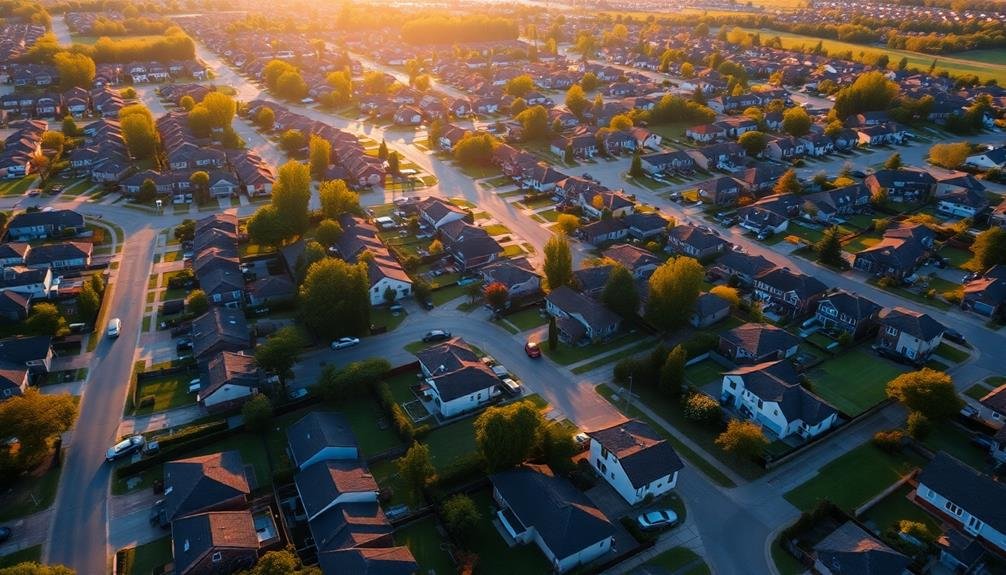
Maintain Consistent Altitude
Consistency is key when capturing real estate sky-view imagery. Maintaining a consistent altitude throughout your shoot guarantees that all photos have a uniform perspective, making it easier for potential buyers to compare different properties.
When you're flying your drone, keep an eye on your altitude readings and adjust as necessary to maintain the same height across all shots.
To achieve consistent altitude in your real estate sky-view imagery:
- Set a standard altitude: Choose a height that works well for most properties, typically between 50 to 100 feet, depending on local regulations and the size of the buildings you're photographing.
- Use automated flight modes: Many drones offer preset flight patterns that maintain a consistent altitude while capturing images. Utilize these features to guarantee uniformity in your shots.
- Monitor weather conditions: Wind and air pressure changes can affect your drone's ability to maintain altitude. Be prepared to make manual adjustments or reschedule your shoot if conditions are unfavorable.
Use Proper Composition Techniques

Mastering proper composition techniques is essential for creating enchanting real estate sky-view imagery. You'll want to apply the rule of thirds, balance your shots, and use leading lines to guide the viewer's eye. Remember to frame the property as the focal point, ensuring it's positioned ideally within the image.
Consider the property's surroundings and incorporate them to provide context and enhance appeal. You'll find that shooting during golden hour can add warmth and depth to your images. Don't forget to experiment with different angles and perspectives to showcase the property's unique features.
Here's a quick reference guide for composition techniques:
| Technique | Purpose | Example |
|---|---|---|
| Rule of Thirds | Balance and interest | Horizon at 1/3 or 2/3 of frame |
| Leading Lines | Guide viewer's eye | Driveway or fence lines |
| Framing | Emphasize focal point | Trees or landscape features |
Enhance Colors in Post-Processing
Once you've captured your aerial real estate shots, it's time to refine their colors in post-processing.
You'll want to adjust the saturation and vibrancy to make the property's features pop without appearing unnatural.
Additionally, balancing the warmth and coolness of the image can create a more inviting atmosphere, helping potential buyers connect with the property.
Adjust Saturation and Vibrancy
After capturing your sky-view real estate images, it's time to enhance their visual appeal through post-processing. Adjusting saturation and vibrancy can make your photos pop, drawing potential buyers' attention to key property features.
Start by slightly increasing the overall saturation to bring out the natural colors of the landscape and architecture. Be careful not to overdo it, as excessive saturation can make the image look unrealistic and unprofessional.
Next, focus on vibrancy to enhance specific color ranges without affecting skin tones or neutral colors. This technique can make blue skies more striking and green lawns more lush without distorting other elements in the frame.
Use these adjustments judiciously to create a balanced, attractive image that accurately represents the property.
Consider these key points when adjusting saturation and vibrancy:
- Enhance blues and greens to make outdoor spaces more appealing
- Boost warm tones to highlight architectural features and create a welcoming atmosphere
- Maintain natural skin tones for any people in the images
Balance Warmth and Coolness
The balance between warm and cool tones in your sky-view real estate images can significantly impact their overall appeal. When editing your photos, pay attention to the color temperature and adjust it to create a pleasing atmosphere. Warm tones can make a property appear inviting and cozy, while cool tones might convey a sense of spaciousness and modernity.
To achieve the right balance, start by evaluating the natural light in your image. If the photo was taken during golden hour, you might want to enhance the warm hues. For images captured on overcast days, consider adding a touch of warmth to counteract the cooler tones. Use your editing software's white balance tool to fine-tune the overall temperature.
Here's a quick guide to color temperature effects:
| Temperature | Mood | Best for |
|---|---|---|
| Warm | Cozy, inviting | Residential, rustic |
| Neutral | Balanced | Versatile, natural |
| Cool | Modern, sleek | Commercial, urban |
Remove Unwanted Objects
Many stunning aerial shots are marred by unwanted objects that detract from the property's appeal. As a real estate photographer, it's your job to guarantee the final image showcases the property in its best light.
You'll need to master the art of removing unwanted objects from your sky-view imagery. Start by identifying elements that don't belong in the shot. These might include vehicles, trash bins, or temporary structures.
Use photo editing software to carefully remove these objects, guaranteeing the surrounding areas blend seamlessly. Don't forget to pay attention to shadows and reflections that might give away the object's previous presence.
For more complex removals, consider these techniques:
- Clone stamping: Use nearby textures to paint over the unwanted object
- Content-aware fill: Let AI algorithms suggest appropriate replacements
- Layering: Combine multiple shots to create a clean, object-free image
Straighten Horizon Lines

Straight horizon lines are essential for professional-looking real estate sky-view imagery. When your horizon is crooked, it can create a disorienting effect and make the property appear less appealing. To straighten your horizon lines, you'll need to pay attention during both the shooting and editing processes.
During the shoot, use your drone's built-in level or grid overlay to guarantee you're capturing straight shots. If your drone doesn't have these features, you can add a bubble level to your controller. In post-processing, most editing software offers horizon straightening tools. Use these to fine-tune your images for perfect alignment.
Here's a quick guide to straightening horizon lines:
| Method | Pros | Cons |
|---|---|---|
| In-camera | Real-time adjustment | Limited precision |
| Software | High precision | Time-consuming |
| Auto-straighten | Quick and easy | May not be perfect |
Highlight Property Features
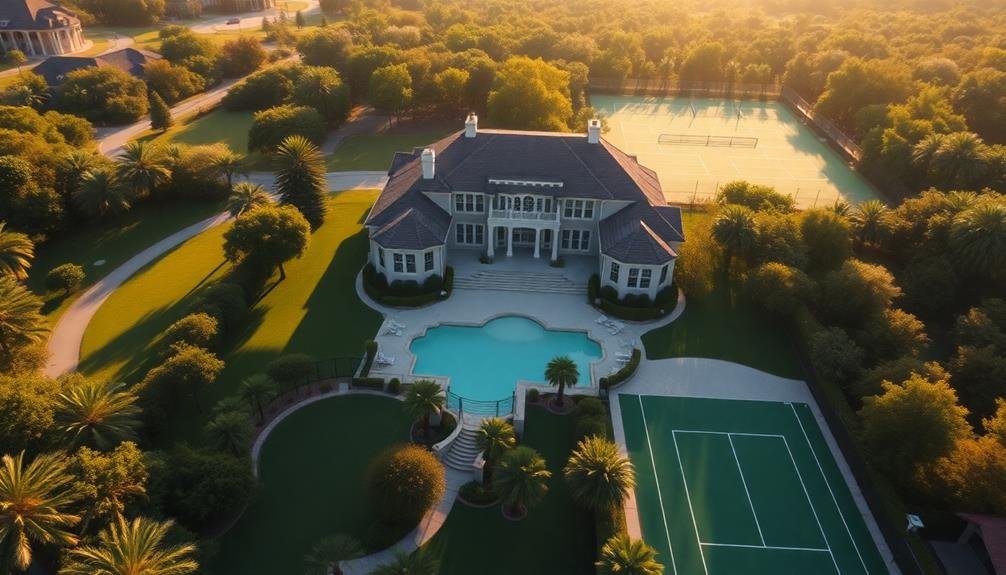
With your horizon lines perfectly aligned, it's time to focus on showcasing the property's best features. Aerial photography offers a unique perspective to highlight a home's selling points. Use your drone to capture the property's layout, size, and surroundings in ways that ground-level shots can't match. Zoom in on standout features like a well-maintained garden, a sparkling pool, or a newly renovated roof.
When highlighting property features, consider these key points:
- Composition: Frame your shots to emphasize the property's best angles and attributes. Use the rule of thirds to create visually appealing images that draw attention to specific features.
- Lighting: Time your shoot to take advantage of natural light. Golden hour can make exteriors look warm and inviting, while midday sun can showcase a property's true colors.
- Context: Include surrounding amenities like nearby parks, schools, or shopping centers to give potential buyers a sense of the neighborhood.
Remember to comply with local drone regulations and respect privacy laws. By focusing on these aspects, you'll create compelling sky-view imagery that effectively showcases the property's unique selling points and helps potential buyers envision themselves living there.
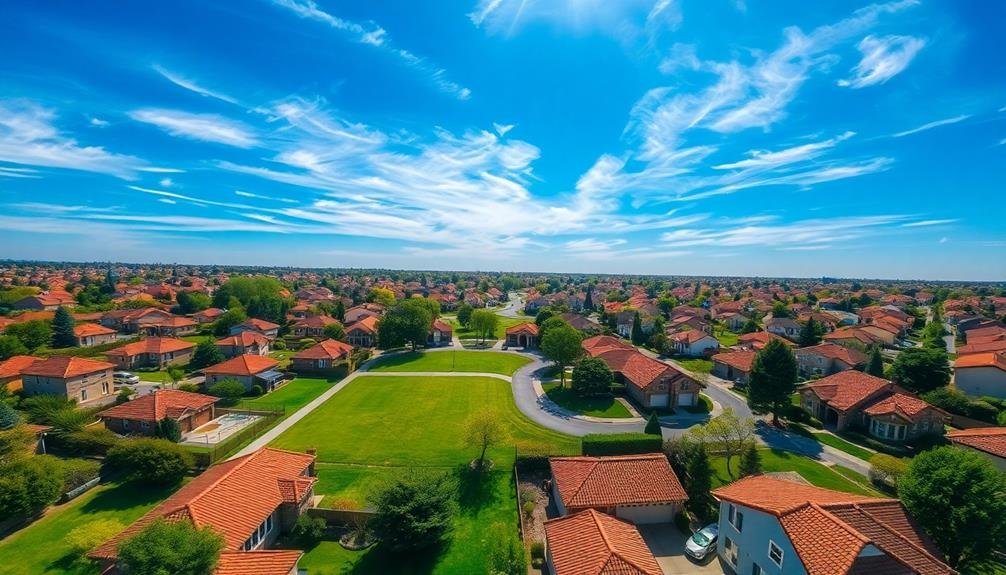
Create Panoramic Shots
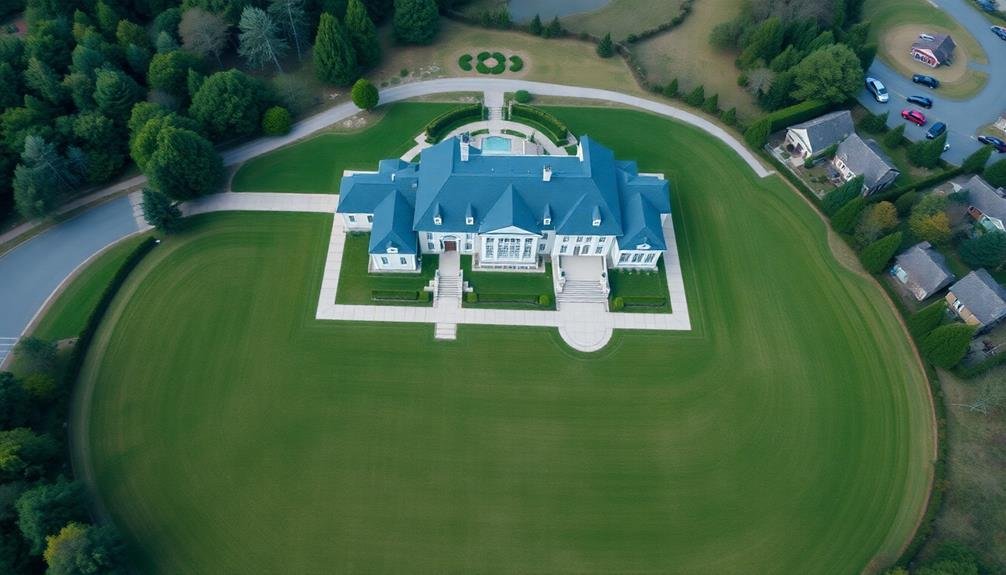
While individual shots can capture specific features, panoramic images offer a breathtaking overview of the entire property. To create stunning panoramic shots, you'll need to plan your flight path carefully.
Start by flying your drone in a circular pattern around the property, maintaining a consistent altitude and distance from the center point. As you capture images, make sure there's sufficient overlap between each frame—about 30-40% is ideal. This overlap allows for seamless stitching in post-processing.
Use your drone's built-in panorama mode if available, or manually shoot a series of overlapping photos. When editing, use specialized panorama software to stitch the images together. Adjust exposure and color balance to maintain consistency across the entire panorama.
Pay attention to any distortions or misalignments, especially near the edges of the image. Consider creating both 360-degree horizontal panoramas and vertical panoramas that showcase the property from ground to sky.
These immersive views can give potential buyers a thorough understanding of the property's layout and surroundings. Remember to keep the horizon level and avoid including the drone or its shadow in your shots for a polished, professional result.
Frequently Asked Questions
How Much Does Professional Real Estate Drone Photography Typically Cost?
You'll typically pay between $200 to $500 for professional real estate drone photography. Prices can vary based on property size, location, and the photographer's experience. Some offer package deals that include both aerial and ground shots.
Are There Any Legal Restrictions for Using Drones in Residential Areas?
Yes, there are legal restrictions for using drones in residential areas. You'll need to follow FAA regulations, obtain proper licensing, respect privacy laws, and avoid flying over people or private property without permission. Always check local ordinances too.
What Type of Drone Is Best for Beginners in Real Estate Photography?
For beginners in real estate photography, you'll want a user-friendly drone with good stability and camera quality. Consider models like the DJI Mini 2 or Autel EVO Nano+. They're lightweight, easy to fly, and capture great images.
How Long Does It Take to Edit a Typical Real Estate Drone Shoot?
You'll typically spend 1-3 hours editing a real estate drone shoot. It depends on your skill level, the number of photos or videos, and the complexity of edits needed. Don't rush; quality results take time.
Can Drone Footage Be Used for Virtual Property Tours?
Yes, you can use drone footage for virtual property tours. It'll give potential buyers a unique aerial perspective of the home and surroundings. You'll create immersive experiences that showcase the property's layout and neighborhood features effectively.
In Summary
You've now got the tools to create stunning real estate sky-view imagery. Remember, practice makes perfect. Don't be afraid to experiment with different techniques and angles. As you refine your skills, you'll capture breathtaking shots that showcase properties in their best light. Keep learning, stay up-to-date with drone regulations, and always prioritize safety. With these tips in mind, you're ready to elevate your real estate photography game and impress clients.
As educators and advocates for responsible drone use, we’re committed to sharing our knowledge and expertise with aspiring aerial photographers.


Leave a Reply