Elevate your aerial photography with these enchanting drone time-lapse techniques. Capture mesmerizing cloud movements, document stunning sunset-to-starry night shifts, and showcase urban skylines changing from day to night. Use your drone to record dynamic weather patterns and seasonal changes from above. Create compelling narratives about light pollution's impact on night skies. Experiment with architectural shadows and sunlight play, master hyperlapse methods for smooth motion, and document celestial events from altitude. Don't forget to optimize your camera settings for each scenario, adjusting exposure, ISO, and white balance as needed. These techniques will help you reveal the full potential of sky-focused aerial cinematography.
Key Takeaways
- Optimize camera settings with varying ISO, aperture, and shutter speed for different lighting conditions throughout the day-to-night transition.
- Capture cloud movement by selecting locations with unobstructed sky views and adjusting intervals based on cloud speed.
- Plan and execute sunset-to-starry night transitions by gradually adjusting exposure settings as darkness falls.
- Document urban skyline transformations from day to night, starting during golden hour for optimal light conditions.
- Utilize smooth flight path planning with waypoints to maintain consistent speed and direction during time-lapse captures.
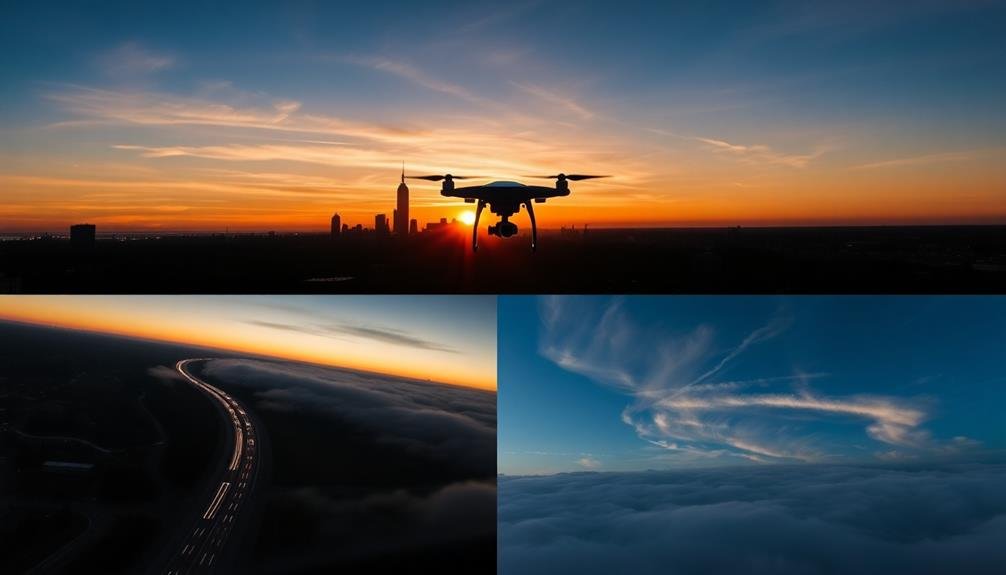
Capturing Cloud Movement
Through the lens of a drone, capturing cloud movement can transform your time-lapse videos into mesmerizing works of art. To achieve stunning results, you'll need to master both drone operation and time-lapse techniques.
Start by selecting a suitable location with an unobstructed view of the sky and interesting cloud formations. Consider the time of day and weather conditions for ideal lighting and cloud activity.
Set up your drone with a stable hovering position, making sure it can maintain its place for extended periods. Use a high-quality camera with manual settings to control exposure consistently throughout the shoot. Adjust your interval timing based on cloud speed; faster-moving clouds require shorter intervals between shots.
To capture smooth cloud movement, you'll want to shoot for at least 30 minutes to an hour. Make certain your drone has sufficient battery life or plan for battery swaps.
Use neutral density filters to allow for longer exposures, creating a dreamy effect in your footage. Post-processing is vital for enhancing your time-lapse. Stabilize your footage, adjust color grading, and experiment with speed ramping to highlight dramatic cloud formations or sudden changes in weather patterns.
Sunset to Starry Night Transition

To capture a stunning sunset-to-starry-night shift, you'll need to master ideal camera settings, strategic drone positioning, and post-processing color grading techniques.
Start by positioning your drone with a clear view of the horizon and adjusting your camera's ISO and shutter speed as daylight fades.
You'll enhance the shift in post-production by carefully balancing color temperatures and gradually revealing the stars as night falls.
Optimal Camera Settings
Capturing a stunning sunset-to-starry night shift requires careful attention to your camera settings. As the light fades, you'll need to adjust your exposure settings gradually.
Start with a lower ISO (around 100-400) during the sunset phase, increasing it as darkness falls. For the night sky, you'll want to push your ISO higher, typically between 1600-3200, depending on your camera's capabilities.
Set your aperture wide open (lowest f-number) to allow maximum light in, especially for the starry sky portion. Your shutter speed should start relatively fast (1/60 – 1/30) during sunset, gradually lengthening to several seconds for the night sky.
Use manual focus and set it to infinity for sharp stars. Enable your camera's interval shooting mode, adjusting the interval based on your desired final video length. Start with longer intervals (10-15 seconds) during sunset, shortening them (3-5 seconds) as it gets darker to capture star movement.
White balance should be set manually to maintain consistent color throughout the changeover. Use a warmer setting for sunset and cooler for the night sky.
Remember to shoot in RAW format for maximum flexibility in post-processing.
Drone Positioning Strategies
With your camera settings optimized, the next challenge is positioning your drone for the perfect sunset-to-starry night sequence. Start by scouting your location during daylight hours to identify potential hazards and choose an ideal takeoff spot.
As the sun begins to set, position your drone at a high altitude, facing west to capture the full panorama of colors. You'll want to maintain a stable position throughout the changeover, so enable any stabilization features your drone offers.
Consider using a predetermined flight path or waypoints to guarantee consistent framing. As darkness falls, gradually tilt your camera upward to include more of the sky in your frame.
For the starry night portion, you'll need to fly your drone away from light pollution. Find a clear area with an unobstructed view of the night sky. Keep your drone at a lower altitude to minimize wind interference and maintain image sharpness.
If possible, use a gimbal lock to prevent unwanted movement during long exposures. Remember to monitor your drone's battery life closely, as colder nighttime temperatures can reduce flight time. Always have spare batteries on hand to capture the entire changeover without interruption.
Post-Processing Color Grading
Color grading plays an essential role in creating a smooth change from sunset to starry night in your time-lapse footage.
Begin by adjusting the white balance of your sunset shots, emphasizing warm oranges and reds. Gradually cool the temperature as you progress through the sequence, shifting to deeper blues and purples.
Use curves and levels to enhance the contrast between the fading sunlight and emerging shadows. Pay attention to the highlights, making sure they don't become overly blown out during the sunset phase. As night falls, increase the shadows to create a more dramatic effect.
For the starry night portion, boost the exposure slightly and increase the contrast to make stars pop. You'll want to reduce noise in darker areas while preserving detail in the sky. Apply a subtle vignette to draw the viewer's eye to the center of the frame.
Consider using masks or gradients to selectively adjust different parts of the image, such as the horizon line or specific cloud formations. This technique allows you to maintain a balanced exposure throughout the change.
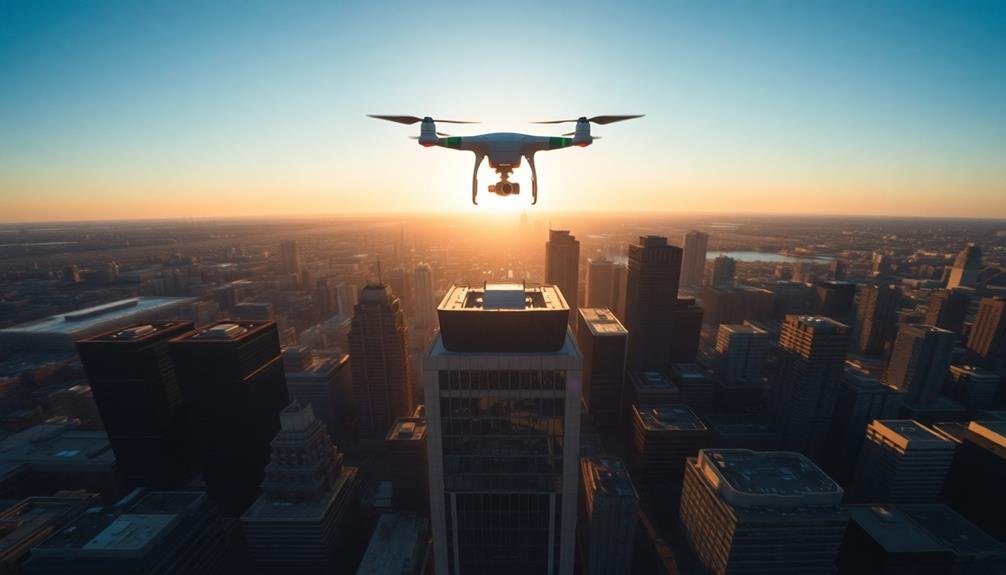
Urban Skyline Transformation
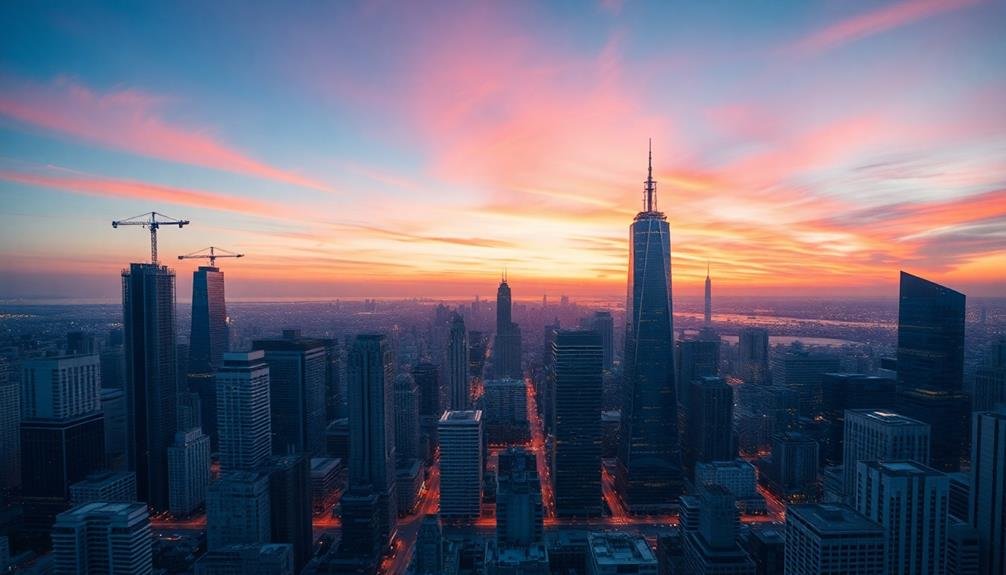
Urban skylines offer a fascinating subject for time-lapse drone photography. You'll capture the dynamic evolution of cityscapes from day to night, showcasing the ebb and flow of urban life. To achieve stunning results, plan your flight path carefully, considering the sun's position and the city's most iconic structures.
Start your shoot during the golden hour, when soft light bathes the buildings. As daylight fades, you'll witness the gradual illumination of skyscrapers and streets. Position your drone to capture both the skyline and the sky above, allowing for dramatic cloud movements and color changes.
Use interval shooting mode, setting your drone to take photos every few seconds. Adjust your camera settings as light conditions change, ensuring proper exposure throughout the sequence. You'll want to maintain a consistent frame, so use GPS positioning and altitude hold features.
In post-processing, you'll stitch these images together to create a seamless time-lapse video. Pay attention to subtle details like traffic patterns, flickering lights, and the change of the sky's colors. The result will be a mesmerizing portrait of urban evolution, compressed into mere seconds.
Weather Pattern Documentation
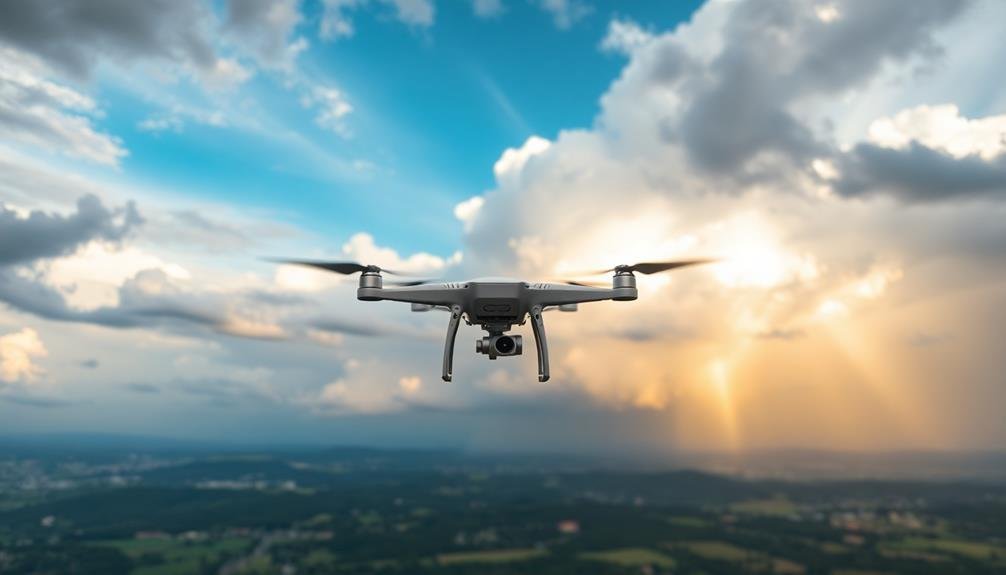
Drones soaring through the sky offer unparalleled opportunities for documenting weather patterns over time.
You'll find that these aerial devices can capture the dynamic nature of atmospheric conditions in ways ground-based cameras simply can't match.
To document weather patterns effectively, you'll need to plan your flights carefully.
Choose a suitable location with an unobstructed view of the sky and program your drone to ascend to the same altitude at regular intervals.
You'll want to take into account the battery life of your drone and plan for multiple flights throughout the day or over several days.
When setting up your time-lapse, adjust your camera settings to account for changing light conditions.
Use neutral density filters to maintain consistent exposure as the sun moves across the sky.
You'll also need to stabilize your footage in post-production to smooth out any minor movements caused by wind.
Seasonal Changes From Above
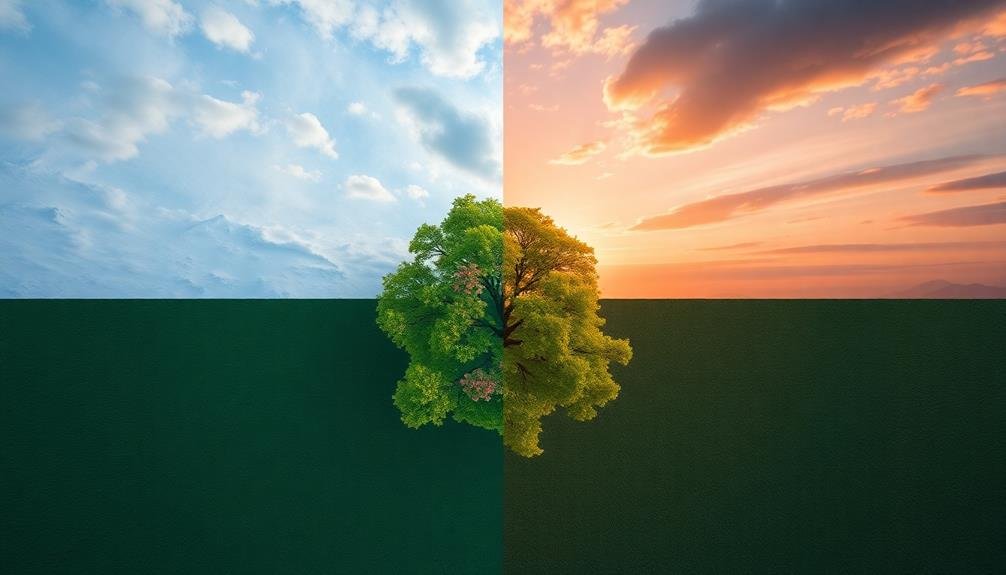
Aerial perspectives offer a unique way to capture the ebb and flow of seasons. With a drone, you'll be able to document the gradual alteration of landscapes over time, creating stunning visual narratives of nature's cyclical changes.
By carefully planning your shots and revisiting the same locations throughout the year, you can craft compelling time-lapse sequences that showcase the dynamic beauty of seasonal changes from above.
To create engaging seasonal change time-lapses, consider these key elements:
- Consistent framing: Maintain similar composition across shots for seamless changes
- Lighting conditions: Aim for similar times of day to maintain continuity
- Weather patterns: Factor in cloud cover and atmospheric conditions
- Focal points: Choose areas with distinct seasonal changes, like forests or farmlands
You'll want to pay close attention to color shifts in vegetation, changes in water levels, and variations in snow cover or ice formation.
By capturing these transformations from an aerial perspective, you'll provide viewers with a fresh and awe-inspiring look at familiar landscapes.
Remember to adjust your drone's settings for each season's unique lighting conditions, ensuring the best image quality throughout your time-lapse project.
Moonrise and Moonset Sequences

Capturing the ethereal beauty of moonrises and moonsets with a drone offers a unique perspective on these celestial events. To create stunning time-lapse sequences, you'll need to plan carefully and execute with precision.
Start by researching the moon's phases and positioning for your location, using apps or websites that provide accurate lunar data. Choose a suitable location with an unobstructed view of the horizon and interesting foreground elements.
Set up your drone before sunset or sunrise, depending on whether you're capturing a moonrise or moonset. Use a sturdy tripod or landing pad to guarantee stability during the extended shoot.
Configure your drone's camera settings for low-light conditions, adjusting ISO, aperture, and shutter speed as needed. Opt for manual focus to prevent unwanted shifts. Set your interval timer to capture images every 5-10 seconds, allowing for smooth shifts in the final sequence.
As you film, be mindful of your drone's battery life and local regulations regarding night flights. Consider using multiple batteries or a power bank for longer shoots.
Post-processing is essential for enhancing the mood and continuity of your moonrise or moonset sequence, so experiment with color grading and subtle shifts to create an enchanting final product.
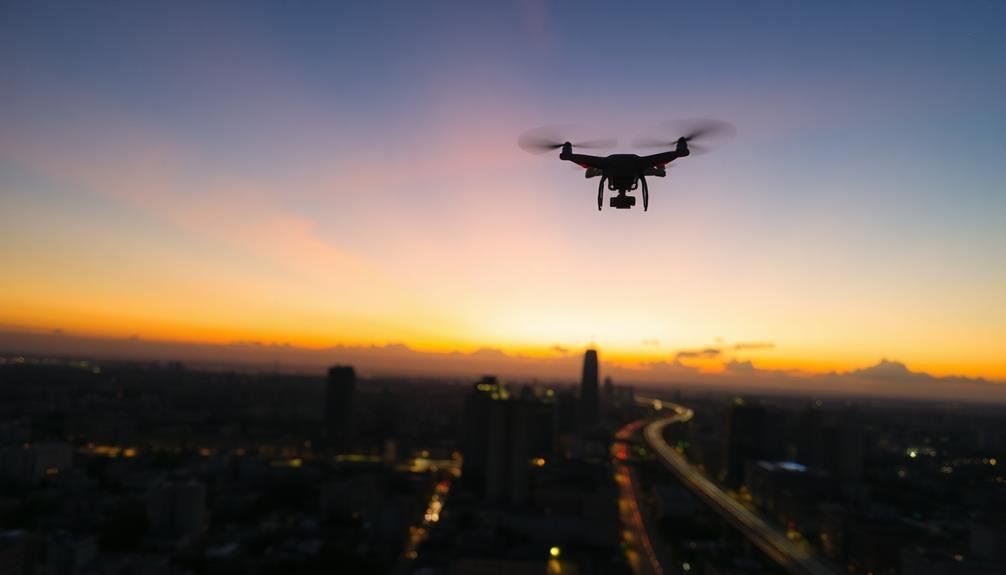
Light Pollution Time-Lapse

While often overlooked, light pollution offers a fascinating subject for time-lapse drone photography. You'll capture the gradual illumination of cities and towns as night falls, revealing the stark contrast between urban glow and the natural darkness of rural areas.
To create compelling light pollution time-lapses, you'll need to find a vantage point that showcases both lit and unlit areas. Set up your drone before sunset and program it to take photos at regular intervals throughout the night.
You'll want to adjust your camera settings to capture the changing light conditions effectively. Here are four key aspects to contemplate:
- ISO: Start low and gradually increase as darkness sets in
- Aperture: Use a wide aperture to capture more light
- Shutter speed: Lengthen as needed to maintain exposure
- White balance: Adjust to capture the true colors of artificial lighting
In post-processing, you'll stitch together your images to create a smooth shift from day to night. This technique not only produces visually striking results but also raises awareness about the impact of artificial lighting on our night skies.
You'll be amazed at how your time-lapse reveals the extent of light pollution in your area.
Architectural Shadows and Sunlight
Architectural shadows and sunlight create a dynamic interplay that's perfect for time-lapse drone photography. You'll want to capture how buildings cast ever-changing shadows as the sun moves across the sky. Position your drone to showcase how these shadows stretch, shrink, and shift throughout the day.
To maximize the effect, scout locations with diverse architectural elements. Skyscrapers, bridges, and unique structures offer compelling subjects. Plan your shoot around the golden hours – just after sunrise or before sunset – when the light is warm and shadows are long. You'll need to program your drone for consistent positioning and timing between shots.
Consider the seasons, too. The sun's path varies throughout the year, affecting shadow patterns. A location that works well in summer might yield entirely different results in winter. Experiment with different altitudes to find the most striking compositions. Higher vantage points can reveal intricate shadow patterns across cityscapes, while lower angles emphasize the towering nature of buildings.
Remember to adjust your camera settings for changing light conditions. Use neutral density filters to maintain consistent exposures throughout your time-lapse sequence. This technique will help you create stunning visual stories of urban landscapes transforming with the sun's journey.
Drone Hyperlapse Techniques
To create stunning drone hyperlapses, you'll need to master both camera settings and flight path planning.
For your camera, focus on maintaining consistent exposure and intervals between shots, while adjusting shutter speed to capture motion blur effectively.
When planning your flight path, aim for smooth, linear movements and consider using waypoints to guarantee precise, repeatable trajectories.
Camera Settings for Hyperlapse
Numerous camera settings play an essential role in capturing stunning drone hyperlapses. You'll need to adjust these settings to achieve the finest results for your sky views. Start by setting your camera to manual mode, giving you full control over exposure and other critical parameters.
To create smooth and visually appealing hyperlapses, consider these key camera settings:
- Shutter speed: Use a slower shutter speed (1/30 to 1/60) to introduce motion blur between frames.
- ISO: Keep it low (100-400) to minimize noise in your footage.
- Aperture: Choose a mid-range aperture (f/5.6 to f/8) for peak sharpness and depth of field.
- White balance: Set it manually to maintain consistent color throughout your sequence.
Don't forget to shoot in RAW format to maximize your post-processing options.
Adjust your intervalometer settings to capture frames at regular intervals, typically every 2-5 seconds. This guarantees smooth motion in your final hyperlapse.
Remember to enable any available image stabilization features on your drone or camera to minimize unwanted vibrations.
Smooth Flight Path Planning
With your camera settings dialed in, it's time to focus on planning a smooth flight path for your drone hyperlapse. Start by scouting your location and identifying potential obstacles. Choose a route that allows for steady, uninterrupted movement. Consider the direction of sunlight and how it'll affect your shots throughout the flight.
Use waypoints to program your drone's path, guaranteeing consistent speed and direction. Set your drone to fly in a straight line, curve, or orbit, depending on your desired effect. Remember to factor in wind conditions, as they can impact your drone's stability and flight path.
Here's a quick guide to flight path types and their uses:
| Flight Path | Effect | Best Used For |
|---|---|---|
| Straight | Linear movement | Cityscapes, highways |
| Curved | Sweeping motion | Mountains, coastlines |
| Orbital | Circling subject | Landmarks, buildings |
Practice your flight path before shooting to guarantee smooth execution. If possible, use a pre-programmed flight mode for consistent results. Always maintain visual contact with your drone and adhere to local regulations. By carefully planning your flight path, you'll create stunning, professional-looking drone hyperlapses that captivate your audience.
Celestial Events From Altitude

Capturing celestial events from altitude offers drone pilots a unique opportunity to showcase the grandeur of astronomical phenomena. By flying your drone at higher elevations, you'll gain a clearer view of the night sky, free from ground-level obstructions and light pollution. This vantage point allows you to create stunning time-lapse sequences of celestial events that are truly out of this world.
To make the most of your high-altitude celestial shoots, consider these key factors:
- Timing: Research upcoming astronomical events and plan your flights accordingly.
- Location: Scout for areas with minimal light pollution and unobstructed views.
- Weather: Check forecasts for clear skies and calm winds.
- Equipment: Use a drone with long battery life and a camera capable of low-light photography.
When filming celestial events from altitude, you'll need to adjust your camera settings for best results. Use a slow shutter speed to capture more light and star trails, and increase your ISO to brighten the image.
Don't forget to enable your drone's night mode if available. By combining these techniques with careful planning and patience, you'll be able to create breathtaking time-lapse footage of celestial events that will mesmerize your audience.
Frequently Asked Questions
What Drone Models Are Best Suited for Time-Lapse Photography?
For time-lapse drone photography, you'll want to contemplate models like the DJI Mavic 3, Autel EVO II Pro, or Skydio 2+. They offer long battery life, high-quality cameras, and stable hovering capabilities essential for capturing stunning time-lapse footage.
How Do You Maintain Battery Life During Extended Time-Lapse Shoots?
To maintain battery life during extended time-lapse shoots, you'll want to bring spare batteries, use a portable charger, optimize camera settings, and plan shorter intervals. You can also consider using a power bank for continuous power supply.
Are There Legal Restrictions for Night-Time Drone Flights in Urban Areas?
Yes, there are legal restrictions for night-time drone flights in urban areas. You'll need special permission and must follow specific rules. Check local regulations, as they vary by location. Always prioritize safety and respect privacy laws.
What Software Is Recommended for Editing and Compiling Drone Time-Lapse Footage?
You'll find Adobe Premiere Pro and DaVinci Resolve excellent for editing drone time-lapse footage. They offer powerful tools for color grading, stabilization, and sequencing. For simpler projects, you can't go wrong with iMovie or Windows Movie Maker.
How Do You Compensate for Changing Light Conditions During Long Time-Lapse Sequences?
You'll need to adjust your camera settings as light changes. Use gradual aperture or ISO shifts, or try auto-ramping. Post-processing can help smooth exposure differences. Don't forget to shoot in RAW for more editing flexibility.
In Summary
You've now got an arsenal of drone time-lapse techniques to create breathtaking sky views. Whether you're capturing cloud movement, urban transformations, or celestial events, these methods will elevate your aerial photography. Don't forget to experiment with different settings and angles to find your unique style. With practice, you'll master these skills and produce stunning videos that showcase the ever-changing beauty of the sky. So grab your drone and start creating mesmerizing time-lapses today!
As educators and advocates for responsible drone use, we’re committed to sharing our knowledge and expertise with aspiring aerial photographers.


Leave a Reply