
To excel at bird's-eye mapping for environmental assessments, follow these seven tips: Choose the right drone for your project size, plan your flight path meticulously, optimize camera settings for sharp imagery, guarantee proper image overlap for seamless stitching, process and stitch images using photogrammetry software, analyze environmental data for patterns and changes, and interpret and report findings effectively. You'll need to take into account factors like survey area size, battery life, weather resistance, and data processing capabilities when selecting your drone. By mastering these techniques, you'll create extensive aerial maps that provide valuable insights into ecosystem health, land use changes, and environmental impacts. Dive deeper to unveil the full potential of this powerful assessment tool.
Choose the Right Drone
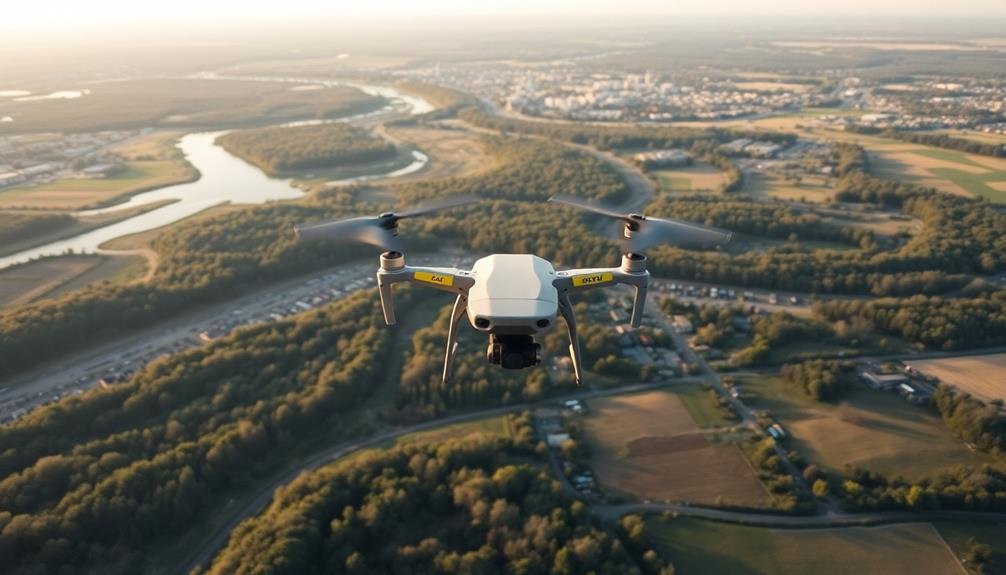
Selecting the appropriate drone is vital for successful environmental assessments. You'll need to take into account several factors when choosing your aerial mapping device.
First, evaluate the size of the area you're surveying. For large-scale projects, fixed-wing drones offer longer flight times and greater coverage. Multirotor drones are better suited for smaller areas or when you need more maneuverability.
Next, assess the drone's payload capacity. Make sure it can carry the necessary sensors and cameras for your specific assessment needs. High-resolution RGB cameras are standard, but you might also require thermal, multispectral, or LiDAR sensors depending on your project's goals.
Battery life is critical; longer flight times mean more efficient mapping sessions. Look for drones with at least 30 minutes of flight time. Weather resistance is another significant factor, especially if you're working in challenging environments.
Don't forget about data processing capabilities. Some drones come with built-in software for creating orthomosaic maps and 3D models, which can streamline your workflow.
Plan Your Flight Path

Mapping out your flight path is essential for efficient and effective environmental assessments. Begin by identifying the area you need to survey and determine the required resolution for your project. Use satellite imagery or topographic maps to familiarize yourself with the terrain and potential obstacles.
Next, create a flight plan using specialized drone mapping software. Set your altitude, flight speed, and image overlap percentage to guarantee extensive coverage. Consider the drone's battery life and plan for multiple flights if necessary. Factor in weather conditions, such as wind direction and speed, which may affect your drone's performance.
Establish ground control points (GCPs) for improved accuracy in your mapping results. Mark these points clearly and record their precise coordinates. Include buffer zones around your survey area to capture edge details and account for potential GPS drift.
Plan your takeoff and landing sites carefully, ensuring they're clear of obstructions and provide a stable surface. Consider emergency landing spots along your flight path in case of unexpected issues.
Optimize Camera Settings
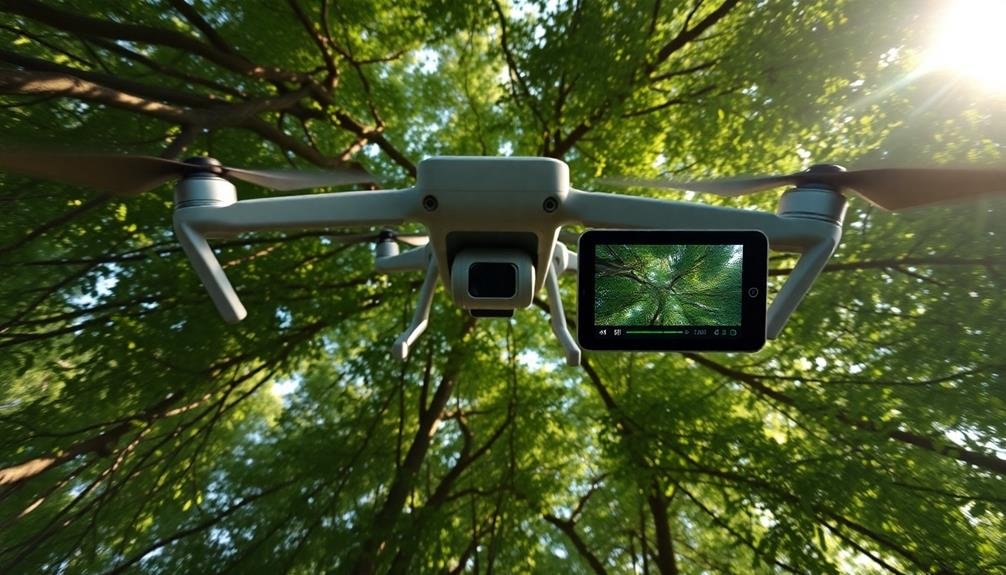
To achieve high-quality aerial imagery, you'll need to optimize your drone's camera settings. Begin by setting your camera to manual mode, which gives you full control over exposure. Adjust the ISO to the lowest possible setting that still allows for proper exposure, typically between 100 and 400. This minimizes noise in your images.
Set your aperture between f/4 and f/8 for a good balance of depth of field and sharpness. Choose a fast shutter speed, at least 1/500th of a second or faster, to prevent motion blur. Enable RAW format shooting for maximum post-processing flexibility.
For environmental assessments, prioritize capturing accurate colors. Use a custom white balance or set it to match the lighting conditions. Disable any automatic features like HDR or image stabilization, as these can introduce artifacts or inconsistencies across multiple images.
If your drone has a mechanical shutter, use it to avoid rolling shutter distortion. Finally, verify your camera's focus is set to infinity to keep the entire landscape sharp.
Test these settings before your main flight to confirm they produce the desired results for your specific environmental assessment needs.
Ensure Proper Overlap
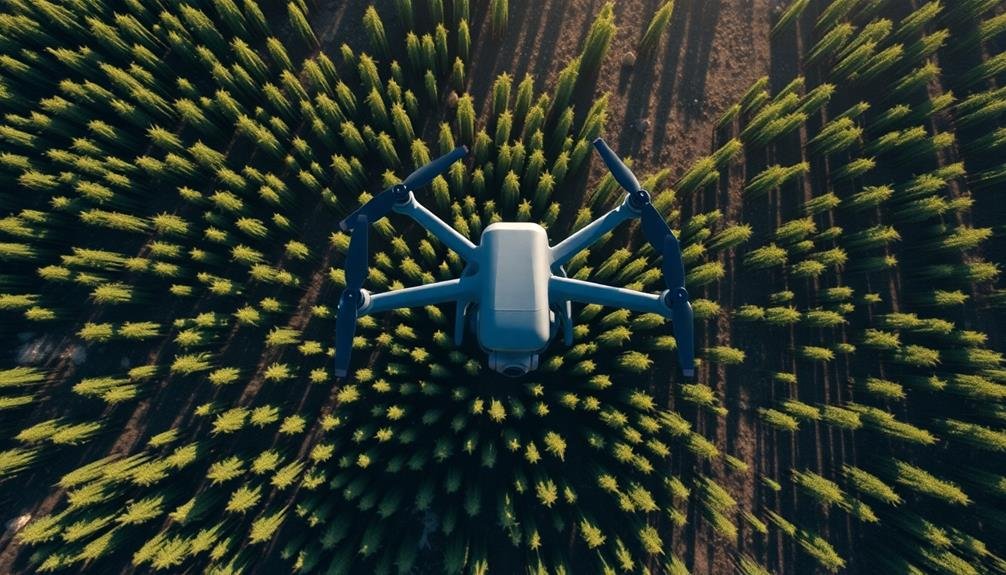
Once you've refined your camera settings, it's crucial to guarantee proper overlap between images during your flight. Proper overlap guarantees seamless stitching of aerial photos into a cohesive map. Aim for at least 75% front overlap and 60% side overlap between consecutive images. This redundancy helps compensate for any inconsistencies in camera angles or drone movements.
To achieve the right overlap, adjust your drone's flight speed and image capture interval. Slower speeds and shorter intervals increase overlap but extend flight time. Conversely, faster speeds and longer intervals reduce overlap but cover more ground quickly. Find the ideal balance for your specific project needs.
Consider using automated flight planning software to calculate the perfect flight path and image capture settings. These tools factor in your drone's specifications, camera parameters, and desired ground sampling distance to generate an efficient flight plan.
Don't forget to account for terrain variations. In areas with significant elevation changes, increase overlap to guarantee consistent coverage. Additionally, plan for crosshatch flight patterns in complex environments to capture all angles and minimize data gaps.
Process and Stitch Images

After capturing your aerial images with proper overlap, the next step is to process and stitch them together. Use specialized photogrammetry software to align and merge your photos into a single, seamless orthomosaic.
Begin by importing your raw images and GPS data into the software. It'll automatically detect matching points between overlapping photos and create tie points.
Next, optimize camera positions and generate a sparse point cloud. This initial 3D model helps refine image alignment. Proceed to build a dense point cloud, which adds more detail to your model. From this, create a digital elevation model (DEM) and orthomosaic.
During processing, pay attention to image quality and alignment errors. Remove any blurry or misaligned photos that might compromise the final result. Adjust processing parameters as needed to enhance accuracy and detail.
Once stitching is complete, georeference your orthomosaic using ground control points or known landmarks. This guarantees your map aligns correctly with real-world coordinates.
Analyze Environmental Data
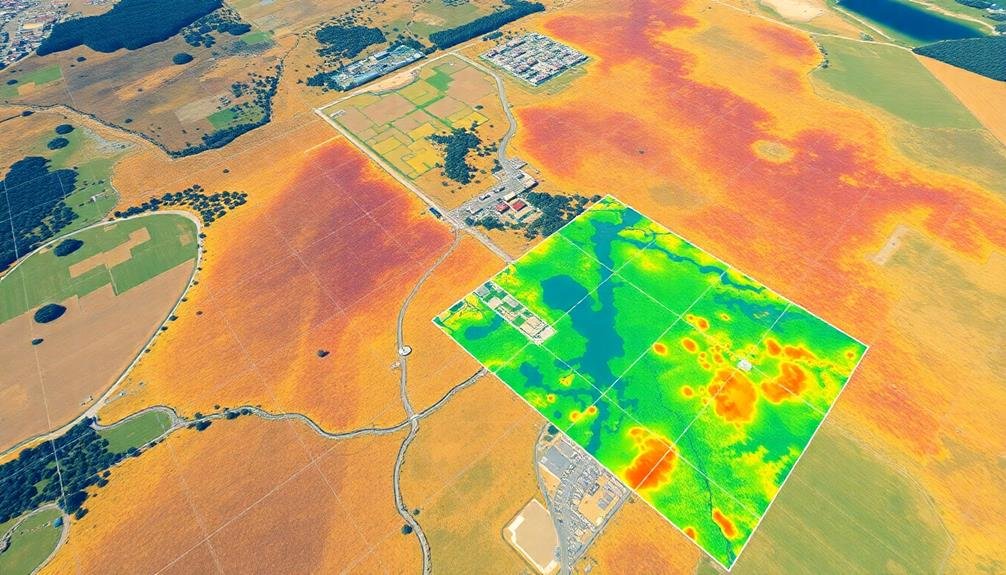
The processed orthomosaic now serves as a powerful tool for environmental analysis. You'll want to examine the imagery closely, looking for key indicators of environmental health or distress.
Start by identifying vegetation patterns, which can reveal information about ecosystem diversity and health. Pay attention to areas of deforestation, invasive species spread, or changes in plant density.
Next, focus on water bodies. Look for signs of erosion, sedimentation, or algal blooms that might indicate water quality issues. Analyze land use changes, such as urban expansion or agricultural intensification, which can impact local ecosystems.
Don't forget to assess wildlife habitats, identifying potential corridors or fragmentation.
Use specialized software to conduct quantitative analysis. You can measure areas of interest, calculate vegetation indices like NDVI, or perform change detection between different time periods.
Consider integrating your aerial data with other environmental datasets, such as climate records or soil samples, to gain a more thorough understanding.
Interpret and Report Findings
You'll need to carefully analyze the aerial data trends to uncover meaningful patterns and changes in environmental conditions.
Create visual impact reports that effectively communicate your findings to stakeholders and decision-makers.
These reports should highlight key observations, potential concerns, and recommended actions based on your bird's-eye mapping assessment.
Analyze Aerial Data Trends
Once you've collected aerial data, it's time to plunge into the analysis phase. Look for patterns and changes over time in your aerial imagery. Compare current data with historical images to identify trends in land use, vegetation cover, or urban development.
Use geographic information systems (GIS) to overlay different data layers, such as soil types, water bodies, and infrastructure. Quantify changes by measuring areas affected by specific environmental issues like deforestation, erosion, or pollution.
Employ image classification techniques to categorize land cover types and calculate their proportions. Analyze spectral data to assess vegetation health, water quality, or soil moisture content. Don't forget to take into account seasonal variations and potential anomalies in your data.
Create time-series analyses to visualize gradual changes or sudden shifts in environmental conditions. Use statistical methods to determine the significance of observed trends and correlations between different variables.
Reflect on external factors that might influence your data, such as climate patterns or human activities. Finally, validate your findings with ground-truth data whenever possible to guarantee the accuracy of your aerial analysis.
Create Visual Impact Reports
Powerful visuals are key to effectively communicating your aerial data analysis. When creating visual impact reports, focus on presenting your findings in a clear, engaging manner that's easily digestible for stakeholders and decision-makers.
Start by selecting the most relevant data points and trends from your analysis. Use a variety of visual elements, such as maps, charts, graphs, and infographics, to illustrate your key findings. Guarantee each visual has a clear purpose and supports your overall narrative.
Incorporate before-and-after imagery to demonstrate environmental changes over time. Use color-coding and symbols to highlight areas of concern or improvement. Include legends and scale bars for context and accuracy.
Supplement your visuals with concise, jargon-free text explanations. Provide brief interpretations of each visual, emphasizing the most significant insights and their implications for environmental management.
Consider creating interactive elements, such as clickable maps or slideshows, for digital reports. This allows viewers to explore the data in more depth and engage with your findings on a personal level.
Frequently Asked Questions
How Does Weather Affect Drone Mapping Accuracy?
Weather greatly impacts your drone mapping accuracy. Wind can destabilize your drone, affecting image quality. Rain or fog obscures visibility. Extreme temperatures may interfere with sensors. You'll get the best results on clear, calm days.
What Licensing or Certifications Are Required for Environmental Drone Mapping?
You'll need a Remote Pilot Certificate from the FAA to fly drones commercially. Depending on your location and project, you may also require additional permits or certifications for environmental work. Always check local regulations before operating.
Can Bird's-Eye Mapping Detect Specific Plant or Animal Species?
Yes, you can use bird's-eye mapping to detect specific plant or animal species. It's particularly effective for identifying large animals, distinct plant patterns, and vegetation types. Advanced imaging technology and AI can enhance species identification capabilities.
How Often Should Mapping Be Repeated for Long-Term Environmental Monitoring?
You'll want to repeat mapping every 1-3 years for long-term monitoring. It depends on your project's goals and the rate of change in your area. More frequent mapping's needed for rapidly changing environments.
What Are the Legal Considerations for Mapping Private or Protected Areas?
You'll need to obtain proper permissions and adhere to privacy laws when mapping private areas. For protected zones, you must comply with environmental regulations and respect restricted access. Always research local, state, and federal laws before conducting any mapping.
In Summary
You've now got the tools to conduct effective bird's-eye mapping for environmental assessments. Remember, success lies in careful planning and execution. Choose your drone wisely, map your flight path, and fine-tune your camera settings. Don't forget to overlap your images properly. Once you've collected your data, process it meticulously and analyze it thoroughly. With these skills, you'll be able to interpret and report your findings accurately, contributing valuable insights to environmental conservation efforts.
As educators and advocates for responsible drone use, we’re committed to sharing our knowledge and expertise with aspiring aerial photographers.


Leave a Reply