To capture moving aerial subjects, you'll need to master various shutter speeds. For fast-moving birds, use 1/2000 to 1/4000 seconds. Slow-flying planes require 1/500 to 1/1000, while hovering helicopters need 1/250 to 1/500. Racing cars demand 1/1000 to 1/2000. For distant lightning, try 1/15 to 1/30, and city traffic at night works well at 1/15 to 1/60. Waterfalls and rivers shine at 1/2 to 2 seconds, while wind turbines need 1/60 to 1/250. For dramatic light trails, experiment with 10 to 30 seconds. These settings are just the beginning; understanding the nuances behind each can elevate your aerial photography to new heights.
Key Takeaways
- Fast-moving birds require shutter speeds of 1/2000 to 1/4000 seconds to freeze action and capture details.
- Racing cars are best photographed with shutter speeds between 1/1000 and 1/2000 seconds for sharp details.
- Hovering helicopters can be captured effectively using shutter speeds of 1/250 to 1/500 seconds.
- Distant lightning strikes are best photographed with slower shutter speeds of 1/15 to 1/30 seconds.
- City traffic at night can be captured with shutter speeds between 1/15 and 1/60 seconds for light trails.
Fast-Moving Birds: 1/2000 – 1/4000
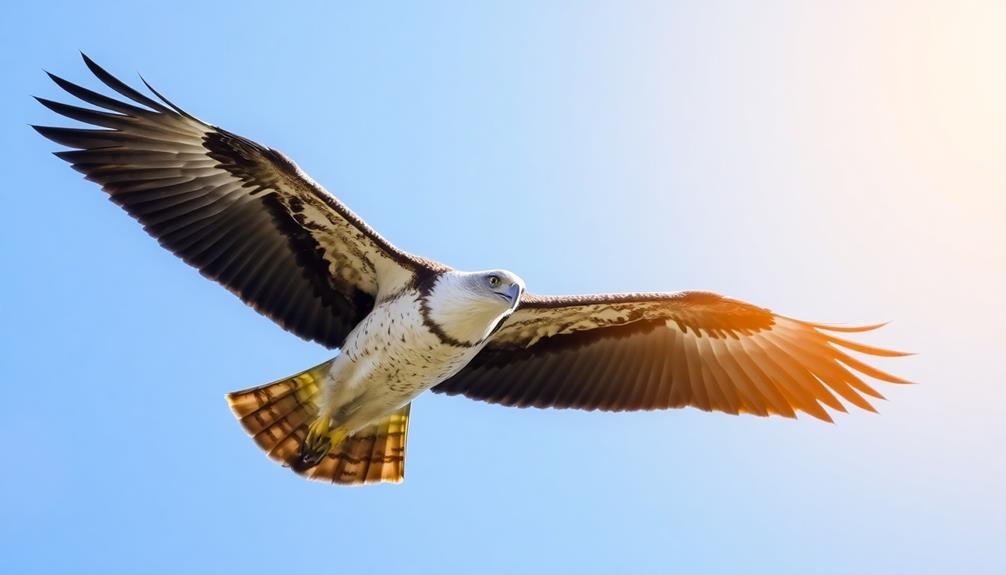
When it comes to capturing fast-moving birds in flight, you'll need lightning-quick shutter speeds. The range of 1/2000 to 1/4000 of a second is ideal for freezing the action and preserving crisp details of these swift subjects.
At 1/2000, you'll be able to capture most birds in flight, including larger species like eagles and hawks. This speed is particularly effective when the bird's flight path is somewhat predictable or when it's soaring rather than actively flapping its wings.
For smaller, faster birds or those with rapid wing beats, such as hummingbirds or swallows, you'll want to push your shutter speed to 1/4000. This ultra-fast setting will freeze even the tiniest movements, allowing you to capture intricate wing positions and feather details.
Slow-Flying Planes: 1/500 – 1/1000
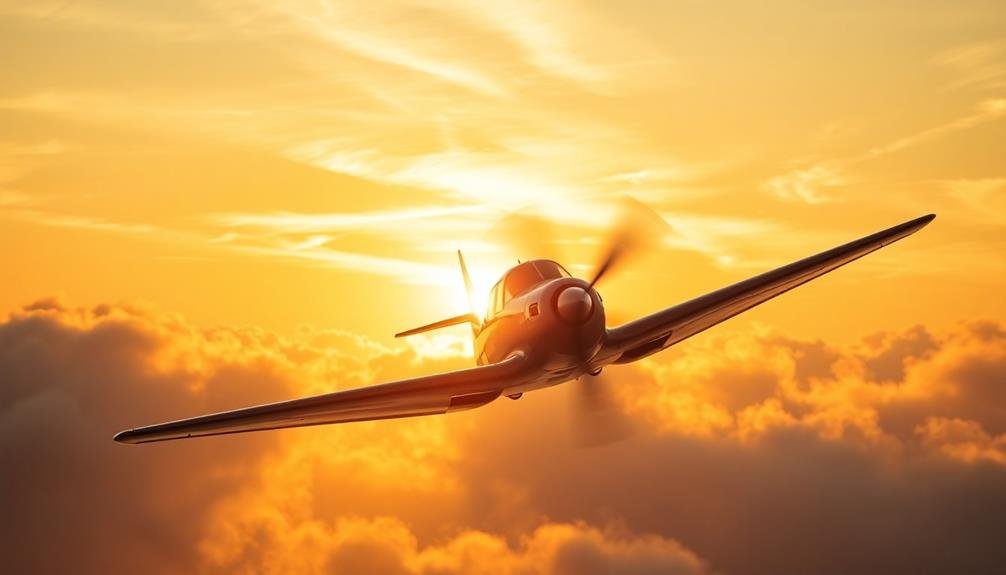
Propellers whirring, slow-flying planes present a unique challenge for aerial photographers. You'll want to capture the aircraft's detail while maintaining a sense of motion. For slow-flying planes, aim for shutter speeds between 1/500 and 1/1000 of a second.
At 1/500, you'll freeze most of the plane's movement while allowing some blur in the propellers, creating a dynamic effect. This speed works well for larger, slower aircraft like vintage planes or cargo transporters. As you increase to 1/1000, you'll achieve sharper images with less motion blur, ideal for capturing intricate details on the plane's body or livery.
Consider the lighting conditions and your camera's ISO capabilities when selecting your shutter speed. In bright daylight, you might lean towards 1/1000 to avoid overexposure. In lower light, 1/500 could be more suitable. Remember to adjust your aperture accordingly to maintain proper exposure.
If you're shooting from another aircraft, factor in your own movement. You may need to increase your shutter speed slightly to compensate for any vibrations or turbulence.
Experiment with different speeds within this range to find the perfect balance between freezing action and conveying motion for your slow-flying subjects.
Hovering Helicopters: 1/250 – 1/500
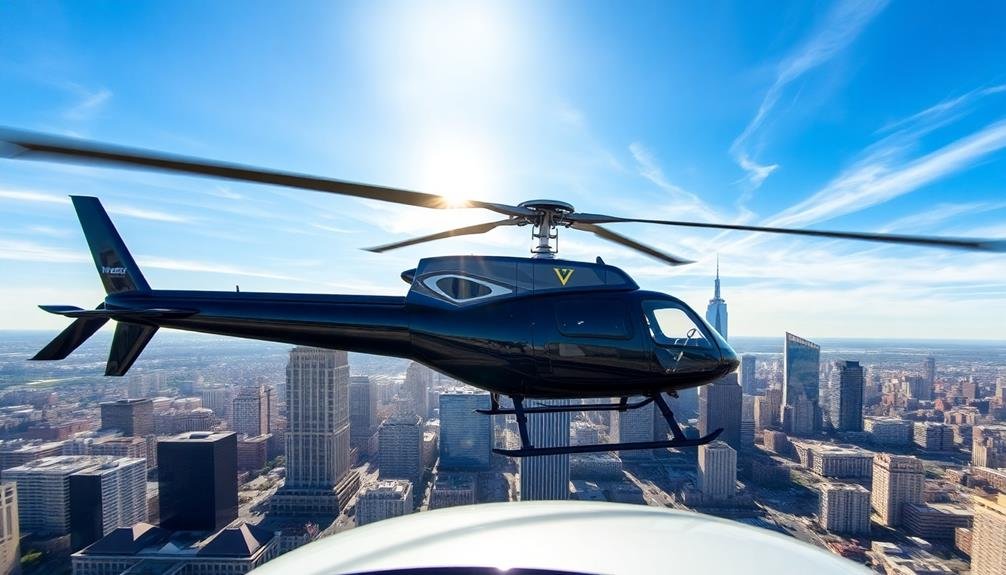
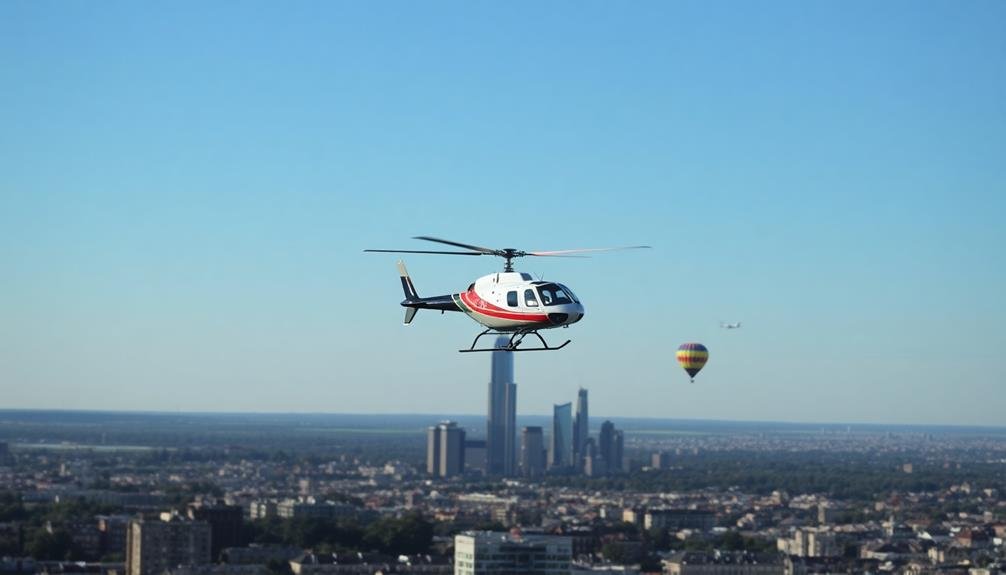
Capturing hovering helicopters presents a unique set of challenges for aerial photographers. Unlike fixed-wing aircraft, helicopters can remain stationary in the air, making them ideal subjects for detailed shots. However, their rotating blades and vibrations can still cause motion blur if you're not careful.
For hovering helicopters, you'll want to use shutter speeds between 1/250 and 1/500 of a second. This range allows you to freeze the main body of the helicopter while maintaining some blur in the rotor blades, creating a sense of motion. At 1/250, you'll capture more blade movement, which can add dynamism to your images. Conversely, 1/500 will freeze the scene more completely, ideal for showcasing the helicopter's details.
Remember to adjust your aperture and ISO accordingly to maintain proper exposure. If light conditions allow, opt for a narrower aperture (higher f-number) to increase depth of field and guarantee the entire helicopter is in focus.
In low light situations, you might need to push your ISO higher to maintain these shutter speeds. Don't forget to use image stabilization if your camera or lens offers it, as it can help counteract any minor movements on your part.
Racing Cars: 1/1000 – 1/2000
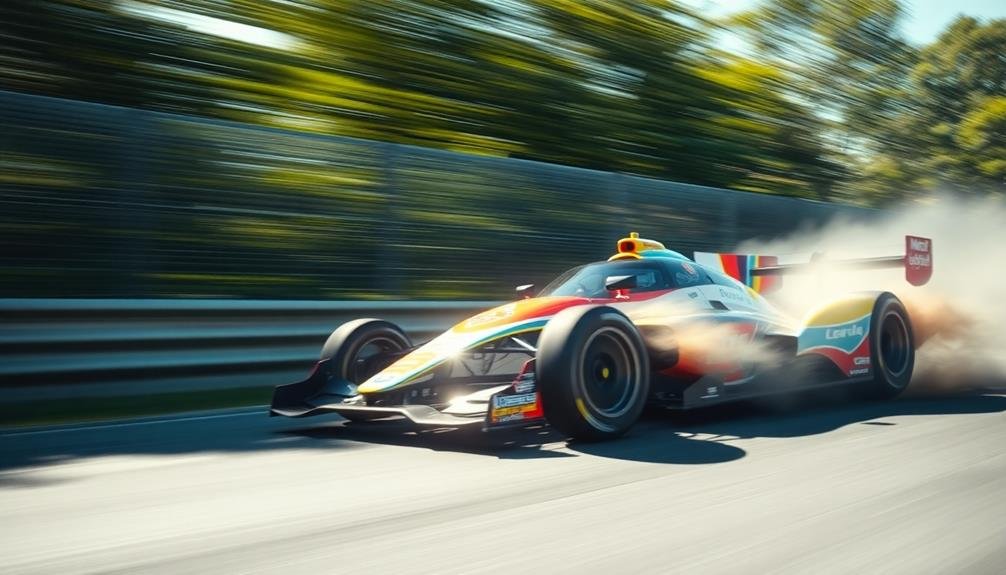
When capturing racing cars from the air, you'll need to use faster shutter speeds than for hovering helicopters.
At 1/1000 to 1/2000 of a second, you can freeze the fast-paced action, preserving crisp details of the vehicles as they speed by.
If you're aiming to convey a sense of motion, try panning with the cars and slightly lowering your shutter speed to introduce some controlled motion blur.
Freezing Fast-Paced Action
The thrill of aerial photography reaches new heights when freezing fast-paced action like racing cars. To capture these high-speed subjects, you'll need to use shutter speeds between 1/1000 and 1/2000 of a second. This range guarantees you'll freeze the motion and maintain sharp details in your images.
When shooting from a helicopter or drone, you'll face additional challenges like vibration and wind. To compensate, lean towards the faster end of the range, around 1/2000. This will help minimize any blur caused by camera shake or aircraft movement.
Remember to adjust your ISO and aperture accordingly to maintain proper exposure. You might need to increase your ISO or open up your aperture to allow enough light for these quick shutter speeds.
It's also essential to use continuous autofocus and burst mode to increase your chances of nailing the perfect shot.
Consider the angle of your subject's movement relative to your camera. If they're moving perpendicular to your lens, you can use slightly slower shutter speeds. For head-on or diagonal movement, stick to the faster end of the range to guarantee crisp results.
Capturing Motion Blur
While freezing action can produce stunning results, sometimes you'll want to convey a sense of speed and movement in your aerial shots. To capture motion blur in racing cars from the air, you'll need to use slower shutter speeds than those used for freezing action. Aim for speeds between 1/1000 and 1/2000 of a second, depending on the car's speed and your distance from the subject.
When shooting with these slower speeds, you'll need to pan your camera along with the moving car to keep it in focus while blurring the background. This technique creates a dynamic effect that emphasizes the speed and motion of the race. Here's a guide to help you choose the right shutter speed based on different racing scenarios:
| Racing Type | Car Speed | Distance | Shutter Speed |
|---|---|---|---|
| F1 Racing | 200+ mph | Low | 1/2000 |
| NASCAR | 180+ mph | Medium | 1/1500 |
| Rally | 100+ mph | High | 1/1000 |
| Drag Racing | 300+ mph | Low | 1/2000 |
Remember to adjust your aperture and ISO to maintain proper exposure while using these shutter speeds. Practice your panning technique to achieve smooth, consistent results that showcase the excitement of the race from above.
Distant Lightning Strikes: 1/15 – 1/30
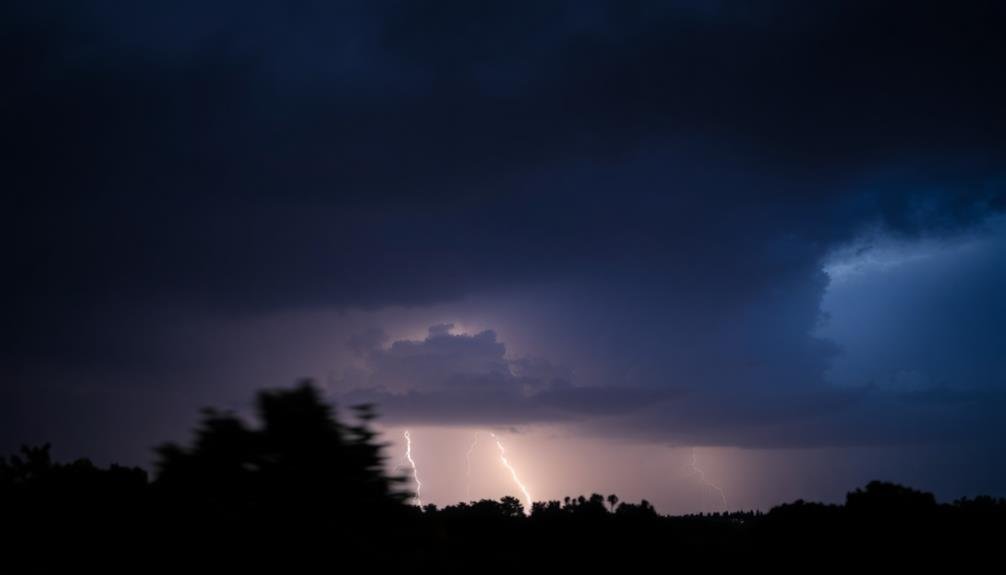
When capturing distant lightning strikes from the air, you'll want to use slower shutter speeds between 1/15 and 1/30 of a second.
These longer exposures increase your chances of capturing multiple lightning bolts in a single frame while maintaining a balanced exposure for the ambient light.
Be cautious not to overexpose the sky, as this can detract from the dramatic effect of the lightning against the dark backdrop.
Capturing Multiple Lightning Bolts
Capturing multiple lightning bolts in a single frame can create breathtaking aerial photographs. To achieve this, you'll need to use longer exposure times than those for single strikes. Start with shutter speeds between 5 and 30 seconds, depending on the storm's intensity and your desired composition.
Set your camera to manual mode and use a low ISO (100-400) to minimize noise. Choose an aperture between f/8 and f/11 for ideal depth of field. Use a sturdy tripod or mount your camera securely to prevent camera shake during long exposures.
Timing is essential. Watch the storm's pattern and anticipate where lightning might strike. Use an intervalometer or remote shutter release to take continuous shots, increasing your chances of catching multiple bolts.
Be mindful of your aircraft's movement and vibrations. If possible, hover in a stable position or use image stabilization techniques. Consider using neutral density filters to allow for longer exposures in brighter conditions.
Remember to prioritize safety. Never fly too close to storms and always follow aviation regulations.
With practice and patience, you'll capture stunning multi-bolt lightning images that showcase nature's power from a unique aerial perspective.
Balancing Ambient Light Exposure
Balancing ambient light exposure is essential when photographing distant lightning strikes from the air. You'll want to capture both the lightning and the surrounding landscape, which can be challenging in low-light conditions. Use shutter speeds between 1/15 and 1/30 of a second to achieve this balance. These slower speeds allow enough light for the environment while still freezing the lightning's brief illumination.
To help you choose the right settings, consider the following table:
| Lighting Condition | Aperture | ISO | Shutter Speed |
|---|---|---|---|
| Very Dark | f/2.8 | 800 | 1/15 |
| Dark | f/4 | 640 | 1/20 |
| Dim | f/5.6 | 500 | 1/25 |
| Twilight | f/8 | 400 | 1/30 |
| Bright Moon | f/11 | 320 | 1/30 |
Remember to adjust your camera's settings as conditions change. You might need to increase your ISO or widen your aperture if the scene is particularly dark. Conversely, in brighter conditions, you can narrow your aperture or lower your ISO to maintain the desired shutter speed range. Always monitor your histogram to verify you're not clipping highlights or losing detail in the shadows.
Avoiding Overexposed Sky Areas
The challenge of overexposed sky areas often plagues aerial photographers capturing distant lightning strikes. To avoid this issue, you'll need to carefully balance your exposure settings.
When shooting lightning from the air, aim for shutter speeds between 1/15 and 1/30 of a second. These slower speeds allow enough time to capture the fleeting bolts while preventing the sky from becoming washed out.
To further protect against overexposure, you'll want to lower your ISO and adjust your aperture. Start with an ISO of 100 or 200 and an aperture around f/8 to f/11.
This combination will help maintain detail in the sky while still allowing enough light for the lightning to register. You can also use graduated neutral density filters to darken the sky portion of your frame without affecting the ground.
Fireworks Displays: 2 – 4 Seconds
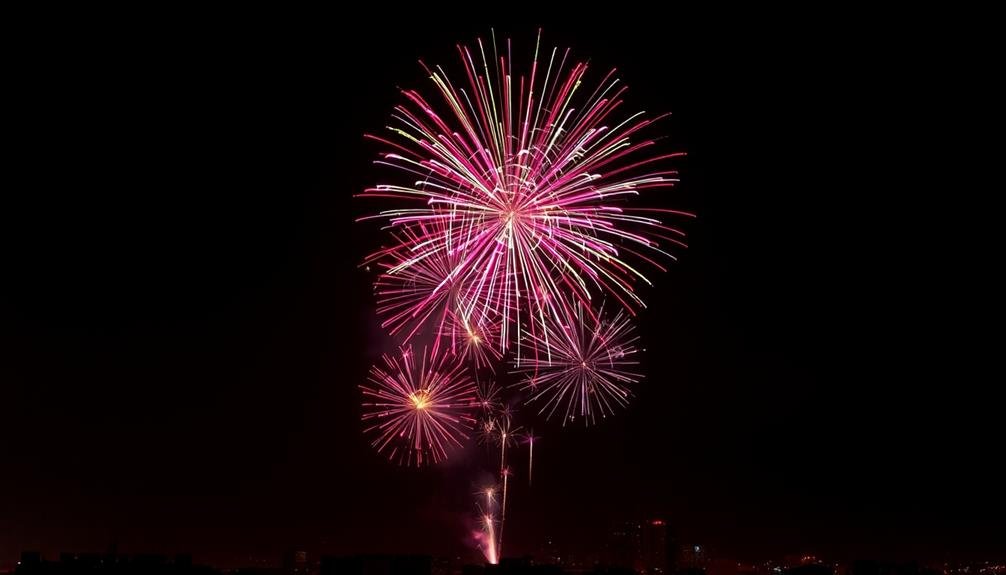
For fireworks displays, a shutter speed of 2 to 4 seconds can yield stunning results. This longer exposure time allows you to capture the full arc and burst of fireworks, creating beautiful light trails in your images.
As you're shooting from an aerial perspective, you'll need to stabilize your camera to avoid blur. Use a drone with a gimbal or mount your camera on a stable platform.
When selecting your shutter speed within the 2-4 second range, consider the intensity and frequency of the fireworks. For rapid, intense displays, lean towards 2 seconds to avoid overexposure. For sparser shows, use 3-4 seconds to capture more bursts in a single frame.
You'll want to adjust your aperture and ISO accordingly to maintain proper exposure. Start with a low ISO (100-200) and a moderate aperture (f/8-f/11) to balance light intake and depth of field.
Remember to anticipate the fireworks' location and frame your shot accordingly. Include interesting foreground elements, such as city skylines or landscapes, to add context and depth to your aerial fireworks photos.
Experiment with different compositions and shutter speeds to achieve the perfect balance of light trails and clarity in your images.
City Traffic at Night: 1/15 – 1/60
When capturing city traffic at night from the air, you'll want to experiment with shutter speeds between 1/15 and 1/60 of a second.
These speeds allow you to create stunning light trails and streaks while revealing the patterns of vehicle movement below.
You'll need to balance your exposure carefully, aiming for enough blur to convey motion without losing the overall sharpness of the cityscape.
Light Trails and Streaks
Capturing mesmerizing light trails and streaks from city traffic at night can transform your aerial photography. To achieve this effect, you'll need to use longer shutter speeds than those used for freezing motion. Aim for exposures between 2 and 30 seconds, depending on the intensity of the light sources and the desired length of the streaks.
Start by setting your camera to manual mode and selecting a low ISO (100-400) to minimize noise. Choose an aperture between f/8 and f/16 to maintain sharpness across the frame. As you experiment with longer shutter speeds, you may need to adjust your aperture to compensate for increased light exposure.
Stability is essential for sharp images, so use a gimbal or mount your camera securely to your drone. Enable any built-in stabilization features your equipment offers.
To create more dramatic light trails, try flying your drone slowly in the opposite direction of traffic flow. This technique will extend the length of the streaks in your composition.
Remember to be mindful of local regulations regarding night flights and always prioritize safety when capturing these stunning aerial light trail images.
Capturing Vehicle Movement Patterns
To showcase the dynamic flow of city traffic at night, shutter speeds between 1/15 and 1/60 of a second offer an ideal balance. These settings allow you to capture the movement of vehicles while maintaining some definition in their shapes. At 1/15, you'll get more pronounced light trails, creating a sense of speed and energy. As you increase to 1/60, you'll retain more detail in the vehicles themselves.
When shooting from an aerial perspective, consider the altitude and speed of your aircraft. Lower altitudes may require faster shutter speeds to avoid blur from the helicopter or drone's movement. Experiment within this range to find the sweet spot for your specific conditions.
Use a wider aperture (lower f-number) to allow more light into the camera, compensating for the relatively slow shutter speed. This will help you maintain a lower ISO and reduce noise in your images.
If possible, use a gimbal or image stabilization to minimize camera shake.
Balancing Exposure and Blur
Balancing exposure and blur in nighttime aerial photography of city traffic requires careful consideration of your camera settings.
When shooting city traffic at night from above, you'll typically want to use shutter speeds between 1/15 and 1/60 of a second. This range allows you to capture the light trails of moving vehicles while maintaining overall image sharpness.
At 1/15 of a second, you'll get longer, more pronounced light trails, but you'll need to be extra steady to avoid camera shake. Use 1/30 or 1/60 if you're shooting handheld or in slightly windier conditions. These faster speeds will still produce visible light trails while reducing the risk of unwanted blur.
To achieve the right balance, start with your camera's base ISO (usually 100 or 200) and adjust your aperture to control depth of field.
Then, fine-tune your shutter speed within the 1/15 to 1/60 range. If your image is too dark, gradually increase ISO rather than slowing down your shutter speed further.
Waterfalls and Rivers: 1/2 – 2 Seconds
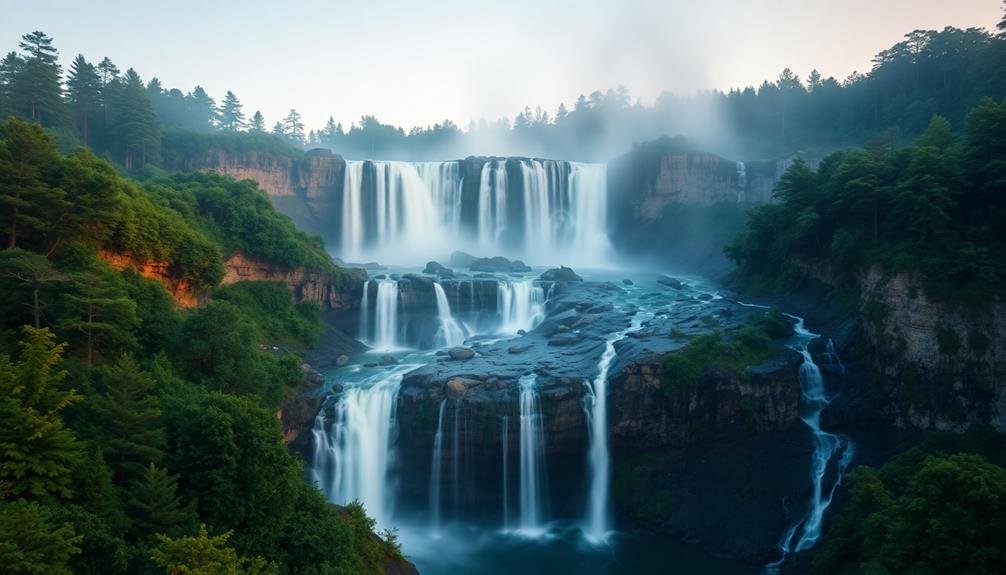
Many aerial photographers dream of capturing the perfect waterfall or river shot. To achieve this, you'll need to master the art of slower shutter speeds, typically between 1/2 and 2 seconds. These longer exposures create that silky, smooth water effect that's highly sought after in aerial photography.
When shooting waterfalls or rivers from above, start with a shutter speed of 1 second and adjust as needed. You'll want to use a lower ISO and a smaller aperture to compensate for the longer exposure time. Remember, your drone's movement can introduce blur, so stability is vital. Activate any built-in stabilization features and contemplate using automated flight modes for smoother results.
Wind conditions play a significant role in your ability to capture these longer exposures. Calm days are ideal, but if you're facing light winds, try increasing your shutter speed slightly to minimize motion blur.
Experiment with different angles and heights to find the most enchanting composition. Don't forget to reflect on the surrounding landscape and how it complements the flowing water. With practice and patience, you'll soon be creating stunning aerial images of waterfalls and rivers that showcase their dynamic beauty.
Wind Turbines in Motion: 1/60 – 1/250
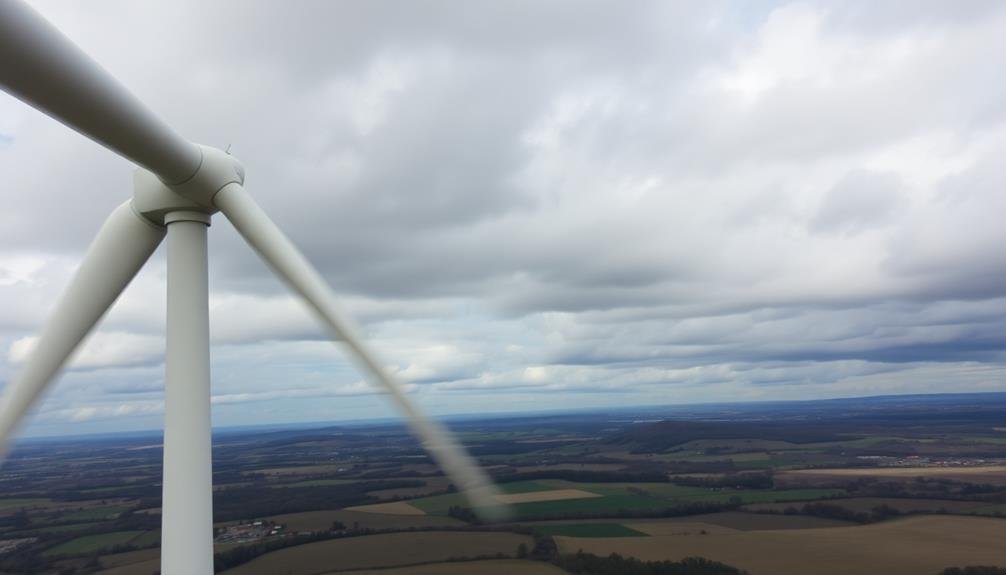
When capturing wind turbines in motion, you'll need to strike a balance between freezing the blades and conveying their movement. The ideal shutter speed range for this is typically between 1/60 and 1/250 of a second.
At 1/60, you'll capture more motion blur in the turbine blades, emphasizing their rotation and creating a sense of energy in your image. This slower speed works well when you're shooting in lower light conditions or want to highlight the turbines' movement against a static background.
As you increase your shutter speed towards 1/250, you'll start to freeze the blades more, revealing their shape and structure. This can be effective when you want to showcase the engineering of the turbines or capture them in bright daylight.
Consider factors like wind speed and your distance from the turbines when choosing your exact shutter speed. Stronger winds may require faster speeds to avoid excessive blur. If you're shooting from a moving aircraft, you might need to lean towards the faster end of the range to compensate for your own motion.
Experiment within this range to find the perfect balance between motion and clarity for your specific shooting conditions and creative vision.
Aerial Light Trails: 10 – 30 Seconds
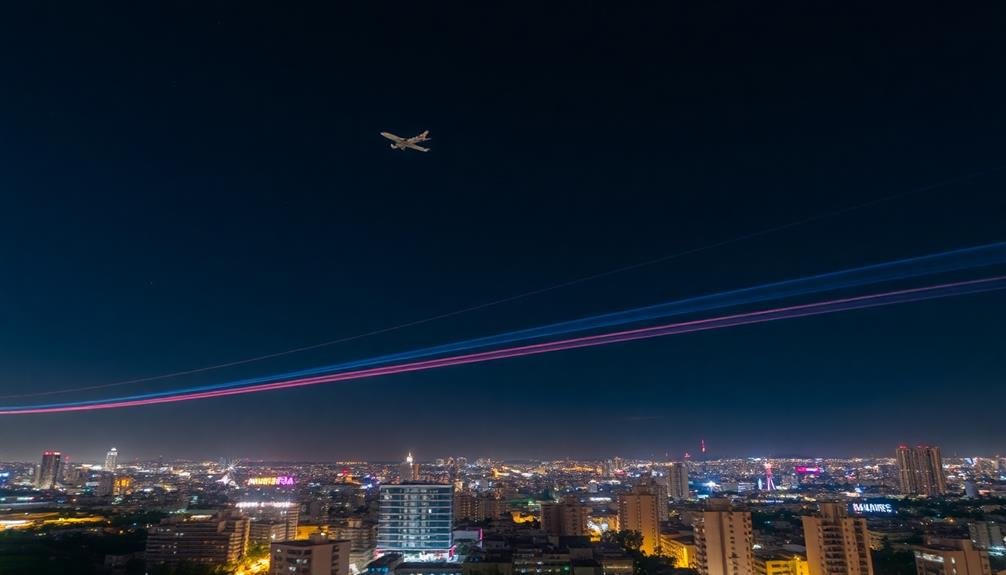
Capturing aerial light trails offers a stunning way to showcase the dynamic energy of cities at night. To achieve this effect, you'll need to use long exposure times ranging from 10 to 30 seconds. These extended shutter speeds allow you to record the movement of vehicle lights as they traverse city streets, creating vibrant streaks of color against the dark urban landscape.
When shooting aerial light trails, stability is vital. You'll want to use a sturdy mount for your camera, whether it's attached to a drone or shooting from a helicopter. Set your ISO low (100-400) to minimize noise and use a narrow aperture (f/8-f/16) to guarantee sharp focus throughout the frame.
Experiment with different exposure times within the 10-30 second range to find the perfect balance between light trail intensity and overall image brightness.
Remember that timing is significant. The best results often come during the "blue hour" just after sunset when there's still some ambient light in the sky. This helps maintain detail in buildings and other stationary elements while allowing the light trails to stand out dramatically.
Don't forget to take into account composition, using leading lines and city landmarks to create a visually compelling image.
Frequently Asked Questions
How Does Camera Sensor Size Affect Shutter Speed Choices?
Your camera's sensor size impacts shutter speed choices. Larger sensors gather more light, allowing faster shutter speeds in low light. You'll have more flexibility with bigger sensors, while smaller ones may require slower speeds or higher ISO.
What's the Best Aperture Setting to Pair With These Shutter Speeds?
You'll want to pair your shutter speeds with a mid-range aperture like f/8 or f/11. This'll give you a good balance of depth of field and sharpness while still allowing enough light for proper exposure.
How Can I Stabilize My Camera for Slower Shutter Speeds?
You can stabilize your camera for slower shutter speeds by using a tripod, monopod, or image stabilization technology. Brace yourself against a solid surface, hold your breath while shooting, and use a remote shutter release for extra stability.
Are There Specific ISO Settings Recommended for These Aerial Subjects?
You'll want to keep your ISO as low as possible for aerial subjects. Start with ISO 100-400 for bright conditions. If you need faster shutter speeds, don't hesitate to increase ISO, but watch for noise.
How Do Weather Conditions Impact Shutter Speed Selection for Aerial Photography?
Weather conditions greatly impact your shutter speed choices. You'll need faster speeds in bright sunlight to avoid overexposure. In cloudy or low-light conditions, you'll have to slow down your shutter to let in more light.
In Summary
You've now got a range of shutter speeds to capture various aerial subjects. Remember, these are starting points – don't be afraid to experiment. Your camera settings, lighting conditions, and artistic vision will all play a role in determining the perfect shutter speed. Practice with different speeds to find what works best for you. With time and experience, you'll develop an intuitive feel for choosing the right shutter speed in any aerial photography situation.

As educators and advocates for responsible drone use, we’re committed to sharing our knowledge and expertise with aspiring aerial photographers.
Leave a Reply