For low-light sky photography with your drone, you'll want to use ISO settings between 800 and 3200. Start with ISO 800 and adjust upwards based on lighting conditions. Full moon nights may only require ISO 800-1600, while new moon conditions might need ISO 2400-3200. Remember, higher ISO increases sensitivity but also introduces more noise. Balance your ISO with shutter speed using the 500 rule for sharp star images. Modern drones perform well at ISO 1600-3200 for night sky shots. Experiment with different settings and use post-processing techniques to achieve the best results. There's more to explore in mastering this enchanting form of aerial photography.
Key Takeaways
- ISO 800-3200 is recommended for most modern drones in nighttime sky photography.
- Start with ISO 800 and adjust upwards based on image brightness and lighting conditions.
- Use lower ISO (800-1600) for full moon conditions, and higher ISO (2400-3200) for new moon conditions.
- Balance ISO with shutter speed, using the 500 rule to determine the longest exposure for sharp star images.
- Experiment with different ISO settings and use post-processing techniques to reduce noise in high-ISO images.
Understanding ISO in Drone Photography
Three key elements influence drone photography: aperture, shutter speed, and ISO.
When it comes to low-light sky photography with drones, understanding ISO is essential. ISO determines your camera sensor's sensitivity to light. A higher ISO allows you to capture images in darker conditions, but it also introduces more noise or grain to your photos.
For drone photography, you'll need to balance ISO with other settings to achieve the best results. Start with the lowest ISO possible for your lighting conditions, typically 100 or 200. If your image is too dark, gradually increase the ISO. Remember, higher ISOs (800, 1600, or above) will produce more visible noise in your sky photos.
Modern drones often have advanced noise reduction algorithms, but it's still best to keep ISO as low as possible.
To compensate for lower ISO in low-light conditions, you can:
- Use a slower shutter speed (be cautious of motion blur)
- Open up your aperture (if your drone allows)
- Stabilize your drone to reduce camera shake
- Post-process to reduce noise in editing software
Optimal ISO Range for Nighttime Flights
Nighttime drone flights demand a delicate balance when it comes to ISO settings. You'll need to find the sweet spot between capturing enough light and avoiding excessive noise in your images. For most modern drones, an ideal ISO range for nighttime sky photography falls between 800 and 3200.
Start with ISO 800 and gradually increase it if your images are too dark. Remember, higher ISO values amplify light sensitivity but also introduce more digital noise. To determine the best ISO for your specific conditions, consider factors like moonlight, light pollution, and your drone's sensor capabilities.
Here's a quick reference guide for nighttime ISO settings:
| Lighting Condition | Recommended ISO Range |
|---|---|
| Full Moon | 800 – 1600 |
| Half Moon | 1600 – 2400 |
| New Moon | 2400 – 3200 |
| Urban Areas | 800 – 1600 |
| Rural Areas | 1600 – 3200 |
Always test different ISO values before committing to a full shoot. Review your images on a larger screen to assess noise levels and overall quality. Don't forget to adjust your shutter speed and aperture accordingly to maintain proper exposure as you fine-tune your ISO settings.
Balancing ISO With Shutter Speed
Finding the right balance between ISO and shutter speed is essential for capturing stunning low-light sky images with your drone. As you increase ISO to brighten your shots, you'll need to adjust your shutter speed accordingly to maintain proper exposure.
Start by setting your ISO to the lowest value that still allows for a clear image. Then, adjust your shutter speed to achieve the desired effect. For sharp star images, use the 500 rule: divide 500 by your lens's focal length to determine the longest exposure time before stars blur. If you're aiming for star trails, opt for longer exposures.
Remember, higher ISOs introduce more noise, while slower shutter speeds may cause motion blur. To minimize noise, use the longest shutter speed possible without compromising image quality. If your drone has image stabilization, you can push shutter speeds slightly slower.
Don't be afraid to experiment with different combinations. Take test shots and review them on a larger screen to fine-tune your settings. As you gain experience, you'll develop an intuition for balancing ISO and shutter speed in various low-light conditions.
Noise Reduction Techniques for High-ISO
When shooting with high ISO settings, you'll inevitably encounter digital noise in your sky photographs. To combat this, you can employ several noise reduction techniques both in-camera and during post-processing.
In-camera noise reduction often involves long exposure noise reduction (LENR) or high ISO noise reduction. These features can help, but they may increase shooting time or reduce image detail. For post-processing, you'll find various software options that offer advanced noise reduction algorithms.
Here's a comparison of popular noise reduction methods:
| Method | Pros | Cons | Best for |
|---|---|---|---|
| LENR | In-camera, automatic | Doubles exposure time | Static scenes |
| High ISO NR | In-camera, quick | May reduce detail | Time-sensitive shots |
| Photoshop | Powerful, flexible | Steep learning curve | Detailed editing |
| Topaz DeNoise AI | AI-powered, effective | Expensive, resource-intensive | High-end results |
To maximize your results, combine these techniques with proper exposure and shooting practices. Use RAW format to retain more data for post-processing, and consider taking multiple exposures to stack and average out noise in software. Remember, some noise is often preferable to excessive smoothing, which can make your sky images look artificial.
Camera-Specific ISO Recommendations for Drones
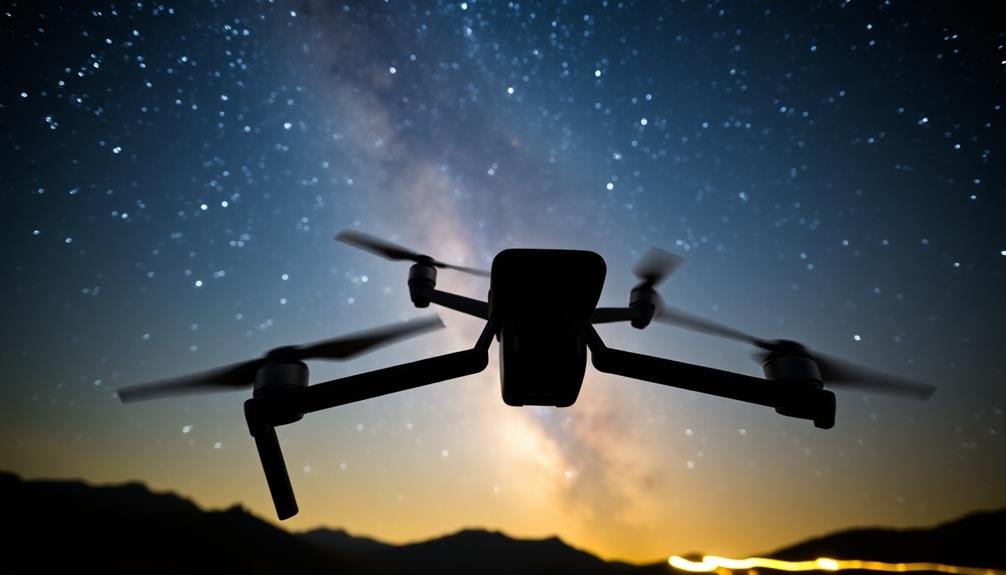
When selecting ISO settings for drone sky photography, you'll find popular ranges typically span from 100 to 3200.
You'll need to take into account your drone's sensor size, as larger sensors generally perform better at higher ISOs.
To manage noise at higher ISO settings, you can employ techniques like long exposure noise reduction or post-processing software.
Popular Drone ISO Ranges
Selecting the right ISO range for your drone's camera can make or break your low-light sky photography. Most consumer drones offer ISO ranges between 100 and 3200, with some high-end models extending up to 6400 or even 12800. For low-light sky shots, you'll typically want to stay within the 800 to 3200 range.
Popular drone models like the DJI Mavic 3 and Air 2S provide ISO ranges from 100 to 6400, giving you ample flexibility for various lighting conditions. The Autel EVO II Pro offers an extended range of 100 to 12800, which can be useful in extremely low-light situations. However, be cautious when pushing beyond 3200, as image noise becomes more pronounced.
When shooting the night sky, start with an ISO of 1600 and adjust as needed. If you're capturing city lights or the moon, you might be able to use a lower ISO around 400-800.
Sensor Size Considerations
In addition to ISO settings, sensor size plays a crucial role in determining the image quality of your low-light sky photography. Larger sensors generally perform better in low-light conditions, allowing for higher ISO settings with less noise. When selecting a drone for night sky photography, consider models with 1-inch sensors or larger.
For drones with 1-inch sensors, like the DJI Air 2S or Mavic 3, you can typically use ISO settings between 1600 and 3200 for night sky shots. These sensors handle noise well, preserving detail even at higher ISOs.
If you're using a drone with a smaller 1/2.3-inch sensor, such as the DJI Mini 2, limit your ISO to 800-1600 to minimize noise.
Some high-end drones feature Micro Four Thirds sensors, like the DJI Inspire 2 with X5S camera. These larger sensors excel in low-light conditions, allowing you to push ISO settings to 3200-6400 while maintaining good image quality.
Remember to balance ISO with shutter speed and aperture to achieve ideal exposure. Always shoot in RAW format to maximize post-processing flexibility and noise reduction capabilities.
Noise Reduction Techniques
Mastery of noise reduction techniques is vital for achieving high-quality low-light sky photography with drones. When capturing the night sky with your drone, you'll need to balance high ISO settings with effective noise reduction strategies.
Start by using your drone's built-in noise reduction features, which often include long exposure noise reduction and high ISO noise reduction. These functions can greatly improve image quality, but they may also increase processing time.
To further minimize noise in your low-light drone photos:
- Shoot in RAW format to preserve maximum data for post-processing
- Use multiple exposures and stack them in post-processing software
- Apply selective noise reduction to different areas of your image
Don't forget to experiment with your drone's ISO settings to find the sweet spot between sensitivity and noise. Many modern drones perform well at ISO 1600-3200 for night sky photography.
However, you'll need to adjust based on your specific model and shooting conditions. Remember that higher ISO settings will introduce more noise, so it's essential to find the right balance for your particular drone and desired image quality.
Post-Processing High-ISO Aerial Images
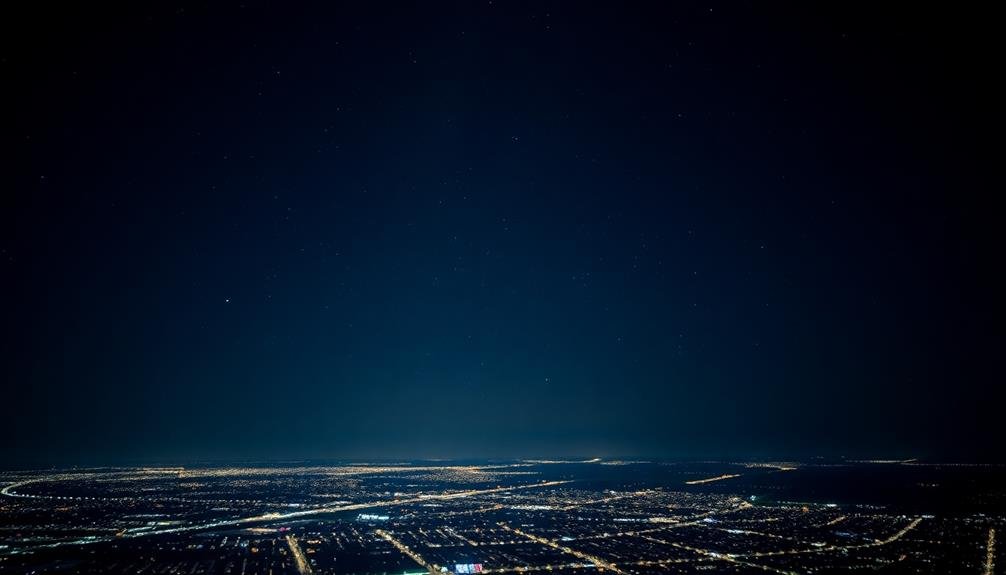
Despite the challenges of high-ISO aerial photography, you can significantly improve your images through effective post-processing techniques. Start by importing your RAW files into your preferred editing software. Focus on noise reduction first, using both luminance and color noise reduction sliders. Don't overdo it, as excessive noise reduction can lead to loss of detail.
Next, adjust your exposure and contrast. High-ISO images often lack punch, so boost contrast carefully. Use selective adjustments to enhance specific areas without affecting the entire image. Pay special attention to sharpening, as high-ISO images can appear soft. Use a mask to sharpen only the edges and details.
| Technique | Effect | Emotion |
|---|---|---|
| Noise Reduction | Cleaner image | Relief |
| Contrast Boost | Enhanced depth | Excitement |
| Selective Adjustments | Balanced look | Satisfaction |
| Edge Sharpening | Crisp details | Clarity |
| Color Correction | Natural tones | Authenticity |
Frequently Asked Questions
How Does Temperature Affect ISO Performance in Low-Light Drone Photography?
You'll find that temperature impacts ISO performance in low-light drone photography. As it gets colder, your sensor's noise levels decrease, allowing for higher ISO settings without sacrificing image quality. Warmer temperatures can increase noise, requiring lower ISO values.
Can ND Filters Be Used Effectively for Low-Light Sky Photography?
You can use ND filters for low-light sky photography, but they're not typically recommended. They reduce light entering the camera, which isn't ideal for low-light conditions. Instead, focus on using wider apertures and longer exposures.
What's the Impact of Drone Altitude on ISO Settings for Night Shots?
As you increase your drone's altitude, you'll need higher ISO settings for night shots. You're capturing less light from distant subjects, so you'll compensate by boosting ISO. However, this can introduce more noise in your images.
How Do Different Lens Apertures Influence ISO Choices for Aerial Night Photography?
You'll need higher ISO settings with smaller apertures to compensate for less light. Wider apertures allow more light, so you can use lower ISO. Balance your choices to avoid noise while maintaining sharpness in your aerial night shots.
Are There Specific ISO Strategies for Capturing Stars vs. City Lights?
You'll want different ISO strategies for stars versus city lights. For stars, use higher ISOs (1600-6400) to capture faint light. For city lights, lower ISOs (100-400) work better to avoid overexposure and maintain detail.
In Summary
You've now got the tools to master low-light sky photography with your drone. Remember, there's no one-size-fits-all ISO setting. Experiment with different ISO ranges, balance it with shutter speed, and don't forget noise reduction techniques. Each drone camera's sweet spot may vary, so get to know your equipment. Post-processing can help salvage high-ISO shots. With practice, you'll capture stunning nighttime aerial images that'll take your breath away.

As educators and advocates for responsible drone use, we’re committed to sharing our knowledge and expertise with aspiring aerial photographers.


Leave a Reply