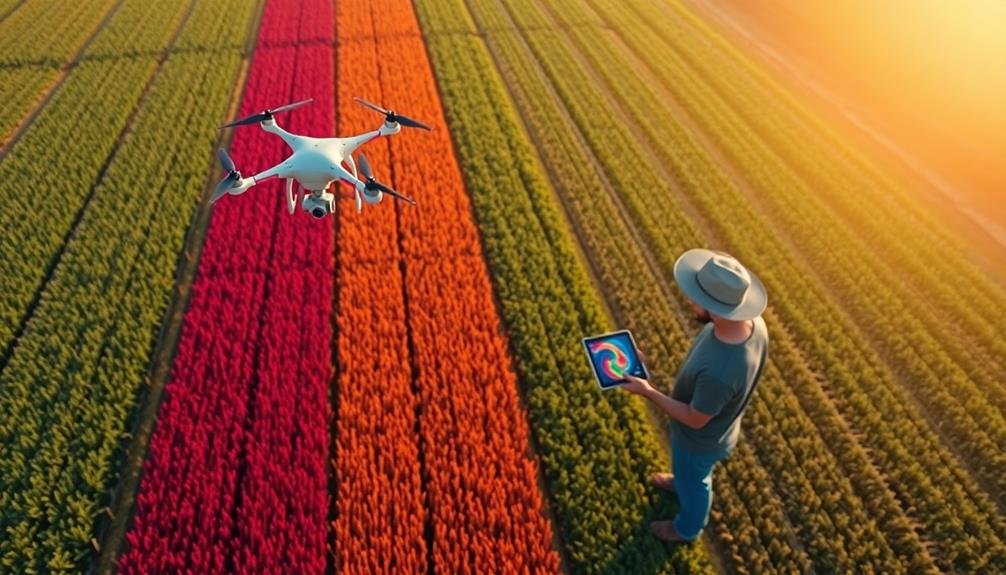
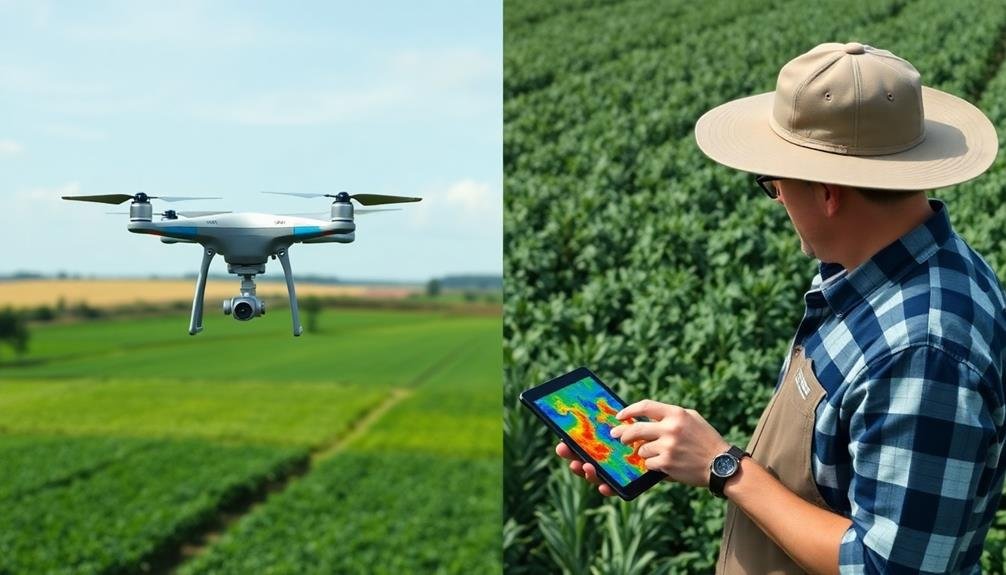
Multispectral imaging is revolutionizing precision agriculture with these ten tips: Choose the right spectral bands for your crops, calibrate your camera properly, plan ideal flight patterns, consider weather and lighting conditions, process raw data effectively, detect crop stress early, monitor nutrient levels precisely, enhance irrigation management, integrate with farm management software, and centralize your data. You'll need to understand spectral indices, calibrate your equipment, plan flights carefully, and process data accurately. By mastering these techniques, you'll enhance crop health monitoring, improve resource management, and boost overall farm productivity. Dive deeper to reveal the full potential of this game-changing technology in modern agriculture.
Choose the Right Spectral Bands
When selecting spectral bands for multispectral imaging in agriculture, it's vital to take into account your specific crop and monitoring goals. Different crops and plant health indicators require varying spectral ranges for ideal analysis.
Start by identifying the key vegetation indices you want to measure, such as NDVI, GNDVI, or NDRE. For general crop health assessment, focus on near-infrared (NIR) and red bands, which are critical for calculating NDVI. If you're monitoring chlorophyll content, include green and NIR bands for GNDVI calculations. To assess crop nitrogen levels, incorporate red-edge bands alongside NIR and red.
Consider the growth stage of your crops when choosing bands. Early-season monitoring may benefit from visible light bands to detect emergence patterns, while mid-season assessments often require NIR and red-edge bands for detailed plant health analysis.
Don't overlook the potential of thermal bands for detecting water stress or disease outbreaks. Remember that more bands aren't always better. Select only the most relevant spectral ranges for your specific application to enhance data processing and storage.
Calibrate Your Multispectral Camera
To calibrate your multispectral camera effectively, you'll need to start by selecting appropriate reference targets.
Next, you should adjust your camera's exposure settings to guarantee ideal image quality across all spectral bands.
Choose Reference Targets
Before capturing multispectral images in the field, it's crucial to calibrate your camera using reference targets. These targets serve as known reflectance standards, allowing you to adjust your camera's settings and guarantee accurate data collection. Choose targets that cover a range of reflectance values, typically including white, gray, and black panels.
Select targets made from spectrally neutral materials that maintain consistent reflectance across different wavelengths. Opt for durable, weather-resistant options that can withstand field conditions. Place your targets within the camera's field of view during image capture, making sure they're visible in each frame for post-processing calibration.
Consider using calibrated reflectance panels specifically designed for multispectral imaging. These panels often come with known reflectance values for various wavelengths, simplifying the calibration process. Alternatively, you can create custom targets using materials like Spectralon or painted panels with known reflectance properties.
Remember to keep your reference targets clean and well-maintained to preserve their reflectance characteristics. Regularly inspect and replace them if they show signs of wear or damage.
Set Exposure Settings
With your reference targets in place, it's time to calibrate your multispectral camera's exposure settings.
Begin by setting your camera to manual mode, as auto-exposure can lead to inconsistent results across different images. Adjust the exposure time for each spectral band individually, aiming for ideal image brightness without over-exposure.
Start with the visible light bands (red, green, blue) and work your way through the near-infrared and red-edge bands. Use your reference targets to gauge proper exposure. The white target should appear bright but not saturated, while the black target should be dark but still show detail.
Aim for a histogram that's centered and not clipped at either end.
Remember, different spectral bands may require varying exposure times due to sensor sensitivity and atmospheric conditions. Take test shots and review them carefully, adjusting as needed. It's vital to find a balance that works for all bands simultaneously, as changing exposure mid-flight can affect data consistency.
Once you've determined the ideal settings, save them as a custom profile in your camera. This will allow for quick setup in future flights and guarantee consistency across your imaging sessions.
Perform White Balance
Accurate white balance calibration sets the stage for reliable multispectral data. You'll need to perform this vital step before each flight or when lighting conditions change markedly. Start by placing a calibrated reflectance panel in your drone's field of view. This panel should have known reflectance values across different wavelengths.
Capture an image of the panel using your multispectral camera. Use this image to adjust the camera's white balance settings, guaranteeing that the captured data accurately represents the true spectral characteristics of the scene. Many multispectral imaging systems come with software that can automate this process, making it quick and efficient.
Here's a table summarizing key points about white balance calibration:
| Step | Action | Importance |
|---|---|---|
| 1 | Use calibrated panel | Guarantees accuracy |
| 2 | Capture panel image | Reference data |
| 3 | Adjust settings | Corrects color bias |
| 4 | Repeat as needed | Maintains consistency |
| 5 | Use software tools | Streamlines process |
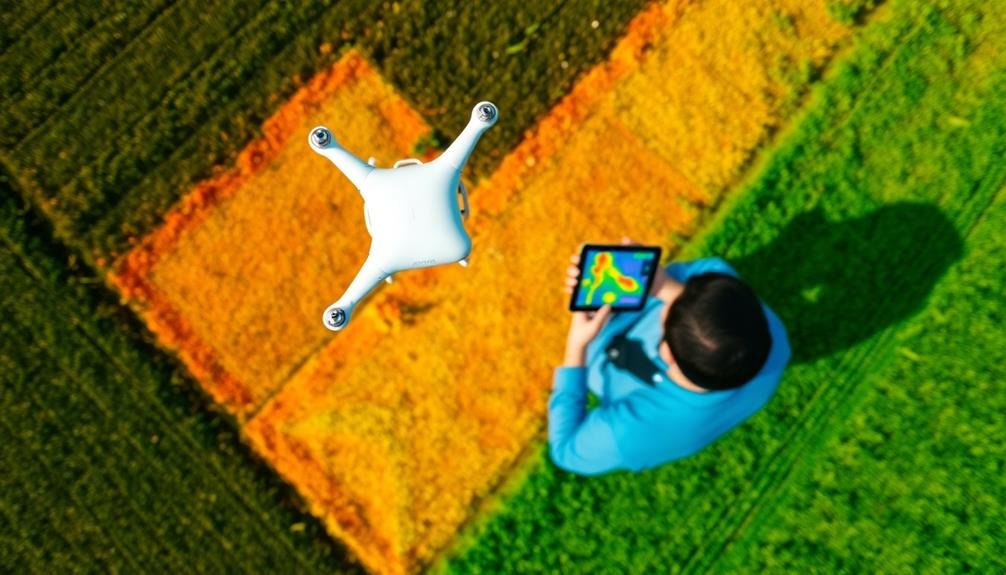
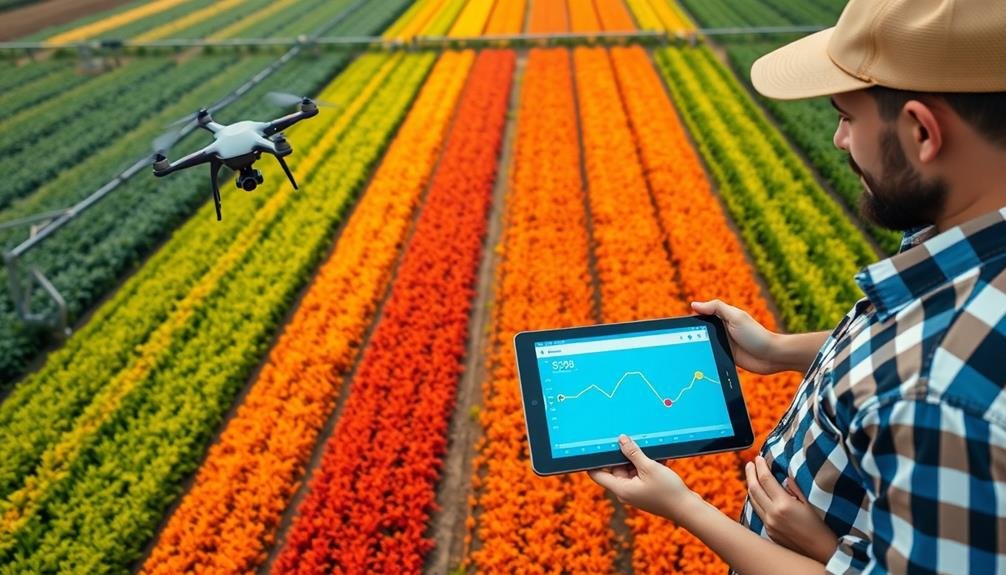
Plan Optimal Flight Patterns
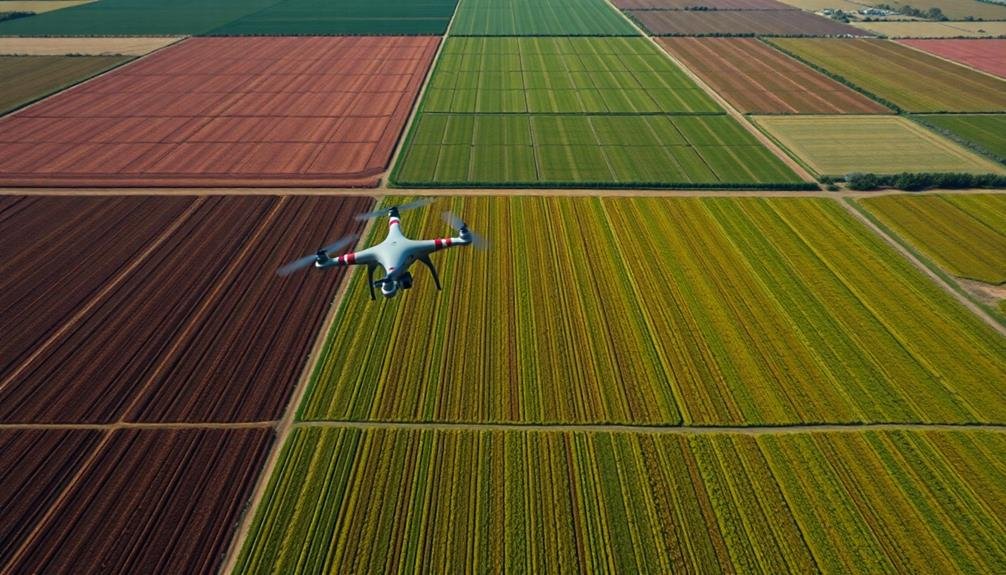
Planning ideal flight patterns is essential for effective multispectral imaging in agriculture. You'll need to take into account several factors to maximize data quality and efficiency.
First, determine the best altitude for your drone based on the resolution required for your specific crop and field size. Lower altitudes provide higher resolution but require more flight time and battery power.
Next, design your flight path to guarantee complete coverage of the field. Use a grid or lawn-mower pattern, with slight overlaps between passes to avoid gaps in data collection. Factor in wind direction and speed, adjusting your flight path accordingly to maintain consistent altitude and speed.
Reflect on the time of day for your flights. Mid-day sun minimizes shadows, but early morning or late afternoon flights can reveal different spectral information. Plan multiple flights at different times if necessary.
Lastly, account for obstacles like trees, buildings, or power lines in your flight path. Use waypoints to guide the drone around these obstructions while maintaining consistent coverage.
Consider Weather and Lighting Conditions

When planning your multispectral imaging flights for agricultural surveys, you'll need to factor in weather and lighting conditions.
Cloudy days can provide more consistent lighting, while sunny days may offer higher contrast but risk glare and shadows.
You'll also want to take into account the time of day, as early morning or late afternoon light can enhance certain plant features and reduce harsh shadows.
Cloudy vs. Sunny Days
The sky's mood can greatly impact multispectral imaging in agriculture. On sunny days, you'll benefit from strong, direct sunlight that provides clear and consistent illumination across your fields. This allows for higher-quality images with better contrast and more accurate spectral data.
However, shadows from tall crops or structures can create dark spots in your imagery, potentially masking important information.
Cloudy days offer their own advantages. The diffused light creates more even illumination, reducing harsh shadows and glare. This can result in more uniform images across your entire field, making it easier to detect subtle variations in crop health.
Cloud cover also helps minimize the impact of atmospheric scattering, which can interfere with certain spectral bands.
When planning your multispectral imaging flights, consider the trade-offs between sunny and cloudy conditions. For general crop monitoring, slightly overcast days often provide the best results.
If you're targeting specific issues like water stress or nutrient deficiencies, you might prefer clear skies for more pronounced spectral signatures.
Always check weather forecasts and schedule your flights accordingly to maximize the quality and consistency of your multispectral data.
Time of Day Matters
Choosing the right time of day for multispectral imaging can make or break your agricultural data collection. The sun's position and intensity greatly impact image quality and data accuracy. For best results, aim to capture images during mid-morning or mid-afternoon when the sun is at a 45-degree angle to the horizon. This angle reduces shadows and provides balanced illumination across your fields.
Avoid imaging during solar noon, as the intense overhead light can cause glare and wash out important details. Early morning and late afternoon aren't ideal either, as long shadows can distort vegetation patterns.
If you're using drones, remember that wind speeds are typically lower in the morning, making it easier to maintain steady flight paths.
Consider seasonal changes in daylight hours when planning your imaging schedule. In summer, you'll have more flexibility, while winter's shorter days may limit your options. Always check local weather forecasts and plan accordingly.
Consistent lighting conditions across multiple imaging sessions are essential for accurate comparisons over time. By carefully timing your multispectral imaging, you'll guarantee the highest quality data for precision agriculture applications.
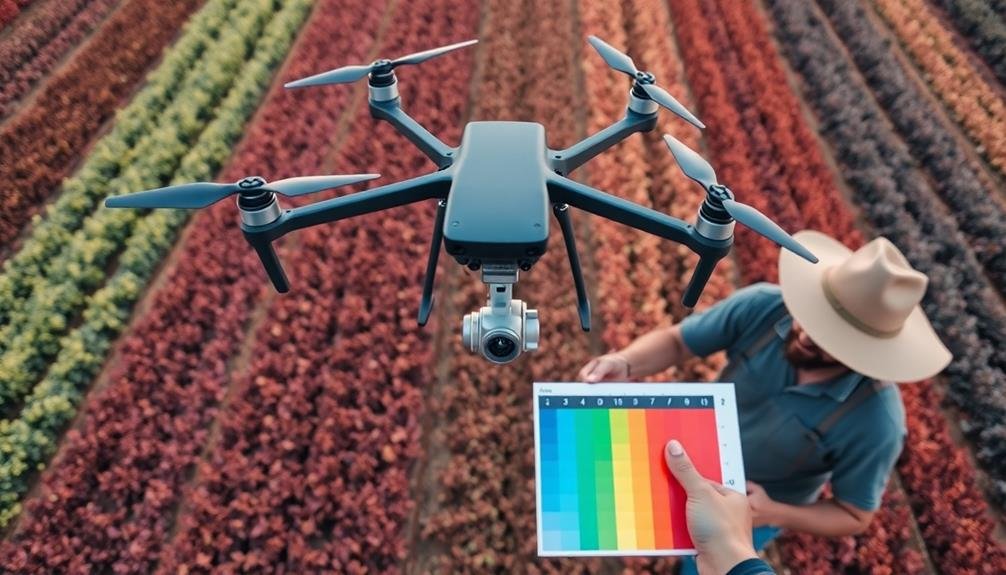
Process Raw Data Effectively
Processing raw data effectively is essential for extracting meaningful insights from multispectral images in agriculture. You'll need to calibrate your data first, ensuring that the raw sensor values are converted into meaningful reflectance values. This step accounts for variations in lighting conditions and sensor sensitivity. Use radiometric calibration techniques to correct for atmospheric effects and sensor-specific characteristics.
Next, apply geometric corrections to align your images precisely with real-world coordinates. This process, known as orthorectification, compensates for terrain distortions and camera angle variations. You'll want to use ground control points and digital elevation models for accurate results.
Once your data is calibrated and aligned, focus on noise reduction and image enhancement. Apply filters to remove unwanted artifacts and boost signal-to-noise ratios. Consider using spectral indices like NDVI or NDRE to highlight specific crop characteristics.
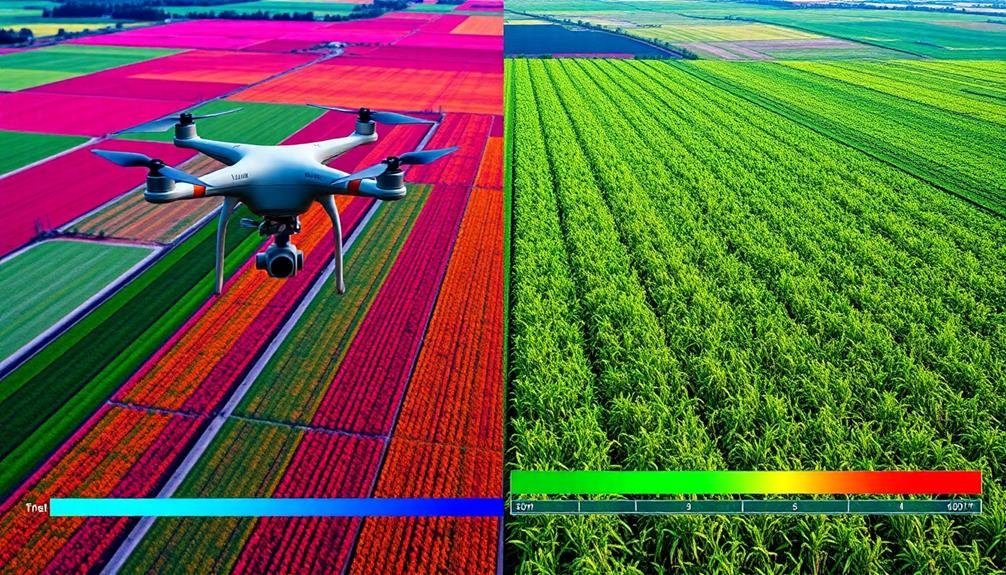
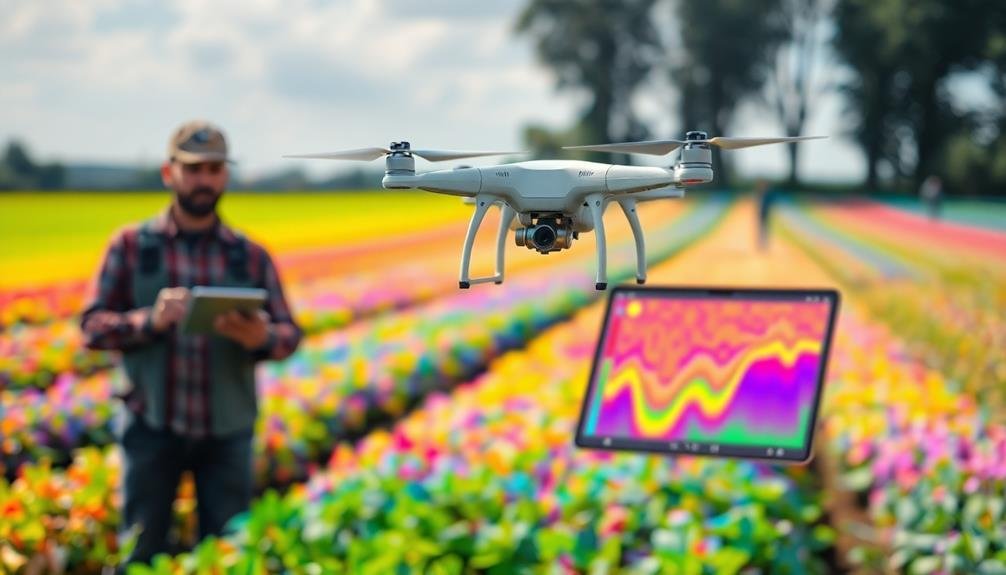
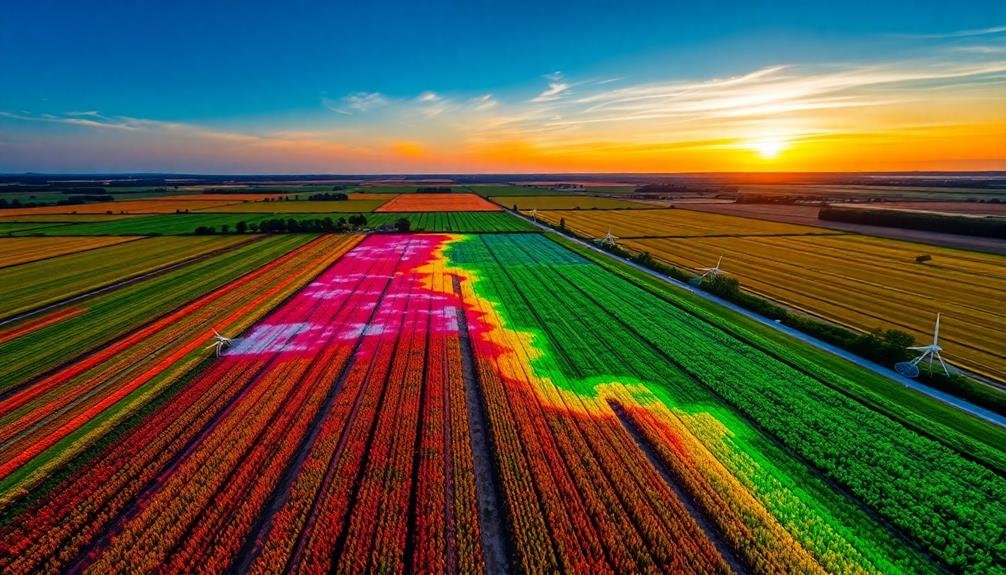
Interpret Vegetation Indices Accurately
How can you make sense of all those colorful maps and indices generated from multispectral data? Start by familiarizing yourself with common vegetation indices like NDVI, NDRE, and GNDVI. Each index highlights different aspects of plant health and stress. NDVI is great for overall biomass and vigor, while NDRE can detect subtle changes in chlorophyll content.
Don't rely on a single index; compare multiple indices to get a thorough view. Look for patterns and anomalies across your fields. Bright areas often indicate healthy vegetation, while darker spots may signal stress or nutrient deficiencies. Pay attention to temporal changes by comparing images from different dates.
Calibrate your interpretation with ground-truth data. Conduct field visits to verify what you're seeing in the images. Use soil tests, yield data, and crop scouting reports to corroborate your findings. Remember that environmental factors like soil type, weather, and topography can influence index values.
Develop a consistent interpretation methodology. Create a legend that correlates index values with specific crop conditions. This will help you make informed decisions about irrigation, fertilization, and pest management, ultimately improving your precision agriculture practices.
Identify Crop Stress Early
Early detection of crop stress is a key advantage of multispectral imaging in agriculture. By capturing data across multiple spectral bands, you'll be able to identify issues before they become visible to the naked eye. This allows you to take prompt action, potentially saving your crops and maximizing yield.
To effectively identify crop stress early, focus on these key aspects:
| Stress Type | Spectral Indicators |
|---|---|
| Water Stress | Near-infrared (NIR) |
| Nutrient Deficiency | Red-edge |
| Pest Infestation | Green, Red |
| Disease | NIR, Red-edge |
| Heat Stress | Thermal infrared |
You'll need to regularly monitor your fields and analyze the multispectral data. Look for changes in vegetation indices over time, paying attention to areas that show declining plant health. Don't rely solely on visual interpretation; use image processing software to quantify changes and set alerts for significant deviations.
Monitor Nutrient Levels Precisely
Multispectral imaging offers three key advantages for monitoring nutrient levels in crops with precision.
First, you'll be able to detect nutrient deficiencies before they become visible to the naked eye. By capturing light reflectance in various spectral bands, you can identify subtle changes in plant health that indicate specific nutrient shortages.
Second, you can create detailed nutrient maps of your entire field. These maps allow you to pinpoint areas that require targeted fertilization, enabling you to apply nutrients only where they're needed. This precision reduces waste and minimizes environmental impact while optimizing crop yields.
Lastly, you'll be able to track nutrient uptake over time. By comparing multispectral images taken at different growth stages, you can assess how effectively your crops are utilizing applied nutrients. This information helps you fine-tune your fertilization strategies and improve overall nutrient management.
To maximize these benefits, you'll need to calibrate your multispectral sensors regularly and integrate the data with other factors like soil type, weather conditions, and crop variety.
Optimize Irrigation Management
When it comes to optimizing irrigation management, multispectral imaging proves invaluable. You'll gain precise insights into your crops' water needs by using this technology to analyze plant moisture content and stress levels. Multispectral sensors capture data across various wavelengths, including near-infrared, which is particularly sensitive to water content in plants.
You can create detailed water stress maps of your fields by processing this data. These maps highlight areas that are over-watered, under-watered, or ideally irrigated. With this information, you'll be able to adjust your irrigation system to deliver water more efficiently, targeting specific zones that need it most.
By implementing multispectral imaging in your irrigation management, you'll reduce water waste and lower your operational costs. You'll also minimize the risk of crop damage from both over-watering and under-watering. This precision approach allows you to maintain ideal soil moisture levels throughout your fields, promoting healthier plant growth and potentially increasing yields.
Moreover, you can use multispectral data to detect irrigation system malfunctions or leaks early on, preventing water loss and ensuring your equipment operates at peak efficiency.
Integrate With Farm Management Software
A key step in maximizing the benefits of multispectral imaging is integrating it with your farm management software. This integration allows you to combine spectral data with other essential information, creating a thorough view of your farm's health and productivity.
When you connect multispectral imaging systems with your existing software, you'll be able to:
| Benefits | Actionable Insights |
|---|---|
| Data Centralization | Streamline decision-making |
| Historical Analysis | Identify trends over time |
| Automated Alerts | Respond quickly to issues |
| Custom Reporting | Tailor outputs to your needs |
To integrate effectively, confirm your farm management software is compatible with multispectral data formats. You'll want to look for platforms that offer APIs or direct integration with popular imaging systems. Once connected, you can create custom dashboards that display real-time spectral data alongside other key metrics like soil moisture, weather forecasts, and yield predictions.
Don't forget to train your team on using the integrated system. They should understand how to interpret the combined data and translate it into actionable field operations. By fully leveraging this integration, you'll enhance your decision-making process and optimize your farm's overall performance.
Frequently Asked Questions
How Much Does a Multispectral Imaging System for Agriculture Typically Cost?
You'll find multispectral imaging systems for agriculture ranging from $1,000 to $50,000. Lower-end models are often drone-mounted cameras, while high-end systems include advanced sensors and software. Prices vary based on features and capabilities.
Can Multispectral Imaging Detect Specific Pests or Diseases in Crops?
Yes, you can use multispectral imaging to detect specific pests and diseases in crops. It'll show you changes in plant health through spectral signatures, helping you identify issues like fungal infections or insect infestations before they're visible.
What Training Is Required to Operate Multispectral Imaging Equipment Effectively?
You'll need training in operating drones or aircraft, interpreting multispectral data, and using specialized software. It's vital to learn about crop physiology, spectral signatures, and image processing techniques. Hands-on experience and ongoing education are important for effectiveness.
How Often Should Multispectral Imaging Surveys Be Conducted for Optimal Results?
You'll want to conduct multispectral imaging surveys regularly throughout the growing season. It's best to do them weekly or bi-weekly, depending on your crop's growth stage and any specific issues you're monitoring. Adjust frequency as needed.
Are There Any Legal Restrictions on Using Drones for Multispectral Imaging?
You'll need to check local regulations, as drone use for multispectral imaging can be restricted. Obtain necessary permits, follow airspace rules, and respect privacy laws. Don't fly over people or private property without permission.
In Summary
You've now got the tools to revolutionize your farming practices with multispectral imaging. By choosing the right bands, calibrating your camera, and planning ideal flights, you'll capture vital data. Don't forget to take into account weather and process data effectively. You'll identify crop stress early, monitor nutrients precisely, and enhance irrigation. Integrating with farm management software ties it all together. Embrace these tips, and you'll be well on your way to precision agriculture success.
As educators and advocates for responsible drone use, we’re committed to sharing our knowledge and expertise with aspiring aerial photographers.


Leave a Reply