To capture ideal sky-high images, you'll want to choose the right color profile. While sRGB is standard for web display, Adobe RGB offers a broader gamut ideal for print. For maximum color range, consider ProPhoto RGB, but be cautious of potential banding issues. Shoot in RAW format to preserve color information and flexibility in post-processing. Adjust your white balance settings to compensate for cooler, bluer light at altitude. Don't forget to calibrate your monitor for accurate color representation. By understanding these color management principles, you'll elevate your aerial photography to new heights. The sky's the limit when it comes to mastering color in your high-flying shots.
Key Takeaways
- Adobe RGB offers a broader color range, ideal for aerial photography with enhanced editing flexibility and color representation.
- RAW file format is preferred for capturing images, allowing greater post-processing adjustments and custom color profiles.
- Proper white balance settings, especially for cooler light at altitude, are crucial for natural color rendition in aerial shots.
- HDR profiles, particularly HDR10 for landscapes, enable capturing high-contrast images with enhanced detail and dynamic range.
- Monitor calibration and a color-managed workflow ensure accurate color representation and consistency in post-processing aerial images.
Understanding Color Spaces in Aerial Photography
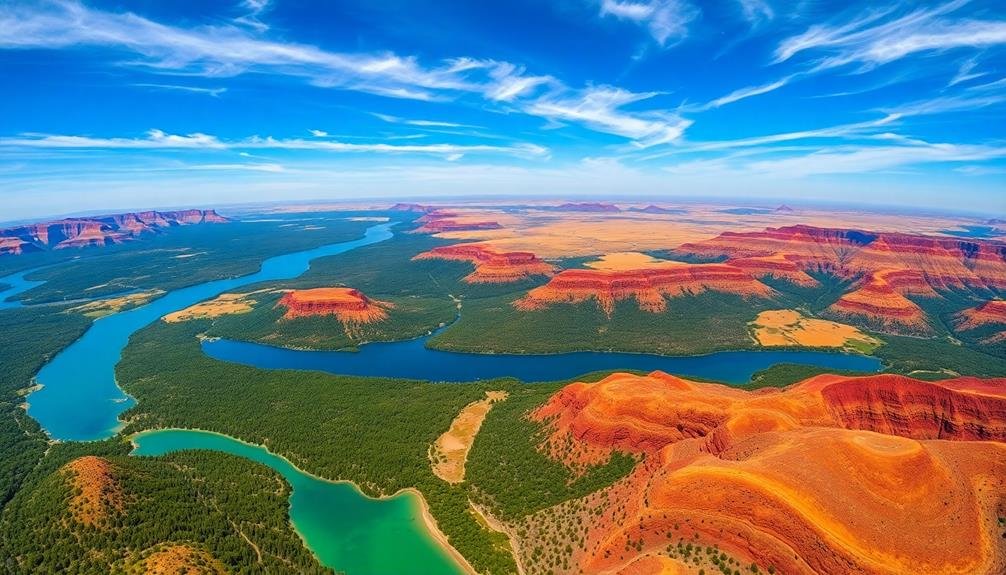
Nearly all aerial photographers encounter color spaces, but many don't fully grasp their significance. When you're capturing images from above, understanding color spaces is vital for achieving accurate and consistent results. Color spaces define the range of colors that can be represented in your images, with each space having its own unique characteristics.
The most common color spaces you'll encounter are sRGB, Adobe RGB, and ProPhoto RGB. sRGB is the standard for web display and consumer devices, offering a smaller gamut but wider compatibility. Adobe RGB provides a broader color range, especially in greens and cyans, making it ideal for print production. ProPhoto RGB offers the largest gamut, capturing almost all visible colors, but requires careful handling to avoid posterization.
When shooting aerial photography, you'll want to take into account your end-use requirements. If you're primarily sharing images online, sRGB might suffice. For high-quality prints or professional applications, Adobe RGB or ProPhoto RGB can preserve more color information.
It's important to calibrate your camera, monitor, and output devices to maintain color accuracy throughout your workflow. By mastering color spaces, you'll enhance the quality and consistency of your aerial imagery.
RGB vs. CMYK for Drone Imaging
When choosing between RGB and CMYK for drone imaging, you'll need to take into account the color gamut differences and their impact on your final output.
RGB offers a wider color range ideal for digital applications, while CMYK is better suited for print production.
You'll also want to factor in file format considerations, as some formats are optimized for RGB color spaces, potentially affecting your workflow and image quality.
Color Gamut Comparison
While both RGB and CMYK color models are widely used in digital imaging, they play distinct roles in drone photography. RGB offers a broader color gamut, making it ideal for capturing vibrant aerial images. You'll find that RGB can represent a wider range of colors, especially in the bright and saturated spectrum, which is essential for capturing vivid landscapes and city scenes from above.
CMYK, on the other hand, has a more limited color gamut. It's primarily used for print production and may not accurately represent the full range of colors captured by your drone's camera. When you're editing drone footage for digital display, sticking with RGB guarantees you maintain the richest color information possible.
However, if you're planning to print your aerial images, you'll need to convert from RGB to CMYK. This conversion can result in some color shift, as certain vibrant hues captured in RGB may not be reproducible in CMYK.
To minimize this issue, you can use color management tools and soft proofing techniques to preview how your images will look in print before making the final conversion.
Digital vs. Print Applications
Understanding the differences between RGB and CMYK color models is vital to optimizing your drone imagery for various applications. RGB (Red, Green, Blue) is the standard for digital displays, while CMYK (Cyan, Magenta, Yellow, Key/Black) is used for print media.
When capturing aerial images with your drone, you'll typically work in RGB, as it offers a wider color gamut and is ideal for on-screen viewing. However, if you're planning to print your drone photographs, you'll need to convert them to CMYK. This conversion can result in color shifts, so it's essential to calibrate your workflow accordingly.
To guarantee the best results across both digital and print mediums:
- Capture images in RAW format for maximum flexibility
- Edit in RGB color space, preferably Adobe RGB or ProPhoto RGB
- Use softproofing to preview CMYK conversions
- Create separate versions for digital and print use
Remember that RGB colors are additive, creating light on screens, while CMYK colors are subtractive, absorbing light on paper. This fundamental difference affects how your drone images will appear in various formats, so always consider your end-use when processing your aerial photography.
File Format Considerations
For drone imaging, choosing the right file format is essential to preserving color accuracy and image quality. When it comes to color profiles, you'll primarily be deciding between RGB and CMYK formats.
RGB (Red, Green, Blue) is the preferred choice for drone imaging, as it's designed for digital displays and offers a wider color gamut. RGB captures more vibrant and accurate colors, which is vital for aerial photography.
It's also the native format for most digital cameras and drones, ensuring minimal color loss during capture. You'll find that RGB files are typically smaller and more manageable, making them ideal for storage and quick editing.
CMYK (Cyan, Magenta, Yellow, Black), on the other hand, is primarily used for print production. While it's necessary for preparing images for physical publication, it's not recommended for drone imaging.
CMYK has a more limited color range and can result in duller images when viewed digitally. If you need to convert your drone images for print later, it's best to capture in RGB and convert to CMYK during the final stages of your workflow.
Srgb: Standard for Aerial Photography
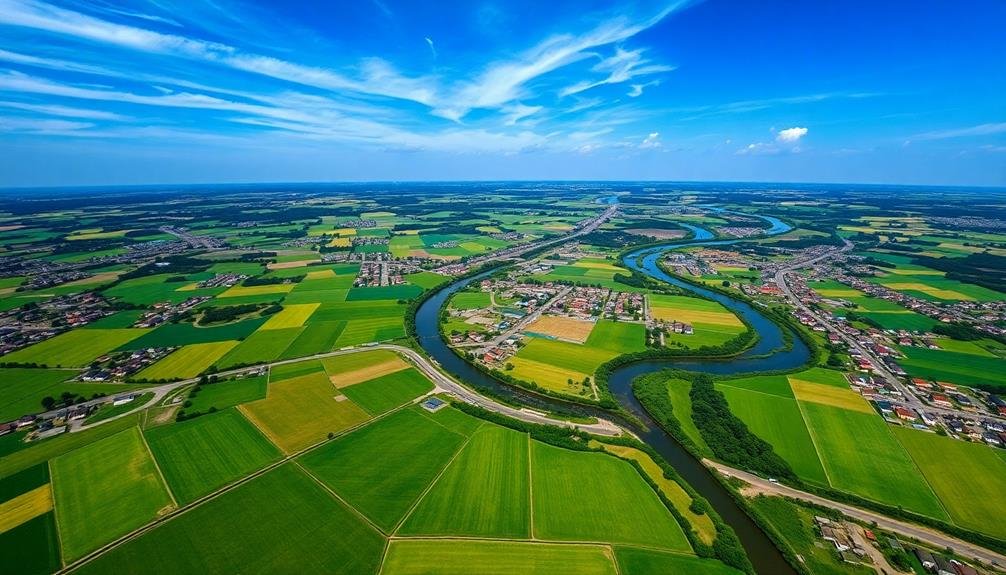
Standardizing color profiles in aerial photography has led to the widespread adoption of sRGB. This color space guarantees consistency across various devices and platforms, making it an ideal choice for aerial imaging. When you're capturing images from above, sRGB provides a reliable foundation for accurate color representation.
sRGB's advantages in aerial photography include:
- Compatibility: It's supported by most devices and software.
- Consistency: Colors appear similar across different screens.
- Web-friendly: Ideal for online sharing and viewing.
- Wide gamut coverage: Captures a broad range of colors visible to the human eye.
You'll find that sRGB is particularly useful when working with multiple cameras or combining imagery from various sources. It simplifies post-processing workflows and reduces color discrepancies between images.
While other color profiles may offer wider gamuts, sRGB's standardization makes it the go-to choice for aerial photography.
When setting up your camera for aerial shoots, make certain it's configured to capture in sRGB. This will save you time in post-processing and guarantee that your images display consistently across different platforms.
Adobe RGB: Expanding Color Gamut
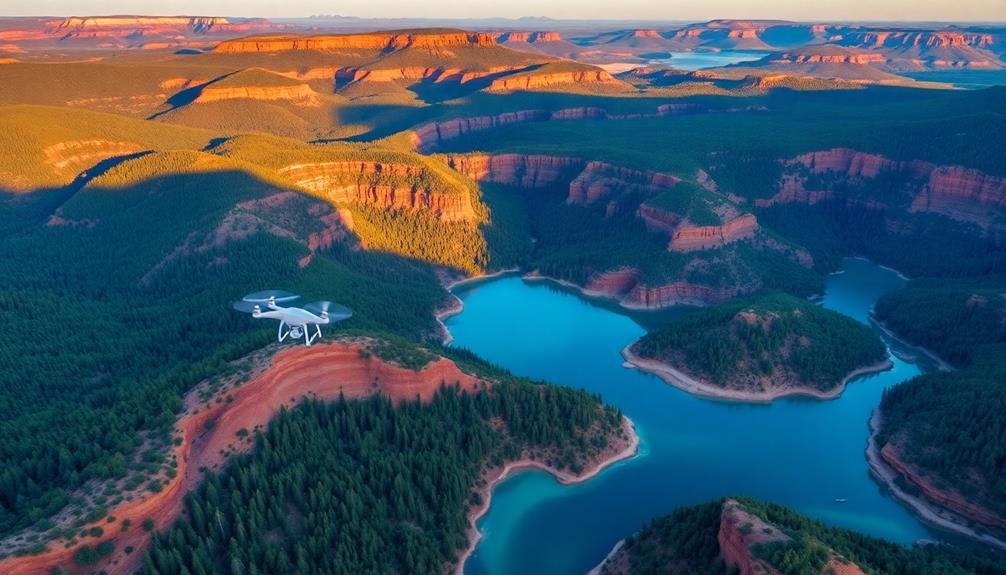
Adobe RGB offers you a wider color space coverage compared to sRGB, allowing for more vibrant and accurate color reproduction.
You'll notice enhanced color representation, particularly in greens and cyans, which can be essential for certain types of photography.
Wide Color Space Coverage
Professionals seeking to capture the widest range of colors turn to Adobe RGB, a color space that greatly expands the gamut beyond standard sRGB. When you're shooting scenes with vibrant hues, especially in nature or product photography, Adobe RGB guarantees you're not leaving any colors on the table.
You'll find that Adobe RGB covers approximately 50% of the visible color spectrum, compared to sRGB's 35%. This means you're capturing more nuanced shades, particularly in the cyan-green areas where sRGB falls short.
You'll notice the difference when editing your images, as you'll have more flexibility to adjust colors without degradation.
To make the most of Adobe RGB's wide color space coverage:
- Use a camera that supports Adobe RGB capture
- Shoot in RAW format for maximum color information
- Edit on a monitor capable of displaying the full Adobe RGB gamut
- Convert to sRGB only when necessary for web display or printing
Enhanced Color Reproduction
Building on the advantages of Adobe RGB's wide color space coverage, let's explore how it enhances color reproduction in your images.
Adobe RGB's expanded color gamut allows you to capture and display a broader range of colors, particularly in the green and cyan areas. This means you'll see more vibrant and accurate representations of nature scenes, landscapes, and underwater photography.
When you shoot in Adobe RGB, you're preserving more color information in your RAW files. This gives you greater flexibility during post-processing, allowing you to make more significant adjustments without degrading image quality.
You'll notice the difference especially when editing highly saturated colors or working with subtle color gradients.
To fully benefit from Adobe RGB's enhanced color reproduction, verify your entire workflow supports it. Use a camera that can capture in Adobe RGB, edit on a wide-gamut monitor, and output to devices or services that can handle the expanded color space.
When sharing images online or printing, convert to sRGB only as the final step to maintain maximum color fidelity throughout your editing process.
ProPhoto RGB: Wide Gamut Option
When it comes to capturing the widest possible range of colors, ProPhoto RGB stands out as a powerhouse among color spaces.
It's designed to encompass nearly all visible colors, making it an ideal choice for photographers who want to preserve the full spectrum of hues in their sky-high images.
ProPhoto RGB's wide gamut allows you to capture and retain colors that other spaces might clip or compress.
This is particularly beneficial when you're shooting vibrant sunsets, auroras, or other celestial phenomena with intense, saturated colors.
You'll be able to maintain the subtle gradations and nuances that make these scenes so breathtaking.
Here's why ProPhoto RGB is a top choice for sky-high image capture:
- It covers approximately 90% of visible colors
- It preserves colors outside the typical sRGB and Adobe RGB gamuts
- It's ideal for future-proofing your images as display technology advances
- It provides more flexibility in post-processing without color degradation
Keep in mind that ProPhoto RGB requires 16-bit color depth to avoid banding issues.
While it's not suitable for web display without conversion, it's an excellent working space for editing and archiving your high-quality sky images.
DCI-P3: Cinema-Grade Color Profile
DCI-P3, a cinema-grade color profile, offers you a wide color gamut coverage that's particularly suited for high-end visual production.
You'll find it's compatible with HDR content, allowing for more vibrant and lifelike colors in your captured images.
This professional-grade color profile guarantees exceptional color accuracy, making it an ideal choice for cinematographers and photographers aiming for cinema-quality results.
Wide Color Gamut Coverage
The cinema industry's gold standard for color reproduction, DCI-P3, offers a wide color gamut that's become increasingly important for image capture. As you aim for ideal color profiles, understanding and utilizing this expanded range can greatly enhance your visual storytelling.
DCI-P3 covers approximately 25% more of the visible color spectrum than the standard sRGB profile. This wider gamut allows you to capture and display more vibrant, saturated colors, especially in the red and green areas.
You'll notice richer, more lifelike hues in your images, particularly in nature scenes, sunsets, and vivid clothing.
To fully leverage DCI-P3's wide color gamut coverage, consider these key points:
- Use cameras and displays that support DCI-P3 color space
- Calibrate your equipment regularly for accurate color reproduction
- Edit your images in a color-managed workflow
- Export final images in appropriate color profiles for various output mediums
HDR Content Compatibility
How does HDR content fit into the DCI-P3 color profile landscape? DCI-P3, a cinema-grade color profile, offers excellent compatibility with HDR content. When you're capturing sky-high images, you'll want to leverage this profile to guarantee your HDR content looks its best.
DCI-P3 covers a wider range of colors than standard sRGB, allowing for more vibrant and accurate representation of HDR scenes. It's particularly adept at rendering deep reds and greens, which are often prevalent in dramatic skyscapes. By using this profile, you're making sure that the full spectrum of colors in your HDR content is preserved.
When shooting HDR content, you'll need to take into account the expanded dynamic range. DCI-P3 supports this by offering smoother gradients and more nuanced color shifts. This means you can capture both the brightest highlights and the darkest shadows without losing detail.
To fully utilize DCI-P3 for HDR content, make certain your camera and post-processing software support this color profile. You'll also want to calibrate your monitor to accurately display the expanded color range, making sure what you see is truly representative of your captured HDR content.
Professional-Grade Color Accuracy
Building on the advantages of DCI-P3 for HDR content, this color profile also stands out for its professional-grade color accuracy.
When you're capturing images for cinematic or high-end commercial purposes, DCI-P3 offers a wider color gamut than standard sRGB, ensuring your photos are vibrant and true-to-life.
This profile covers about 25% more of the visible color spectrum, allowing you to capture and display richer, more nuanced hues.
To make the most of DCI-P3's capabilities, you'll need:
- A camera sensor capable of capturing the extended color range
- A monitor or display that supports the DCI-P3 color space
- Photo editing software that can work with DCI-P3 profiles
- A color-managed workflow to maintain accuracy from capture to output
White Balance for Sky Photography
When capturing stunning sky photographs, proper white balance is essential for achieving accurate color representation.
You'll want to set your camera's white balance to match the color temperature of the ambient light. For daytime sky shots, start with the "Daylight" or "Sunny" preset, which typically corresponds to around 5500K. This setting works well for clear blue skies and puffy white clouds.
If you're shooting during golden hour or sunset, switch to the "Cloudy" or "Shade" preset (around 6500K) to capture the warm tones accurately.
For twilight or night sky photography, you'll need to adjust to higher color temperatures, often above 7000K, to counteract the blue cast of the fading light.
Don't rely solely on presets, though. Use your camera's custom white balance feature for precise results.
Take a test shot of a white or gray card in the same lighting conditions as your sky, then use that as a reference. You can also shoot in RAW format, allowing you to fine-tune white balance in post-processing without losing image quality.
Color Temperature in Aerial Shots
Capturing the perfect color temperature in aerial shots can be tricky due to the unique lighting conditions at higher altitudes.
You'll often encounter a cooler, bluer light as you ascend, which can affect the overall mood and accuracy of your images. To compensate for this, you'll need to adjust your camera's white balance settings or use filters to achieve a more natural color rendition.
When shooting aerial photos, consider the time of day and atmospheric conditions. Early morning and late afternoon light tend to be warmer, while midday light can be harsh and cooler. Haze and pollution can also influence color temperature, often adding a bluish tint to your shots.
To guarantee ideal color temperature in your aerial photography:
- Use a custom white balance setting tailored to your specific altitude and lighting conditions
- Experiment with different Kelvin values to find the most accurate representation
- Shoot in RAW format to allow for greater flexibility in post-processing
- Consider using graduated neutral density filters to balance exposure and color across the frame
Adjusting Saturation for Vivid Skies
While achieving the right color temperature is key for aerial shots, adjusting saturation can dramatically enhance the vibrancy of your sky images.
You'll want to strike a balance between natural-looking skies and eye-catching colors that pop. Start by increasing the overall saturation slightly, then fine-tune individual color channels.
Blues and cyans are essential for skies, so boost these moderately. Be careful not to oversaturate, as this can lead to unrealistic results and loss of detail in cloud formations.
For sunset or sunrise shots, enhancing oranges and reds can create stunning effects. However, use restraint to maintain a natural appearance.
You can selectively increase saturation in specific areas using masking techniques or graduated filters.
Don't forget about the greens and yellows in your landscape elements. Subtle adjustments here can complement the sky and create a harmonious overall image.
Tonal Range in Aerial Images
To master aerial photography, understanding tonal range is crucial. It's the key to capturing images with depth and dimension, especially when shooting from above.
Aerial scenes often present unique challenges due to their vast expanse and varying light conditions. When capturing aerial images, you'll need to pay close attention to the distribution of tones from the darkest shadows to the brightest highlights.
This range can be more extreme from high altitudes, as you're dealing with both land and sky in a single frame. To guarantee you're capturing the full tonal range:
- Use your camera's histogram to check exposure
- Shoot in RAW format for maximum editing flexibility
- Consider using graduated neutral density filters
- Bracket your exposures for challenging lighting conditions
HDR Color Profiles for Drones
HDR color profiles have revolutionized drone photography by enabling the capture of stunning, high-contrast images with exceptional detail. When you're shooting aerial footage, you'll encounter a wide range of lighting conditions, from deep shadows to bright highlights. HDR profiles allow your drone's camera to capture and process this extensive dynamic range effectively.
To make the most of HDR color profiles, you'll need to understand their key features and how they impact your images. Here's a breakdown of common HDR profiles and their characteristics:
| Profile | Dynamic Range | Color Depth | Best For |
|---|---|---|---|
| HDR10 | 10-bit | Wide | Landscapes |
| HLG | 10-bit | Natural | Real-time broadcasting |
| Dolby Vision | 12-bit | Ultra-wide | Professional filmmaking |
| Log | 12-14 bit | Flat | Post-processing flexibility |
When selecting an HDR profile for your drone, consider your shooting conditions and post-processing needs. HDR10 is great for general use, while Log profiles offer maximum flexibility in post-production. Remember to adjust your drone's settings to optimize exposure and color balance for the chosen HDR profile, ensuring you capture the full range of tones and colors in your aerial shots.
RAW vs. JPEG Color Management
When it comes to color management in digital photography, the choice between RAW and JPEG formats can greatly impact your workflow and final image quality.
RAW files offer greater flexibility in post-processing, allowing you to adjust white balance, exposure, and color profile without degrading the image. JPEG files, on the other hand, are processed in-camera and have limited editing potential.
If you're shooting in RAW, you'll have more control over color management during post-processing. You can apply custom color profiles, adjust color temperature, and fine-tune saturation without losing image quality.
JPEG files, while more convenient, limit your ability to make significant color adjustments without compromising image integrity.
Consider these factors when choosing between RAW and JPEG for color management:
- Post-processing requirements
- Storage capacity
- Time constraints
- Output destination
For ideal results, shoot in RAW when you need maximum color flexibility and editing control.
If you're shooting in situations where quick turnaround is essential or storage space is limited, JPEG might be more suitable.
Ultimately, your choice should align with your workflow needs and desired final image quality.
Color Grading Aerial Footage

Color grading aerial footage presents unique challenges and opportunities for videographers and editors. You'll need to account for the distinct atmospheric conditions and lighting scenarios encountered at high altitudes. Start by adjusting your white balance to counteract the blue cast often present in aerial shots due to atmospheric haze.
When color grading, focus on enhancing the natural beauty of landscapes while maintaining realism. Use selective color adjustments to bring out the vibrancy of vegetation, water bodies, and urban areas. Pay attention to the sky, as it often dominates the frame in aerial footage. You may need to use gradient filters to balance exposure between the sky and ground.
Consider the time of day and lighting conditions during your shoot. Golden hour footage will require different grading techniques compared to midday shots. Use LUTs (Look-Up Tables) specifically designed for aerial footage as a starting point, but don't rely on them entirely. Fine-tune your adjustments to match the unique characteristics of your footage.
Remember to maintain consistency across your entire sequence, especially if you're cutting between different altitudes or times of day. Use scopes to verify your colors remain within broadcast-safe levels, particularly important for professional deliverables.
Calibrating Monitors for Drone Photography
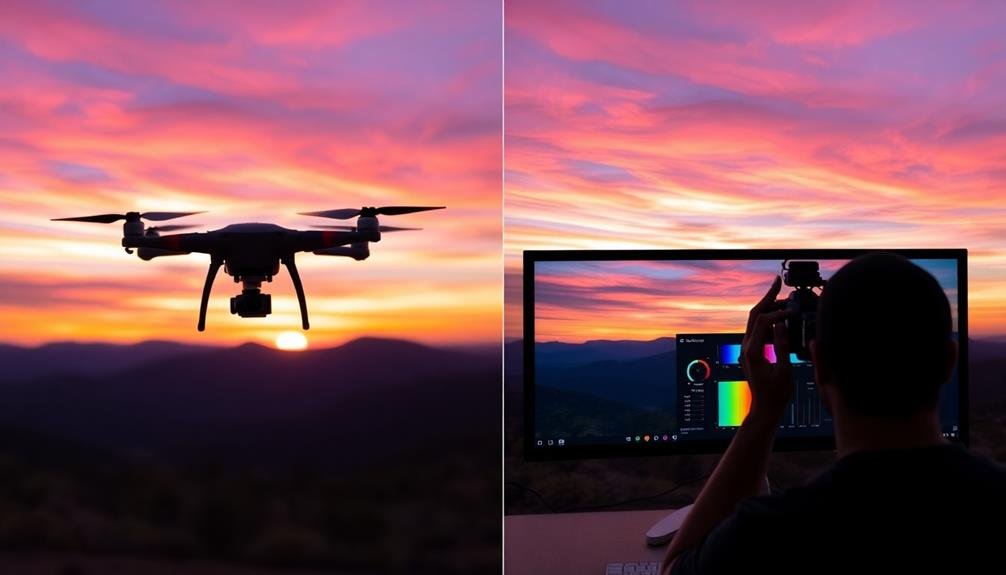
To guarantee your drone photography accurately represents the colors you've captured, you'll need to calibrate your monitor.
Color accuracy is essential for maintaining consistency across different devices and viewing environments.
You'll want to explore various calibration tools, such as colorimeters and spectrophotometers, to achieve precise and reliable results in your workflow.
Color Accuracy Essentials
Achieving accurate color representation in drone photography begins with properly calibrating your monitor. This essential step guarantees that what you see on your screen accurately reflects the colors captured by your drone's camera. You'll need a colorimeter or spectrophotometer to measure and adjust your display's color output.
Once your monitor is calibrated, focus on these color accuracy essentials:
- Use a color-managed workflow
- Shoot in RAW format for maximum color information
- Set the correct white balance for each shooting condition
- Utilize a color checker card in your shots for reference
Understanding color spaces is critical. sRGB is widely used for web display, while Adobe RGB offers a broader gamut for printing. Choose the appropriate color space based on your intended output.
Don't forget to take into account the lighting conditions during your drone flights. Different times of day and weather conditions can dramatically affect color temperature and saturation. Adjust your camera settings accordingly or use filters to compensate for challenging lighting situations.
Lastly, maintain consistency in your post-processing workflow. Use the same software and color settings across all your images to guarantee a cohesive look in your final drone photography portfolio.
Calibration Tools Explained
When it comes to calibrating monitors for drone photography, understanding the right tools is crucial. You'll need a colorimeter or spectrophotometer to measure your display's color output accurately. These devices attach to your screen and work with specialized software to create a custom color profile.
Popular calibration tools include the X-Rite i1Display Pro and the Datacolor SpyderX. They'll help you adjust brightness, contrast, and color temperature to match industry standards.
Don't forget to set your monitor's white point to D65 (6500K) for consistency with most editing environments.
You'll also want to invest in a good quality monitor hood to reduce glare and ambient light interference. This guarantees you're seeing true colors without external influences.
Remember to recalibrate regularly, ideally every month, as monitors' color accuracy can drift over time. Keep your calibration software up to date and follow the manufacturer's guidelines for best results.
Frequently Asked Questions
How Do Atmospheric Conditions Affect Color Profiles in Aerial Photography?
Atmospheric conditions greatly impact your aerial photography color profiles. You'll notice haze, moisture, and pollution alter light transmission and reflection. They can wash out colors, reduce contrast, and introduce unwanted tints to your images.
What Are the Best Color Profiles for Night Sky Photography?
For night sky photography, you'll want to use RAW color profiles. They'll give you the most flexibility in post-processing. Adobe RGB or ProPhoto RGB are excellent choices, allowing you to capture more color information and detail.
Can Color Profiles Compensate for Lens Distortions in Aerial Shots?
While color profiles can't directly fix lens distortions, you'll find they can help balance colors affected by distortion. You're better off using lens correction software or choosing distortion-free lenses for aerial photography to address this issue.
How Do Different Altitudes Impact Color Accuracy in Drone Photography?
As you fly higher, atmospheric conditions affect color accuracy in drone photos. You'll notice decreased saturation and contrast at greater altitudes. To compensate, you'll need to adjust your camera settings and use post-processing techniques for best results.
Are There Specific Color Profiles Optimized for Underwater Drone Photography?
You'll find specialized color profiles for underwater drone photography. They're designed to compensate for water's light-absorbing properties. Look for profiles that enhance blues and greens, correct for color cast, and improve contrast in low-light conditions.
In Summary
You've explored the world of color profiles for aerial photography, from RGB to ProPhoto RGB. You've learned about HDR and RAW vs. JPEG management. Remember, choosing the right color space is essential for capturing stunning sky-high images. Don't forget to calibrate your monitor for accurate color representation. With this knowledge, you're now equipped to make informed decisions about color profiles, ensuring your drone photos and footage are vibrant and true-to-life.

As educators and advocates for responsible drone use, we’re committed to sharing our knowledge and expertise with aspiring aerial photographers.


Leave a Reply