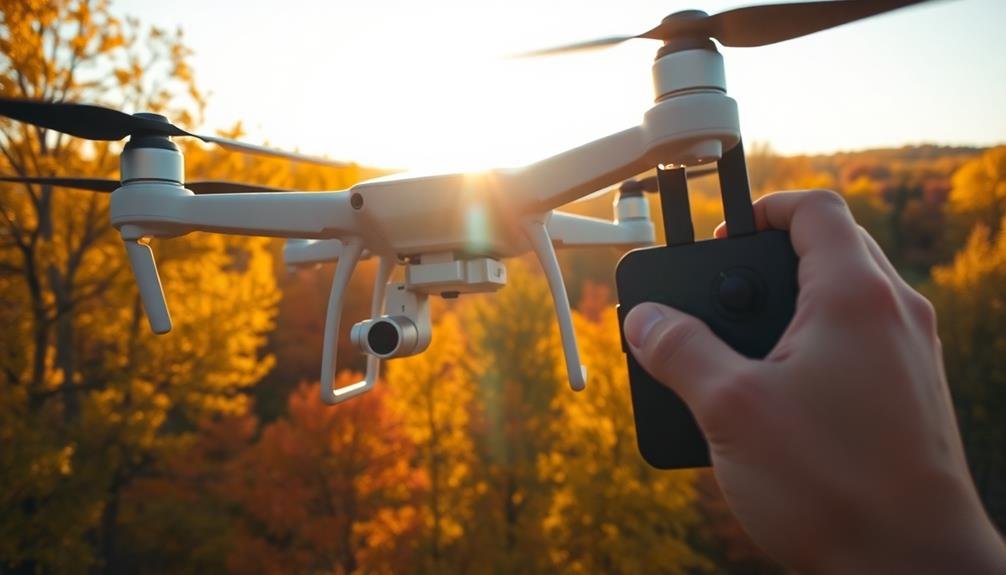
To access pro-level aerial shots, master your drone's manual mode. Focus on three key settings: aperture, shutter speed, and ISO. Control depth of field with aperture, freeze motion with fast shutter speeds, and adjust ISO for changing light conditions. Balance these in the exposure triangle for peak results. Experiment with motion blur for dynamic effects and longer exposures for night photography. Use the histogram to verify proper exposure and consider bracketing for high-contrast scenes. Don't forget to shoot in RAW for maximum editing flexibility. By mastering these techniques, you'll elevate your aerial photography to new heights.
Key Takeaways
- Master the exposure triangle: aperture, shutter speed, and ISO for optimal image quality in varying conditions.
- Prioritize faster shutter speeds (1/500th or higher) to freeze motion and compensate for drone movement.
- Experiment with aperture settings to control depth of field, using f/8 to f/11 for optimal sharpness.
- Utilize manual focus techniques, including pre-focusing and focus peaking, to ensure sharp aerial images.
- Apply composition rules like the rule of thirds and leading lines while adjusting manual settings for creative control.
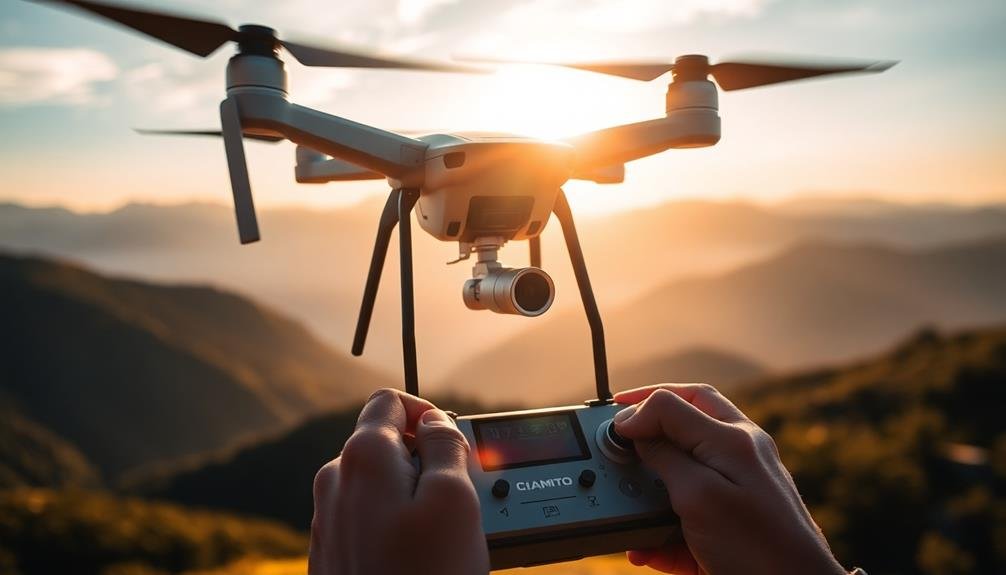
Understanding Manual Mode Basics
Photographers venturing into manual mode for aerial shots must first grasp its fundamental elements. You'll need to master three key settings: aperture, shutter speed, and ISO.
Aperture controls the depth of field, determining how much of your image is in focus. For aerial shots, you'll often want a wider aperture (smaller f-number) to guarantee sharpness across the frame.
Shutter speed is vital for aerial photography. It affects how motion is captured, with faster speeds freezing action and slower speeds creating blur. You'll typically need faster shutter speeds to counteract camera shake and subject movement in the air.
ISO determines your camera's sensitivity to light. Lower ISO values produce cleaner images but require more light, while higher ISOs allow shooting in darker conditions at the cost of increased noise. For aerial shots, aim for the lowest ISO possible while maintaining proper exposure.
Understanding the exposure triangle is essential. As you adjust one setting, you'll need to compensate with the others to maintain correct exposure.
Practice balancing these elements to achieve your desired creative effect while guaranteeing proper exposure in varying lighting conditions during your aerial shoots.
Mastering Shutter Speed Control

Mastering shutter speed control is essential for capturing stunning aerial shots.
You'll learn how to freeze motion mid-flight, create enchanting motion blur effects, and achieve mesmerizing long exposure night shots.
These techniques will elevate your aerial photography, allowing you to capture unique perspectives and convey movement in your images.
Freeze Motion Mid-Flight
To freeze motion mid-flight, you'll need to dial in the right shutter speed. For most aerial subjects, start with 1/1000th of a second or faster. This quick shutter speed will help capture sharp details and crisp edges, even when your subject is moving rapidly.
Consider the speed of your subject when adjusting your settings. Slower-moving birds might be frozen at 1/1000th, while faster aircraft may require 1/2000th or higher.
Don't forget to account for your own movement if you're shooting from a moving platform.
Increase your ISO to compensate for the faster shutter speed, especially in lower light conditions. This will guarantee your images remain properly exposed.
Be mindful of noise, though; find a balance between a high enough ISO and acceptable image quality.
Use burst mode to capture multiple frames in quick succession. This technique increases your chances of getting the perfect shot, especially when timing is essential.
Lastly, focus on anticipating your subject's movement. Pre-focus on the area where you expect the action to occur, and be ready to shoot the moment your subject enters the frame.
With practice, you'll master the art of freezing motion mid-flight.
Create Motion Blur Effects
Often overlooked, motion blur can add a dynamic element to your aerial photography. To achieve this effect, you'll need to master shutter speed control in manual mode. Start by slowing down your shutter speed, typically to 1/30th of a second or slower. This allows moving objects to streak across the frame, creating a sense of motion and energy.
When shooting from a drone, you'll need to compensate for the aircraft's movement. Use your drone's gimbal to stabilize the camera and experiment with different flight speeds. Slower drone movements paired with a slow shutter speed can produce stunning results, especially when capturing flowing water, traffic, or clouds.
To maintain image sharpness while introducing motion blur, focus on a stationary element in your composition. This contrast between sharp and blurred areas adds depth and interest to your shot. Consider using neutral density filters to allow for even slower shutter speeds in bright conditions.
Practice is key when creating motion blur effects. Experiment with various shutter speeds and subject movements to find the perfect balance. Remember, the goal is to convey a sense of motion while maintaining the overall integrity of your aerial composition.
Long Exposure Night Shots
The allure of night photography takes on a new dimension when captured from the air. Long exposure night shots from your drone can create stunning, ethereal images that showcase cityscapes, star trails, or light patterns in ways you've never seen before.
To master this technique, you'll need to take control of your drone's manual settings, particularly shutter speed. Start by setting your drone's camera to manual mode and adjusting the shutter speed for longer exposures. You'll typically want to use speeds between 2 and 30 seconds, depending on your subject and desired effect.
Here's a quick guide to get you started:
- Use a slow shutter speed (15-30 seconds) for star trails or light painting
- Set a medium speed (5-10 seconds) for capturing city lights and traffic trails
- Try faster speeds (2-4 seconds) for slightly blurred motion in urban scenes
- Experiment with different ISOs to balance exposure and noise
Remember to use a low ISO to minimize noise and adjust your aperture to control depth of field. Stabilizing your drone is essential for sharp images, so choose a calm night and use intelligent flight modes if available.
With practice, you'll be capturing breathtaking aerial night shots that stand out from the crowd.
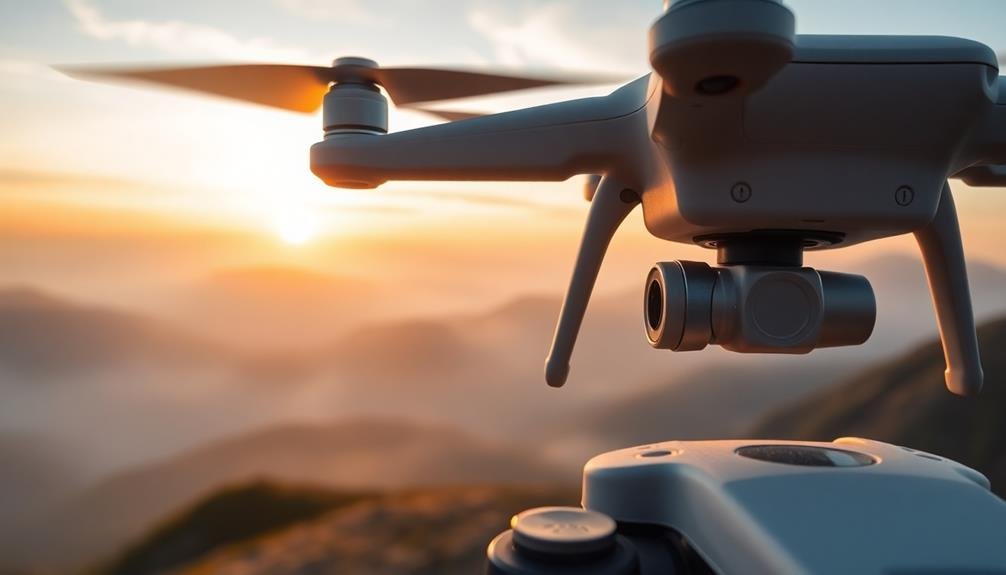
Perfecting Aperture Settings
When it comes to aerial photography, understanding F-stops for drones is essential for capturing stunning images.
You'll need to master balancing light and depth to achieve the desired effect in your shots.
Understanding F-Stops for Drones
Understanding f-stops is essential for mastering aerial photography with drones. F-stops control the amount of light entering your camera's sensor and affect depth of field.
When shooting from above, you'll often want a wider aperture (lower f-stop number) to let in more light and create a shallower depth of field, emphasizing your subject.
To effectively use f-stops in drone photography:
- Start with a lower f-stop (f/2.8 or f/4) for low-light conditions or to blur backgrounds.
- Increase the f-stop (f/8 or higher) for landscape shots to keep everything in focus.
- Experiment with mid-range f-stops (f/5.6 to f/7.1) for a balance between light and depth of field.
- Adjust your shutter speed and ISO to compensate for changes in aperture.
Balancing Light and Depth
Balancing light and depth in aerial photography requires mastering aperture settings. When shooting from above, you'll often encounter varied lighting conditions and complex landscapes. To capture stunning aerial shots, you need to understand how aperture affects both exposure and depth of field.
Start by evaluating the scene's lighting. For bright, sunny days, use a smaller aperture (higher f-number) to avoid overexposure. This also increases depth of field, keeping more of the landscape in focus.
In low-light situations, open up the aperture (lower f-number) to let in more light, but be aware that this reduces depth of field.
Consider your subject's distance and the desired depth of field. For sweeping landscape shots, aim for a larger depth of field with a higher f-number. When focusing on specific subjects or creating a sense of depth, use a lower f-number to blur the background.
Experiment with different apertures to find the sweet spot for each scene.
Aperture's Impact on Sharpness
Aperture's influence on image sharpness extends beyond depth of field considerations. When shooting aerial photographs, you'll need to balance your aperture settings carefully to achieve ideal sharpness across your frame. While a wider aperture can help you capture more light, it may compromise overall image sharpness.
To perfect your aperture settings for aerial shots:
- Start with a mid-range aperture (f/8 to f/11) as your baseline. This range often provides the best balance between depth of field and overall sharpness.
- Consider your lens's sweet spot. Most lenses perform best 2-3 stops down from their widest aperture. Consult your lens specifications or test it yourself to find this ideal range.
- Account for diffraction. As you stop down beyond f/11, diffraction can begin to soften your images. Be cautious when using very small apertures like f/16 or f/22.
- Adjust based on your subject. For landscapes, you might prefer a smaller aperture to guarantee sharpness throughout. For isolating subjects, a wider aperture can be appropriate.
Optimizing ISO for Aerial Shots

ISO sensitivity plays an essential role in capturing stunning aerial shots. When you're shooting from the air, you'll often encounter challenging lighting conditions that require careful ISO management.
Start with the lowest ISO possible to minimize noise and maximize image quality. In bright daylight, you can typically use ISO 100 or 200.
However, as light levels decrease or when you need faster shutter speeds to freeze motion, you'll need to increase your ISO. Don't be afraid to push it higher if necessary, but be mindful of your camera's noise performance at different ISO levels. Many modern cameras can produce clean images at ISO 800 or even 1600.
To optimize your ISO for aerial photography:
- Prioritize shutter speed to avoid motion blur.
- Adjust aperture for desired depth of field.
- Increase ISO as needed to maintain proper exposure.
- Use Auto ISO with a set maximum to balance quality and exposure.
- Consider using noise reduction software in post-processing.
Balancing Exposure Triangle Elements
With ISO optimized for your aerial shots, it's time to contemplate how it interacts with the other two elements of the exposure triangle: aperture and shutter speed.
Balancing these three components is essential for achieving well-exposed aerial images with the desired depth of field and motion effects.
To effectively balance the exposure triangle for aerial photography:
- Start with your ISO: You've already set this based on lighting conditions and your camera's capabilities.
- Choose your aperture: For aerial shots, you'll often want a deeper depth of field. Consider using f/8 to f/11 for sharp, expansive landscapes.
- Adjust shutter speed: This is vital for managing motion blur. Aim for at least 1/250s to freeze motion, faster if shooting from a moving aircraft.
- Fine-tune and compromise: If you can't achieve the desired exposure, revisit each element. You might need to sacrifice some depth of field or increase ISO slightly.
Utilizing Manual White Balance
While auto white balance can often produce decent results, mastering manual white balance is essential for capturing the true colors of your aerial scenes.
You'll encounter various lighting conditions at different altitudes and times of day, which can throw off your camera's auto settings.
Start by familiarizing yourself with your camera's white balance presets. These include options like daylight, cloudy, shade, and tungsten.
Experiment with these settings to see how they affect your images' color temperature. For more precise control, use the Kelvin scale to set a specific color temperature.
When shooting during golden hour or blue hour, you'll need to adjust your white balance to capture the warm or cool tones accurately.
Don't forget to recalibrate as lighting conditions change throughout your flight.
Consider using a gray card or color checker to set a custom white balance.
This method guarantees the most accurate color representation, especially in challenging lighting situations.
Focusing Techniques for Sharp Images
To capture sharp aerial images, you'll need to master manual focus techniques.
By taking control of your camera's focus, you can guarantee your subject remains crisp even in challenging conditions.
Utilize focus peaking, if available on your camera, to highlight in-focus areas and achieve precise focus in your aerial shots.
Manual Focus Mastery
Many aerial photographers overlook the power of manual focus, but it's a game-changer for achieving tack-sharp images. When you're shooting from the air, autofocus can struggle to lock onto your intended subject, especially with fast-moving objects or complex scenes. That's where manual focus mastery comes in handy.
To excel at manual focusing for aerial shots:
- Pre-focus before takeoff: Set your focus to infinity or slightly before it, as most aerial subjects will be far away.
- Use focus peaking: If your camera has this feature, enable it to highlight in-focus areas, making it easier to fine-tune your focus mid-flight.
- Leverage live view: Zoom in on your camera's LCD screen to check focus accuracy, especially for distant subjects.
- Practice zone focusing: Learn to estimate distances and set your focus accordingly, allowing you to react quickly to changing scenes.
Focus Peaking Techniques
Focus peaking is a powerful tool that can revolutionize your aerial photography, especially when manual focus is essential. This feature highlights the sharpest edges in your frame, making it easier to achieve precise focus in challenging conditions. To use focus peaking effectively, you'll need to enable it in your camera's settings and select a color that contrasts well with your subject.
When shooting aerial scenes, try these focus peaking techniques:
| Technique | Application | Benefit |
|---|---|---|
| Zone Focus | Pre-focus on a specific distance | Quick shots of fast-moving subjects |
| Rack Focus | Shift focus between foreground and background | Create dynamic video changes |
| Hyperfocal Focus | Maximize depth of field | Guarantee sharpness across the entire scene |
Remember to adjust your focus peaking sensitivity based on the lighting conditions and subject matter. In bright sunlight, you may need to increase the sensitivity to see the highlights clearly. For low-contrast scenes, reduce the sensitivity to avoid false positives. By mastering focus peaking, you'll greatly improve the sharpness and clarity of your aerial shots, elevating your photography to new heights.
Composition Rules in Manual Mode
Manual mode's power truly shines when combined with strong compositional techniques. When shooting aerial footage, you'll want to leverage classic composition rules while adjusting your camera settings for ideal results.
The rule of thirds remains a cornerstone of compelling imagery, even from above. Divide your frame into a 3×3 grid and place key elements along these lines or at their intersections.
Leading lines take on new significance in aerial photography. Look for roads, rivers, or architectural features that guide the viewer's eye through your shot.
Remember, symmetry and patterns often appear more striking from an aerial perspective. Don't be afraid to experiment with centering your subject for a bold, balanced composition.
To elevate your manual mode aerial shots, focus on these four key elements:
- Contrast: Use your exposure settings to highlight differences in light and shadow
- Color: Adjust white balance to enhance natural hues or create mood
- Depth: Experiment with aperture to control the depth of field
- Movement: Fine-tune shutter speed to capture or blur motion
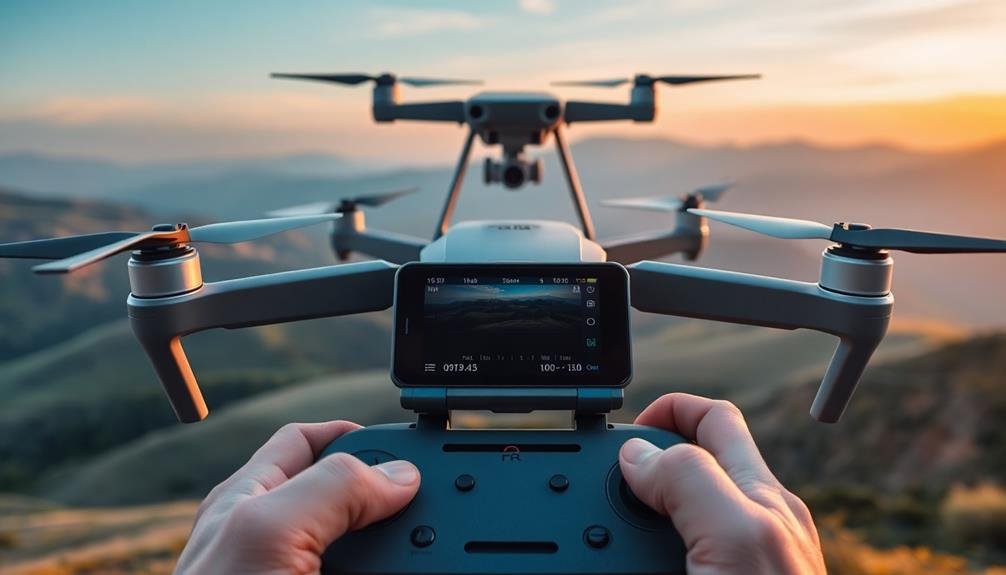
Leveraging Histogram for Exposure
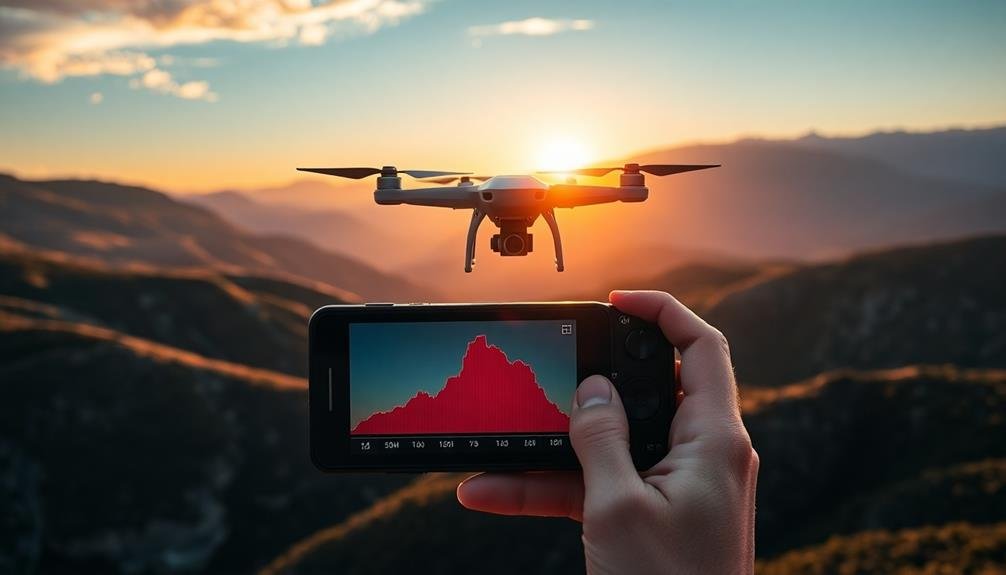
The histogram is your secret weapon for nailing exposure in manual mode aerial shots. It's a visual representation of your image's tonal range, helping you avoid under or overexposure. To leverage the histogram effectively, understand its components:
| Tones | Position | Interpretation |
|---|---|---|
| Shadows | Left | Dark areas of the image |
| Midtones | Center | Average brightness |
| Highlights | Right | Bright areas of the image |
| Peaks | Varies | Dominant tones in the scene |
When shooting aerial scenes, aim for a balanced histogram. You'll want to avoid clipping, where data is lost in extreme shadows or highlights. If you see a spike on either end, adjust your exposure accordingly.
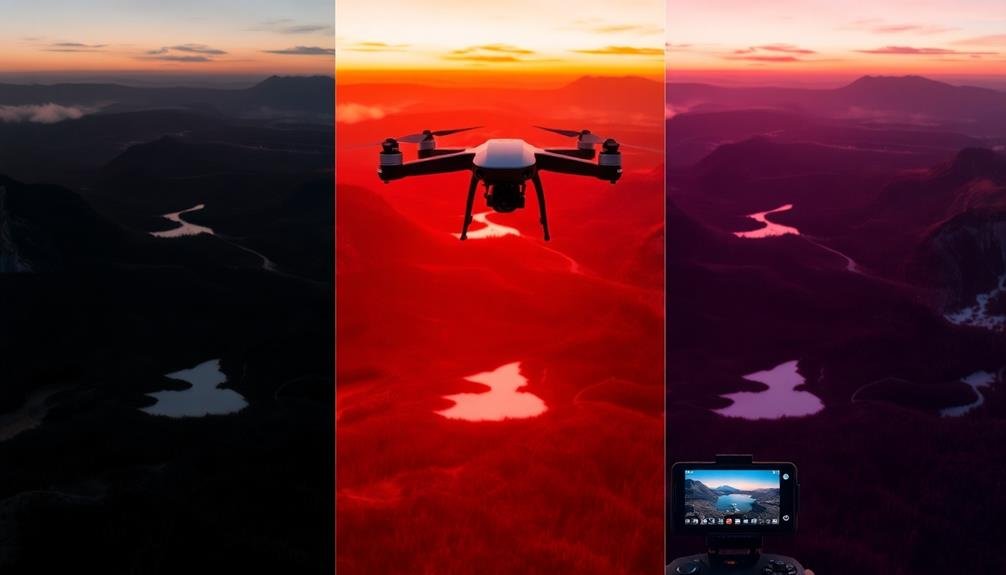
For high-contrast scenes, like sunsets, you might see a U-shaped histogram. This is normal, but ascertain you're not losing detail in important areas. In low-contrast situations, such as foggy landscapes, your histogram may appear more centralized.
Bracketing for High Dynamic Range
While the histogram helps you gauge exposure, sometimes aerial scenes present extreme lighting conditions that exceed your camera's dynamic range. That's where bracketing comes in handy. By capturing multiple exposures of the same scene, you'll have the flexibility to combine them later for a stunning high dynamic range (HDR) image.
To bracket effectively for aerial shots:
- Set your camera to Aperture Priority mode and enable Auto Exposure Bracketing (AEB).
- Choose an aperture that guarantees sharp focus throughout your scene, typically f/8 or higher.
- Select a 3 or 5-shot bracket sequence, with each exposure 1 to 2 stops apart.
- Use continuous shooting mode to capture all bracketed shots quickly, minimizing movement between frames.
As you're shooting, keep your drone as steady as possible to align the exposures easily during post-processing.
Remember, you don't always need to create an HDR image; sometimes, you'll find that one of the bracketed shots captures the scene perfectly.
Bracketing gives you options, making sure you don't miss the shot due to challenging lighting conditions. It's an essential technique for capturing the full tonal range of dramatic aerial landscapes.
Raw vs. JPEG in Aerial Photography
Versatility is key when capturing aerial shots, and your choice between Raw and JPEG formats can make a significant difference.
Raw files offer uncompressed data, preserving all the information your camera's sensor captures. This gives you greater flexibility in post-processing, allowing you to adjust white balance, exposure, and color with minimal quality loss. It's particularly useful for aerial photography, where lighting conditions can be challenging and unpredictable.
On the other hand, JPEG files are compressed and processed in-camera, resulting in smaller file sizes and instant usability. They're ideal when you need to quickly share images or have limited storage space. However, you'll have less room for adjustments without compromising image quality.
For aerial photography, shooting in Raw is often the preferred choice. It lets you recover details in highlights and shadows, essential for high-contrast scenes often encountered in aerial shots.
You'll also have more control over noise reduction and sharpening, which can be vital when dealing with atmospheric haze or vibration from the aircraft. If storage isn't an issue, consider shooting in Raw+JPEG. This gives you the best of both worlds: a high-quality Raw file for editing and a JPEG for quick previews or sharing.
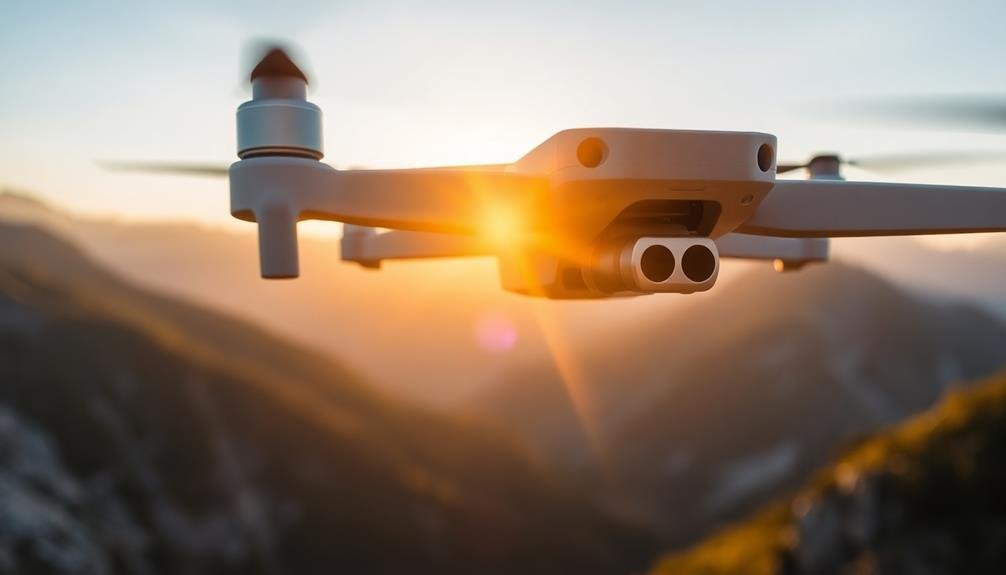
Compensating for Drone Movement
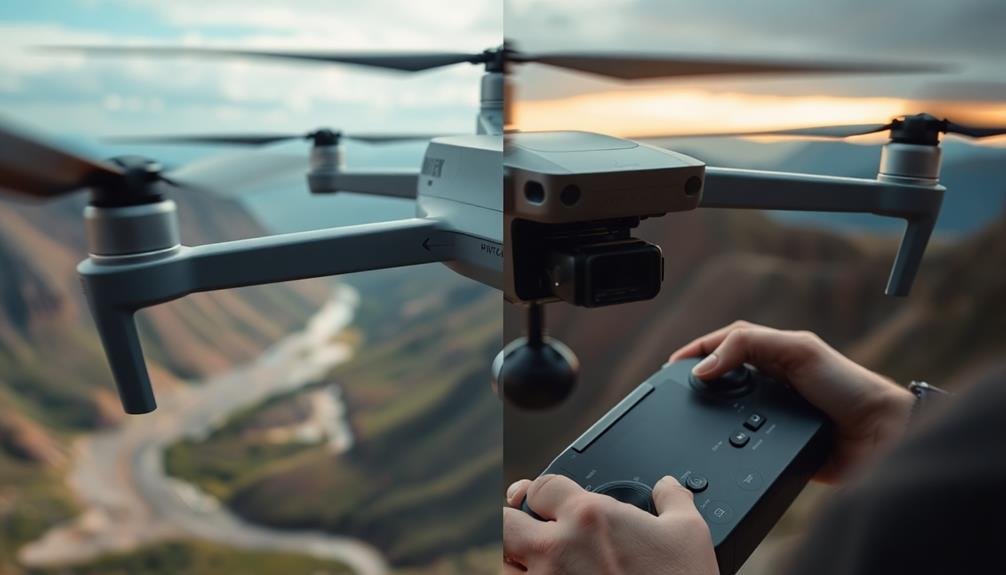
Capturing crisp aerial shots can be challenging when your drone is constantly in motion. To compensate for this movement and achieve sharp images, you'll need to master a few key techniques in manual mode.
First, prioritize your shutter speed. You'll want to keep it high enough to freeze any motion, typically at least 1/500th of a second or faster. This will help counteract both the drone's movement and any wind-induced shake.
Next, focus on these four essential steps:
- Increase your ISO: This allows for faster shutter speeds in lower light conditions.
- Adjust your aperture: Open it wider to let in more light, but be mindful of depth of field.
- Use burst mode: Shoot multiple frames in quick succession to increase your chances of a sharp shot.
- Employ image stabilization: If your camera or lens has this feature, turn it on.
Remember to keep your drone as stable as possible during flight. Smooth, deliberate movements will yield better results than erratic ones.
Practice flying in various weather conditions to improve your control and anticipate how your drone will respond. By combining these techniques with your manual mode skills, you'll be well-equipped to capture stunning, professional-quality aerial photographs.
Weather Considerations for Settings
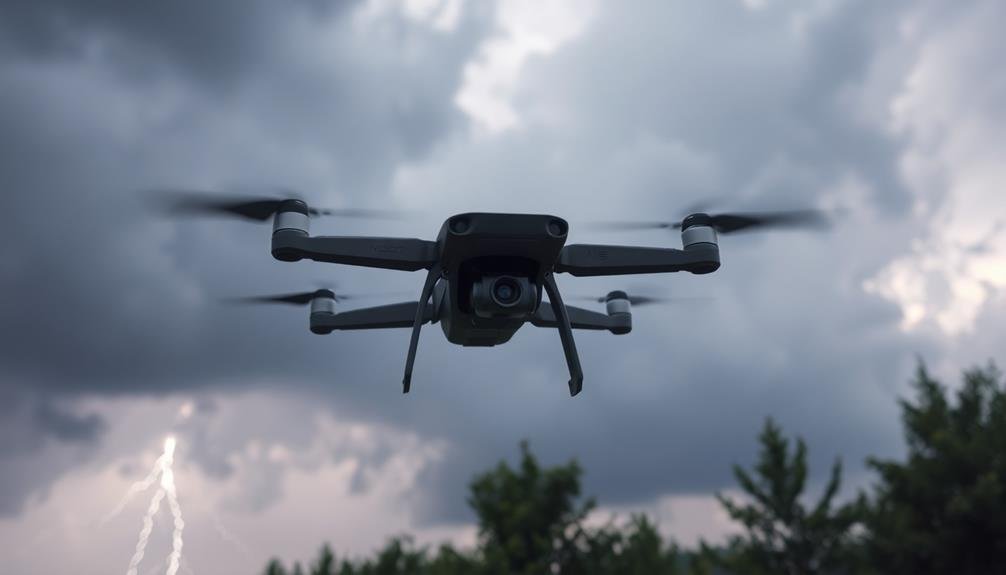
Weather plays a significant role in aerial photography, directly impacting your camera settings. On bright, sunny days, you'll need to use lower ISO settings (100-400) to prevent overexposure. Increase your shutter speed to 1/500 or faster to capture crisp images, and narrow your aperture (f/8-f/11) for greater depth of field.
In overcast conditions, bump up your ISO (400-800) to compensate for less light, and slow your shutter speed slightly (1/250-1/500) to maintain proper exposure.
Wind affects your drone's stability, so you'll need to adjust accordingly. In breezy conditions, increase your shutter speed to minimize motion blur. If you're shooting in low light or at dusk, consider using a higher ISO and wider aperture to maintain faster shutter speeds.
For golden hour shots, use a lower ISO and adjust your white balance to capture warm tones accurately. In foggy or misty conditions, experiment with longer exposures to create ethereal effects, but be mindful of your drone's hover capabilities.
Always monitor your histogram to guarantee proper exposure across varying weather conditions, and don't hesitate to bracket your shots when faced with challenging lighting situations.
Frequently Asked Questions
How Do Different Lens Filters Affect Manual Mode Settings for Aerial Photography?
When using lens filters for aerial photography, you'll need to adjust your manual settings. ND filters require longer exposures, polarizers affect white balance, and UV filters may slightly reduce light. Experiment with each to fine-tune your shots.
What Are the Best Manual Settings for Capturing Motion Blur in Drone Shots?
To capture motion blur in drone shots, you'll want to use a slower shutter speed, around 1/30 to 1/60 second. Adjust your aperture and ISO accordingly to maintain proper exposure. Experiment with different settings for desired effects.
How Can I Achieve a Tilt-Shift Effect Using Manual Mode in Aerial Photography?
To achieve a tilt-shift effect in aerial photography, you'll want to use a wide aperture (low f-number) and focus on a specific area. Adjust your camera's tilt angle and increase sharpness in post-processing for better results.
What Manual Techniques Can I Use to Capture Star Trails From a Drone?
To capture star trails with your drone, you'll need to use long exposures. Set your camera to manual mode, use a low ISO, wide aperture, and slow shutter speed. Keep your drone stable and shoot multiple exposures to stack later.
How Do I Manually Adjust Settings for Aerial Light Painting Photography?
You'll want to set your drone's camera to manual mode. Use a slow shutter speed, low ISO, and small aperture. Control your drone's movement carefully while capturing long exposures. Experiment with different light sources for unique effects.
In Summary
You've now got the tools to take your aerial photography to new heights. By mastering manual mode, you'll have full control over your drone's camera settings. Remember, practice makes perfect. Don't be afraid to experiment with different combinations of shutter speed, aperture, and ISO. As you fine-tune your skills, you'll capture stunning images that stand out from the crowd. Keep pushing your limits, and soon you'll be shooting like a pro.
As educators and advocates for responsible drone use, we’re committed to sharing our knowledge and expertise with aspiring aerial photographers.


Leave a Reply