
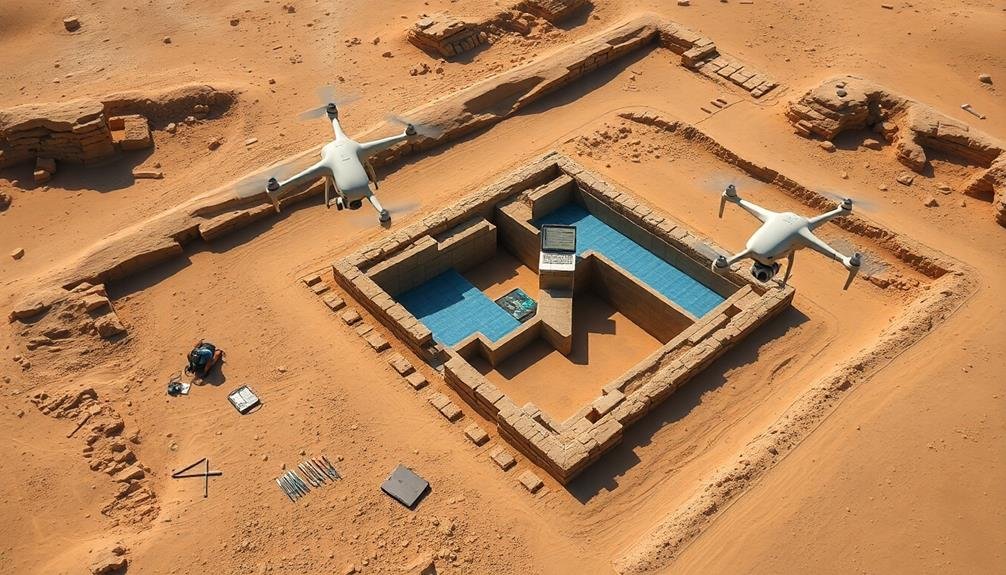
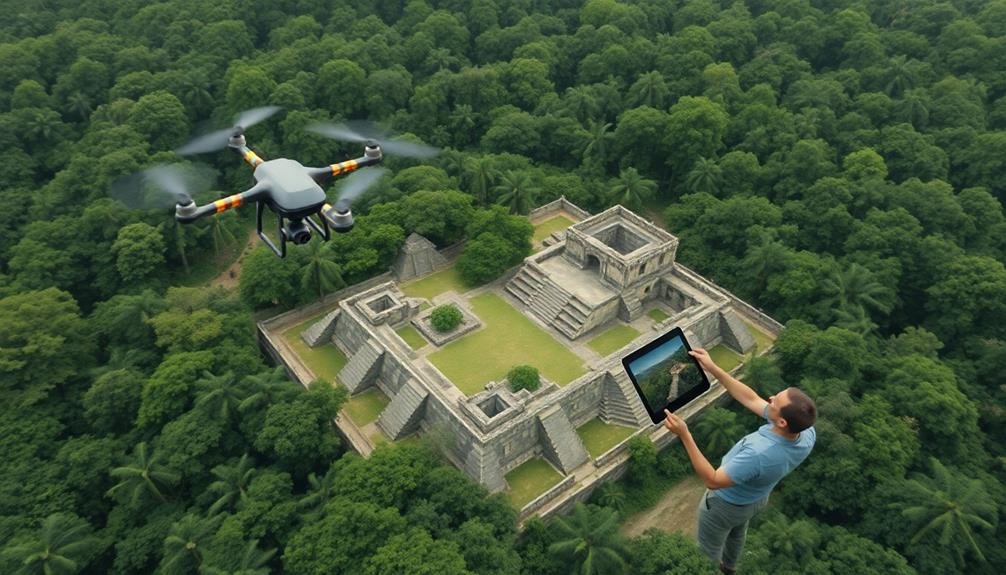
To document ancient sites with drones, you'll need a high-quality camera drone with stabilization and GPS capabilities. Plan your flights carefully, considering site layout and local regulations. Use various flight patterns like grid, circular, and spiral to capture thorough coverage. Optimize camera settings for RAW format, low ISO, and fast shutter speeds. Process your data using photogrammetry software to create orthomosaics and digital elevation models. Integrate GPS data for accuracy and archive your findings securely. Remember to respect the site and obtain necessary permits. By mastering these techniques, you'll reveal new perspectives on archaeological exploration and preservation.
Choosing the Right Drone
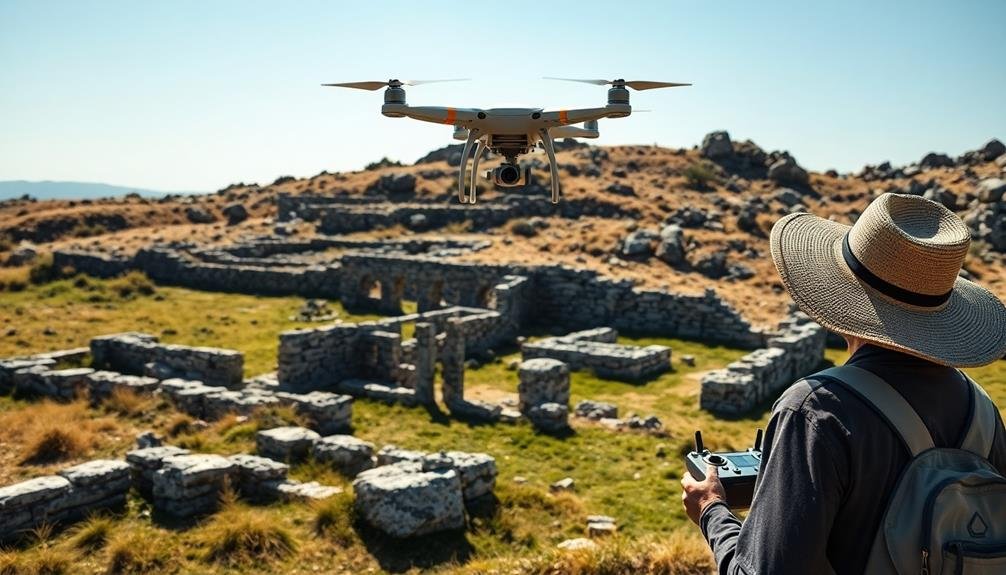
Selecting the appropriate drone is fundamental for effectively documenting ancient sites. You'll want to reflect on several factors when choosing your drone.
First, opt for a model with a high-quality camera capable of capturing detailed images and videos. Look for at least 12 megapixels and 4K video resolution. Stability is significant, so choose a drone with a reliable gimbal system to guarantee smooth footage.
Battery life is another essential factor. You'll need a drone that can stay airborne for at least 20-30 minutes to capture extensive site data. Contemplate models with interchangeable batteries for extended flight times.
Size and portability matter too, especially if you're working in remote locations. Foldable drones are ideal for easy transport.
Don't forget about obstacle avoidance technology, which is important when maneuvering around ancient structures. GPS capabilities are indispensable for precise flight control and mapping.
Essential Equipment for Aerial Documentation
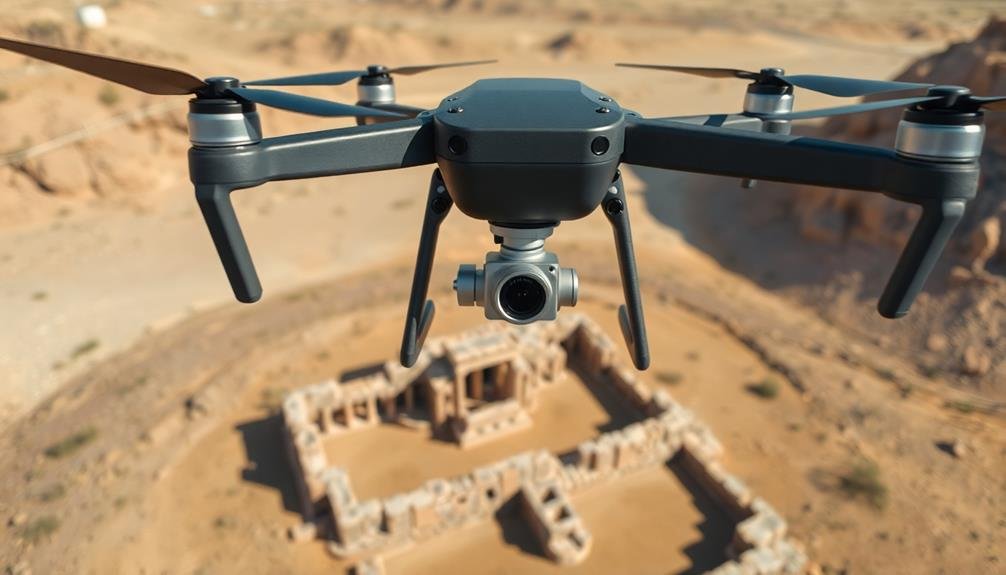
Five essential pieces of equipment are crucial for aerial documentation of ancient sites. First, you'll need a high-resolution camera capable of capturing detailed images and video. Look for at least 20 megapixels and 4K video capabilities.
Second, invest in a gimbal stabilizer to guarantee smooth, steady footage during flight. This will greatly improve the quality of your aerial shots.
Third, equip your drone with GPS for accurate positioning and mapping. This feature allows you to create precise 3D models of the site.
Fourth, pack extra batteries to extend your flight time and cover larger areas. Always carry at least three fully charged batteries.
Lastly, don't forget a robust carrying case to protect your equipment during transport. Choose a waterproof, shockproof case with customizable foam inserts.
Additional helpful items include ND filters to manage bright lighting conditions, a tablet or smartphone for live view and control, and software for post-processing and data analysis.
With these tools, you'll be well-equipped to capture stunning aerial documentation of ancient sites, providing significant data for archaeological research and preservation efforts.
Pre-Flight Planning and Preparation
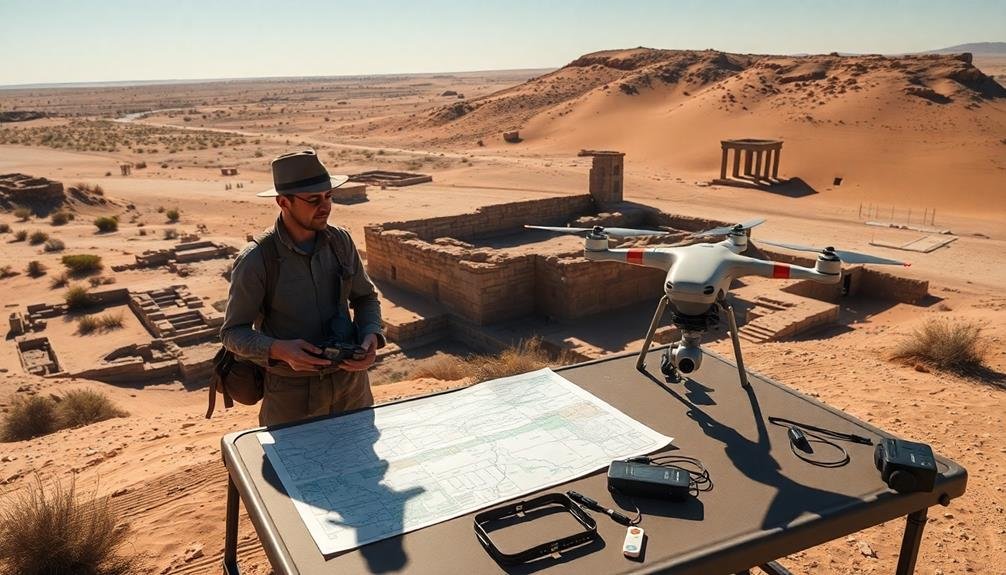
Thorough pre-flight planning and preparation are essential for successful aerial documentation of ancient sites. You'll need to evaluate several factors before launching your drone to capture the best possible footage and data. Start by researching the site's layout, terrain, and any potential obstacles that might interfere with your flight path.
Next, create a detailed flight plan that includes:
- Specific flight routes and altitudes
- Key points of interest for documentation
- Estimated flight times and battery requirements
- Backup plans for unexpected weather or technical issues
Don't forget to check local regulations and obtain any necessary permits for flying drones at archaeological sites.
You'll also want to scout the area in person to identify suitable takeoff and landing zones, as well as potential safety hazards.
Prepare your equipment the day before your flight, ensuring all batteries are fully charged and memory cards are formatted.
Double-check your camera settings and calibrate your drone's compass and GPS.
Regulatory Compliance for Archaeological Sites
While pre-flight planning is essential, you can't overlook the regulatory aspects of flying drones at archaeological sites. You'll need to comply with both aviation and cultural heritage laws, which can vary markedly by country and even local jurisdiction.
First, obtain necessary permits from aviation authorities and archaeological departments. Research specific regulations for the site you're documenting, as some may have strict no-fly zones or require special permissions. Be aware of height restrictions, privacy laws, and any protected areas nearby.
Consider the following key regulations:
| Country | Drone Registration | Archaeological Permit |
|---|---|---|
| USA | Required > 250g | Site-specific |
| Italy | Always required | Ministry approval |
| Egypt | Strict limitations | Rarely granted |
| Peru | Required > 2kg | Case-by-case basis |
| Greece | Always required | Ministry approval |
Ensure you're fully insured and carry all necessary documentation during your flight operations. Stay updated on changing regulations, as drone laws are evolving rapidly. By prioritizing compliance, you'll protect both the archaeological site and your ability to continue important documentation work.
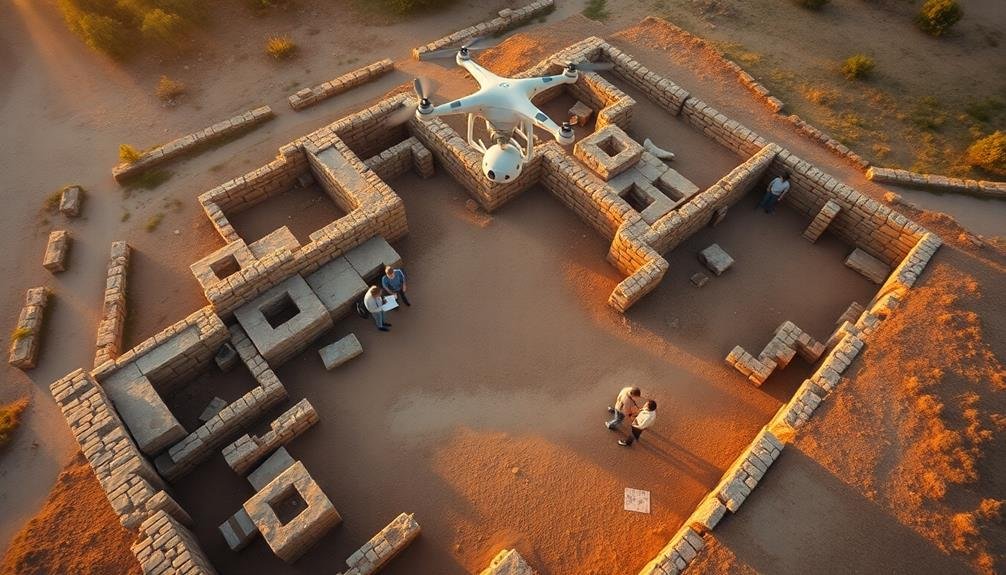
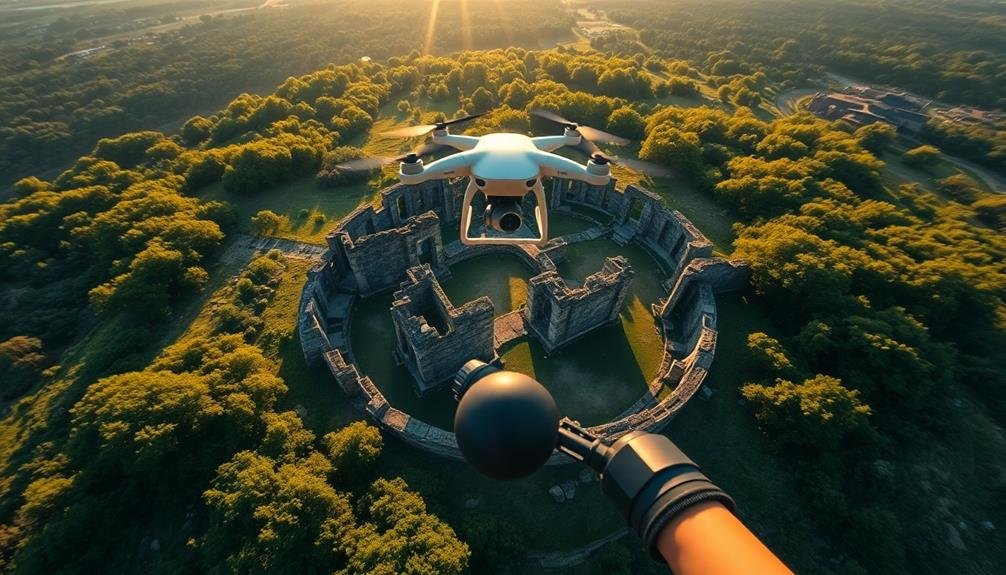
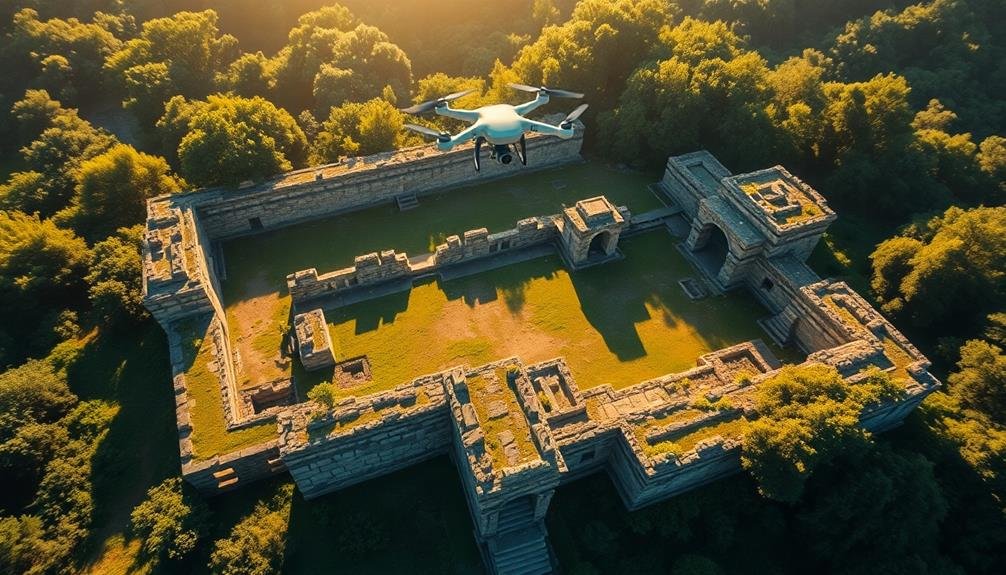
Flight Patterns for Comprehensive Coverage
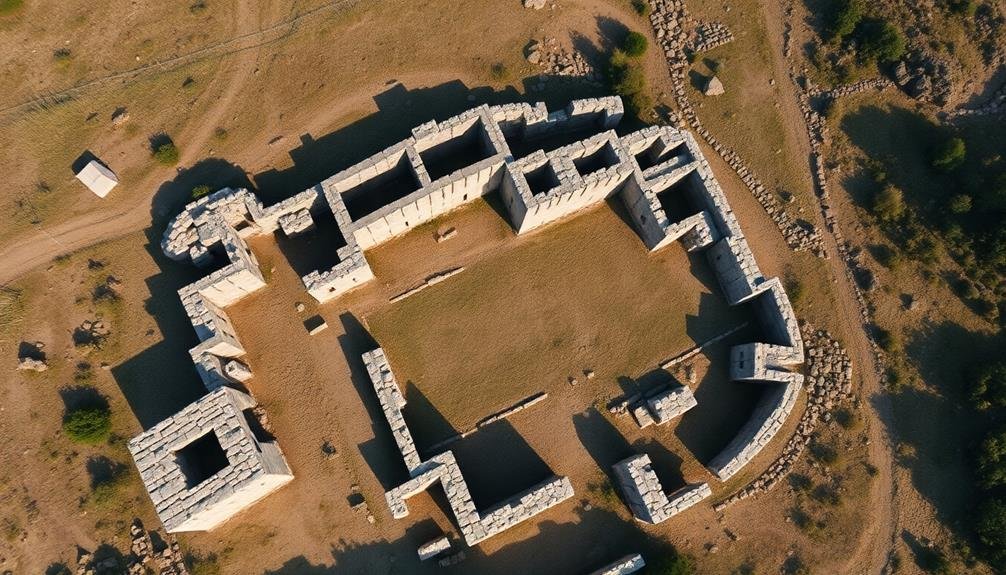
Mapping out effective flight patterns is essential for capturing extensive data at archaeological sites. You'll want to guarantee complete coverage while maximizing efficiency and battery life. Consider the site's topography, size, and features when planning your flight paths.
To achieve thorough coverage, follow these key steps:
- Start with a grid pattern: Fly your drone in parallel lines across the entire site, maintaining consistent altitude and overlap between passes.
- Incorporate circular flights: For structures or specific points of interest, fly in concentric circles at varying altitudes to capture details from multiple angles.
- Use cross-hatch patterns: Fly diagonal passes over the site to supplement the grid pattern, ensuring you don't miss any areas hidden by shadows or vegetation.
- Perform targeted flights: Focus on specific features or artifacts with closer, more detailed passes to capture high-resolution imagery.
Remember to adjust your flight speed based on the required image resolution and overlap. Slower speeds allow for higher-quality images but consume more battery life.
You'll need to strike a balance between coverage and detail. Always monitor your drone's battery levels and have spare batteries on hand for larger sites or multiple flights.
Optimal Camera Settings
To capture high-quality images of archaeological sites, you'll need to optimize your drone's camera settings. Start by setting your camera to RAW format, which preserves more image data and allows for greater flexibility in post-processing.
Use a low ISO setting, ideally 100-200, to minimize noise and maintain image clarity. Set your aperture between f/4 and f/8 for a good balance of depth of field and sharpness.
For shutter speed, aim for 1/500th of a second or faster to prevent motion blur, especially in windy conditions. Enable your drone's mechanical shutter if available, as it reduces the rolling shutter effect common in electronic shutters.
Adjust your white balance to match the lighting conditions, or use auto white balance if you're shooting in RAW. When it comes to focus, use your drone's autofocus system, but verify sharpness by zooming in on the live view.
For exposure, slightly underexpose your images to preserve highlight details, which you can recover later in post-processing. Finally, enable any built-in image stabilization features your drone offers to further guarantee crisp, clear images of ancient sites.
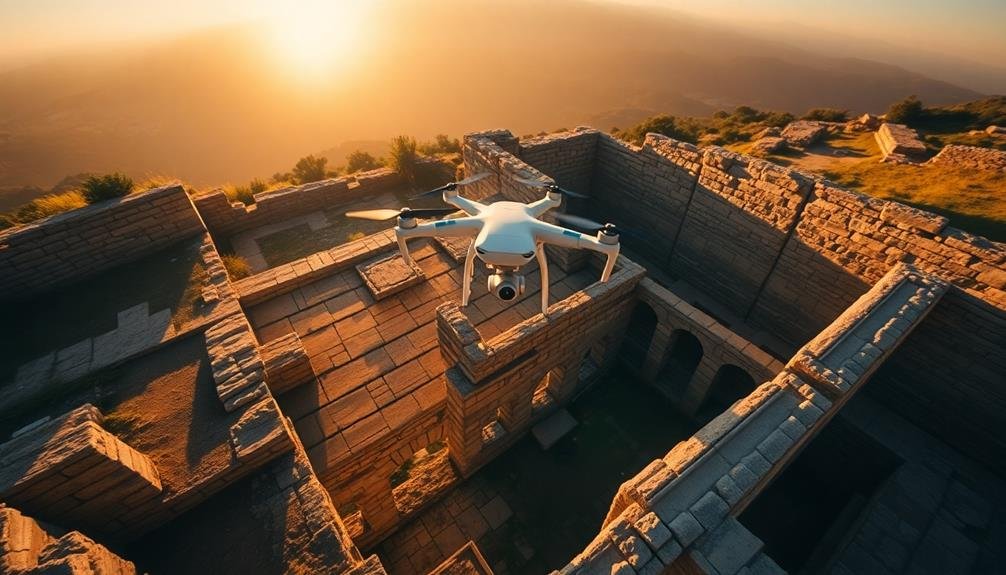
Aerial Photography Techniques

Once you've optimized your camera settings, it's time to focus on aerial photography techniques. These methods will help you capture stunning images of ancient sites from above. Start by mastering the art of hovering, which allows you to take sharp, stable shots. Practice maintaining a steady altitude and position, using your drone's GPS lock feature when available.
Next, explore different flight patterns to capture diverse perspectives:
- Circular orbit: Fly in a circle around the site, gradually decreasing altitude for a thorough view.
- Grid pattern: Cover the entire area systematically, ensuring you don't miss any details.
- Linear transect: Follow straight lines across the site, ideal for documenting long structures or walls.
- Spiral descent: Begin high and slowly descend in a spiral pattern, capturing multiple layers of the site.
Don't forget to vary your camera angles. Experiment with nadir (straight down) shots for mapping purposes, and oblique angles to highlight textures and shadows. Use your drone's gimbal to tilt the camera, creating dynamic compositions.
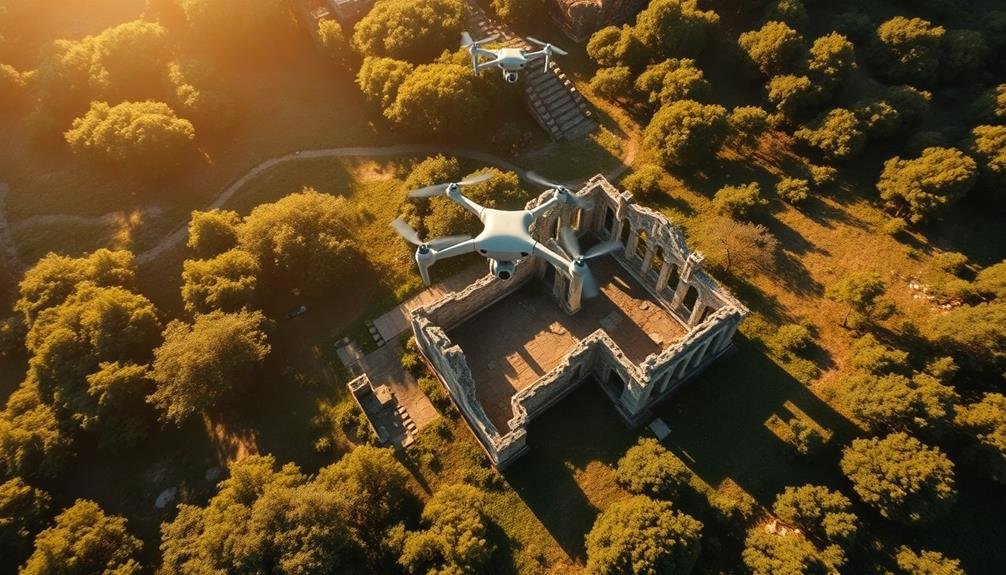
Video Capture Strategies
When capturing video of ancient sites with drones, you'll need to plan effective flight patterns for thorough coverage.
You should consider flying in grid patterns or circular orbits to document all angles of the site.
It's essential to adjust your camera settings for ideal video quality, accounting for factors like light conditions, movement speed, and desired level of detail.
Flight Patterns for Coverage
In recent years, aerial videography has revolutionized the documentation of ancient sites. When planning your flight patterns for thorough coverage, you'll need to take into account the site's layout and specific features you want to capture.
To guarantee you don't miss any essential details, follow these basic flight patterns:
- Grid pattern: Fly in straight, parallel lines across the entire site, maintaining a consistent altitude. This method provides systematic coverage and is ideal for mapping large areas.
- Circular pattern: Orbit around key structures or features, gradually increasing or decreasing altitude. This technique captures 360-degree views and is excellent for documenting individual buildings or monuments.
- Spiral pattern: Start from the center of the site and fly outward in an expanding spiral. This approach is useful for sites with a central focal point and radiating features.
- Zigzag pattern: Fly back and forth across the site in a zigzag motion, adjusting altitude as needed. This method is effective for covering irregularly shaped areas or sites with varied terrain.
Optimal Camera Settings
To capture high-quality video footage of ancient sites, you'll need to optimize your drone's camera settings. Start by setting your resolution to at least 4K for detailed shots that allow for cropping and zooming in post-production. Aim for a frame rate of 24-30 fps for a cinematic look, or 60 fps if you plan to incorporate slow-motion sequences.
Set your camera's white balance manually to guarantee consistent color temperature across all shots. Use a neutral picture profile to preserve dynamic range and allow for more flexibility in color grading later.
For exposure, prioritize a faster shutter speed (around 1/60th to 1/120th of a second) to minimize motion blur. Adjust your ISO as low as possible while maintaining proper exposure to reduce noise in your footage. Use ND filters to control light intake in bright conditions, allowing you to maintain a wider aperture for depth of field control.
Enable your drone's obstacle avoidance features to prevent collisions while focusing on composition. Experiment with different shooting modes like tracking, orbiting, or reveal shots to add visual interest.
3D Mapping and Photogrammetry
To create 3D maps and photogrammetric models of ancient sites, you'll need specialized equipment and software like high-resolution cameras, LiDAR sensors, and processing tools.
You should develop detailed flight planning strategies, including ideal altitudes, overlapping flight paths, and lighting considerations.
Once you've collected the data, you'll process it using techniques such as image alignment, dense cloud generation, and mesh creation to produce accurate 3D representations.
Equipment and Software Requirements
When it comes to 3D mapping and photogrammetry of ancient sites, you'll need specialized equipment and software to achieve accurate results. Your drone should be equipped with a high-resolution camera capable of capturing detailed images. Look for models with at least 20 megapixels and adjustable settings for exposure and focus.
To guarantee precise data collection, you'll want to invest in:
- A GPS-enabled drone with obstacle avoidance technology
- A gimbal for camera stabilization
- Extra batteries to extend flight time
- A portable ground control station for real-time monitoring
On the software side, you'll need photogrammetry programs to process the collected images and create 3D models. Popular options include Agisoft Metashape, Pix4D, and DroneDeploy. These applications can stitch together hundreds of photos to generate accurate 3D representations of ancient sites.
Don't forget about post-processing software like Autodesk ReCap or CloudCompare for refining and analyzing your 3D models.
You'll also need a powerful computer with ample RAM and a dedicated graphics card to handle the demanding computational tasks involved in 3D reconstruction.
Flight Planning Strategies
Effective flight planning sets the stage for successful 3D mapping and photogrammetry of ancient sites. You'll need to take into account several factors when designing your flight path.
First, determine the desired ground sampling distance (GSD) based on the level of detail required for your project. This will influence your flight altitude and camera settings.
Plan your flight pattern to guarantee adequate image overlap, typically 75-80% forward overlap and 60-70% side overlap. Use a grid or crosshatch pattern for thorough coverage.
Factor in the site's topography and any obstacles that might interfere with your drone's flight path.
Take into account the time of day and lighting conditions. Early morning or late afternoon often provide the best shadows for highlighting surface features. You'll also want to account for weather conditions, especially wind speed and direction.
Use flight planning software to create and simulate your mission before executing it in the field. This allows you to optimize your flight parameters and identify potential issues.
Don't forget to include safety considerations, such as establishing takeoff and landing zones, and planning for emergency scenarios.
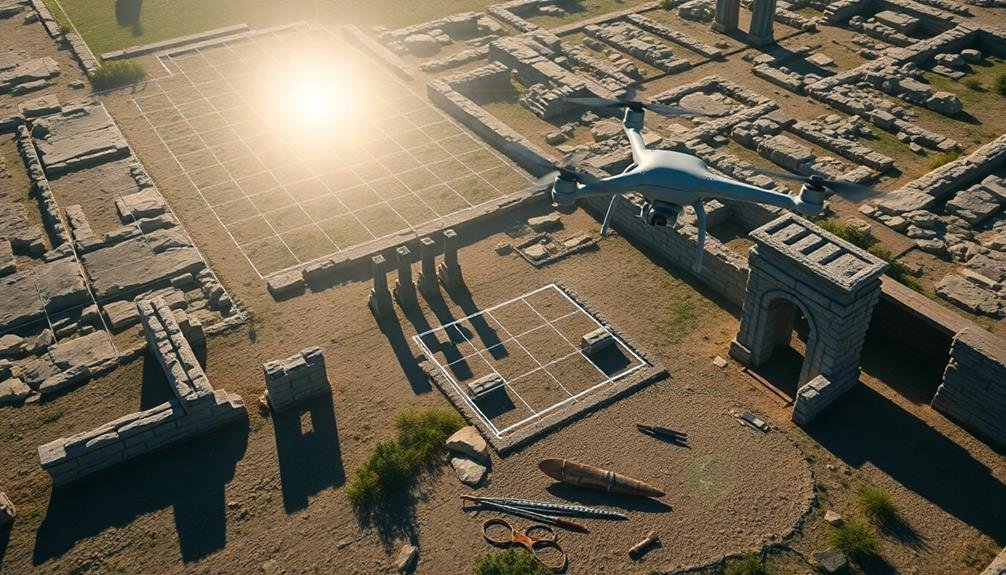
Data Processing Techniques
Data processing powerhouses transform raw drone imagery into valuable 3D models and maps of ancient sites. You'll need to master several techniques to extract meaningful information from your aerial data. Start by importing your images into specialized photogrammetry software, which will align and stitch them together.
Next, you'll generate a dense point cloud, representing the site's surface in three dimensions. From there, you'll create a detailed mesh and add texture for a realistic 3D model.
To produce accurate maps, you'll need to:
- Georeference your data using ground control points
- Perform orthorectification to remove distortions
- Create digital elevation models (DEMs) for topographic analysis
- Generate orthomosaics for high-resolution 2D maps
Don't forget to clean and filter your data to remove noise and errors. Advanced techniques like multispectral analysis can reveal hidden features beneath the surface.
Data Processing and Analysis
The wealth of information gathered by drones requires careful processing and analysis to extract meaningful insights. You'll need to organize and clean the raw data, then apply various techniques to interpret it effectively.
Start by georeferencing your imagery and creating orthomosaics. These serve as the foundation for further analysis. Next, use photogrammetry software to generate 3D models and digital elevation maps. These tools allow you to visualize the site's topography and structures in detail.
For more advanced analysis, consider:
| Technique | Purpose | Software Examples |
|---|---|---|
| LiDAR processing | Reveal hidden structures | CloudCompare, LAStools |
| Spectral analysis | Detect buried features | ENVI, ArcGIS |
| AI-powered recognition | Identify artifacts | TensorFlow, PyTorch |
Don't forget to integrate your drone data with other sources, such as ground surveys or historical records. This thorough approach will provide a more complete understanding of the site.
Creating Orthomosaics
To create high-quality orthomosaics of ancient sites, you'll need to master flight planning essentials, including ideal flight altitude and overlap settings.
You should also focus on image capture strategies, ensuring consistent lighting and camera settings throughout your drone mission.
Flight Planning Essentials
For creating high-quality orthomosaics, meticulous flight planning is essential. You'll need to evaluate various factors to guarantee ideal data collection and image quality.
Begin by examining the site's terrain, size, and any potential obstacles that might affect your drone's flight path.
Next, determine the best flight altitude and camera settings for your specific project. Higher altitudes cover more ground but may sacrifice detail, while lower altitudes provide better resolution but require more time and battery power.
Reflect on the following key elements when planning your flight:
- Flight pattern: Choose between grid, double grid, or circular patterns based on the site's characteristics and your documentation goals.
- Image overlap: Aim for at least 75% front overlap and 60% side overlap to guarantee sufficient data for accurate stitching.
- Ground control points (GCPs): Place and measure GCPs throughout the site to improve the accuracy of your orthomosaic.
- Weather conditions: Plan your flight during ideal lighting and wind conditions to maximize image quality and drone stability.
Image Capture Strategies
Now that you've planned your flight, it's time to focus on capturing high-quality images for your orthomosaic. To create a thorough aerial map of your ancient site, you'll need to employ specific image capture strategies.
First, verify your drone's camera settings are optimized for the lighting conditions. Use a fixed ISO and adjust the shutter speed to maintain consistent exposure across all images. Set your camera to capture in RAW format for maximum post-processing flexibility.
When flying, maintain a consistent altitude and use a grid or lawn mower pattern to guarantee complete coverage. Aim for at least 70% front overlap and 60% side overlap between images to facilitate accurate stitching.
| Flight Pattern | Overlap % | Image Quality |
|---|---|---|
| Grid | 70/60 | High |
| Lawn Mower | 75/65 | Very High |
| Circular | 80/70 | Excellent |
Consider capturing oblique images in addition to nadir (straight down) shots to improve the orthomosaic's accuracy, especially for vertical structures. Finally, don't forget to document any ground control points you've established to enhance the georeferencing of your final orthomosaic.
Processing Software Options
The digital domain offers a variety of software options for processing your drone-captured images into stunning orthomosaics. These tools allow you to transform raw aerial footage into detailed, geometrically corrected maps that showcase ancient sites in their entirety.
When choosing software, consider factors like ease of use, processing speed, and output quality.
Popular options include:
- Pix4Dmapper: Known for its user-friendly interface and robust features, it's ideal for beginners and professionals alike.
- Agisoft Metashape: Offers advanced photogrammetry capabilities and is favored by many archaeologists for its precision.
- DroneDeploy: A cloud-based solution that's great for quick processing and collaboration.
- OpenDroneMap: An open-source alternative that's free and highly customizable.
You'll want to experiment with different software to find what works best for your specific needs. Many offer free trials, so take advantage of these to test their capabilities.
Digital Elevation Models
With the advancement of drone technology, Digital Elevation Models (DEMs) have become invaluable tools for archaeologists documenting ancient sites. DEMs provide a 3D representation of the terrain's surface, allowing you to visualize and analyze topographic features that might be difficult to detect on the ground.
To create a DEM, you'll need to capture overlapping aerial images of the site using your drone. These images are then processed using photogrammetry software to generate a point cloud, which forms the basis of your DEM. The resulting model can reveal subtle landscape features, such as ancient roads, building foundations, or agricultural terraces.
Here's a comparison of different DEM types you might encounter:
| DEM Type | Resolution | Data Source | Best Use Case |
|---|---|---|---|
| LiDAR | High | Laser | Dense vegetation |
| Photogrammetry | Medium-High | Aerial photos | Open terrain |
| SRTM | Low | Satellite | Large-scale analysis |
When working with DEMs, you'll want to take into account factors like resolution, accuracy, and file size. Higher resolution models provide more detail but require more processing power and storage. You can use GIS software to analyze your DEMs, creating slope maps, contour lines, and viewshed analyses to gain deeper insights into the ancient landscape.
Integrating GPS Data
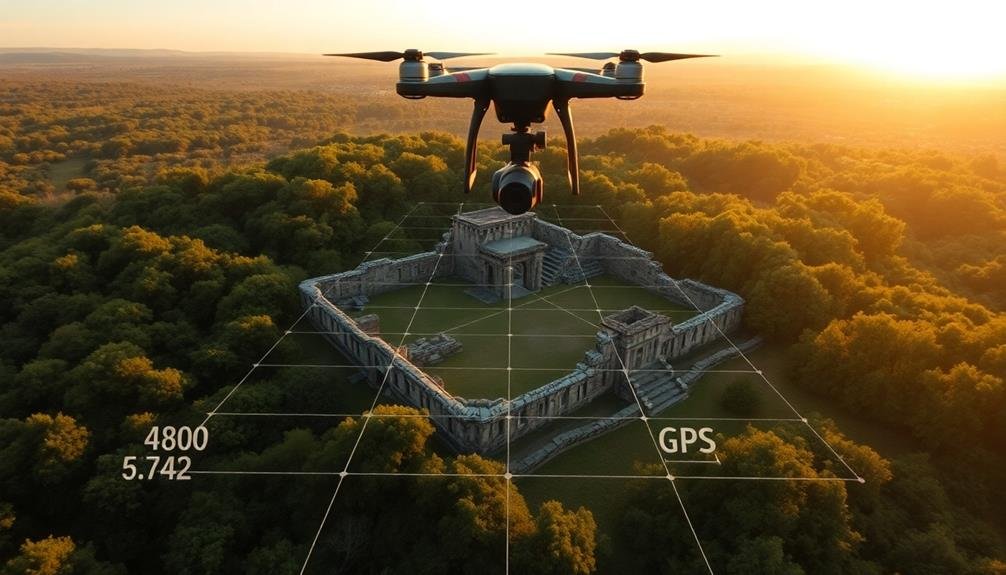
As you capture aerial imagery for your DEM, it's crucial to integrate GPS data into your workflow. GPS integration guarantees accurate georeferencing of your drone-captured images, allowing for precise mapping and analysis of ancient sites.
By combining GPS data with your aerial photographs, you'll create a robust dataset that archaeologists and researchers can use for years to come.
To effectively integrate GPS data into your drone documentation process:
- Use a drone equipped with a built-in GPS receiver or attach an external GPS module for more accurate positioning.
- Set up ground control points (GCPs) across your site and record their precise coordinates using a high-accuracy GPS device.
- Confirm your drone's camera is set to geotag images automatically, embedding GPS coordinates into each photo's metadata.
- Post-process your data using photogrammetry software that can interpret GPS information and align images accordingly.
Archiving and Sharing Findings
Having collected and processed your drone imagery, it's time to focus on archiving and sharing your findings. Begin by organizing your data into a clear, logical structure. Create separate folders for raw images, processed orthomosaics, 3D models, and any associated metadata. Use consistent file naming conventions to guarantee easy retrieval.
For long-term preservation, store your data on multiple devices, including external hard drives and cloud-based platforms. Consider using specialized archaeological data repositories like tDAR or ADS for added security and accessibility.
When sharing your findings, prepare detailed reports that include methodology, equipment specifications, and processing techniques. Create visually appealing presentations using high-resolution images and 3D models to showcase your work effectively.
Utilize online platforms to disseminate your research. Publish your findings in open-access journals or create a dedicated website to share your discoveries. Engage with the broader archaeological community through social media and professional networks.
Don't forget to address copyright and licensing issues. Clearly state usage rights for your images and data to facilitate collaboration while protecting your intellectual property.
Frequently Asked Questions
How Do Drones Impact Local Wildlife When Documenting Ancient Sites?
You'll find that drones can disturb wildlife near ancient sites. They might scare birds, stress mammals, or disrupt natural behaviors. It's essential you're mindful of flight paths, noise levels, and local regulations to minimize impact.
What Are the Ethical Considerations of Using Drones at Sacred Archaeological Locations?
You must consider privacy, cultural sensitivity, and respect for sacred spaces. Don't disturb rituals or intrude on local communities. Seek permission from authorities and stakeholders. Always prioritize the site's integrity and the local people's wishes.
How Can Drone Footage Be Used to Engage Public Interest in Archaeology?
You can use drone footage to captivate the public by sharing stunning aerial views of sites. Create virtual tours, social media content, and educational videos. It'll bring archaeology to life, making it more accessible and exciting for everyone.
What Role Do Drones Play in Preventing Looting at Archaeological Sites?
You'll find drones invaluable for preventing looting at archaeological sites. They can monitor large areas, detect suspicious activity, and provide real-time surveillance. You're able to quickly alert authorities and protect valuable artifacts using this efficient technology.
How Do Weather Conditions Affect Drone Performance in Different Archaeological Environments?
Weather greatly affects your drone's performance. Wind can disrupt flight, while rain damages electronics. Extreme heat or cold impacts battery life. Desert sand and humid jungle conditions can clog motors. Always check forecasts before flying.
In Summary
You've now got the tools to document ancient sites using drones effectively. Remember to choose the right equipment, plan carefully, and follow regulations. With proper flight patterns and data processing, you'll create valuable orthomosaics and elevation models. Don't forget to integrate GPS data for accuracy. As you archive and share your findings, you're contributing to the preservation and understanding of our shared cultural heritage. Keep exploring and documenting!
As educators and advocates for responsible drone use, we’re committed to sharing our knowledge and expertise with aspiring aerial photographers.


Leave a Reply