For aerial photography, your ideal frame rate depends on your creative goals. If you're after a cinematic look, stick with 24-30fps. For smooth motion and sports coverage, aim for 60fps. Higher frame rates like 120fps or 240fps enable stunning slow-motion effects but require more storage and processing power. Consider your subject's speed, lighting conditions, and post-production needs when choosing. Fast-moving subjects and low light scenarios often benefit from higher frame rates. Remember, you can always convert high frame rate footage to lower rates, but not vice versa. Balancing technical requirements with artistic vision will help you capture breathtaking aerial footage that tells your story effectively.
Key Takeaways
- 60fps is optimal for capturing smooth motion in aerial footage, especially for dynamic subjects and sports coverage.
- 24-30fps provides a cinematic look suitable for narrative-driven aerial content and documentaries.
- Higher frame rates (120fps+) allow for high-quality slow-motion effects and better stabilization in post-production.
- Frame rate selection should consider lighting conditions, with higher rates beneficial in low-light situations.
- Balance frame rate choice with camera capabilities, storage capacity, and post-processing requirements for optimal results.
Understanding Frame Rates

Grasping the concept of frame rates is essential for aerial photographers looking to capture stunning footage. Frame rate refers to the number of individual images, or frames, that your camera captures per second. It's typically measured in frames per second (fps). Common frame rates include 24fps, 30fps, and 60fps, each offering different visual effects and advantages.
When you're shooting aerial footage, the frame rate you choose can greatly influence the final result. Higher frame rates, like 60fps, can create smoother motion and allow for crisp slow-motion effects when slowed down in post-production.
Lower frame rates, such as 24fps, offer a more cinematic look that many viewers associate with professional filmmaking. Your choice of frame rate should depend on your creative vision and the specific requirements of your project.
You'll need to assess factors like the speed of your subject, the amount of motion in the scene, and your intended playback speed. It's also important to remember that higher frame rates require more storage space and processing power, which can be a concern when working with aerial footage captured over long periods.
Standard Frame Rates Explained
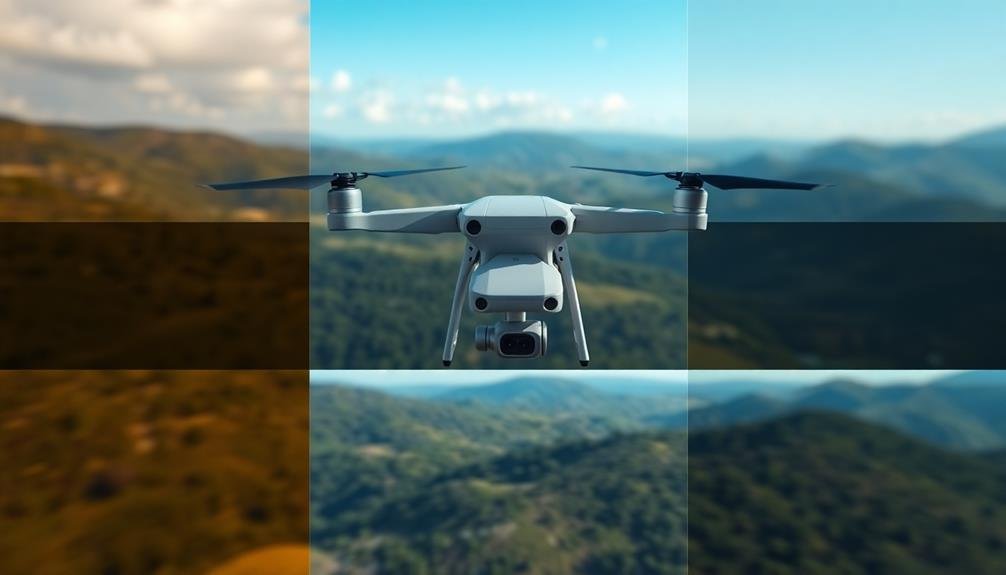
You'll encounter several common frame rate options when exploring aerial photography, including 24fps, 30fps, and 60fps.
While 24fps is often associated with a cinematic look, higher frame rates like 60fps can capture smoother motion, especially useful for fast-moving subjects.
Certain industries may have specific frame rate requirements, such as broadcast television typically using 29.97fps in North America.
Common Frame Rate Options
Several standard frame rates are commonly used in aerial photography, each offering distinct advantages for different applications. You'll often encounter options ranging from 24fps to 120fps, with each serving a specific purpose.
Here's a quick overview of common frame rates and their uses:
| Frame Rate | Description | Best For |
|---|---|---|
| 24fps | Cinematic look | Narrative-style footage |
| 30fps | Standard video | General aerial shots |
| 60fps | Smooth motion | Fast-moving subjects |
| 120fps | Slow motion | Detailed analysis |
| 240fps | Ultra slow-mo | Extreme slow motion |
When choosing a frame rate, consider your project's needs. For a film-like appearance, stick with 24fps. If you're capturing general aerial footage, 30fps is a solid choice. For smoother motion, especially when following fast-moving subjects, opt for 60fps. If you need slow-motion capabilities, 120fps allows for crisp, detailed footage when slowed down. For extreme slow-motion effects, 240fps can create stunning visuals, though it requires more light and storage space.
Cinematic vs. Smooth Motion
The debate between cinematic and smooth motion frame rates lies at the heart of aerial photography. When choosing between these options, you'll need to evaluate your project's goals and the visual effect you're aiming for.
Cinematic frame rates, typically 24fps or 30fps, create a more traditional film-like look. They're often preferred for narrative-driven content or when you want to evoke a specific mood.
Smooth motion, achieved with higher frame rates like 60fps or 120fps, offers a more fluid and realistic representation of movement, ideal for action-packed scenes or detailed aerial surveys.
To help you decide between cinematic and smooth motion, assess these factors:
- Intended viewing platform (cinema, TV, or online)
- Subject matter and movement speed
- Post-production requirements
- Storage capacity and data management
- Desired emotional impact on viewers
Remember that you can always slow down higher frame rate footage in post-production, giving you more flexibility. However, you can't add frames to lower frame rate footage without sacrificing quality.
Ultimately, your choice will depend on balancing technical requirements with creative vision, ensuring your aerial footage achieves the desired impact and serves its intended purpose.
Industry-Specific Frame Rates
In light of industry standards, understanding common frame rates is essential for aerial photographers. You'll encounter several widely used frame rates, each with specific applications and advantages.
24 fps is the standard for cinema, offering a classic film-like look. It's ideal for narrative-style aerial footage or when you're aiming for a cinematic feel.
30 fps is common in television and provides a smoother motion, making it suitable for news broadcasts or documentaries featuring aerial shots.
For sports and fast-action aerial footage, 60 fps is often preferred. It captures rapid movement more clearly and allows for smooth slow-motion playback.
If you're shooting for social media platforms, consider 60 fps as it's widely supported and provides flexibility in post-production.
Higher frame rates like 120 fps or 240 fps are used for extreme slow-motion effects. While these can create stunning aerial visuals, they require more light and storage space.
When choosing a frame rate, consider your end-use, lighting conditions, and desired aesthetic.
Cinematic vs. Smooth Motion
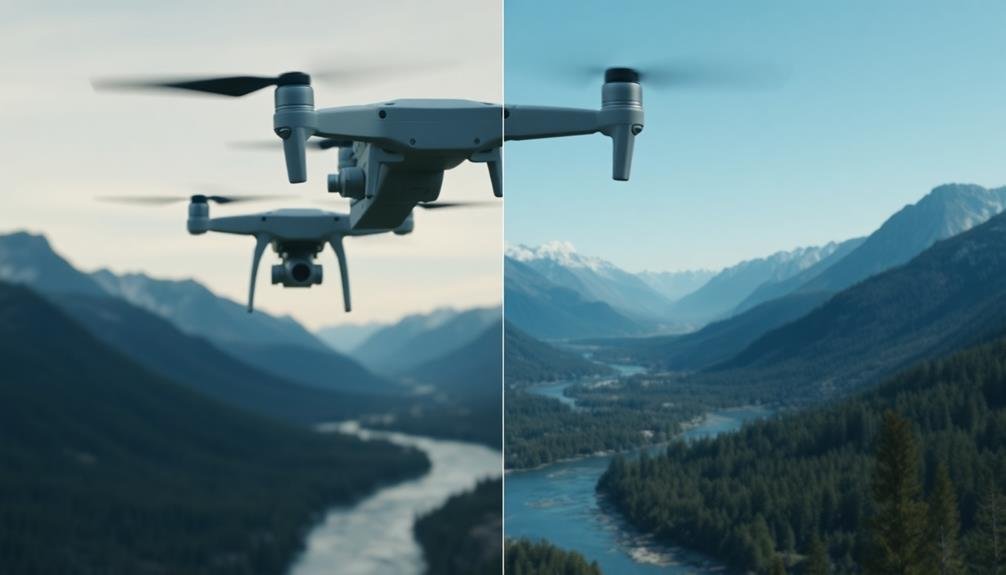
When choosing between cinematic and smooth motion for your aerial footage, consider how motion blur affects the visual impact.
Your frame rate decision will influence the storytelling style, with lower rates creating a more filmic look and higher rates offering crisp, fluid movement.
Remember that your choice also impacts post-production options, as higher frame rates provide more flexibility for slow-motion effects and stabilization.
Motion Blur Differences
Considering motion blur, cinematic and smooth motion techniques offer distinct visual experiences in aerial photography.
When you're shooting at 24fps for a cinematic look, you'll notice more motion blur, which can create a dreamy, film-like quality. This blur helps smooth out quick movements and adds to the cinematic feel.
In contrast, higher frame rates like 60fps or 120fps for smooth motion reduce motion blur considerably. You'll capture crisper, more detailed images of fast-moving subjects or landscapes passing below. This clarity can be particularly useful when you need to analyze footage or want to showcase intricate details.
The differences in motion blur between these techniques affect various aspects of your aerial footage:
- Perceived speed of movement
- Ability to freeze action
- Overall mood and atmosphere
- Clarity of fine details
- Post-production flexibility
When choosing between cinematic and smooth motion, consider your project's goals. If you're aiming for a dramatic, emotive feel, the increased motion blur of 24fps might be ideal.
For technical or analytical purposes, the reduced blur of higher frame rates could be more appropriate. Remember, you can always slow down high frame rate footage in post-production to achieve a balance between smooth motion and cinematic aesthetics.
Visual Storytelling Impact
The choice between cinematic and smooth motion techniques profoundly impacts your visual storytelling in aerial photography.
When you opt for cinematic frame rates like 24 or 30 fps, you'll create footage that feels more like traditional film, evoking a sense of nostalgia and drama. This can be particularly effective for establishing shots or when you're aiming to create a more emotive, artistic piece.
On the other hand, smooth motion achieved with higher frame rates of 60 fps or more gives your aerial footage a hyper-realistic quality. You'll capture fast-moving subjects with incredible clarity, making it ideal for action sequences or when you want to emphasize the speed and dynamism of your subject.
This technique can be especially powerful for showcasing landscapes or following fast-moving objects like cars or athletes.
Your choice should align with your storytelling goals. If you're creating a documentary or narrative piece, cinematic frame rates might be more appropriate. For sports coverage or technical demonstrations, smooth motion could be the better option.
Post-Production Flexibility
Post-production adaptability sets apart cinematic and smooth motion frame rates in aerial photography.
When you're shooting aerial footage, your frame rate choice greatly impacts your editing options. Cinematic frame rates (24-30 fps) offer a traditional film look but limit slow-motion capabilities. Smooth motion rates (60 fps and above) provide more versatility in post-production.
Higher frame rates allow you to:
- Slow down footage without losing quality
- Create smoother slow-motion effects
- Stabilize shaky footage more effectively
- Extract high-quality still images from video
- Sync audio more precisely
With smooth motion frame rates, you'll have more control over your final product. You can easily conform 60 fps footage to 24 fps for a cinematic look while retaining the option to use portions at full speed or in slow motion.
This adaptability is particularly valuable in aerial photography, where conditions can be unpredictable. You'll have the freedom to adjust pacing, emphasize key moments, and create dynamic shifts.
However, remember that higher frame rates require more storage and processing power. Balance your creative needs with practical considerations when choosing your best frame rate for aerial videography.
Slow Motion Considerations
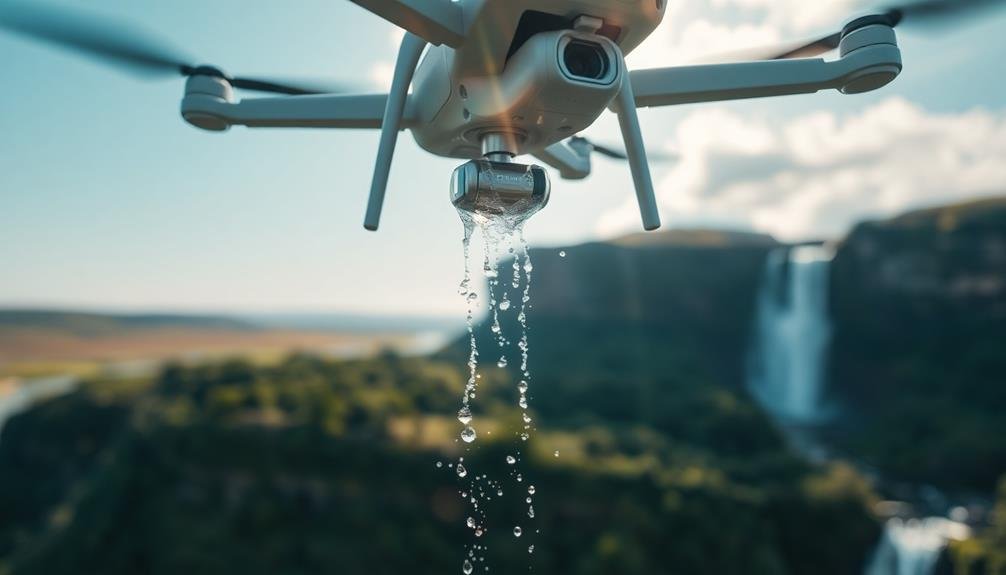
Many aerial photographers overlook the potential of slow motion footage when planning their shoots. When you're considering slow motion for your aerial photography, it's essential to understand the relationship between frame rates and playback speed. Higher frame rates allow for smoother slow-motion footage, but they also require more storage and processing power.
To achieve slow motion, you'll need to shoot at frame rates higher than your intended playback speed. Here's a quick reference table for common slow-motion effects:
| Frame Rate | Playback Speed | Slow Motion Factor | Use Case |
|---|---|---|---|
| 60 fps | 24 fps | 2.5x | Subtle slow-mo |
| 120 fps | 24 fps | 5x | Dramatic effect |
| 240 fps | 24 fps | 10x | Extreme detail |
| 480 fps | 24 fps | 20x | Ultra slow-mo |
Remember that higher frame rates often come with trade-offs in resolution or low-light performance. You'll need to balance these factors based on your specific shooting conditions and creative goals. Additionally, make sure your drone and camera can handle the higher frame rates you're planning to use.
Action Shots and Fast Movement
Capturing dynamic aerial shots of fast-moving subjects requires careful consideration of frame rates and shutter speeds. You'll want to balance smooth motion with crisp details to create stunning action footage. Higher frame rates, such as 60fps or 120fps, can help you capture fast-moving subjects without motion blur. However, you'll need to guarantee your drone's camera and storage can handle these increased data rates.
When shooting action shots, consider these key factors:
- Subject speed: Faster subjects may require higher frame rates
- Lighting conditions: Bright sunlight allows for faster shutter speeds
- Desired effect: Slow-motion playback needs higher frame rates
- Post-processing plans: Higher frame rates offer more editing flexibility
- Drone stability: Faster frame rates can help compensate for minor movements
You'll also need to adjust your shutter speed to match your frame rate. As a general rule, set your shutter speed to double your frame rate (e.g., 1/120 for 60fps). This balance helps maintain a natural motion blur while keeping your subjects sharp.
Lighting Conditions and FPS
Lighting plays a significant role in determining the ideal frame rate for aerial photography. When you're shooting in bright daylight, you'll typically have more flexibility with your frame rate choices. Higher shutter speeds are possible, allowing you to capture crisp images even at lower frame rates like 24 or 30 fps. This works well for general aerial footage and landscapes.
In low-light conditions, you'll need to take into account increasing your frame rate to compensate for slower shutter speeds. Shooting at 60 fps or higher can help reduce motion blur and maintain image quality. However, you'll need to balance this with your camera's ISO capabilities to avoid excessive noise.
During golden hour or sunset shoots, you might opt for a middle ground of 48 fps. This gives you some flexibility in post-production while still allowing for longer exposure times to capture the warm, soft light.
For night-time aerial photography, you'll often need to push your frame rate even higher, potentially to 120 fps or more. This helps gather enough light while minimizing blur from the drone's movement. You'll also want to use a lower flying speed to further reduce motion artifacts.
Post-Production Flexibility
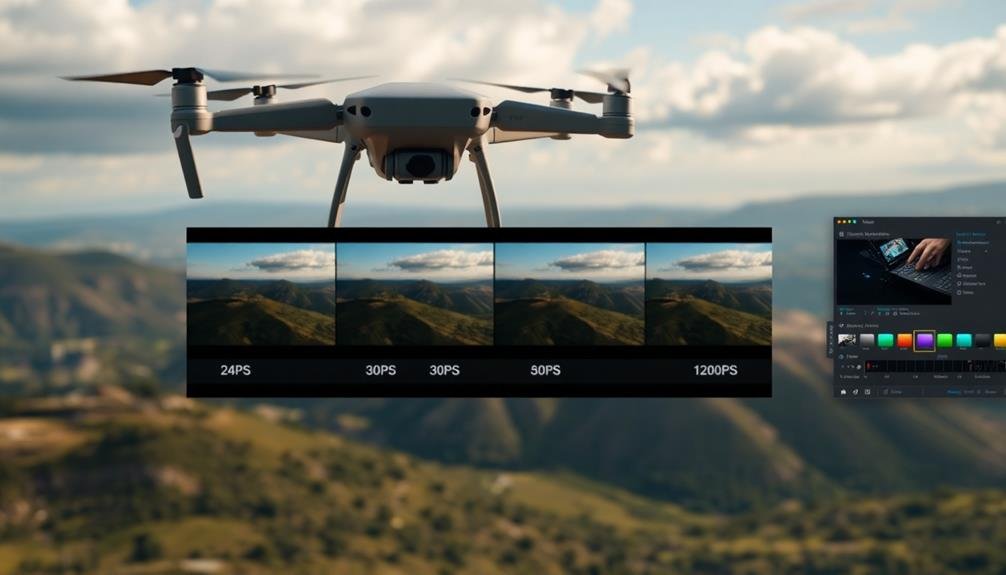
When you're shooting aerial footage, higher frame rates give you more options in post-production.
You'll have the flexibility to create smooth slow-motion sequences by slowing down high-fps footage without sacrificing quality.
Additionally, you can easily convert higher frame rates to lower ones, allowing you to match your aerial shots with footage captured at different speeds.
Slow-Motion Editing Options
Three key factors make higher frame rates invaluable for slow-motion editing in post-production.
First, they provide smoother footage when slowed down, allowing you to create stunning visual effects.
Second, they offer more flexibility in adjusting the playback speed without sacrificing quality.
Third, they give you more frames to work with, enabling precise timing and selection of the perfect moment.
When working with aerial footage, you'll find that higher frame rates open up a world of creative possibilities for slow-motion edits.
Here are five ways you can leverage these advantages:
- Create dramatic reveals of landscapes or structures
- Highlight intricate details of moving objects
- Emphasize the grace and fluidity of aerial maneuvers
- Extend the duration of fleeting moments
- Enhance the emotional impact of scenes
Frame Rate Conversion
Frame rate conversion offers significant flexibility in post-production, allowing you to adapt your footage to various output requirements. When you've shot aerial footage at higher frame rates, you can easily convert it to standard rates like 24fps or 30fps for traditional playback. This process involves dropping or interpolating frames to achieve the desired output rate.
You'll find that converting from higher to lower frame rates is generally smoother than the reverse. For instance, if you've captured footage at 60fps, you can create a 30fps version by simply discarding every other frame. This maintains smooth motion while matching common display standards.
However, when you're converting to a higher frame rate, your software will need to generate new frames. Advanced algorithms can create these intermediate frames by analyzing and blending existing ones, but the results may not always be perfect.
It's essential to take into account your final delivery format when planning your shoot. If you know you'll need both slow-motion and standard-speed footage, it's often best to shoot at the highest frame rate your camera supports.
This approach gives you the most options in post-production, ensuring you can meet various project requirements without compromising quality.
Storage and File Size Impact
Storage considerations play an essential role in determining ideal frame rates for aerial photography. Higher frame rates result in larger file sizes, which can quickly consume your available storage space. You'll need to balance the desire for smooth footage with practical storage limitations.
When selecting a frame rate, consider these factors:
- Available storage capacity on your device or memory cards
- Duration of your planned aerial photography sessions
- Post-processing requirements and editing workflow
- Delivery format for your final product
- Backup and archiving needs
Remember that higher frame rates generate more data per second of footage. For example, shooting at 60fps will create twice as much data as 30fps for the same duration. This increased file size affects not only your storage needs but also your data transfer times and processing power requirements.
If you're working with limited storage, you might opt for lower frame rates or shorter recording sessions. Alternatively, you can invest in higher capacity storage solutions or implement a robust data management strategy.
Camera Limitations and Capabilities
While storage considerations are important, your camera's technical specifications ultimately dictate the frame rates available to you. Most modern drones and aerial cameras offer a range of frame rates, typically from 24 fps to 120 fps or higher. You'll need to check your camera's capabilities to determine the maximum frame rate it supports at different resolutions.
Higher-end cameras often provide more flexibility, allowing you to shoot at higher frame rates without sacrificing image quality. However, you'll find that as you increase the frame rate, you may need to lower the resolution to maintain performance. Here's a general guide to common frame rates and their uses in aerial photography:
| Frame Rate | Resolution | Typical Use |
|---|---|---|
| 24-30 fps | 4K | Cinematic footage |
| 60 fps | 1080p | Smooth motion |
| 120 fps | 720p | Slow-motion effects |
| 240+ fps | 480p | Extreme slow-motion |
Remember that your camera's sensor size, processing power, and cooling system also impact its ability to handle high frame rates. If you're planning to shoot at maximum frame rates, verify your camera can sustain that performance without overheating or dropping frames.
Choosing the Right FPS
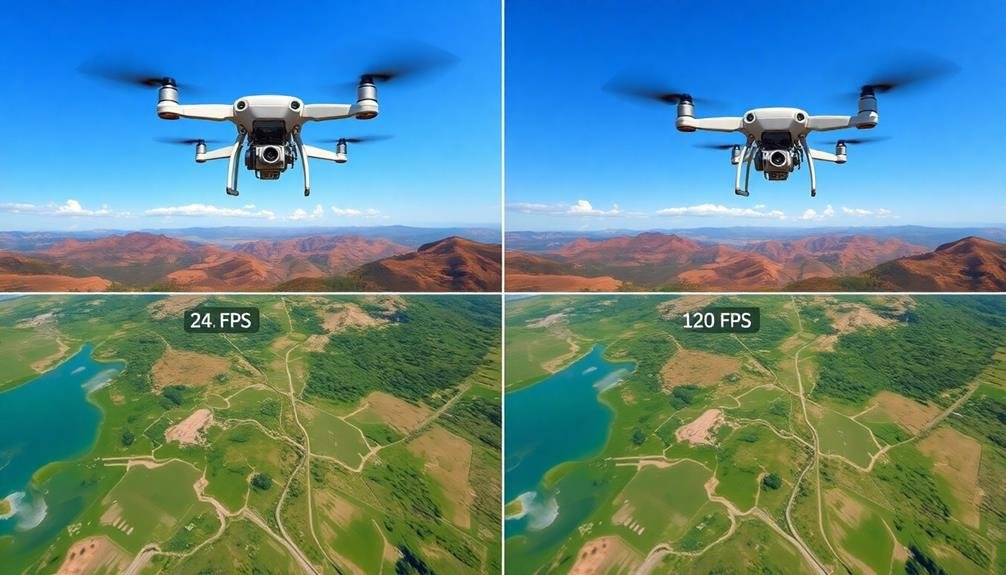
The key to stunning aerial footage lies in selecting the ideal frame rate for your project. When choosing the right FPS (frames per second) for aerial photography, you'll need to take into account several factors.
First, think about the purpose of your footage. Are you aiming for smooth, cinematic shots or capturing fast-moving action? Your intended playback speed and editing plans also play a vital role in determining the best frame rate.
Here are five important considerations when selecting your FPS:
- Standard playback: 24-30 FPS for natural-looking motion
- Slow-motion effects: 60-120 FPS for dramatic footage
- Fast-paced action: 60 FPS or higher to capture quick movements
- Cinematic look: 24 FPS for a film-like appearance
- Post-production flexibility: Higher FPS for more editing options
Remember that higher frame rates require more storage space and processing power. You'll need to balance your creative vision with your equipment's capabilities.
If you're unsure, it's often best to shoot at a higher frame rate, giving you more options in post-production. You can always slow down footage, but you can't add frames that weren't captured.
Experiment with different settings to find what works best for your specific aerial photography needs.
Frequently Asked Questions
How Does Altitude Affect Optimal Frame Rates for Aerial Photography?
You'll find that altitude impacts ideal frame rates. As you fly higher, you'll need lower frame rates to capture clear images. At lower altitudes, you'll want higher frame rates to avoid motion blur.
Can Variable Frame Rates Be Used During a Single Aerial Flight?
Yes, you can use variable frame rates during a single flight. You'll adjust them based on changing conditions or subjects. It's helpful when you're capturing diverse scenes or adapting to different altitudes and speeds mid-flight.
What Role Does Drone Stability Play in Choosing the Right Frame Rate?
You'll find that drone stability greatly impacts your frame rate choice. If you've got a steady drone, you can use lower frame rates. But if it's shaky, you'll need higher rates to smooth out the footage.
How Do Different Lens Focal Lengths Impact Frame Rate Selection?
When you're choosing frame rates, remember that longer focal lengths magnify camera shake. You'll need higher frame rates to compensate. Shorter focal lengths allow for lower frame rates while maintaining smooth footage. Consider your lens choice carefully.
Are There Specific Frame Rate Recommendations for Infrared Aerial Photography?
For infrared aerial photography, you'll want to take into account slower frame rates, typically 24-30 fps. This allows more light to reach the sensor, improving image quality. However, you should adjust based on your specific camera and conditions.
In Summary
You've learned the ins and outs of frame rates for aerial photography. Remember, there's no one-size-fits-all solution. Consider your project's needs, from cinematic feel to smooth motion and slow-mo effects. Don't forget about storage constraints and your camera's capabilities. Experiment with different FPS to find what works best for you. Ultimately, you'll need to balance visual quality, post-production flexibility, and practical limitations to achieve ideal results in your aerial footage.

As educators and advocates for responsible drone use, we’re committed to sharing our knowledge and expertise with aspiring aerial photographers.


Leave a Reply