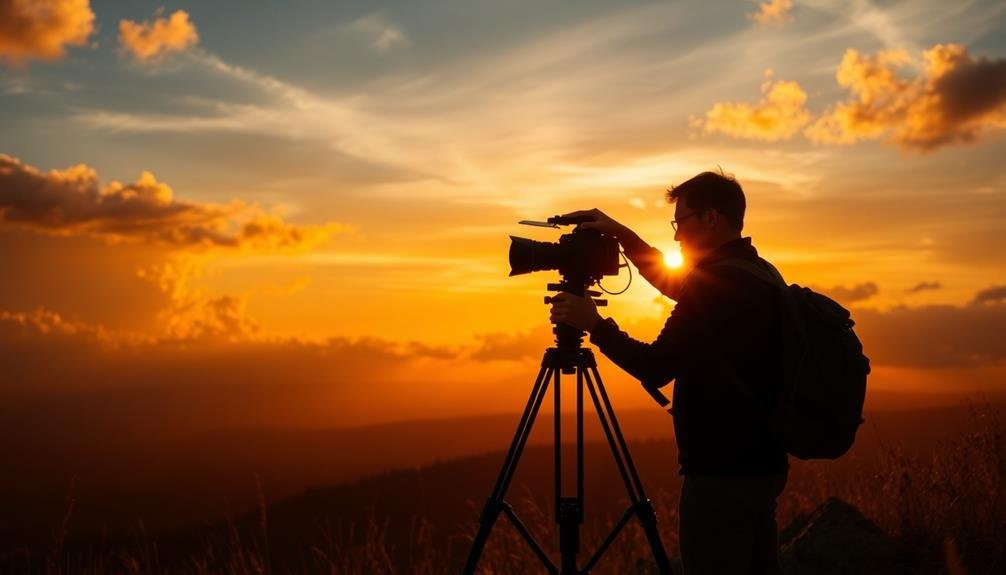
Mastering sky-high color in aerial cinematography demands a keen understanding of color theory and advanced techniques. You'll need to grasp aerial color theory, adjust white balance on the fly, and manage exposure for changing conditions. Choosing the right LUTs and employing color grading techniques can dramatically enhance your footage's mood and atmosphere. You'll want to focus on enhancing sky and cloud details while maintaining consistency between aerial and ground shots. Creating cinematic color palettes and utilizing advanced color correction tools will elevate your work to professional levels. By applying these pro techniques, you'll reveal the secrets to stunning aerial footage that captivates viewers and tells compelling visual stories.
Understanding Aerial Color Theory

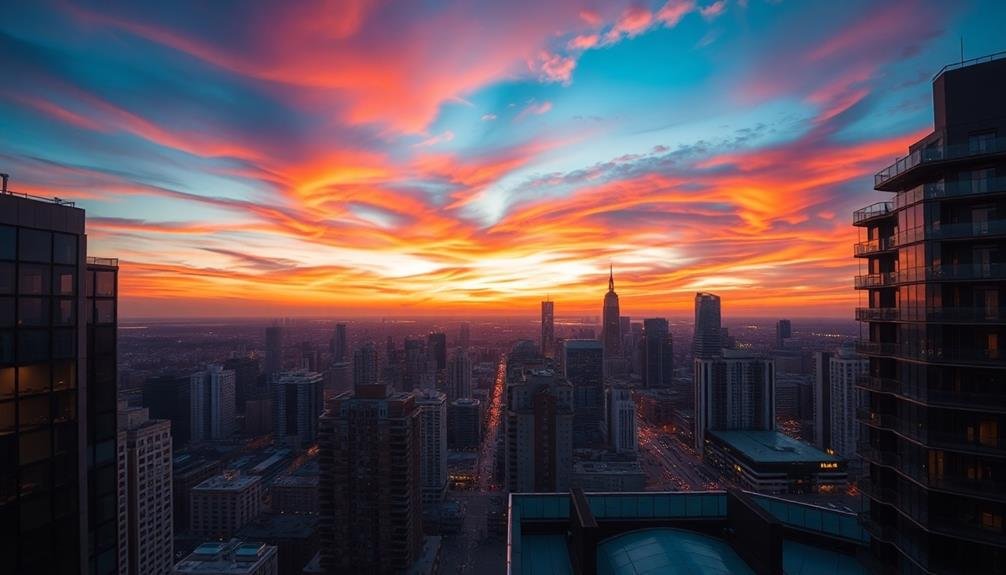
Nearly every accomplished cinematographer knows that understanding aerial color theory is essential for creating visually stunning and immersive shots. When you're capturing footage from the air, you'll notice that colors behave differently than they do at ground level. This is due to atmospheric perspective, which affects how light travels through the atmosphere.
As you shoot from higher altitudes, you'll observe that distant objects appear more muted and bluish. This occurs because light scatters as it passes through air particles, with blue wavelengths scattering more than others. To compensate for this effect, you'll need to adjust your camera's white balance and color grading in post-production.
You can use this phenomenon to your advantage by emphasizing the depth and scale of your shots. By carefully controlling the color palette in your frame, you'll create a sense of distance and atmosphere that draws viewers into your imagery.
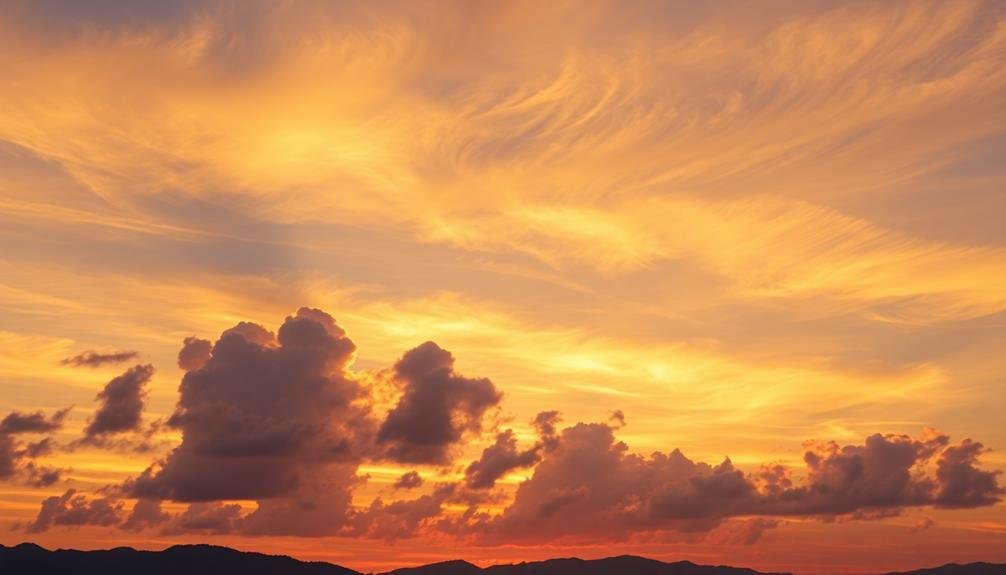
Experiment with different times of day and weather conditions to achieve varying effects. Remember, the golden hour just after sunrise or before sunset often provides the most dramatic aerial color results, with warm hues contrasting beautifully against cooler tones in the distance.
Choosing the Right LUT
After mastering aerial color theory, it's vital to focus on choosing the right LUT (Look-Up Table) for your cinematography. LUTs play an important role in achieving your desired color grade and can greatly impact the overall look of your footage. When selecting a LUT, consider the mood and atmosphere you want to convey in your film.
Start by analyzing your raw footage and determining the color profile of your camera. This will help you choose a LUT that complements your source material. Test multiple LUTs on different shots to see how they interact with various lighting conditions and color temperatures. Pay attention to how each LUT affects skin tones, highlights, and shadows.
Remember that LUTs aren't one-size-fits-all solutions. You may need to adjust the intensity or make additional color corrections to fine-tune the look. Consider creating custom LUTs for specific scenes or developing a signature look for your entire project.
Don't be afraid to experiment with unconventional choices that push creative boundaries. Ultimately, the right LUT should enhance your storytelling without overpowering the image. It should maintain a natural look while adding depth and dimension to your footage.
Balancing Exposure in Flight
When shooting aerial footage, you'll need to quickly adjust your exposure as lighting conditions change.
Use your camera's histogram as a guide, ensuring highlights aren't blown out and shadows retain detail.
To compensate for the high dynamic range of aerial scenes, consider using graduated neutral density filters or shooting in a log format for greater flexibility in post-production.
Histogram-Guided Exposure Adjustments
During fast-paced shoots, cinematographers often rely on histogram-guided exposure adjustments to balance their shots on the fly. Your camera's histogram provides a visual representation of the tonal distribution in your image, allowing you to quickly assess and correct exposure issues.
To effectively use histogram-guided adjustments, you'll need to understand how to read and interpret the graph. The histogram's horizontal axis represents brightness levels, from pure black on the left to pure white on the right. The vertical axis shows the number of pixels at each brightness level.
Here's a quick guide to interpreting histogram shapes:
| Shape | Meaning | Adjustment |
|---|---|---|
| Left-skewed | Underexposed | Increase exposure |
| Right-skewed | Overexposed | Decrease exposure |
| Centered | Balanced exposure | No adjustment needed |
| Peaks at ends | High contrast | Adjust dynamic range |
| Flat | Low contrast | Increase contrast |
Dynamic Range Compensation
Dynamic range compensation is an essential skill for cinematographers working in challenging lighting conditions. When shooting aerial footage, you'll often encounter extreme contrasts between bright skies and darker ground elements. To capture the full spectrum of tones, you'll need to master the art of balancing exposure in flight.
Start by evaluating the scene's dynamic range using your camera's histogram. Identify the brightest and darkest areas, then adjust your settings to retain detail in both highlights and shadows. Use neutral density filters to tame overly bright skies without compromising your desired aperture or shutter speed.
Consider employing techniques like:
- Graduated ND filters for horizon-heavy shots
- HDR bracketing for post-production flexibility
- Exposing for highlights and recovering shadows in post
- Using log profiles to maximize dynamic range
Remember, dynamic range compensation isn't just about technical adjustments; it's about creative choices too. Decide which elements of the scene are most important and prioritize their exposure.
Sometimes, allowing certain areas to blow out or crush can create dramatic effects that enhance your storytelling.
Practice these techniques regularly, and you'll soon be capturing stunning aerial footage with rich, balanced exposures across even the most challenging lighting scenarios.
Mastering White Balance Techniques

You'll enhance your cinematography by mastering white balance techniques.
Start by calibrating your camera for natural light conditions, then create custom white balance presets for different environments.
Fine-tune your shots by adjusting color temperature settings to achieve the perfect mood and atmosphere in your footage.
Calibrating for Natural Light
Mastering white balance techniques can make or break your cinematography when working with natural light. When calibrating for natural light, you'll need to take into account the time of day, weather conditions, and surrounding environment.
These factors constantly shift, affecting the color temperature and requiring frequent adjustments to maintain consistent and accurate colors throughout your shoot.
To effectively calibrate for natural light:
- Use a gray card or color checker to set a custom white balance
- Monitor your histogram to guarantee proper exposure
- Adjust your camera's Kelvin settings to match the current light temperature
- Utilize ND filters to maintain desired aperture in bright conditions
Remember that natural light changes rapidly, especially during golden hour or on partly cloudy days.
You'll need to be quick and adaptable, ready to recalibrate at a moment's notice. Pay attention to reflections from nearby surfaces, as they can introduce unexpected color casts.
When possible, scout your location beforehand to anticipate potential lighting challenges and plan accordingly.
Custom White Balance Presets
Creating custom white balance presets is a game-changer for efficient cinematography. You'll save time on set and guarantee consistent color temperature across your shots by setting up these presets in advance.
Start by identifying the common lighting scenarios you'll encounter during your shoot. This might include indoor tungsten lighting, outdoor daylight, or mixed lighting situations.
To create a preset, use a white balance card or a neutral gray surface in your intended lighting condition. Frame the card or surface to fill most of the frame, then follow your camera's specific instructions for setting a custom white balance.
Once set, save this as a preset with a descriptive name. Repeat this process for each lighting scenario you've identified.
During your shoot, you can quickly switch between these presets as lighting conditions change. Don't forget to create presets for challenging situations like fluorescent lighting or golden hour.
Color Temperature Adjustments
The art of color temperature adjustment is essential for achieving professional-looking footage. By manipulating the warmth or coolness of your image, you can create the desired mood and atmosphere for your scene.
You'll need to understand how different light sources affect color temperature and how to compensate for these variations using your camera's settings or post-production tools.
When adjusting color temperature, consider the following:
- Time of day: Morning and evening light tends to be warmer, while midday light is cooler
- Artificial lighting: Different types of bulbs emit varying color temperatures
- Mixed lighting situations: Combining natural and artificial light can create complex color scenarios
- Emotional impact: Warmer tones evoke comfort, while cooler tones can create tension or detachment
To master color temperature adjustments, practice using your camera's Kelvin settings or white balance presets.
Experiment with different color temperatures in various lighting conditions to understand their effects. In post-production, use color correction tools to fine-tune your footage's temperature.
Remember, subtle adjustments often yield the most natural-looking results.
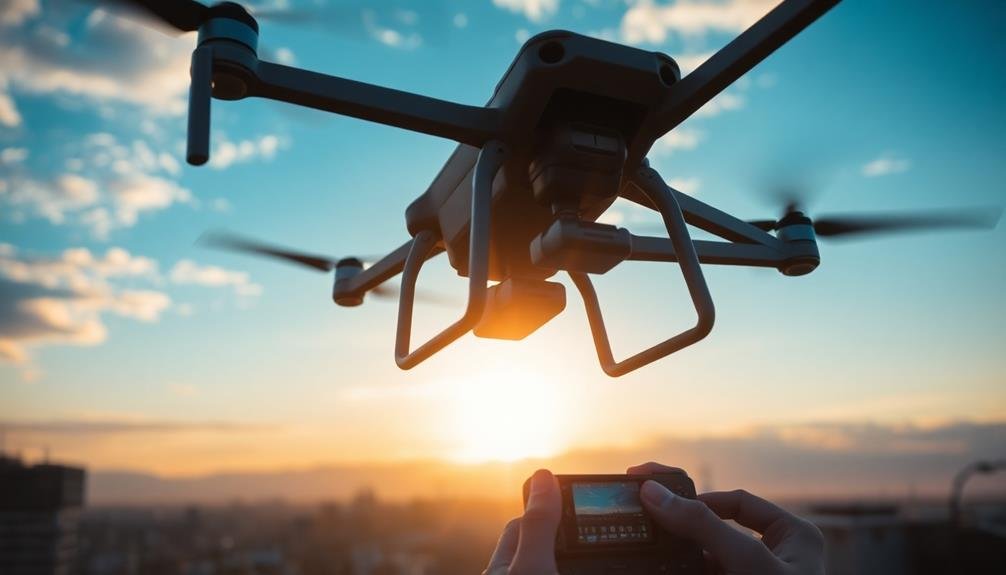
Enhancing Sky and Cloud Details
Dramatic skies can transform an ordinary shot into a cinematic masterpiece. To enhance sky and cloud details, you'll need to master several techniques. Start by using polarizing filters to reduce glare and deepen the blue hues. Experiment with graduated neutral density filters to balance exposure between bright skies and darker foregrounds.
In post-production, you can further refine sky details. Use selective color grading to emphasize specific tones in the clouds. Adjust contrast and clarity to bring out textures and depth. Don't shy away from HDR techniques to capture a wider dynamic range.
Here's a quick reference guide for enhancing sky and cloud details:
| Technique | On-Set | Post-Production |
|---|---|---|
| Filters | Polarizing, ND Grad | Digital equivalents |
| Exposure | Bracket shots | HDR blending |
| Color | White balance | Selective grading |
| Contrast | Lighting setup | Curves adjustment |
| Texture | Lens choice | Clarity/sharpening |
Perfecting Landscape Color Saturation

Color saturation can make or break a landscape shot. As a cinematographer, you'll want to strike the perfect balance between vibrant hues and natural tones. To achieve this, start by capturing your footage in a flat color profile, giving you more flexibility in post-production. Use a high-quality monitor calibrated for color accuracy when making adjustments.
When perfecting landscape color saturation, consider the following techniques:
- Selectively enhance specific color channels
- Apply subtle gradients to create depth
- Use color grading to establish mood and atmosphere
- Implement split-toning for creative effects
Remember that oversaturation can quickly lead to unrealistic results. Instead, aim for a subtle enhancement that brings out the natural beauty of the landscape.
Pay close attention to skin tones if people are present in the shot, as they can easily become distorted with excessive saturation.
Experiment with different saturation levels for various elements within the frame. For instance, you might boost the greens of foliage while slightly desaturating the sky. This technique can create a more dynamic and visually interesting composition.
Always keep the overall aesthetic of your project in mind, ensuring that your color choices align with the intended mood and style.
Dealing With Atmospheric Haze

When shooting landscapes, you'll often encounter atmospheric haze, which can greatly impact your footage's clarity and depth. To combat this, you'll need to employ specific techniques and tools.
First, use a polarizing filter to reduce glare and enhance contrast, making distant objects more visible. Adjust your camera's white balance to counteract the blue tint haze often creates.
Consider shooting during the golden hours of sunrise or sunset when haze is less pronounced. If you're working in post-production, utilize dehaze tools in software like Adobe Premiere Pro or DaVinci Resolve. These can help restore contrast and color to hazy footage.
For extreme cases, infrared photography can penetrate haze more effectively than visible light. You might also experiment with graduated neutral density filters to balance exposure between sky and foreground.
Color Grading for Golden Hour

Golden hour footage can transform your cinematography, but it requires skillful color grading to truly shine. To capture the magic of this fleeting moment, you'll need to enhance warm tones, balance exposure, and fine-tune contrast.
Start by adjusting your white balance to emphasize the golden hues, then boost the orange and yellow channels in your color wheels.
Next, you'll want to:
- Increase saturation slightly to intensify the warm glow
- Lift shadows to reveal details in darker areas
- Add a subtle vignette to draw focus to the center
- Apply a gentle S-curve to enhance contrast without losing highlights
Pay special attention to skin tones, as they can easily appear too orange or red during golden hour. Use selective color adjustments to maintain natural-looking skin while preserving the warm atmosphere.
Don't forget to fine-tune your highlights to prevent overexposure of the sky or bright reflections.
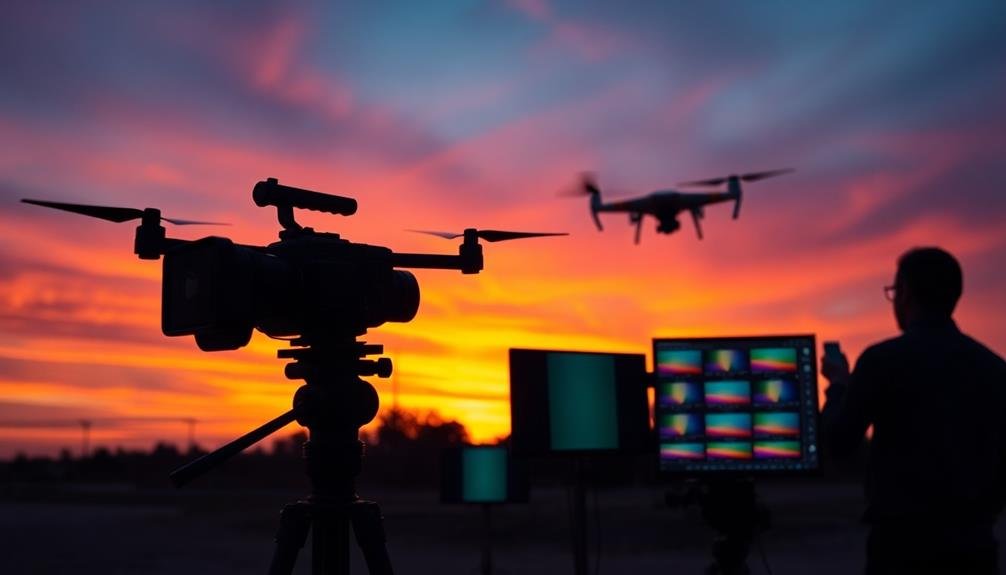
Matching Aerial to Ground Footage

When combining aerial and ground footage, you'll need to guarantee consistent color grading across both.
Start by matching the aerial footage to your ground shots, paying close attention to exposure, white balance, and overall tone.
Smooth shifts between aerial and ground perspectives will create a seamless viewing experience, so focus on gradual movements and complementary compositions.
Color Grading Aerial Footage
Countless filmmakers struggle to seamlessly blend aerial and ground footage due to differences in color, contrast, and overall look. To achieve a cohesive visual narrative, you'll need to master color grading techniques specific to aerial footage.
Start by analyzing your aerial footage's unique characteristics. Aerial shots often have a hazy, washed-out appearance due to atmospheric interference. You'll want to adjust contrast, saturation, and sharpness to match the ground-level shots. Pay close attention to the sky's color temperature, as it can vary greatly from ground-level perspectives.
Use color grading software to create a consistent look across all footage. Apply a base grade to your aerial shots, then fine-tune individual clips. Don't forget to take into account the time of day and lighting conditions when matching colors.
Key points to remember:
- Use scopes to objectively analyze color and exposure
- Create custom LUTs for quick, consistent grading
- Adjust highlights and shadows separately for more control
- Consider using gradient filters to balance sky and ground exposure
Seamless Scene Transitions
Now that you've mastered color grading your aerial footage, it's time to focus on blending it seamlessly with your ground shots. Achieving smooth shifts between aerial and ground footage requires careful planning and execution.
Start by matching the color profiles of your aerial and ground footage. Use the same LUTs or color grading techniques to guarantee consistency across all shots. Pay attention to white balance, exposure, and contrast to create a cohesive look.
Consider the movement and pacing of your shots. Move from a slow, sweeping aerial shot to a similarly paced ground shot for a natural flow. Use motion matching techniques, such as following a moving object from the air to the ground, to create a seamless connection.
Employ visual cues to link your shots. Look for similar shapes, colors, or patterns in both aerial and ground footage to create visual continuity.
You can also use sound design to bridge the gap between shots, gradually shifting from aerial ambiance to ground-level audio.
Creating Cinematic Color Palettes
Three key elements contribute to creating cinematic color palettes: understanding color theory, analyzing successful films, and mastering color grading tools. To develop your skills, start by studying color psychology and how different hues evoke specific emotions.
Observe how renowned cinematographers use color to enhance storytelling and create visual harmony.
Next, analyze films that resonate with you visually. Pay attention to their color schemes, noting how they establish mood, emphasize themes, and guide the viewer's attention.
Don't be afraid to experiment with unconventional color combinations that suit your narrative.
Familiarize yourself with industry-standard color grading software like DaVinci Resolve or Adobe SpeedGrade. Practice adjusting hue, saturation, and luminance to achieve your desired look.
Remember that consistency is vital; maintain your chosen palette throughout the film to create a cohesive visual experience.
To elevate your cinematic color game:
- Create a color script before shooting
- Use practical lighting to enhance your palette on set
- Collaborate closely with production designers and costume departments
- Develop a unique look-up table (LUT) for your project
Advanced Color Correction Tools
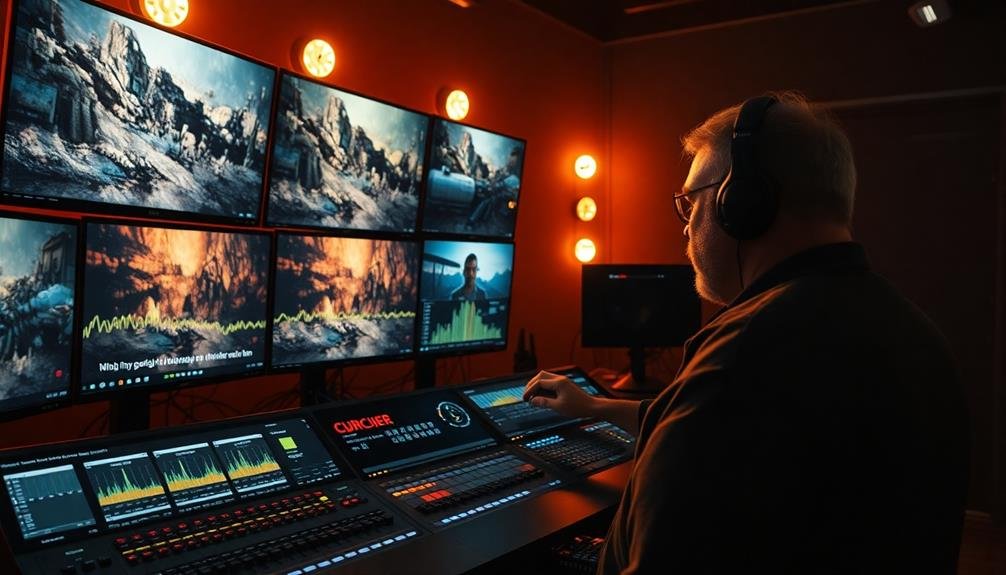
With the evolution of digital filmmaking, advanced color correction tools have become essential for cinematographers and colorists alike. You'll find these tools indispensable for achieving the perfect look for your project.
DaVinci Resolve stands out as a powerhouse, offering an extensive suite of color grading features. Its node-based workflow allows for intricate adjustments and non-destructive editing.
Adobe's Lumetri Color panel in Premiere Pro provides intuitive controls for basic corrections and creative looks. For more advanced work, you can't overlook Baselight or Nucoda. These high-end systems offer unparalleled precision and flexibility.
HDR workflows have introduced tools like ACES color management, ensuring consistent color across different displays and formats. You'll want to familiarize yourself with scopes like waveforms, vectorscopes, and histograms to analyze and adjust your image accurately.
Look-up tables (LUTs) have become a staple in color workflows, allowing for quick application of predefined looks or technical transforms.
Don't forget about power windows and tracking for isolating specific areas of the frame. Mastering these tools will elevate your color grading skills and help you achieve cinematic results efficiently.
Frequently Asked Questions
How Do Different Camera Sensors Affect Aerial Color Capture?
Different camera sensors affect your aerial color capture considerably. You'll find larger sensors typically offer better dynamic range and low-light performance. Full-frame sensors capture richer colors, while crop sensors might struggle in challenging lighting conditions.
What Safety Precautions Should Be Taken When Adjusting Camera Settings Mid-Flight?
When adjusting camera settings mid-flight, you'll want to prioritize safety. Keep your hands on the controls, use pre-programmed settings when possible, and don't get distracted. If needed, land first to make complex adjustments.
How Can Color Calibration Charts Be Effectively Used in Aerial Cinematography?
You'll want to use color calibration charts before takeoff. Mount them securely in-frame, capture shots at various altitudes, and adjust your camera's settings accordingly. Don't forget to account for changing light conditions during flight.
What Impact Does Altitude Have on Color Rendition in Aerial Footage?
You'll notice altitude greatly affects color rendition in aerial footage. As you ascend, atmospheric haze increases, reducing contrast and saturation. You'll see cooler tones and less vibrant colors, especially in distant objects and landscapes.
How to Maintain Consistent Color Across Multiple Drones or Aircraft?
To maintain consistent color across drones or aircraft, you'll need to calibrate your cameras, use identical settings, and apply the same color profiles. Don't forget to adjust for different altitudes and lighting conditions during post-production.
In Summary
You've now revealed the secrets to stunning aerial cinematography. By mastering color theory, LUTs, exposure, and white balance, you'll create breathtaking sky-high footage. Don't forget to enhance cloud details and perfect your golden hour shots. With practice, you'll seamlessly blend aerial and ground footage, craft unique color palettes, and leverage advanced correction tools. Your aerial cinematography skills have soared to new heights – it's time to let your creativity take flight!
As educators and advocates for responsible drone use, we’re committed to sharing our knowledge and expertise with aspiring aerial photographers.


Leave a Reply