Elevate your nighttime cinematography with these seven powerful lighting techniques. Start with low-key lighting for dramatic effect, then master silhouette lighting using backlights. Simulate moonlight with cool blue tints, and capture urban glow and light pollution for authentic city scenes. Experiment with light painting for long exposures, creating unique visual effects. Integrate practical light sources to add depth and realism to your shots. Finally, manipulate color temperature to set the perfect mood. By mastering these techniques, you'll transform ordinary night scenes into enchanting visual narratives that mesmerize your audience. Dive deeper to access the full potential of nighttime cinematic lighting.
Low-Key Lighting for Dramatic Effect

Low-key lighting sets the stage for intense, moody scenes that draw viewers in. This technique emphasizes shadows and contrast, creating a mysterious atmosphere that's perfect for nighttime shots. To achieve this effect, you'll need to control your light sources carefully.
Start by positioning your key light at a low angle, often from the side of your subject. This creates deep shadows across the face and body, enhancing the dramatic feel. Use a fill light sparingly, if at all, to maintain the high contrast ratio characteristic of low-key lighting.
Experiment with backlighting to create silhouettes or rim lighting effects. This adds depth and separation between your subject and the background. Don't be afraid to use practical lights within the scene, such as street lamps or car headlights, to add authenticity to your nighttime setting.
When shooting, expose for the highlights to preserve detail in the brightest areas. This will naturally deepen the shadows, reinforcing the low-key effect.
In post-production, you can further enhance the contrast by adjusting the blacks and shadows in your color grading process.
Silhouette Lighting With Backlights
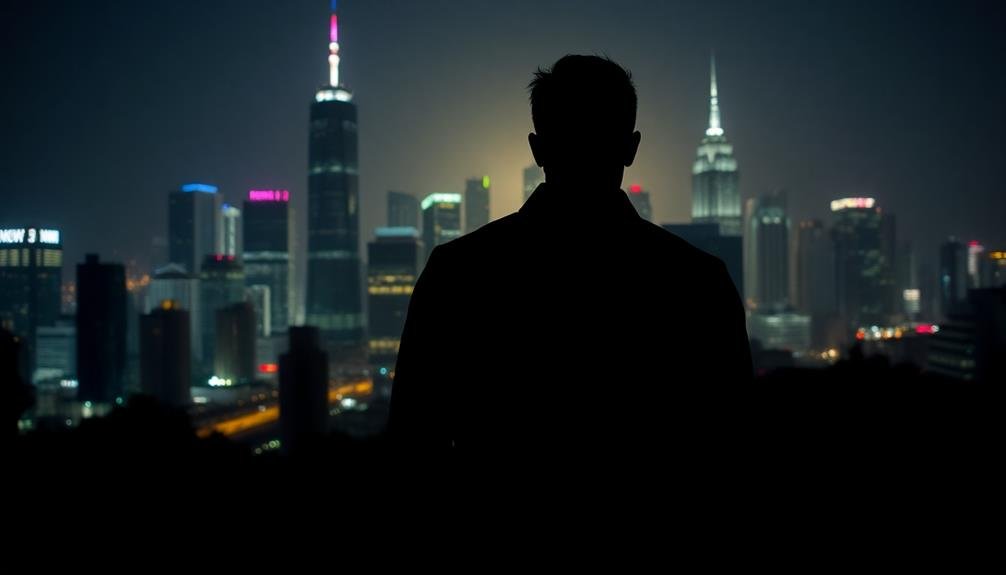
Silhouette lighting with backlights can create striking, dramatic contrast in your nighttime cinematic shots.
You'll want to position your backlight sources behind your subject, ensuring they're out of frame to maintain the illusion.
Creating Dramatic Contrast
One of the most enchanting techniques in nighttime cinematography is the use of dramatic contrast through silhouette lighting with backlights. This method creates a mesmerizing visual effect by emphasizing the outline of your subject against a brighter background.
To achieve this, you'll need to position your main light source behind the subject, facing the camera.
When executing this technique, keep these key points in mind:
- Adjust your camera's exposure for the backlight, not the subject
- Use flags or gobos to control light spill and enhance the silhouette
- Experiment with colored gels on your backlight for added atmosphere
You can further enhance the dramatic contrast by incorporating practical lights within the frame.
Street lamps, car headlights, or neon signs can serve as additional light sources, creating depth and interest in your composition.
Don't be afraid to play with different light intensities and colors to achieve the desired mood for your scene.
Positioning Backlight Sources
Behind every successful silhouette shot lies a well-positioned backlight source. To create striking silhouettes in your nighttime cinematic shots, you'll need to master the art of backlight placement. Start by positioning your main light source behind your subject, ensuring it's out of frame. This creates a rim of light around your subject's edges, separating them from the background.
For the best results, place your backlight slightly above and to one side of your subject. This angle helps define their shape and adds depth to the shot. You can use multiple backlight sources to create a more complex silhouette effect. Try placing lights at different heights and angles to add dimension and interest to your composition.
Don't forget to evaluate the intensity of your backlight. You'll want it to be considerably brighter than any ambient light in the scene. This contrast is what creates the dramatic silhouette effect.
Experiment with different light modifiers, such as softboxes or grids, to control the spread and intensity of your backlight. Remember, the key to effective silhouette lighting is to create a clear separation between your subject and the background.
Moonlight Simulation Techniques
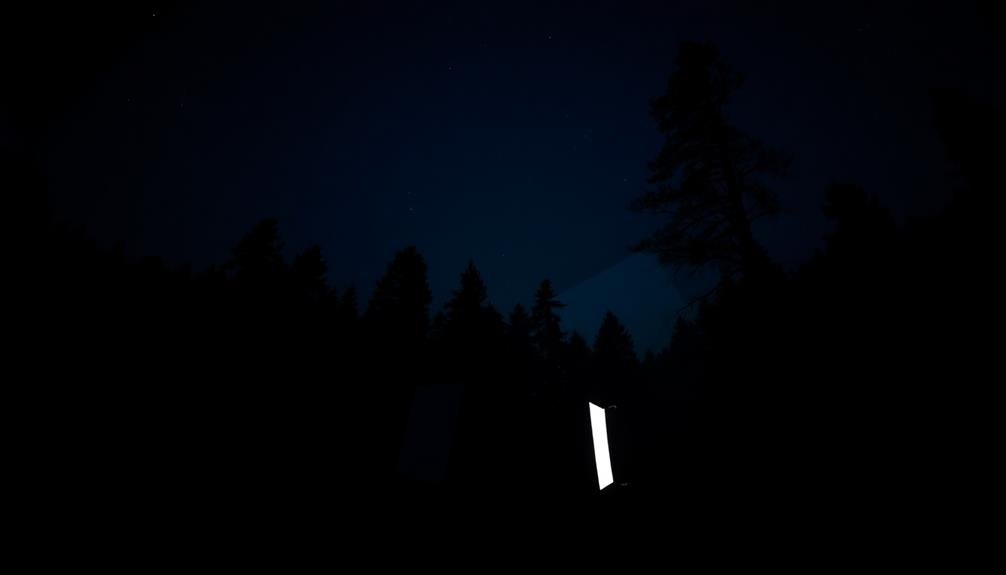
Capturing the ethereal glow of moonlight can transform your nighttime cinematic shots. To simulate this effect, you'll need to carefully balance color temperature, intensity, and direction.
Start by using a cool blue-tinted light source, typically around 4000K to 5000K, to mimic the moon's natural hue. Position your main light high and at an angle to create long, dramatic shadows that stretch across the scene.
For realistic moonlight simulation, consider these key techniques:
- Use a powerful, focused light source like an HMI or LED panel with a narrow beam angle.
- Diffuse the light slightly to soften its edges and create a more natural appearance.
- Incorporate subtle haze or fog to enhance the moonlight's visible rays.
Remember to keep your overall exposure low, as moonlight is much dimmer than daylight. Use fill lights sparingly to maintain contrast and depth in your shadows.
You can also add practical lights within the frame, such as streetlamps or windows, to create depth and visual interest. By mastering these moonlight simulation techniques, you'll elevate your nighttime cinematography and create truly enchanting scenes.
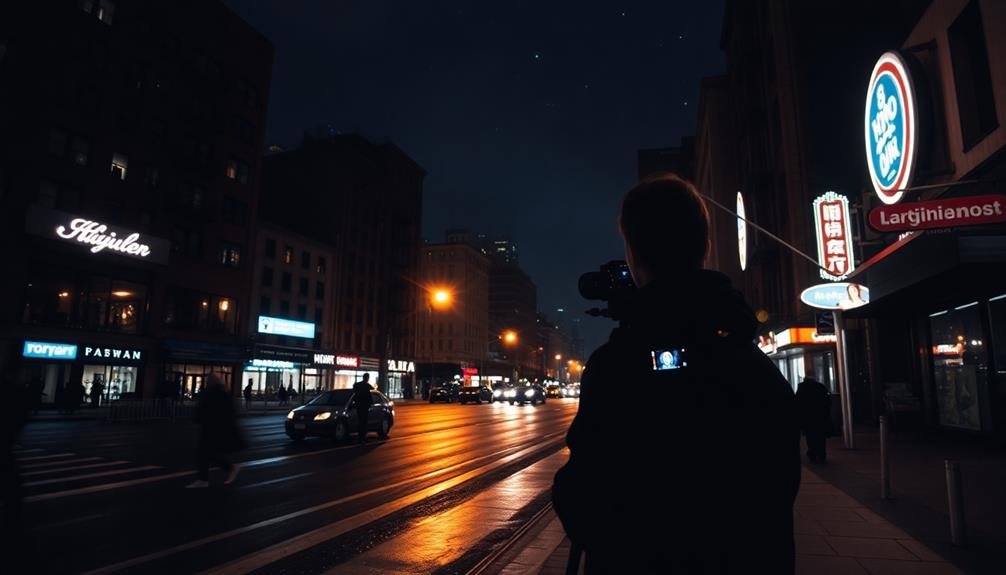
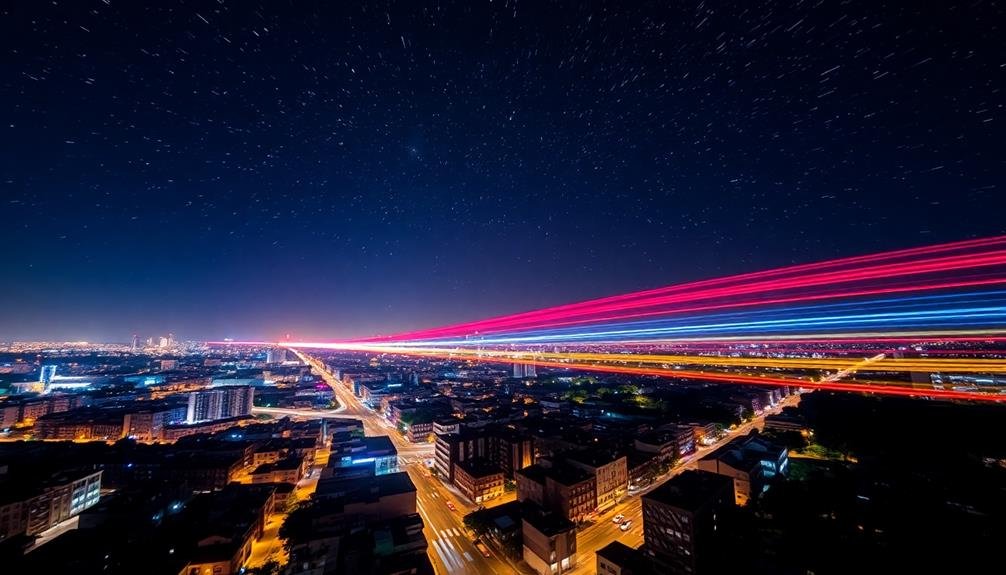
Urban Glow and Light Pollution
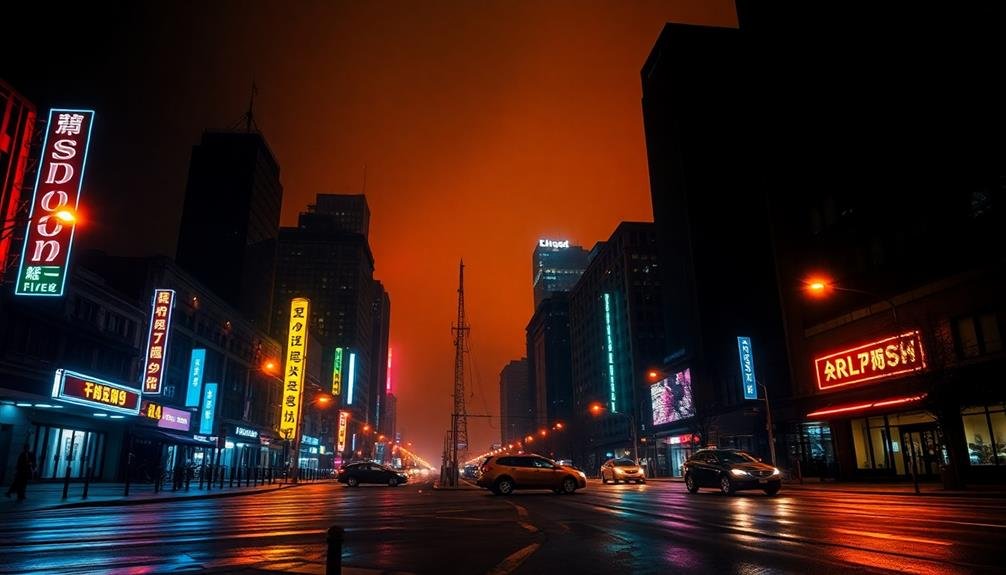
Urban environments pose unique challenges and opportunities for nighttime cinematography. The ambient glow from city lights and light pollution can dramatically alter the mood and aesthetics of your shots. To work with urban glow, you'll need to embrace its characteristics while maintaining control over your scene's lighting.
Start by scouting locations that offer interesting light sources, such as neon signs, streetlamps, or illuminated buildings. These can serve as practical light sources and add depth to your composition. You can use color gels on your lights to mimic the hues of urban lighting, creating a cohesive look.
To combat excessive light pollution, use flags and gobos to shape and control the light. This will help you maintain contrast and create more dynamic shadows. Consider using a haze machine to enhance the visibility of light beams and add atmosphere to your shots.
When exposing for urban glow, you'll often need to underexpose the ambient light to maintain a nighttime feel. Use your camera's spot metering mode to accurately gauge exposure for key elements in your frame.
Don't shy away from high ISO settings, as modern cameras can handle low-light situations well.
Light Painting With Long Exposures
You'll need a camera capable of long exposures, a sturdy tripod, and various light sources like flashlights or glow sticks for light painting.
Set your camera to manual mode, use a low ISO, narrow aperture, and slow shutter speed to capture the light trails effectively.
Experiment with different movements and light sources to create unique shapes, write words in the air, or illuminate specific parts of your scene for striking nighttime cinematic effects.
Tools and Equipment Needed
To plunge into light painting with long exposures, you'll need a specific set of tools and equipment. First and foremost, a camera capable of manual settings and long exposures is essential. You'll want to use a DSLR or mirrorless camera with bulb mode for ultimate control.
A sturdy tripod is non-negotiable, as it'll keep your camera perfectly still during those extended exposures.
For the actual light painting, you'll need various light sources. LED flashlights, glow sticks, steel wool, and even smartphones can serve as your "brushes." Don't forget to pack colored gels or filters to add variety to your light palette.
A remote shutter release or intervalometer will help you trigger the camera without introducing shake.
When it comes to post-processing, consider:
- A computer with ample storage and processing power
- Photo editing software like Adobe Lightroom or Capture One
- Optional plugins for advanced light painting effects
Lastly, pack some practical items like extra batteries, memory cards, and a headlamp for guiding in the dark.
With this gear in your arsenal, you'll be well-equipped to create stunning light-painted nighttime cinematic shots.
Camera Settings Explained
In light of the specialized nature of light painting, understanding the right camera settings is crucial for capturing stunning long-exposure shots. You'll need to master manual mode to control every aspect of your exposure.
Start by setting your camera's ISO to its lowest native value, typically 100 or 200, to minimize noise in your images.
Next, choose a small aperture (high f-number) like f/8 or f/11 to guarantee a wide depth of field and sharp focus throughout your scene. For shutter speed, you'll want to experiment with long exposures, often ranging from 10 seconds to several minutes. Use your camera's bulb mode for exposures longer than 30 seconds.
To prevent camera shake, always use a sturdy tripod and a remote shutter release or your camera's self-timer. Enable your camera's long exposure noise reduction feature to minimize hot pixels.
If you're including moving elements like car trails, try using neutral density filters to extend your exposure time further. Remember to shoot in RAW format for maximum flexibility in post-processing.
With these settings dialed in, you're ready to create mesmerizing light-painted images that capture the magic of nighttime scenes.
Creative Technique Ideas
Once you've mastered the technical aspects of long exposure photography, it's time to release your creativity with light painting techniques.
Light painting allows you to add unique, glowing elements to your nighttime shots, creating surreal and fascinating images.
To get started, you'll need a few basic tools: a camera capable of long exposures, a sturdy tripod, and various light sources.
Flashlights, LEDs, glow sticks, and even sparklers can produce interesting effects. Experiment with different colors and intensities to achieve your desired look.
When composing your shot, consider the following techniques:
- Writing in the air: Use a small light source to "draw" words or shapes in the frame.
- Illuminating subjects: Selectively light specific areas or objects within the scene.
- Creating light trails: Move a light source through the frame to produce streaks or patterns.
Remember to keep your camera steady and use a remote shutter release or timer to avoid camera shake.
Start with shorter exposures and gradually increase the duration as you become more comfortable with the process.
Don't be afraid to try unconventional ideas – the beauty of light painting lies in its endless creative possibilities.
Practical Light Sources Integration
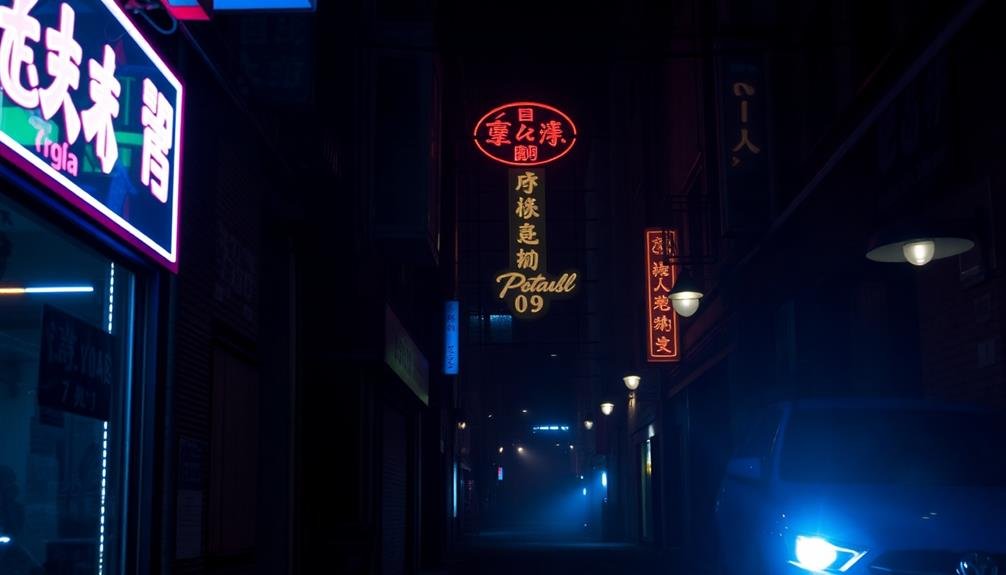
When integrating practical light sources into your nighttime cinematic shots, you'll find they can add depth, realism, and atmosphere to your scene. Start by identifying existing light sources within your location, such as streetlamps, neon signs, or car headlights. These can serve as natural motivations for your lighting setup.
Incorporate practical lights strategically to create depth and separation between your subject and the background. Use table lamps, candles, or string lights to add warm, intimate accents to interior scenes. For exterior shots, consider using storefront displays, illuminated windows, or even a handheld flashlight to create interesting shadows and highlights.
Don't shy away from mixing color temperatures. Combine cool moonlight with warm tungsten sources to create visual contrast and mood. Experiment with dimming or diffusing practical lights to achieve the desired intensity and softness.
Remember to balance the exposure of your practical sources with your main lighting setup to avoid overexposure or loss of detail.
Lastly, consider the narrative significance of your practical lights. Use them to guide the viewer's eye, reveal or conceal elements of the scene, and enhance the overall storytelling experience.
Color Temperature Manipulation

The power of color temperature manipulation lies at the heart of creating moody and atmospheric nighttime cinematic shots. By adjusting the color temperature of your lights, you can dramatically alter the mood and feel of your scene.
Cool blues can evoke a sense of mystery or isolation, while warm oranges can create a cozy or romantic atmosphere.
To effectively manipulate color temperature, you'll need to understand the Kelvin scale. Lower values (2000-3000K) produce warm, amber tones, while higher values (5000-6500K) create cooler, bluish hues.
Use this knowledge to your advantage by mixing different color temperatures to create contrast and depth in your shots.
When working with color temperature, keep these key points in mind:
- Use gels or LED lights with adjustable color temperature to fine-tune your lighting.
- Consider the practical light sources in your scene and match or contrast them intentionally.
- Experiment with extreme color temperature differences to create visual tension or separation between foreground and background elements.
Frequently Asked Questions
What Camera Settings Are Best for Capturing Nighttime Cinematic Shots?
For nighttime cinematic shots, you'll want to use a low ISO (800-3200), wide aperture (f/1.8-f/2.8), and slow shutter speed (1/30-1/60). Don't forget to use manual focus and a tripod for stability.
How Can I Reduce Noise in Low-Light Cinematography?
You can reduce noise in low-light cinematography by using a fast lens, increasing ISO carefully, employing noise reduction software, and shooting in RAW. Don't forget to balance your camera settings and utilize proper lighting techniques.
What Affordable Lighting Equipment Is Suitable for Beginner Nighttime Filmmakers?
You'll find LED panels, battery-powered lights, and portable softboxes affordable and versatile for nighttime filmmaking. Don't forget to invest in a few clamps and light stands. Reflectors are also cheap and effective for bouncing light.
How Do I Achieve a Film Noir Look in Modern Nighttime Scenes?
To achieve a film noir look in modern nighttime scenes, you'll want to use high-contrast lighting. Create dramatic shadows with a key light, add depth with a fill light, and use backlighting to separate characters from the background.
What Safety Precautions Should Be Taken When Filming at Night?
When filming at night, you'll need proper permits, bright safety vests, and reflective gear. Make certain your crew's well-lit and visible. Use walkie-talkies for communication, scout locations beforehand, and always have a first-aid kit on hand.
In Summary
You've now got a toolkit of nighttime lighting techniques to elevate your cinematic shots. From moody low-key lighting to creative light painting, you're ready to craft stunning nocturnal scenes. Don't be afraid to experiment with different methods and combine them for unique effects. Remember, mastering these techniques takes practice, so get out there and start shooting. With patience and creativity, you'll soon be capturing breathtaking nighttime visuals that'll make your audience say "wow."
As educators and advocates for responsible drone use, we’re committed to sharing our knowledge and expertise with aspiring aerial photographers.


Leave a Reply