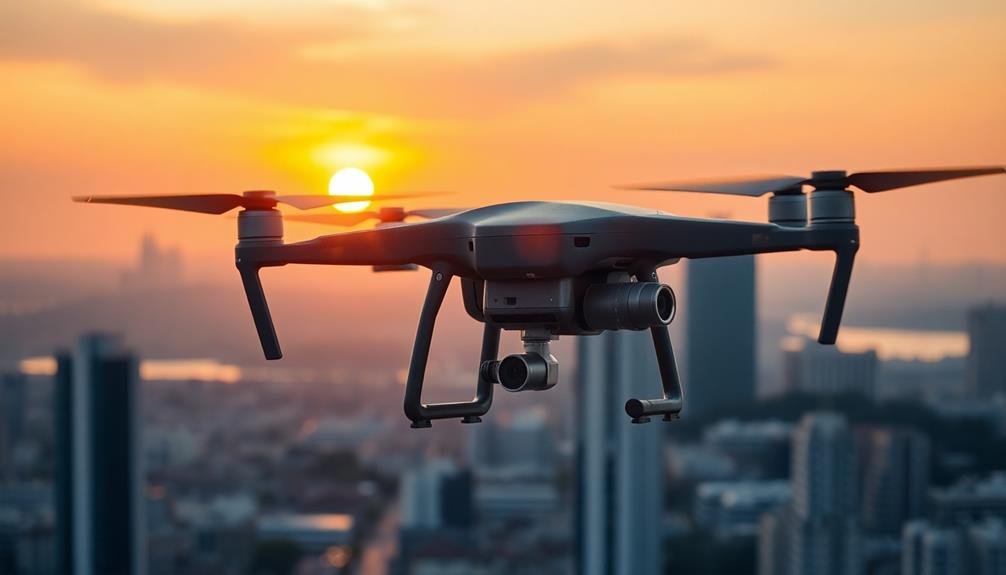
To create stunning sky-high timelapse sequences, you'll need a drone with a high-quality camera, stable gimbal, and ample battery life. Plan your shots carefully, considering location, lighting, and subject movement. Adjust your camera settings for ideal exposure and set appropriate intervals between shots. Master smooth flight patterns and movements to capture dynamic scenes. In post-processing, stabilize footage, enhance colors, and experiment with speed ramping for cinematic effects. Don't forget to check local regulations and obtain necessary permits before flying. With practice and creativity, you'll soon be soaring to new heights in aerial cinematography. The sky's the limit for what you can achieve with these techniques.
Essential Drone Equipment
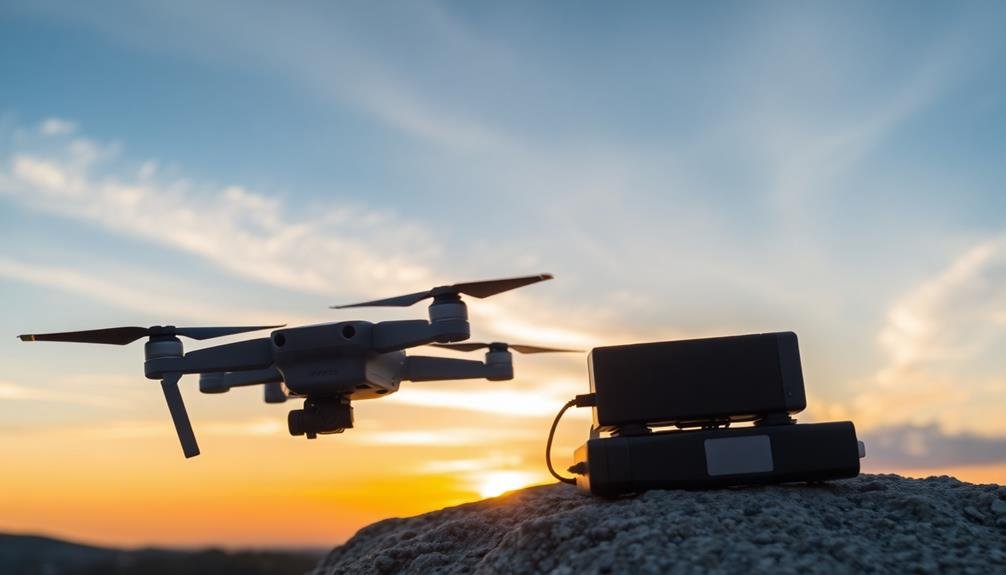
The essential equipment for creating soaring timelapses with drones includes more than just the aircraft itself.
You'll need a high-quality camera capable of capturing crisp, detailed images in various lighting conditions. Look for drones with at least a 12-megapixel camera and 4K video capabilities.
A gimbal is vital for stabilizing your shots, ensuring smooth footage even in windy conditions. It compensates for the drone's movements, keeping your camera level and steady.
Don't forget extra batteries, as timelapse sequences can drain power quickly. A set of ND filters will help you control exposure in bright daylight, allowing for slower shutter speeds and smoother motion blur.
A reliable controller with a built-in screen or smartphone attachment is essential for framing your shots and adjusting camera settings on the fly.
Consider investing in a drone with obstacle avoidance technology to prevent crashes during complex maneuvers.
Finally, a sturdy carrying case will protect your equipment during transport and storage.
Remember to check local regulations and obtain necessary permits before flying.
With this gear, you'll be well-equipped to capture breathtaking aerial timelapses that showcase the world from a unique perspective.
Planning Your Sky-High Sequence
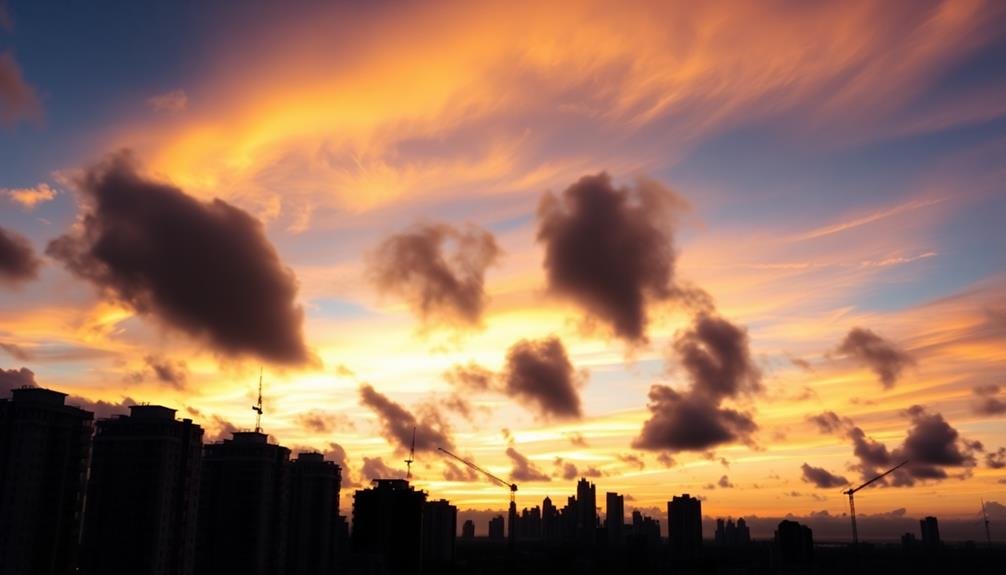
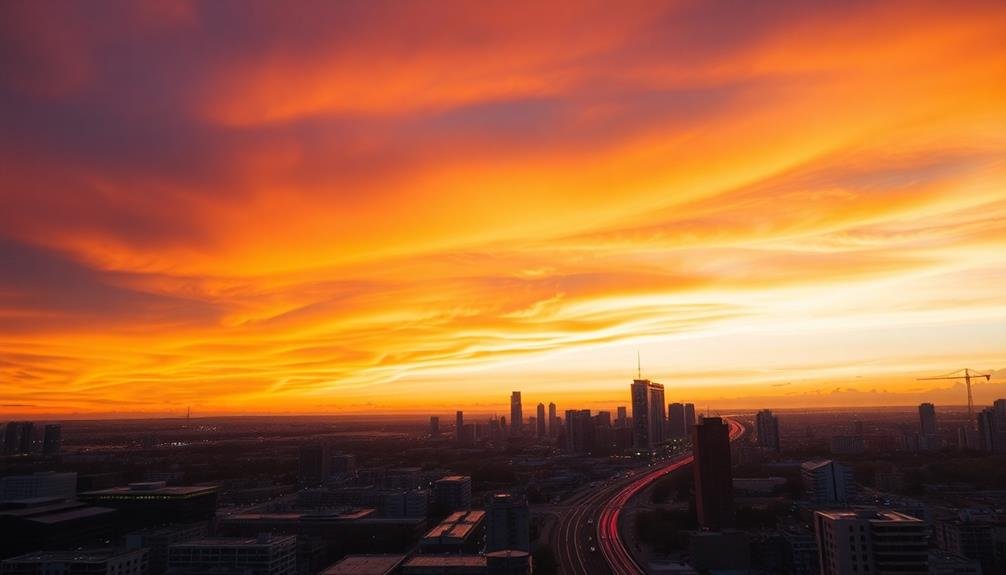
Successful aerial timelapses begin with meticulous planning. Before you launch your drone, scout your location and identify potential flight paths. Consider the sun's position and movement to capture the best lighting conditions. Determine the ideal time of day for your shoot, keeping in mind that golden hour often yields stunning results.
Choose your subject carefully. Whether it's a cityscape, natural landscape, or architectural marvel, guarantee it's visually interesting and will change noticeably over time. Calculate the duration of your timelapse and plan your battery usage accordingly. You may need to swap batteries mid-flight, so have extras charged and ready.
Set your camera's interval and shutter speed based on the scene's activity level. For slow-moving subjects like clouds, longer intervals work well. For bustling cityscapes, shorter intervals capture more detail. Adjust your drone's speed to match your chosen interval, guaranteeing smooth movement between frames.
Consider weather conditions and airspace regulations. Check forecasts and obtain necessary permissions before flying.
Camera Settings for Aerial Timelapses
When capturing aerial timelapses, you'll need to master ideal shutter speed intervals to achieve smooth motion in your final video.
You'll want to experiment with different intervals, typically ranging from 1 to 5 seconds between shots, depending on your subject and flight speed.
Don't forget to adjust your exposure compensation techniques to account for changing light conditions as you soar through the sky, ensuring consistent brightness across your timelapse sequence.
Optimal Shutter Speed Intervals
Setting the right shutter speed interval is essential for capturing stunning aerial timelapses. You'll need to balance exposure time with the speed of your aerial platform to achieve smooth, fluid motion in your final sequence. For most aerial timelapses, aim for intervals between 1 and 5 seconds.
Consider these factors when choosing your interval:
- Platform speed: Faster movement requires shorter intervals.
- Desired playback speed: Shorter intervals create smoother, slower-appearing motion.
- Available light: Longer intervals allow for longer exposures in low light.
- Subject motion: Faster-moving subjects need shorter intervals to avoid choppy results.
Use this table as a guide for common aerial timelapse scenarios:
| Scenario | Recommended Interval |
|---|---|
| Slow-moving clouds | 3-5 seconds |
| City traffic | 1-2 seconds |
| Sunset/sunrise | 2-4 seconds |
| Fast-moving storms | 0.5-1 second |
| Mountain landscapes | 3-5 seconds |
Experiment with different intervals to find what works best for your specific situation. Remember, you can always adjust the playback speed in post-production to fine-tune the final result.
Exposure Compensation Techniques
For aerial timelapses, mastering exposure compensation techniques is crucial to maintain consistent lighting across your sequence. As you're shooting from a moving aircraft, light conditions can change rapidly, affecting your footage's exposure. To combat this, you'll need to adjust your camera's exposure compensation settings on the fly.
Start by setting your camera to aperture priority mode, which allows you to control the depth of field while the camera adjusts shutter speed. Then, use the exposure compensation dial to fine-tune the overall brightness of your images. You'll often need to underexpose slightly to prevent blown-out highlights in bright sky scenes.
Here are three key exposure compensation techniques for aerial timelapses:
- Bracket your shots: Take multiple exposures of each frame to guarantee you capture the full dynamic range.
- Use graduated neutral density filters: These help balance exposure between bright skies and darker landscapes.
- Monitor your histogram: Regularly check it to verify you're not clipping highlights or losing shadow detail.
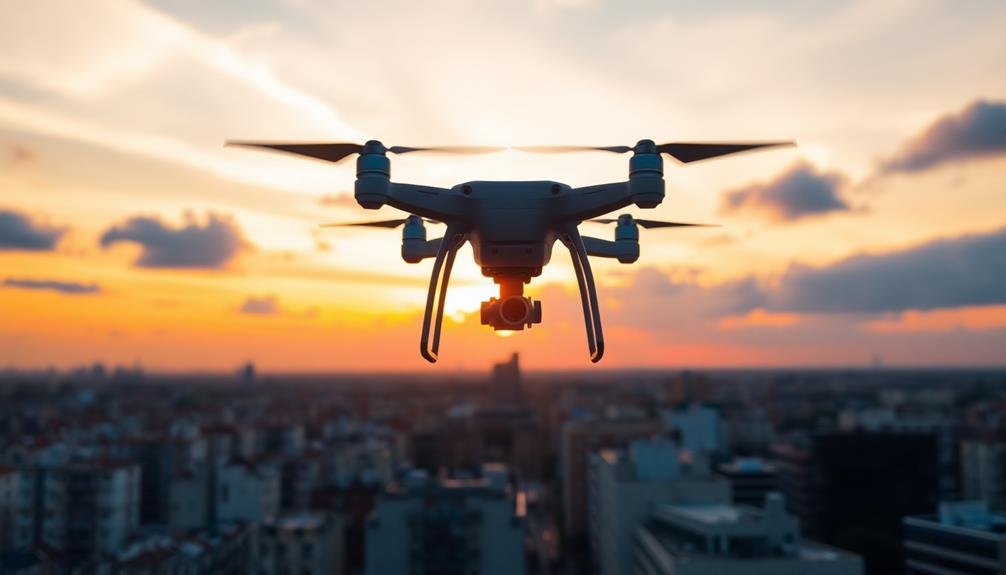
Flight Patterns and Movements
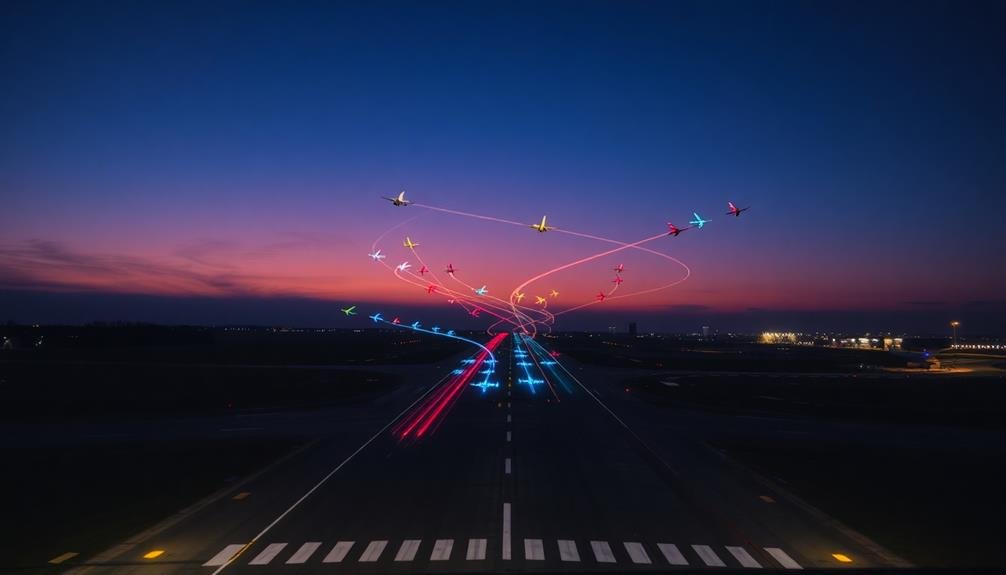
The mesmerizing flight patterns and movements of birds in timelapse footage captivate viewers with their intricate choreography. To capture these aerial ballets, you'll need to understand common flight behaviors and plan your shots accordingly.
Look for predictable patterns, such as V-formations in migrating geese or the swirling murmurations of starlings. These offer opportunities for stunning sequences. Position yourself to capture takeoffs and landings, as these moments provide dynamic shifts in your timelapse.
Consider the time of day; many birds are most active during dawn and dusk. Early morning often yields footage of birds leaving their roosts, while evening brings them back home. You'll want to scout locations where birds congregate, like wetlands, shorelines, or urban parks with ample food sources.
Use a wide-angle lens to encompass more sky and showcase the birds' environment. If you're aiming for close-ups, a telephoto lens will bring distant subjects into frame. Remember to adjust your camera settings as light conditions change throughout the day.
Patience is key. Set up your equipment and wait for the perfect moment when bird activity peaks. The resulting footage will showcase nature's aerial artistry in breathtaking detail.
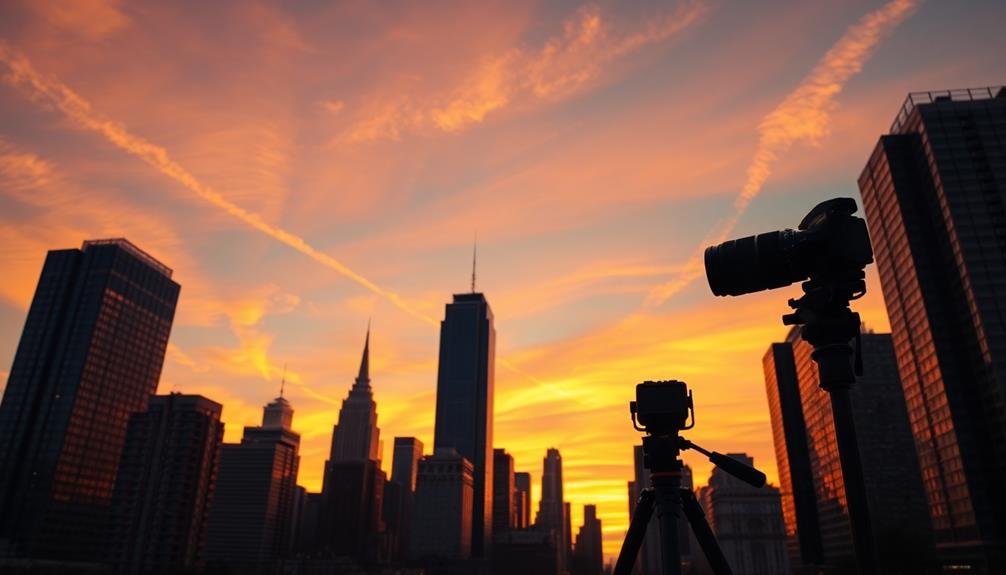
Post-Processing Aerial Footage
Countless hours of raw aerial footage can be transformed into a stunning timelapse with the right post-processing techniques.
You'll need to import your footage into editing software and begin the process of selecting the best frames. Look for shots that showcase smooth movement and interesting compositions.
Once you've culled your footage, you'll need to stabilize any shaky sections to guarantee a seamless flow.
Color correction is essential in aerial timelapses. You'll want to balance exposure across all frames and enhance the natural colors of the landscape. Pay special attention to the sky, as it often requires separate adjustments to bring out cloud details and vibrant hues.
To elevate your timelapse, consider these advanced techniques:
- Use keyframes to create dynamic zooms and pans
- Experiment with speed ramping to emphasize specific moments
- Add subtle motion blur for a more cinematic feel
Legal Considerations for Drone Cinematography
Maneuvering the legal landscape of drone cinematography is essential for any aerial filmmaker. You'll need to obtain proper licensing and adhere to local regulations to guarantee your operations remain lawful. In the United States, the Federal Aviation Administration (FAA) requires drone pilots to pass a knowledge test and obtain a Remote Pilot Certificate for commercial use.
Before flying, always check for airspace restrictions and obtain necessary clearances. Be aware of no-fly zones around airports, military bases, and sensitive areas. You're responsible for maintaining visual line of sight with your drone and avoiding flying over people or moving vehicles.
Here's a quick reference guide for common drone regulations:
| Requirement | Recreational | Commercial |
|---|---|---|
| Registration | Required | Required |
| Pilot License | Not Required | Part 107 Required |
| Max Altitude | 400 feet | 400 feet |
| Visual Line of Sight | Required | Required |
| Flying at Night | Prohibited | Allowed with Waiver |
Frequently Asked Questions
How Do Weather Conditions Affect Aerial Timelapse Quality?
Weather conditions greatly impact your aerial timelapse quality. You'll find that clear skies offer crisp shots, while clouds add drama. Wind can cause shake, and rain or fog may obscure views. Lighting changes affect exposure throughout the day.
What's the Ideal Duration for a Sky-High Timelapse Sequence?
You'll find that the ideal duration for a sky-high timelapse sequence typically ranges from 10 to 30 seconds. It's long enough to capture dramatic changes but short enough to maintain viewer interest. Adjust based on your specific subject.
Can I Create Timelapses Using a Smartphone Mounted on a Drone?
Yes, you can create timelapses using a smartphone mounted on a drone. You'll need a secure mounting system and a drone with good stability. Be sure to follow local regulations and guarantee your device is properly secured before flying.
How Do I Stabilize Footage From Windy Conditions During Aerial Timelapse Shoots?
To stabilize windy aerial timelapse footage, you'll need to use a gimbal and adjust your drone's settings. Increase the interval between shots, fly in sport mode, and use post-processing software with stabilization features for smoother results.
Are There Specific Color Grading Techniques for Enhancing Sky-High Timelapse Videos?
You'll want to enhance blues and whites for vibrant skies. Use gradient filters to balance exposure between sky and ground. Boost contrast and saturation subtly. Don't overdo it—keep cloud details and natural color tones intact.
In Summary
You've now got the tools to create breathtaking aerial timelapses. Remember to always prioritize safety and follow local regulations. With practice, you'll master flight patterns and camera settings that capture the sky's ever-changing beauty. Don't be afraid to experiment and push your creative boundaries. As you refine your skills, you'll produce stunning sequences that'll mesmerize viewers and elevate your drone cinematography to new heights. Keep soaring and creating!
As educators and advocates for responsible drone use, we’re committed to sharing our knowledge and expertise with aspiring aerial photographers.


Leave a Reply