
You don't need expensive cranes for cinematic shots. Try handheld gimbal movements, slider techniques, or steadicam-inspired setups for smooth motion. Jib arms offer affordable crane-like functionality, while vehicle-mounted cameras create dynamic scenes. Get creative with crane-like tripod maneuvers or clever editing shifts to simulate vertical movements. Improvised pulley systems can achieve impressive upward shots on a budget. Lightweight crane alternatives provide professional results without breaking the bank. Even simple techniques like walking smoothly with a stabilized camera can yield stunning footage. Dive deeper to reveal the full potential of these budget-friendly alternatives.
Handheld Gimbal Movements
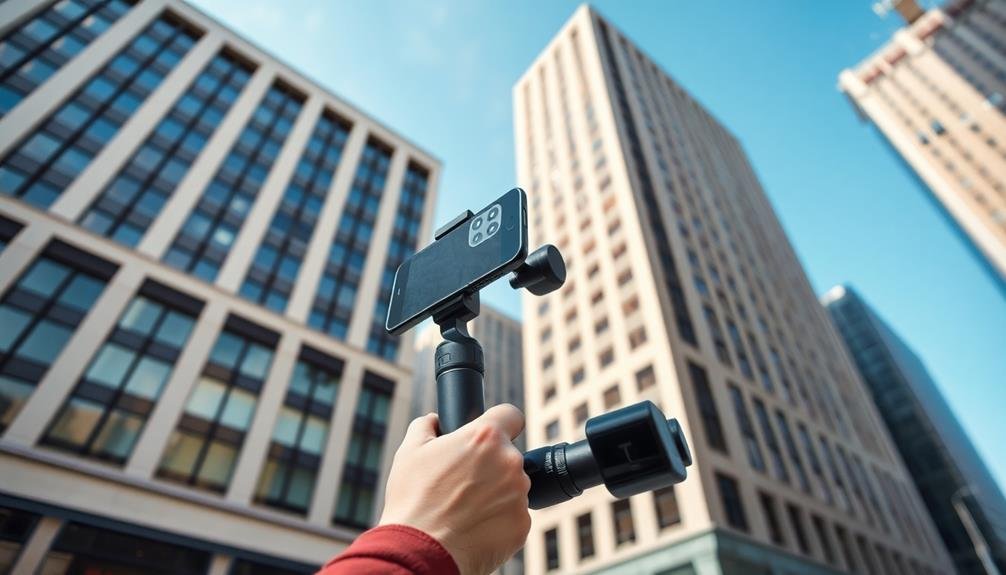
Filmmakers' budgets often limit their access to expensive crane shots, but handheld gimbals offer a cost-effective alternative. These portable stabilizers allow you to achieve smooth, fluid movements that mimic the sweeping motions of crane shots. With practice, you can create dynamic vertical and horizontal movements, adding depth and dimension to your scenes.
To replicate a crane shot using a gimbal, start by mastering basic techniques. Practice walking smoothly while holding the gimbal, keeping your movements steady and controlled. Experiment with different speeds and angles to find the most cinematic results. You can simulate a crane's rising motion by starting low and slowly lifting the gimbal as you move forward or backward.
For more complex shots, combine gimbal movements with other techniques. Try mounting your gimbal on a monopod for added height and stability. You can also use a slider in conjunction with your gimbal to create smooth, linear movements.
Don't forget to take into account your environment; stairs, hills, or elevated platforms can provide natural height variations for your shots. With creativity and skill, you'll be able to capture crane-like footage on a fraction of the budget.
Slider Techniques
Sliders offer another affordable solution for mimicking crane shots. These versatile tools allow you to create smooth, linear camera movements that can replicate some of the dynamic qualities of crane shots.
To get the most out of your slider, experiment with different angles and heights. You can mount it low to the ground for dramatic low-angle shots or elevate it on tripods for higher perspectives.
Try combining slider movements with pans or tilts to add complexity to your shots. For instance, you can start with a horizontal slide and gradually tilt up to reveal a subject or landscape.
Don't limit yourself to horizontal slides; vertical and diagonal movements can also produce striking results. To simulate a crane's rising or descending motion, use a slider on an incline.
For added flexibility, consider motorized sliders. These allow for precise, repeatable movements and can be programmed for time-lapses or complex camera moves.
While more expensive than manual sliders, they're still far more budget-friendly than actual cranes. Remember to practice your timing and pacing to achieve smooth, cinematic results with your slider shots.
Steadicam-Inspired Shots
You can achieve smooth, professional-looking shots without breaking the bank by exploring Steadicam-inspired techniques.
Consider mastering handheld stabilizer methods, investing in affordable gimbal options, or even building your own DIY stabilizer rig.
These approaches will help you create fluid camera movements that mimic the look of more expensive Steadicam setups.
Handheld Stabilizer Techniques
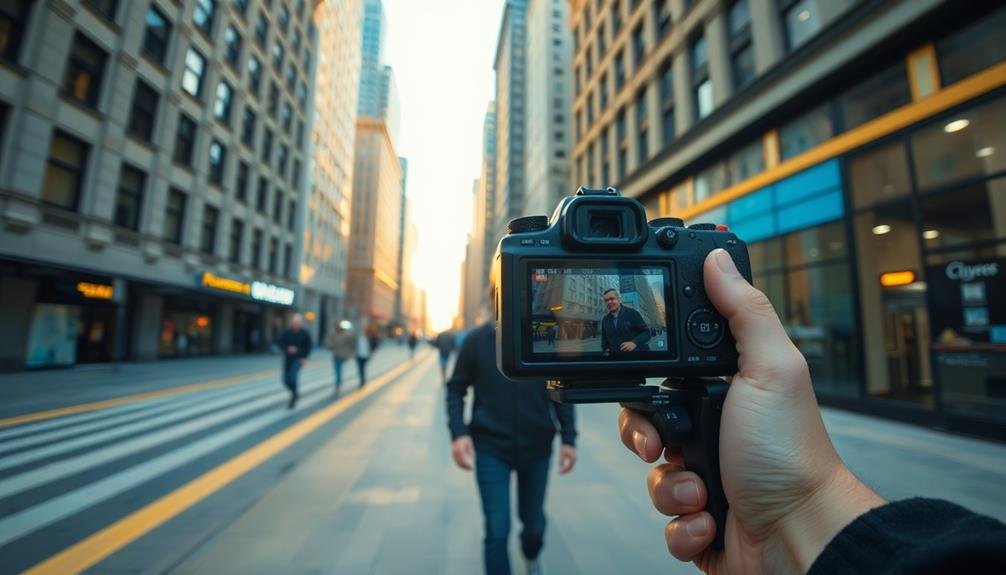
Cinematographers seeking to replicate the smooth, fluid motion of crane shots on a budget can turn to handheld stabilizer techniques. These devices, like gimbals and electronic stabilizers, offer a cost-effective way to achieve professional-looking shots without the need for expensive crane equipment.
To use a handheld stabilizer effectively, you'll need to practice proper body mechanics. Keep your arms close to your body and use your core muscles to maintain balance. Walk heel-to-toe for smoother movement, and bend your knees slightly to absorb shocks.
When framing your shots, use the stabilizer's built-in monitor or your camera's LCD screen to maintain composition. Start with simple movements, like panning or tracking, before attempting more complex maneuvers.
As you gain confidence, try combining different movements to create dynamic shots. Experiment with various speeds and heights to add visual interest. Slow, deliberate movements can create a sense of tension, while faster movements can convey energy and excitement.
Affordable Gimbal Options
Gimbals have revolutionized the world of affordable camera stabilization, offering Steadicam-inspired shots at a fraction of the cost. You'll find a wide range of options on the market, from smartphone gimbals to professional-grade models for DSLRs and mirrorless cameras.
For beginners, consider the DJI Osmo Mobile or Zhiyun Smooth series for smartphone filmmaking. These compact gimbals provide smooth, stable footage and often include features like object tracking and time-lapse modes.
If you're using a larger camera, look into the DJI Ronin-SC or Zhiyun Crane series, which can handle heavier payloads while maintaining excellent stabilization.
When choosing a gimbal, consider factors like weight capacity, battery life, and ease of use. Many affordable gimbals now offer advanced features like wireless control and automated movements, allowing you to achieve complex shots with minimal crew.
To maximize your gimbal's potential, practice proper balancing techniques and explore its various modes. Experiment with different movement styles, from slow, sweeping motions to more dynamic tracking shots.
With some practice, you'll be able to capture crane-like shots that add a professional touch to your productions without breaking the bank.
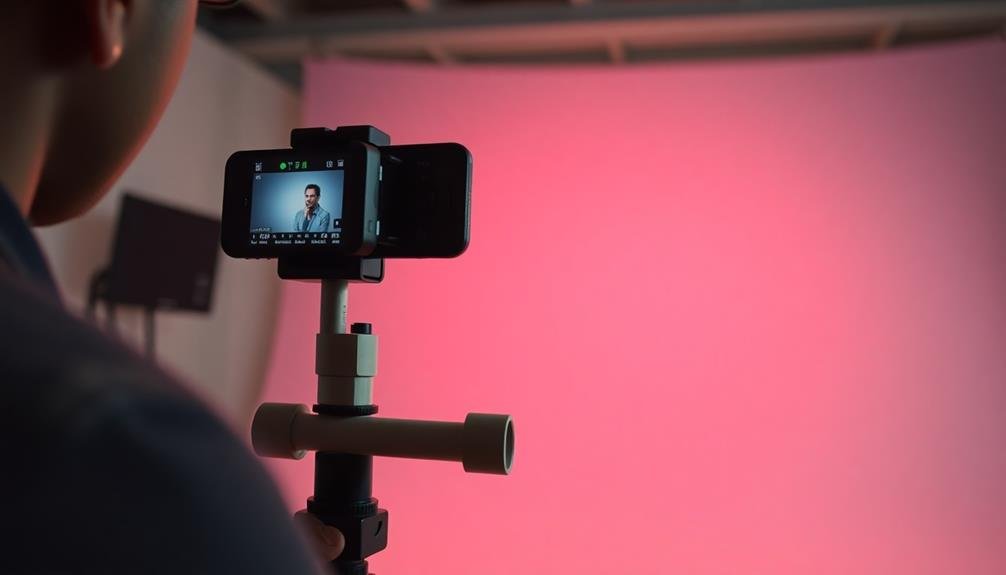
DIY Stabilizer Rigs
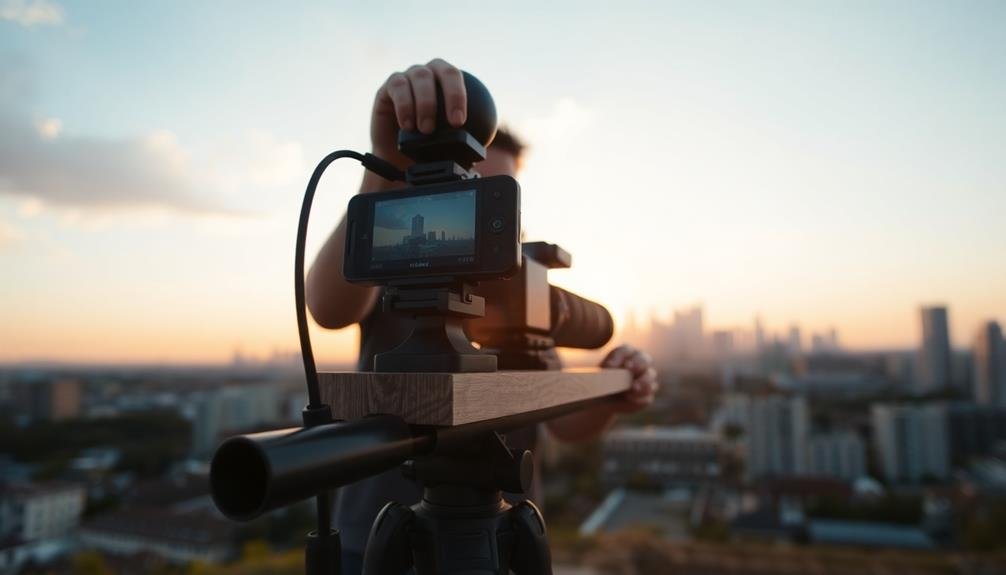
For those on a tight budget, DIY stabilizer rigs offer a creative alternative to achieve Steadicam-inspired shots. You can build your own stabilizer using affordable materials like PVC pipes, weights, and a mounting plate for your camera.
Start by creating a balanced counterweight system that offsets your camera's weight, allowing for smooth movements. To construct your rig, you'll need a vertical pole for the camera mount, a horizontal arm for balance, and a weight system at the bottom.
Attach a quick-release plate to the top for easy camera mounting. Add foam padding to the handle for comfortable operation. Fine-tune the balance by adjusting the weights and arm length.
Practice walking techniques to minimize body movement while operating your DIY stabilizer. Keep your arms close to your body and use your core for stability. Experiment with different shooting styles, from low-angle tracking shots to eye-level follow shots.
While not as sophisticated as professional Steadicams, your DIY rig can greatly improve the fluidity of your handheld shots. With practice, you'll be able to capture smooth, cinematic footage that rivals more expensive setups.
Jib Arm Solutions
Jib arms offer a cost-effective way to achieve dynamic crane-like movements in your shots.
You'll find several affordable jib arm options on the market, ranging from compact tabletop models to larger, more versatile setups.
If you're handy, you can even explore DIY jib arm alternatives using readily available materials like PVC pipes or lightweight metal tubing.
Affordable Jib Arm Options
Several affordable jib arm options can help you achieve crane-like shots without breaking the bank.
One popular choice is the Neewer Carbon Fiber Jib Arm, which extends up to 6 feet and supports cameras weighing up to 11 pounds. It's lightweight, portable, and easy to set up, making it ideal for on-location shoots.
For an even more budget-friendly option, consider the Movo JIB100 Camera Jib. It's made of aluminum, extends to 6 feet, and can handle cameras up to 10 pounds. While not as lightweight as carbon fiber models, it's still a solid choice for smaller productions.
If you're looking for maximum portability, the Kamerar Pico Flex Dolly with 23" Jib Arm is worth considering. This compact system combines a dolly and jib arm, allowing for smooth tracking shots and vertical movements. It's perfect for DSLR and mirrorless cameras.
For those willing to spend a bit more, the Proaim 12ft Jib Crane offers extended reach and supports heavier cameras. It's a professional-grade option that's still more affordable than full-sized cranes, making it suitable for indie filmmakers and small production houses.
DIY Jib Arm Alternatives
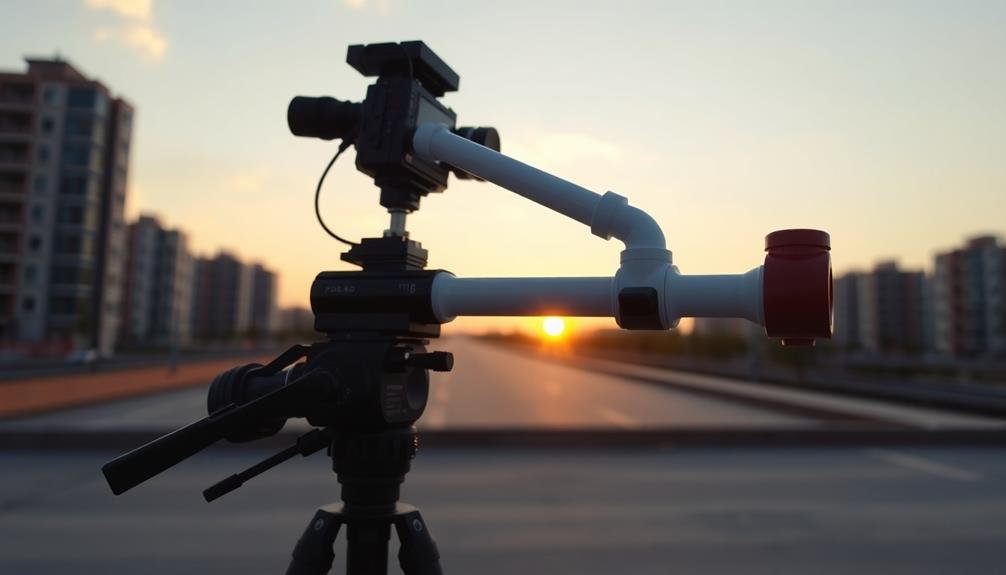
While commercial jib arms offer great solutions, you can also create your own DIY alternatives to achieve similar results. One popular option is the PVC pipe jib, which uses lightweight PVC pipes and fittings to construct a functional arm.
You'll need to attach a counterweight on one end and your camera on the other, ensuring proper balance.
Another DIY approach involves repurposing a painter's pole or extendable monopod. By attaching a ball head mount to one end and adding a counterweight to the other, you can create a makeshift jib arm that's easy to transport and set up.
For a more sturdy option, consider building a wooden jib arm using materials like pine boards and plywood. This method requires more woodworking skills but can result in a durable, professional-looking rig.
Don't overlook unconventional materials like carbon fiber fishing rods or lightweight aluminum poles, which can be adapted into jib arms with some creativity.
Remember to prioritize safety when constructing your DIY jib, ensuring all components are securely fastened and tested before use.
Vehicle-Mounted Camera Setups
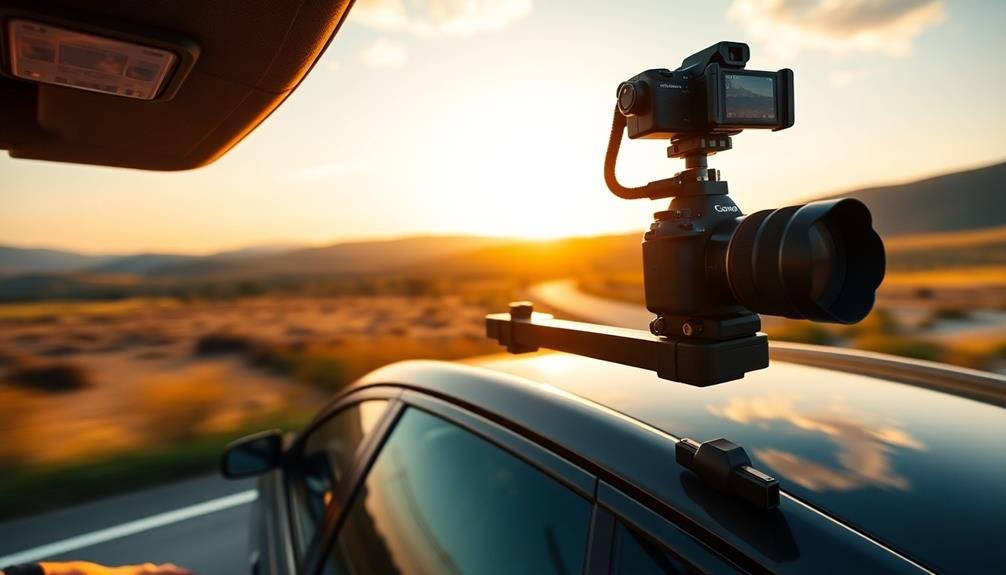
Transforming your ordinary vehicle into a mobile camera platform offers a cost-effective alternative to expensive crane shots. With some creativity and basic equipment, you can achieve smooth, dynamic shots that rival professional crane work.
Start by securely mounting your camera to your vehicle. Use a sturdy car mount or suction cup system designed for filmmaking. Verify it's firmly attached to your car's hood, roof, or side for stability.
For added smoothness, consider using a gimbal or stabilizer in conjunction with the mount.
To capture sweeping shots, drive slowly and steadily while filming. Practice your route beforehand to avoid bumps or sudden movements.
For more elaborate setups, try attaching a boom arm to your vehicle's roof rack or truck bed. This DIY crane-like extension allows for greater range and height in your shots.
Safety is paramount when using vehicle-mounted setups. Always obey traffic laws and use a dedicated driver while you operate the camera.
Consider using a wireless monitor so you can control the shot from inside the vehicle.
With careful planning and execution, vehicle-mounted camera setups can provide you with impressive, budget-friendly alternatives to traditional crane shots.
Dolly Zoom Effects
You can achieve impressive dolly zoom effects without expensive equipment.
For manual creation, try moving the camera on a smooth surface while adjusting the zoom lens.
If you're comfortable with post-production, digital dolly zoom techniques allow you to simulate this effect using software, giving you more control over the final result.
Creating Dolly Zoom Manually
A classic cinematic technique, the dolly zoom effect can be created manually without expensive equipment. To achieve this effect, you'll need to simultaneously move the camera towards or away from your subject while zooming in the opposite direction. This creates a disorienting visual where the background appears to change size while the subject remains constant.
To create a dolly zoom manually:
- Use a wide-angle lens for maximum impact
- Mark your start and end positions on the ground
- Practice smooth, consistent movement
- Coordinate your zoom speed with your physical movement
Start by setting up your shot and determining the focal length you'll use at the beginning and end. As you move the camera, adjust your zoom accordingly.
It's essential to maintain a steady pace for both the physical movement and the zoom. You may need several takes to perfect the timing and smoothness of the effect.
Digital Dolly Zoom Techniques
While manual dolly zooms can create powerful effects, digital techniques offer another budget-friendly approach to achieving this cinematic look. You can create a dolly zoom effect in post-production using video editing software like Adobe Premiere Pro or DaVinci Resolve.
To achieve a digital dolly zoom:
- Shoot your footage with a static camera
- Import the footage into your editing software
- Apply a zoom effect to the clip
- Simultaneously scale and reposition the image
The key is to maintain your subject's size while enlarging or shrinking the background. You'll need to keyframe the zoom, scale, and position parameters to create a smooth effect.
Here's a comparison of manual vs. digital dolly zoom techniques:
| Aspect | Manual Dolly Zoom | Digital Dolly Zoom |
|---|---|---|
| Equipment | Dolly, track, zoom lens | Camera, editing software |
| Cost | Higher | Lower |
| Flexibility | Limited by physical space | Unlimited in post-production |
| Real-time effect | Yes | No |
While digital dolly zooms may lack some of the organic feel of manual techniques, they offer greater flexibility and cost-effectiveness for budget-conscious filmmakers. Experiment with both methods to determine which best suits your project's needs and constraints.
Crane-Like Tripod Maneuvers
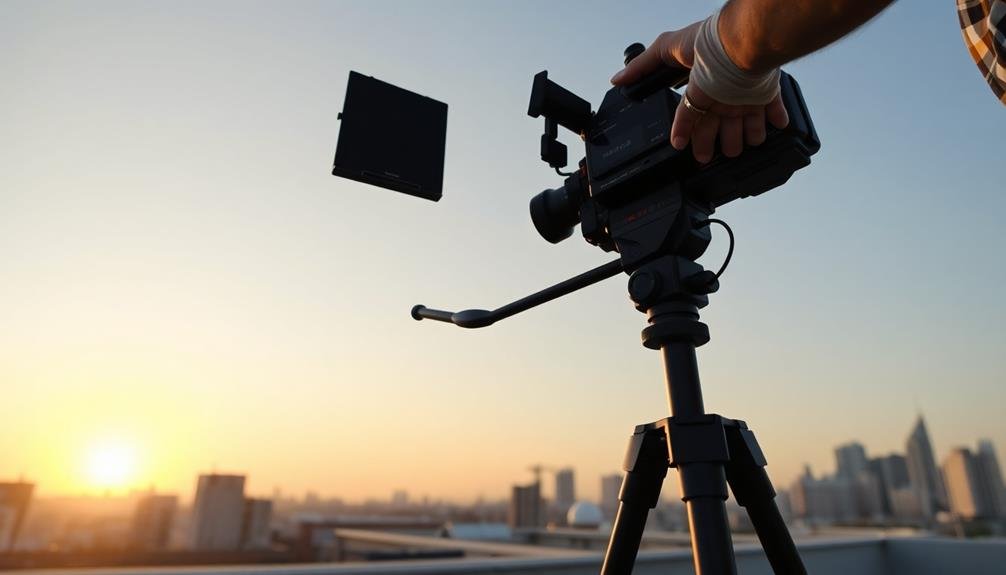
Innovative filmmakers can achieve crane-like shots without breaking the bank by mastering tripod maneuvers. By using a fluid head tripod and employing creative techniques, you can mimic the smooth, sweeping movements of a crane shot. Start by extending your tripod legs to their maximum height and practice smooth, controlled pans and tilts.
To create more dynamic shots, try these advanced tripod techniques:
- Dutch angle: Tilt your camera sideways for a disorienting effect
- Whip pan: Quickly pan from one subject to another
- Unveil: Slowly pan or tilt to disclose a new element in the scene
- Pedestal move: Smoothly raise or lower the tripod during the shot
Don't forget to use your surroundings to your advantage. Place your tripod on elevated surfaces like tables, stairs, or balconies to add height and variety to your shots.
You can also combine tripod movements with handheld techniques for a hybrid approach. With practice, you'll be able to create fluid, professional-looking shots that rival expensive crane setups, all while staying within your budget constraints.
Clever Editing Transitions
Clever editing shifts can create the illusion of crane-like movements without the need for expensive equipment. You can achieve this effect by strategically combining different shots during post-production.
Start by shooting a series of static shots at varying heights and angles. Then, in your editing software, alternate between these shots smoothly to mimic a crane's movement.
Try using cross-dissolves or subtle wipes to blend the shots together seamlessly. You can also experiment with match cuts, where you align similar elements in consecutive shots to create a fluid shift.
Another technique is to use zoom effects in post-production, gradually enlarging or shrinking the frame to simulate a crane's vertical movement.
Don't forget about sound design. Adding subtle whooshes or ambient noise changes can enhance the illusion of movement between shots. You can also use motion graphics or digital zooms to further sell the effect.
Improvised Pulley Systems
Editing tricks can simulate crane movements, but sometimes you need a physical solution. That's where improvised pulley systems come in handy. You can create smooth, vertical camera movements without breaking the bank.
To set up your DIY crane shot, you'll need some basic hardware store items: sturdy rope, pulleys, and a counterweight. Attach your camera to one end of the rope and the counterweight to the other. Run the rope through a series of pulleys mounted on a tall, stable structure like a ladder or scaffolding.
With your pulley system in place, you can achieve various crane-like shots:
- Slow reveals: Gradually lift the camera to disclose a scene
- Dramatic descents: Lower the camera for a bird's-eye view
- Smooth tracking: Combine horizontal movement with vertical lifts
- Dynamic shifts: Move between different levels of a set
Remember to practice your movements before filming. Smooth operation is key to selling the illusion of a professional crane shot.
With some creativity and careful planning, you'll capture cinematic vertical movements that rival those of big-budget productions.
Lightweight Crane Alternatives
Jib arms and mini-cranes offer lightweight alternatives to full-sized cranes. These portable options can help you achieve dynamic shots without breaking the bank or your back.
Jib arms typically mount on tripods and provide smooth vertical and horizontal movements. You'll find models ranging from 2 to 12 feet in length, suitable for various shooting scenarios.
Mini-cranes, slightly larger than jib arms, offer increased stability and reach. They're often collapsible and can fit in a car trunk, making them ideal for on-location shoots. Some mini-cranes even come with remote-controlled pan and tilt heads, giving you precise control over your camera movements.
When choosing a lightweight crane alternative, consider factors like payload capacity, ease of setup, and compatibility with your existing equipment.
Look for options that allow for quick counterweight adjustments and smooth operation. Don't forget to practice with your chosen device before a shoot to ascertain you can execute fluid movements.
Frequently Asked Questions
How Do Weather Conditions Affect These Budget-Friendly Substitutes for Crane Shots?
Weather conditions can greatly impact your budget-friendly shot options. Wind might shake handheld cameras, rain could damage equipment, and extreme temperatures affect battery life. You'll need to adapt your techniques and protect your gear accordingly.
What Safety Precautions Should Be Taken When Using DIY Crane Alternatives?
You'll need to prioritize safety when using DIY crane alternatives. Always secure your equipment, test weight limits, and avoid overextension. Don't forget to clear the area and use spotters. Remember, your safety's more important than the shot.
Can These Techniques Be Effectively Combined With CGI in Post-Production?
Yes, you can effectively combine DIY crane alternatives with CGI in post-production. You'll need to plan your shots carefully, use tracking markers, and guarantee smooth camera movements. This combination can enhance your final product's visual impact.
How Do Lighting Considerations Differ When Using These Budget-Friendly Substitutes?
You'll need to adapt your lighting setup for these substitutes. You're working with different angles and movements, so you'll have to adjust your lights accordingly. Don't forget to contemplate shadows and reflections as you're shooting.
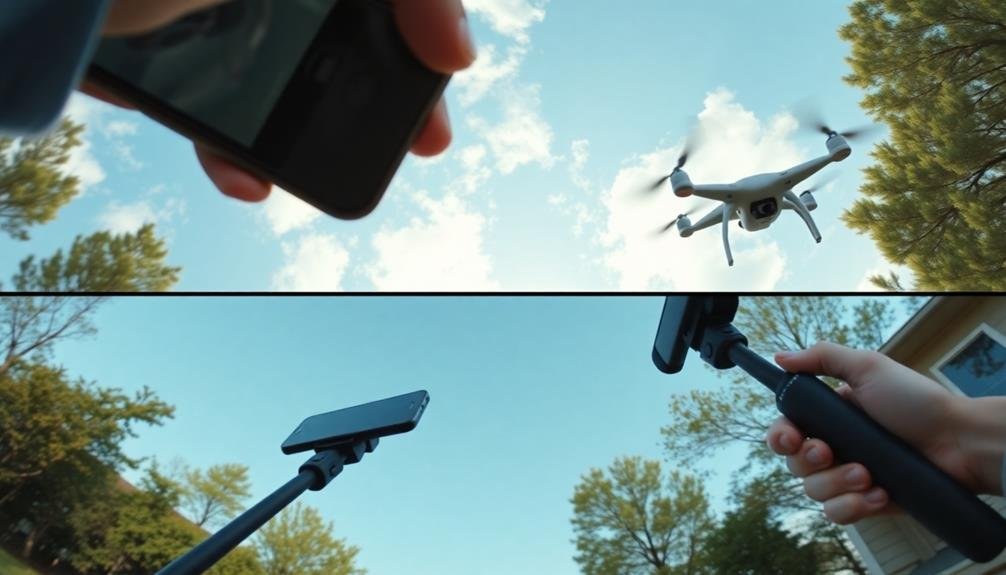
Are There Any Legal Restrictions for Using These Techniques in Public Spaces?
You'll need permits for filming in many public spaces. Check local laws and obtain necessary permissions. Some areas restrict drone use. Always respect privacy and property rights. When in doubt, seek legal advice or contact local authorities.
In Summary
You've now got a toolkit of affordable alternatives to achieve those sweeping crane shots. Don't let budget constraints hold you back. With these techniques, you'll create dynamic, professional-looking footage that rivals expensive setups. Remember, it's not about the gear, but how you use it. Experiment, practice, and push your creativity. You'll soon be capturing cinematic shots that'll wow your audience without breaking the bank. Keep innovating and elevating your filmmaking game!
As educators and advocates for responsible drone use, we’re committed to sharing our knowledge and expertise with aspiring aerial photographers.


Leave a Reply