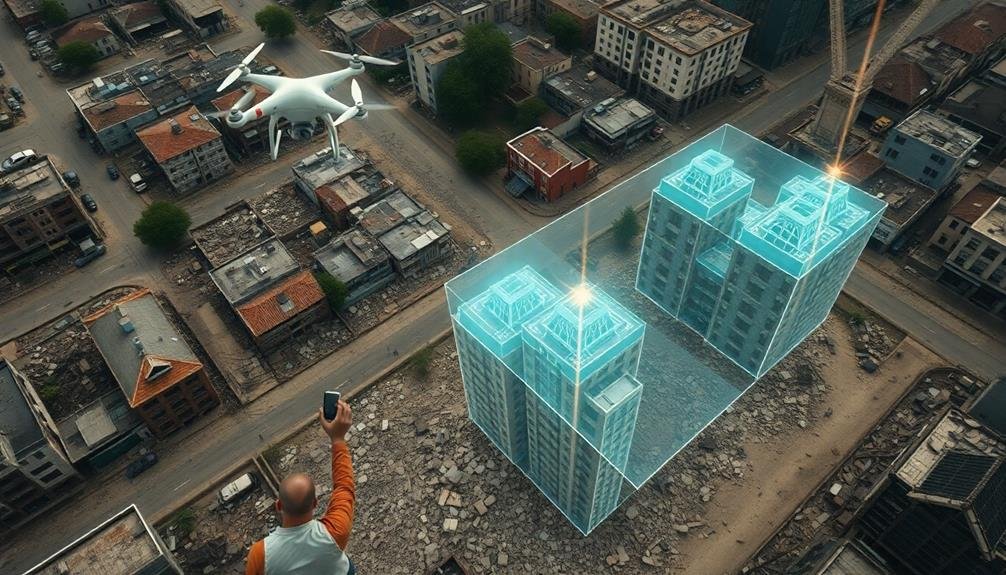
To model disaster zones in 3D, you'll need drones with 4K cameras, LiDAR scanners, and powerful laptops. Use software like Pix4D or Agisoft Metashape for processing. Plan your flights carefully, considering obstacles and safety. When collecting data, guarantee overlapping images and consistent altitude. Process your data to create detailed 3D models, then integrate them with GIS systems for analysis. Always respect legal and ethical considerations, including privacy laws. Overcome environmental challenges with rugged equipment and LiDAR for low visibility. Regular maintenance and troubleshooting will keep your gear ready. This guide covers the basics, but there's much more to explore in this critical field.
Understanding Disaster Zone 3D Modeling
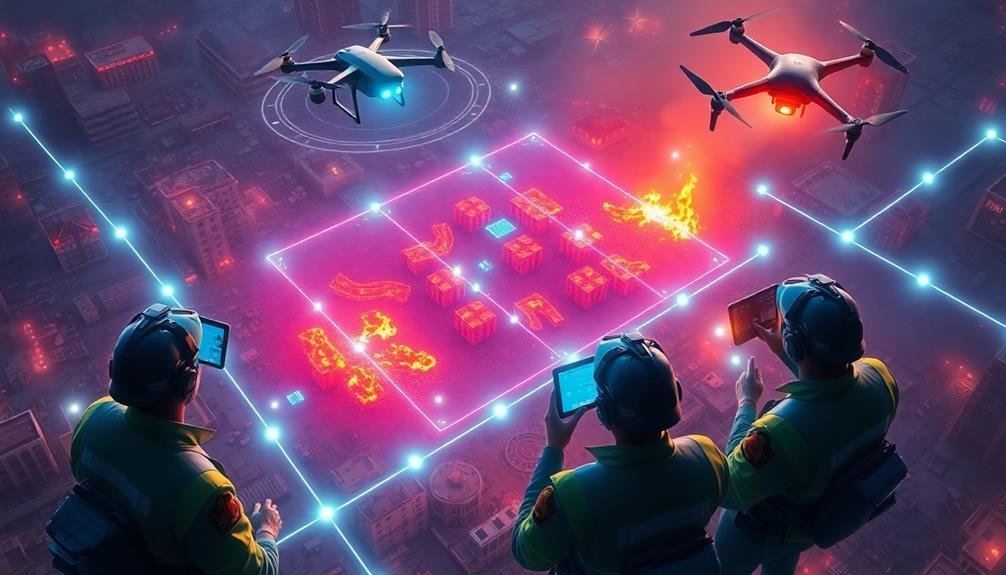
Three key components form the foundation of disaster zone 3D modeling: data collection, processing, and visualization.
You'll need to understand each of these elements to effectively create and use 3D models in disaster response.
Data collection involves gathering information about the affected area using various technologies.
You'll employ drones, satellites, LiDAR scanners, and ground-based sensors to capture detailed imagery and spatial data.
This information forms the raw material for your 3D model.
Processing transforms the collected data into a coherent 3D representation.
You'll use specialized software to stitch together images, align point clouds, and generate digital elevation models.
This step requires attention to detail and an understanding of geospatial algorithms.
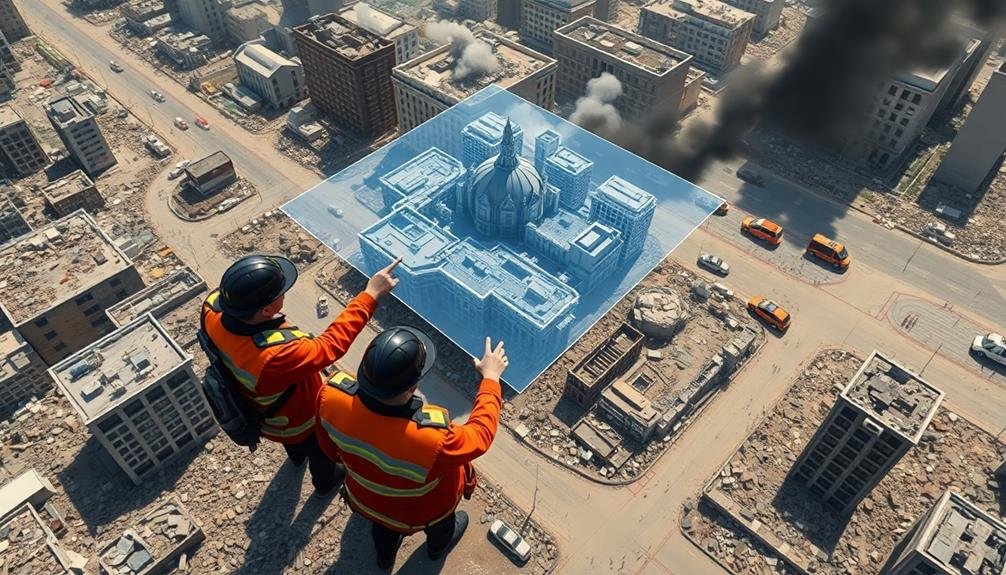
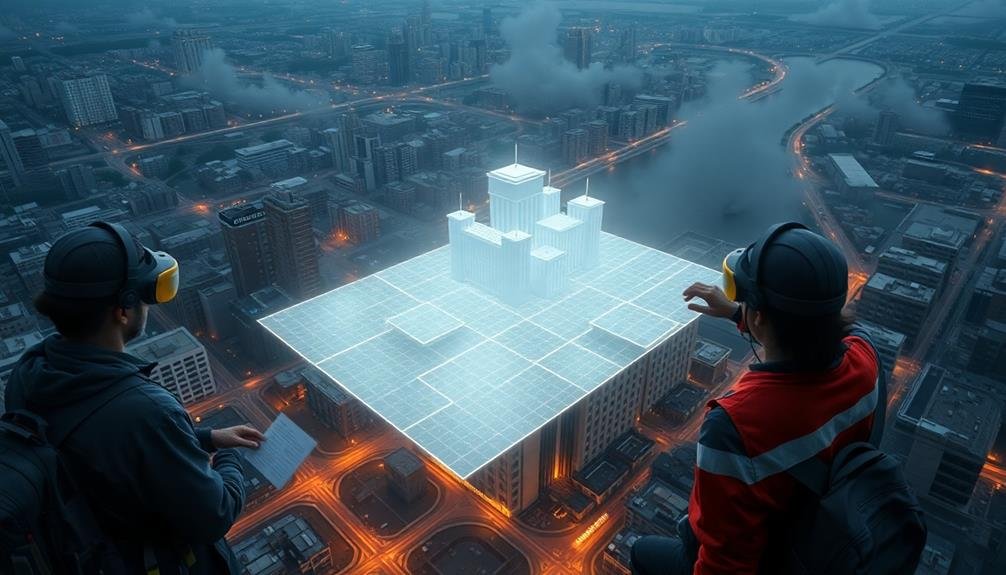
Visualization is where your 3D model comes to life.
You'll create interactive, photorealistic representations of the disaster zone that responders can explore and analyze.
This stage involves texture mapping, lighting adjustments, and optimizing the model for different devices and platforms.
Essential Equipment and Software
For effective 3D modeling of disaster zones, you'll need a combination of specialized equipment and software. Start with a high-quality drone equipped with a 4K camera for aerial photography. Verify you have a powerful laptop with ample storage and processing capabilities to handle large datasets.
Don't forget spare batteries, memory cards, and a rugged case to protect your equipment in harsh conditions.
On the software side, invest in photogrammetry programs like Pix4D or Agisoft Metashape to process your imagery into 3D models. You'll also need GIS software like QGIS or ArcGIS for data analysis and mapping.
Consider cloud-based solutions for collaborative work and data sharing.
Essential equipment and software include:
- Drone with 4K camera and obstacle avoidance
- High-performance laptop with dedicated graphics card
- Photogrammetry software (e.g., Pix4D, Agisoft Metashape)
- GIS software (e.g., QGIS, ArcGIS)
Remember to familiarize yourself with local regulations regarding drone usage in disaster zones. Always prioritize safety and coordinate with other response teams on-site.
Regular software updates and equipment maintenance will verify you're always prepared for rapid deployment in emergency situations.
Pre-Flight Planning and Preparation

Effective pre-flight planning is essential for successful 3D modeling of disaster zones. Before launching your drone, you'll need to assess the area, identify potential hazards, and create a detailed flight plan. Check local regulations and obtain necessary permissions for drone operations in the disaster area.
Evaluate weather conditions and verify they're suitable for flying. You'll want to:
| Pre-Flight Checklist | Considerations |
|---|---|
| Area Assessment | Identify obstacles, no-fly zones |
| Flight Plan | Map out flight path, altitude, speed |
| Equipment Check | Batteries charged, camera settings |
Once you've completed your pre-flight planning, prepare your equipment. Confirm all batteries are fully charged and you have spares. Set up your camera for ideal image capture, adjusting settings like ISO, shutter speed, and aperture based on lighting conditions.
Don't forget to brief your team on safety protocols and emergency procedures. Assign roles and responsibilities, such as a visual observer to maintain line of sight with the drone. By thoroughly planning and preparing, you'll maximize the efficiency and safety of your 3D modeling mission in disaster zones.
Drone Safety in Hazardous Environments
Operating drones in disaster zones presents numerous safety challenges. You'll need to be extra vigilant and take specific precautions to guarantee both your safety and the integrity of your equipment. Always conduct a thorough risk assessment before flying, considering potential hazards like unstable structures, toxic fumes, or electromagnetic interference.
When operating in hazardous environments, prioritize these safety measures:
- Wear appropriate personal protective equipment (PPE)
- Maintain clear communication with ground crew and local authorities
- Establish a safe takeoff and landing zone away from immediate dangers
- Monitor weather conditions and air quality constantly
Be prepared to abort the mission if conditions deteriorate or unexpected risks arise. Keep your drone within visual line of sight whenever possible, and use a spotter if necessary.
If you're flying near emergency responders or other personnel, coordinate your flight path to avoid interference with their operations.
Data Collection Techniques
When collecting data for 3D modeling disaster zones, you'll primarily rely on two key techniques.
Aerial imagery acquisition, often using drones, allows you to capture extensive overhead views of the affected area.
You'll also employ ground-based laser scanning to gather detailed, close-range data of structures and terrain features.
Aerial Imagery Acquisition
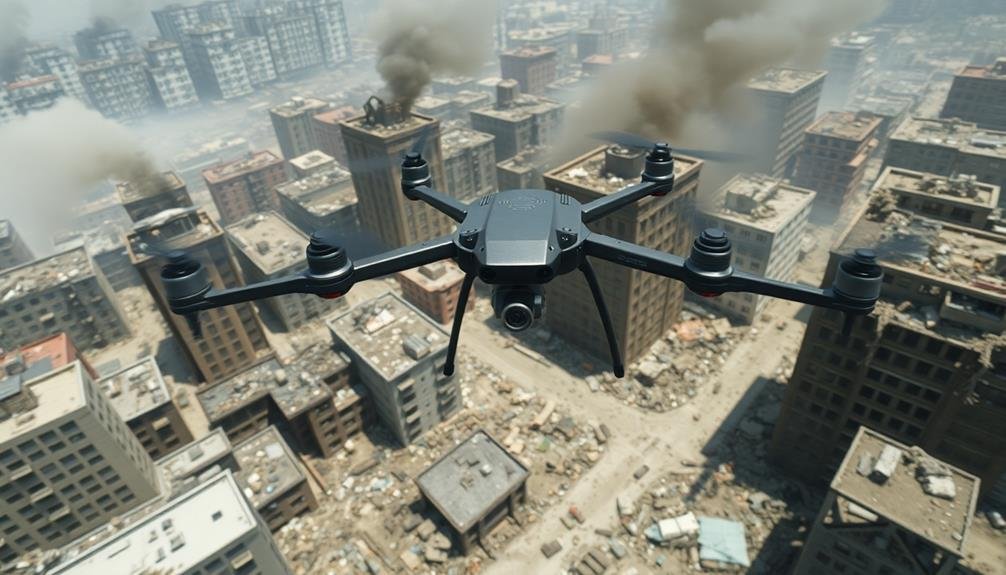
Aerial imagery acquisition forms the backbone of 3D disaster zone modeling. You'll need to employ various methods to capture high-quality images from above. Drones are your most versatile tool, allowing you to quickly survey large areas and access hard-to-reach locations.
For wider coverage, consider using manned aircraft equipped with specialized cameras. Satellite imagery can provide a broader perspective, especially for extensive disaster zones.
When collecting aerial imagery, focus on:
- Capturing overlapping images for better 3D reconstruction
- Maintaining consistent altitude and speed during flights
- Using proper camera settings for sharp, well-exposed photos
- Ensuring GPS data is recorded for each image
You'll want to plan your flights carefully, considering factors like weather conditions, time of day, and airspace restrictions. It's essential to obtain necessary permissions and follow local regulations.
For best results, use a combination of nadir (straight down) and oblique (angled) shots. This approach will provide more detailed information about vertical structures and improve the overall accuracy of your 3D model.
Ground-Based Laser Scanning
Ground-based laser scanning's precision complements aerial imagery in 3D disaster zone modeling. You'll use this technique to capture highly detailed point clouds of specific areas within the disaster zone.
To start, set up your terrestrial laser scanner on a stable tripod at strategic locations around the site. Confirm you've selected positions that provide maximum coverage while minimizing occlusions.
As you operate the scanner, it'll emit laser pulses that bounce off surfaces and return to the device. The scanner measures the time it takes for each pulse to return, calculating precise distances and creating a dense 3D point cloud.
You'll need to perform multiple scans from different positions to capture all angles of structures and terrain features. When scanning, pay attention to potential hazards in unstable environments. Always prioritize safety and follow established protocols.
After completing the scans, you'll process the data using specialized software to align and merge the point clouds. This process, called registration, creates a thorough 3D model of the scanned area.
You can then combine this ground-based data with aerial imagery to produce a more complete and accurate representation of the disaster zone.
Image Processing for 3D Models
To create accurate 3D models of disaster zones, you'll need to employ various data capture techniques, including aerial photography, LiDAR scanning, and ground-based photogrammetry.
Once you've gathered the necessary imagery, you'll process it using specialized software like Pix4D, Agisoft Metashape, or Autodesk ReCap.
These tools allow you to stitch together multiple images, generate point clouds, and create detailed 3D meshes that accurately represent the disaster-stricken areas.
Data Capture Techniques
Data capture techniques for 3D modeling of disaster zones frequently rely on advanced image processing methods.
You'll need to employ various strategies to gather accurate and thorough data for creating detailed 3D models. These techniques often involve using specialized equipment and software to collect visual information from multiple angles and perspectives.
When capturing data for 3D modeling in disaster zones, consider the following methods:
- Photogrammetry: Use overlapping photos taken from different viewpoints to create 3D models
- LiDAR scanning: Utilize laser pulses to measure distances and create point clouds
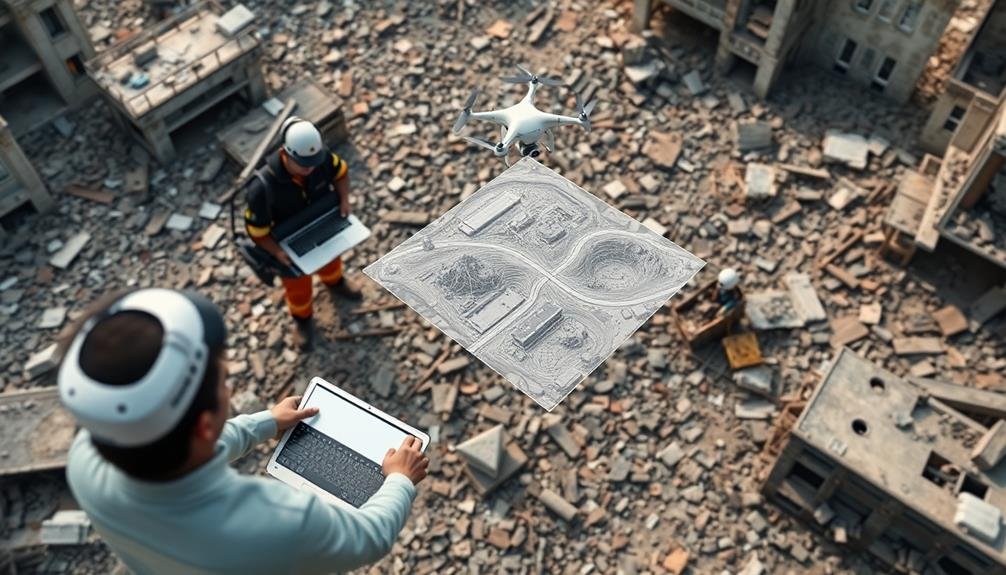
- Drone-based imaging: Deploy UAVs to capture aerial imagery and video footage
- 360-degree cameras: Collect panoramic images for immersive visualization
You'll need to choose the most appropriate technique based on the specific disaster scenario, available resources, and time constraints.
It's vital to prioritize safety while collecting data in hazardous environments. Remember to calibrate your equipment properly and verify consistent lighting conditions when possible.
Software Processing Options
Software processing plays an essential role in transforming raw data into detailed 3D models of disaster zones. You'll need to choose the right software to handle the vast amounts of data collected from various sources like drones, satellites, and ground surveys.
Popular options include Pix4D, Agisoft Metashape, and DroneDeploy. These platforms specialize in photogrammetry, converting 2D images into 3D models. They're user-friendly and offer automated workflows, making them ideal for quick disaster response.
For LiDAR data processing, consider using CloudCompare or LAStools. These tools can handle large point cloud datasets efficiently, allowing you to create accurate terrain models and identify structural changes.
If you're dealing with multi-source data, ArcGIS Pro or QGIS might be your best bet. They integrate various data types and offer powerful analysis tools.
Don't forget about open-source options like OpenDroneMap or MicMac. While they may require more technical expertise, they're cost-effective and highly customizable.
When selecting software, consider factors like processing speed, output accuracy, and compatibility with your data capture devices.
It's essential to have a streamlined workflow to deliver timely results in disaster response situations.
Interpreting 3D Disaster Zone Maps
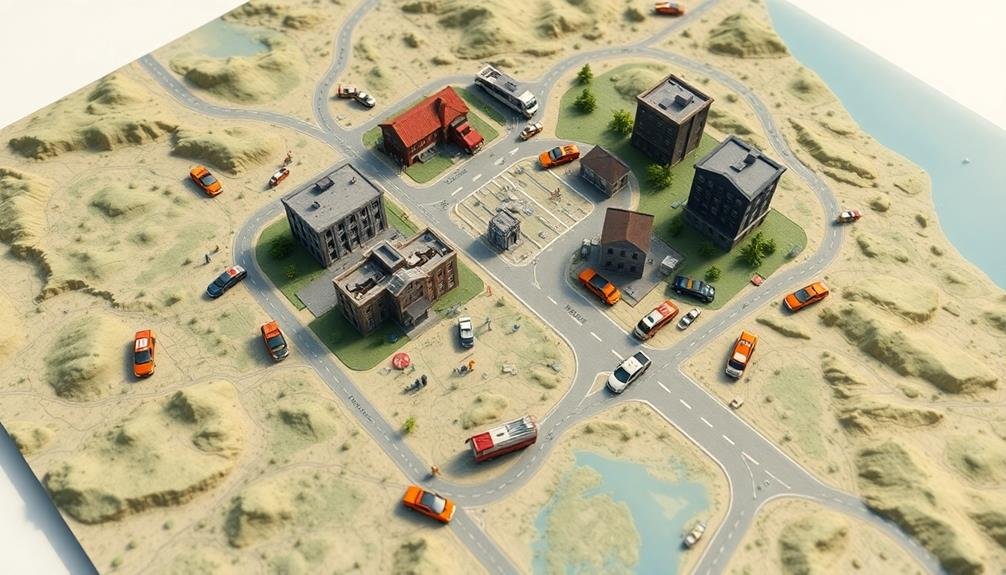
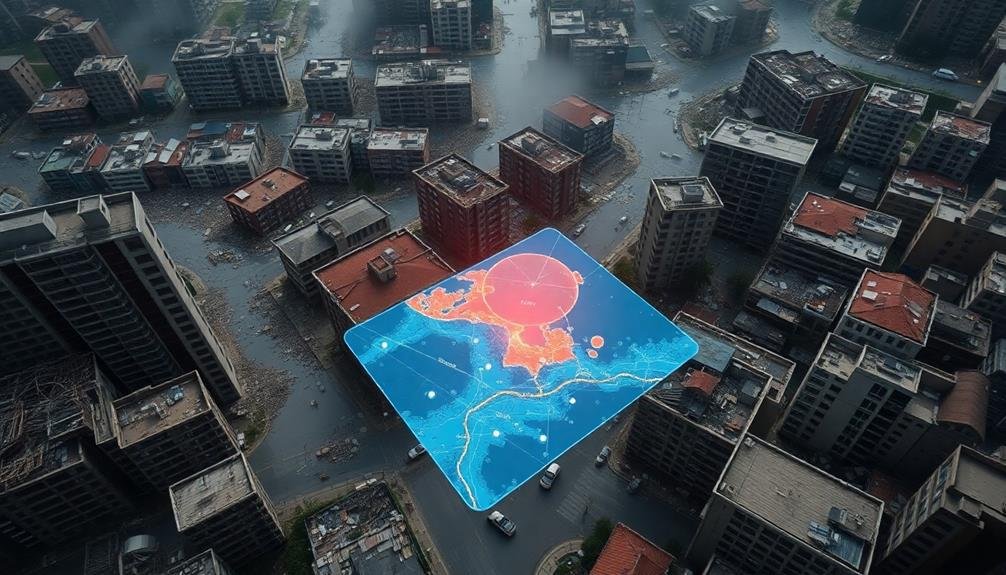
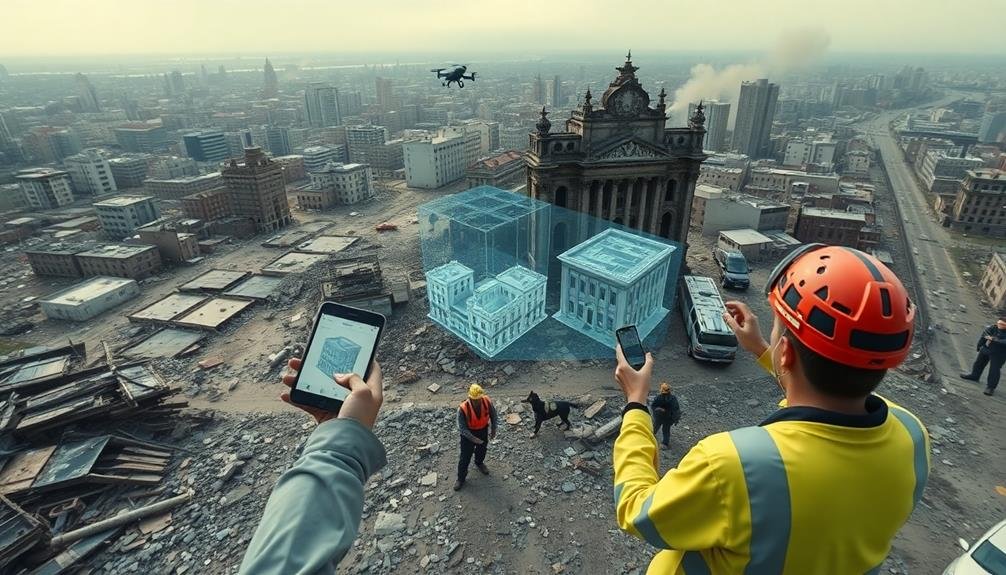
Interpreting 3D disaster zone maps requires a keen eye and specialized knowledge. You'll need to understand the color coding, symbols, and topographical representations used in these models.
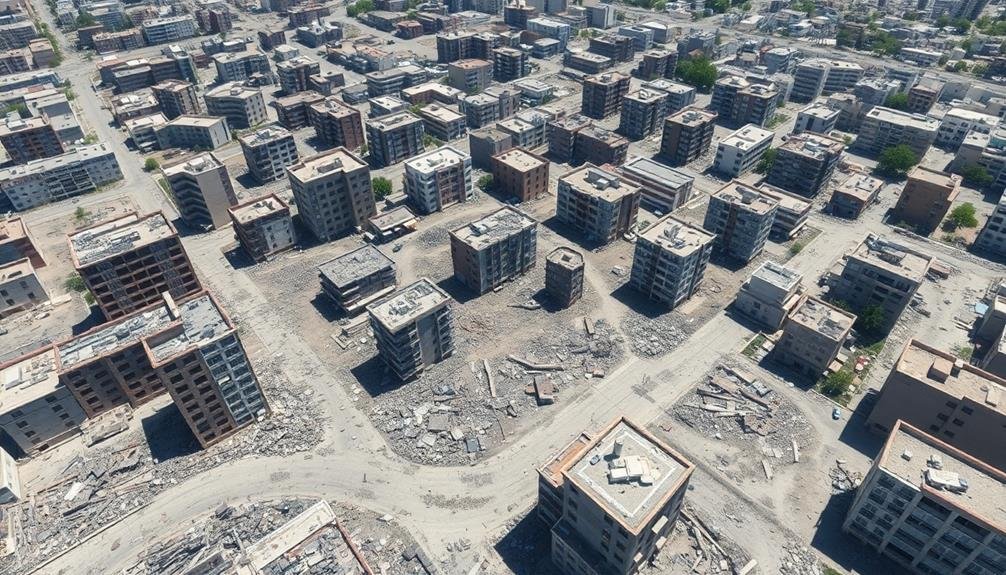
Pay attention to elevation changes, which can indicate areas prone to flooding or landslides. Look for infrastructure damage, such as collapsed buildings or blocked roads, which may hinder rescue efforts.
When analyzing a 3D disaster zone map, focus on:
- Identifying high-risk areas and potential hazards
- Locating safe zones for establishing command centers
- Determining ideal routes for emergency vehicles
- Evaluating the extent of damage to critical infrastructure
You'll want to compare the 3D model with pre-disaster maps to understand the full impact of the event. Look for changes in terrain, new obstacles, or altered waterways.
Use the map's legend to decipher specific symbols and color codes, which may represent different types of damage or hazards.
Remember that 3D models are dynamic and can be updated in real-time. Keep an eye out for new information as it becomes available.
Integrating With GIS Systems

When integrating 3D disaster zone models with GIS systems, you'll need to address data compatibility considerations to guarantee seamless information exchange.
You'll employ layer integration techniques to combine 3D model data with existing GIS layers, enhancing spatial analysis capabilities.
To maintain up-to-date information, you'll implement real-time updating processes that synchronize the 3D model with the GIS system as new data becomes available.
Data Compatibility Considerations
Integrating 3D models of disaster zones with Geographic Information Systems (GIS) often presents significant data compatibility challenges. You'll need to guarantee that your 3D data can be seamlessly incorporated into existing GIS platforms. This requires careful consideration of file formats, coordinate systems, and metadata standards.
To address data compatibility issues, you should:
- Convert 3D models to GIS-compatible formats like KML, CityGML, or 3D Shapefile
- Align coordinate systems between your 3D models and GIS data
- Include relevant metadata to provide context and enhance usability
- Optimize file sizes to guarantee smooth performance in GIS software
It's vital to maintain data integrity during the conversion process. You'll want to preserve important attributes and spatial relationships.
Consider using middleware or data conversion tools specifically designed for 3D-to-GIS integration. These can help automate the process and reduce errors.
When working with different software platforms, you may encounter version compatibility issues. Always test your integrated data in the target GIS environment to identify and resolve any discrepancies.
Layer Integration Techniques
Once you've addressed data compatibility issues, the next step is to master layer integration techniques for incorporating your 3D disaster zone models into GIS systems.
Start by verifying your 3D model's coordinate system aligns with the GIS platform you're using. You'll need to georeference your model accurately, matching key points to known real-world coordinates.
Next, break down your 3D model into logical layers that correspond to GIS data types. For example, separate buildings, terrain, and infrastructure into distinct layers. Use attribute tables to attach relevant metadata to each layer, such as damage assessments or risk levels.
When importing layers, pay attention to z-value integration. Many GIS systems handle elevation data differently, so you might need to adjust your 3D model's vertical information. Use GIS tools to drape your 3D layers over existing terrain models for seamless integration.
Consider using Web Scene Layers (WSL) for sharing your 3D data with other GIS users. WSLs allow for efficient streaming of large 3D datasets and maintain the visual quality of your model.
Real-Time Updating Processes
With real-time updating processes, your 3D disaster zone models can become dynamic, living representations of evolving situations. By integrating your models with Geographic Information Systems (GIS), you'll enable continuous data flow, ensuring your visualizations remain current and actionable.
To implement real-time updates, you'll need to establish a robust data pipeline. This involves:
- Setting up data collection points (sensors, drones, field reports)
- Creating automated data processing workflows
- Implementing a secure, high-speed data transmission network
- Developing algorithms for instant model updates
Once your pipeline is in place, you can leverage GIS integration to enhance your 3D models. This allows you to overlay real-time data on your existing terrain models, creating a thorough view of the disaster zone.
You'll be able to track changes in infrastructure, population movements, and environmental conditions as they occur.
Collaboration With Emergency Response Teams
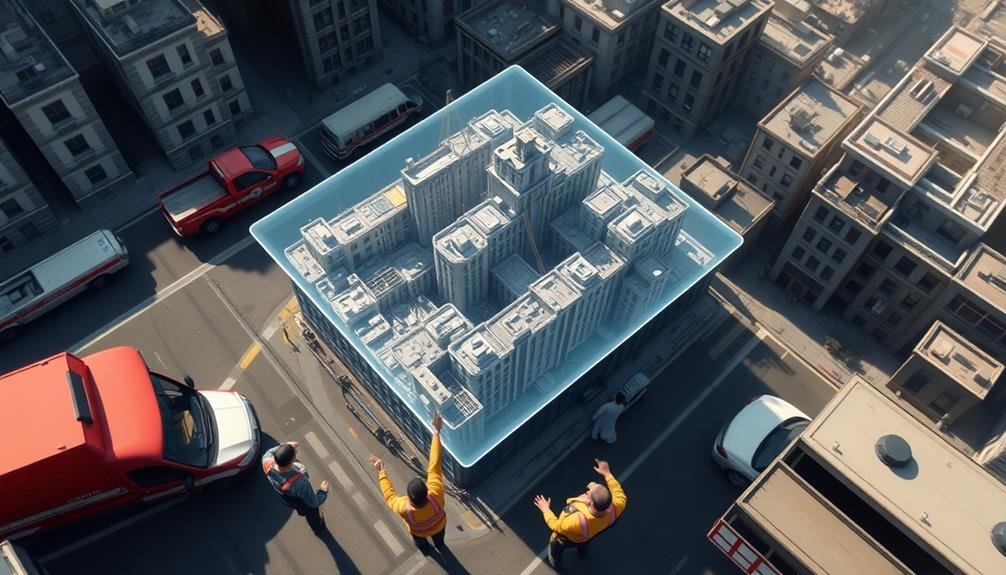
Emergency response teams enthusiastically embrace 3D modeling technology to enhance their disaster management capabilities.
You'll find that close collaboration between 3D modelers and responders is vital for maximizing the benefits of this technology. To foster effective teamwork, you should establish clear communication channels and regularly update emergency personnel on the latest modeling developments.
You'll need to train response teams on how to interpret and utilize 3D models effectively. Conduct joint exercises that simulate real-world scenarios, allowing responders to practice using the models for decision-making.
You should also encourage feedback from emergency personnel to refine and improve the modeling process.
It's essential to integrate 3D models into existing emergency management systems and protocols. You'll want to guarantee that the models are easily accessible on various devices, including mobile platforms, for on-site use.
Additionally, you should work closely with incident commanders to tailor the models to their specific needs, focusing on critical information that can aid in rapid decision-making during crises.
Real-Time Data Sharing Protocols
The lifeblood of effective disaster response is real-time data sharing. You'll need robust protocols to guarantee that your 3D models and associated data reach all stakeholders instantly.
First, establish a secure, cloud-based platform that can handle large file sizes and multiple users. This will serve as your central hub for all disaster-related information.
Next, implement standardized data formats to guarantee compatibility across different systems and devices. You'll want to use widely accepted formats like GeoTIFF for raster data and GeoJSON for vector data.
Don't forget to include metadata with each file, detailing its source, timestamp, and accuracy level.
To streamline your data sharing process, consider these key elements:
- Automated synchronization to push updates to all connected devices
- Role-based access control to manage information sensitivity
- Version control to track changes and allow rollbacks if needed
- API integration for seamless data exchange with other systems
Legal and Ethical Considerations
Creating 3D models of disaster zones comes with a host of legal and ethical factors you can't ignore. You must obtain proper permissions and adhere to local regulations before capturing data.
Be aware of privacy laws, especially when modeling inhabited areas or structures. Respect survivors' rights and avoid capturing sensitive information without consent.
You'll need to reflect on the ethical implications of your work. Make sure your models don't exploit vulnerable populations or sensationalize their suffering.
Be mindful of cultural sensitivities and religious beliefs when documenting sacred or private spaces. Always prioritize the dignity and well-being of affected communities.
Data security is essential. Implement robust measures to protect your 3D models from unauthorized access or misuse.
Be transparent about how you'll use and share the data, and establish clear protocols for data retention and disposal. Think about the potential dual-use nature of your models, as they could be exploited for malicious purposes.
Lastly, address intellectual property rights. Clarify ownership of the 3D models and establish agreements with stakeholders regarding their use and distribution.
Overcoming Environmental Challenges
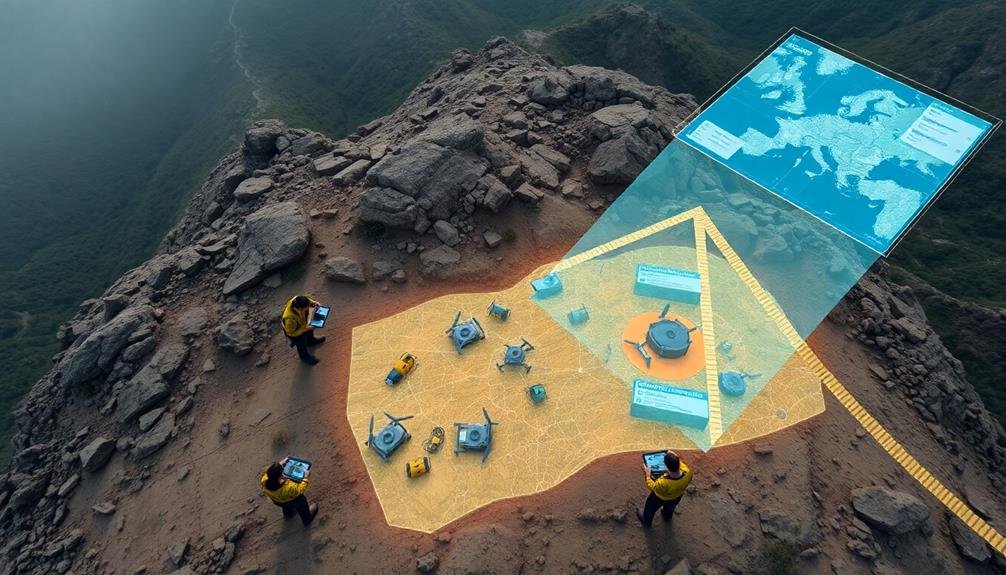
Maneuvering treacherous terrain and harsh conditions is an essential skill when 3D modeling disaster zones. You'll face numerous environmental challenges that can hinder your ability to capture accurate data. To overcome these obstacles, you'll need to adapt your techniques and equipment.
First, assess the terrain and weather conditions before deploying your 3D modeling tools. You may encounter:
- Unstable ground or debris
- Extreme temperatures or precipitation
- Poor visibility due to smoke or dust
- Limited access to power sources
Choose equipment that's rugged and weatherproof to withstand harsh environments. Use drones or remote-controlled vehicles to access dangerous areas safely. When faced with low visibility, consider using LiDAR technology, which can penetrate smoke and dust.
Be prepared to work in shifts to combat fatigue and exposure to extreme conditions. Bring backup power sources, such as portable generators or solar chargers, to keep your equipment running. If possible, establish a secure base camp for data processing and equipment maintenance.
Always prioritize your safety and that of your team. Don't take unnecessary risks to capture data, and be ready to abort the mission if conditions become too dangerous.
Maintenance and Troubleshooting

To keep your 3D modeling equipment running smoothly in disaster zones, you'll need to prioritize maintenance and troubleshooting.
Verify you're consistently updating your software to access the latest features and security patches.
For hardware, you should follow manufacturer-recommended care tips, such as cleaning lenses, checking cable connections, and properly storing equipment when not in use.
Regular Software Updates
Regular software updates are essential for maintaining the efficiency and reliability of 3D modeling systems used in disaster zone mapping. You'll need to stay on top of these updates to guarantee your software is performing at its best. Set up automatic updates whenever possible, or create a schedule for manual updates if necessary.
Keep in mind that software updates often include:
- Bug fixes that improve stability
- Security patches to protect against vulnerabilities
- New features that enhance functionality
- Compatibility improvements for hardware and other software
When updating your 3D modeling software, always back up your current projects and settings before proceeding. This precaution will safeguard your work in case of any issues during the update process.
After updating, test the software thoroughly to guarantee all functions are working correctly with your existing projects and hardware.
If you're working in a team, coordinate updates across all devices to maintain consistency and avoid compatibility issues.
Stay informed about upcoming updates by subscribing to the software developer's newsletter or following their social media channels. This way, you'll be prepared for any significant changes or new features that may impact your disaster zone modeling work.
Hardware Care Tips
Proper hardware care goes hand in hand with software maintenance when it comes to 3D modeling disaster zones. To guarantee your equipment remains reliable in challenging environments, follow these essential tips:
Clean your devices regularly, especially after exposure to dust, debris, or moisture. Use compressed air to remove particles from keyboards and ports. Wipe screens and surfaces with microfiber cloths and appropriate cleaning solutions.
Protect your hardware with rugged cases and waterproof covers when working in harsh conditions.
Monitor battery health and carry spare power banks. In disaster zones, charging opportunities may be limited. Avoid extreme temperatures that can damage batteries and internal components. When possible, store equipment in climate-controlled areas.
Regularly check for loose connections, frayed cables, or physical damage. Address issues promptly to prevent further complications.
Update your device's firmware and drivers to guarantee peak performance and compatibility with your 3D modeling software.
If you encounter persistent problems, consult your equipment's troubleshooting guide or contact technical support. Keep detailed records of any issues and maintenance performed to track your hardware's condition over time.
Training for Disaster Zone Modeling
Professionals engaged in 3D modeling of disaster zones require specialized training to effectively capture and recreate complex, chaotic environments. You'll need to master various skills, including advanced photogrammetry techniques, LiDAR scanning, and data processing software.
It's essential to understand how different types of disasters affect terrain and structures, as this knowledge will inform your modeling approach.
Your training should cover:
- Safety protocols for operating in hazardous environments
- Rapid assessment and prioritization of areas to model
- Techniques for capturing data in low-light or unstable conditions
- Integration of multiple data sources for thorough modeling
You'll also need to learn how to work efficiently under pressure, as time is often critical in disaster response scenarios.
Practice using your equipment in simulated disaster environments to build muscle memory and improve your speed. Familiarize yourself with common challenges, such as dealing with incomplete data or modeling partially collapsed structures.
Stay updated on the latest technologies and methodologies in the field, as 3D modeling techniques for disaster zones are constantly evolving.
Frequently Asked Questions
How Long Does It Take to Create a Usable 3D Model?
You can create a basic 3D model in a few hours, but complex models may take days or weeks. It depends on your skill level, the model's intricacy, and the software you're using. Practice improves speed.
Can 3D Models Be Used for Insurance Claims After Disasters?
Yes, you can use 3D models for insurance claims after disasters. They'll provide detailed visual evidence of damage, helping you document losses accurately. Insurers often appreciate these models as they offer a thorough view of the affected property.
What's the Cost Range for Implementing a Disaster Zone 3D Modeling System?
You'll find costs for disaster zone 3D modeling systems vary widely, from $10,000 to $500,000+. Factors affecting price include equipment quality, software sophistication, training needs, and the scale of your intended deployment. It's best to get custom quotes.
How Accurate Are 3D Models Compared to Traditional Mapping Methods?
You'll find 3D models are considerably more accurate than traditional mapping methods. They provide precise spatial data, depth perception, and real-time updates. You can expect accuracies within centimeters, depending on the technology and methods used.
Can 3D Models Predict Future Disaster Impacts in the Same Area?
You can use 3D models to predict future disaster impacts. They'll help you simulate various scenarios, analyze vulnerabilities, and forecast potential outcomes. However, remember that predictions aren't perfect and should be combined with other risk assessment methods.
In Summary
You've now got the essential knowledge to create 3D models of disaster zones. Remember, your work can save lives and improve response efforts. Stay safe, follow regulations, and keep practicing your skills. As technology evolves, you'll need to adapt and learn continuously. Don't forget to collaborate with other responders and share your insights. With dedication and care, you'll make a significant impact in disaster management and recovery operations.
As educators and advocates for responsible drone use, we’re committed to sharing our knowledge and expertise with aspiring aerial photographers.


Leave a Reply