To capture stunning aerial shots with depth, you'll need to master key techniques. Utilize layers in your composition, incorporating foreground elements to create a sense of scale. Take advantage of atmospheric haze to enhance depth perception, especially during golden hours. Play with color gradients and natural light to add dimension to your images. Experiment with shadows and leading lines to guide the viewer's eye through the frame. Don't forget to adjust your camera settings for peak clarity in hazy conditions. By combining these methods and adapting traditional composition rules for aerial perspectives, you'll elevate your drone photography to new heights. The sky's the limit for your aerial artistry.
Key Takeaways
- Utilize layers in composition to create depth, with sharp foreground objects and hazy backgrounds.
- Capture atmospheric effects during golden hours to enhance textures, patterns, and depth perception.
- Incorporate leading lines like roads or rivers to guide the viewer's eye and create dynamic compositions.
- Use foreground elements and recognizable objects to provide scale and context in aerial shots.
- Apply post-processing techniques to enhance depth through contrast adjustments and color grading.
Understanding Aerial Perspective
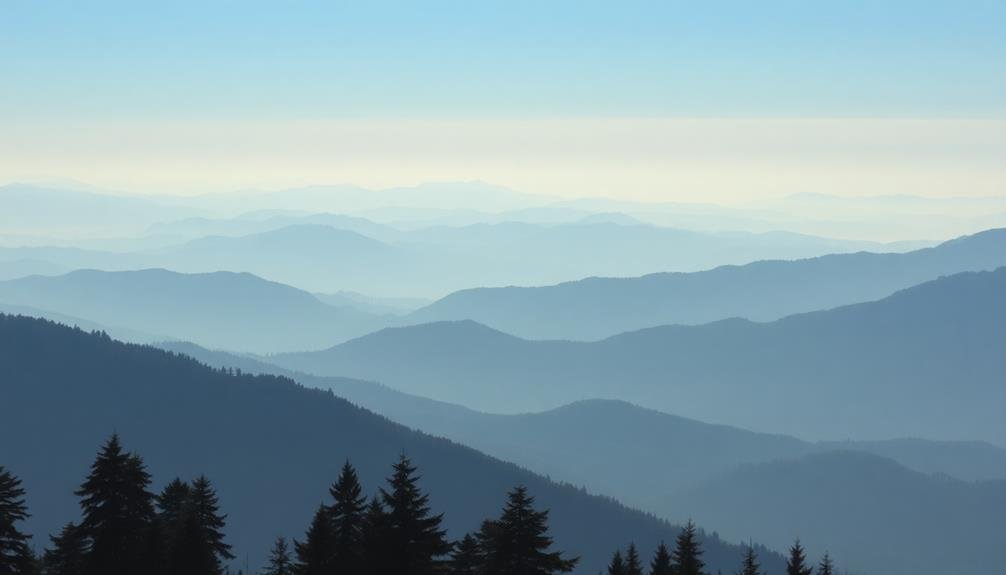
At its core, aerial perspective is all about capturing the world from above. It's a technique that allows you to create stunning images with a unique viewpoint, offering a fresh take on familiar scenes. When you shoot from an elevated position, you'll notice how the landscape transforms, revealing patterns, textures, and relationships that aren't visible from the ground.
To master aerial perspective, you'll need to understand how height affects your composition. As you gain altitude, objects become smaller and less detailed, while the overall scene expands. This shift in scale can create a sense of grandeur or emphasize the vastness of a landscape.
You'll also need to take into account atmospheric effects, as distance can soften colors and reduce contrast, adding depth to your images.
Lighting plays an essential role in aerial photography. The golden hours around sunrise and sunset can cast long shadows and create dramatic contrasts, while midday light can highlight textures and patterns. Weather conditions, such as fog or clouds, can add mood and mystery to your shots.
Layers in Drone Photography
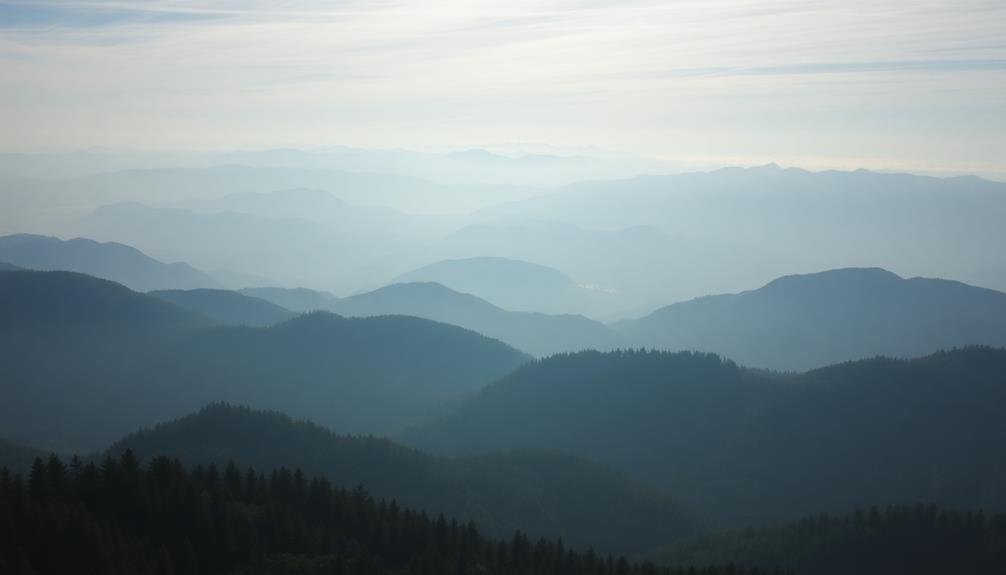
One of the most powerful compositional tools in aerial photography is the use of layers. When you're capturing images from above, you'll often find natural elements that stack upon each other, creating depth and interest in your shots.
Layers can be formed by various landscape features, such as mountains, forests, fields, or bodies of water. They can also be created by man-made structures like buildings, roads, or agricultural patterns.
To effectively use layers in your drone photography:
- Look for contrasting elements: Seek out areas where different textures, colors, or shapes intersect to create distinct layers.
- Use leading lines: Incorporate roads, rivers, or shorelines that guide the viewer's eye through the layers of your image.
- Experiment with altitude: Change your drone's height to alter the perspective and emphasize different layers within the scene.
Atmospheric Haze and Depth
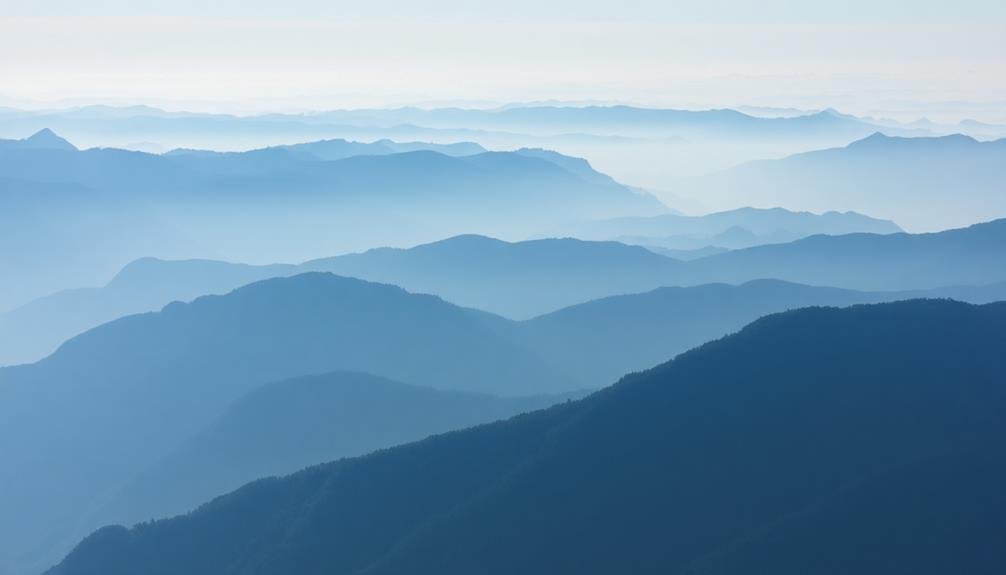
You'll encounter atmospheric haze in your aerial photography, which can dramatically affect your images.
As you shoot from a distance, you'll notice subtle color shifts that can add depth and dimension to your shots.
Understanding Atmospheric Haze Effects
When capturing aerial shots, understanding atmospheric haze is essential for creating depth and dimension in your images.
Atmospheric haze occurs when particles in the air scatter light, affecting the appearance of distant objects. This natural phenomenon can be harnessed to enhance your aerial photography, adding a sense of scale and distance to your compositions.
To effectively use atmospheric haze in your shots:
- Shoot during ideal conditions: Early morning or late afternoon often provide the best haze effects due to lower sun angles and increased humidity.
- Adjust your camera settings: Experiment with exposure compensation to maintain detail in hazy areas while preserving the overall mood.
- Use polarizing filters: These can help reduce haze and increase contrast, giving you more control over the effect in your images.
Color Shifts With Distance
Color shifts play an essential role in creating depth and atmosphere in aerial photography. As you capture scenes from above, you'll notice that colors change as objects move further away from the camera. This phenomenon occurs due to atmospheric scattering, which affects how light travels through the air.
In aerial shots, you'll observe that distant objects tend to appear cooler in color temperature. Blues and purples become more prominent, while warm tones like reds and oranges fade. This shift creates a natural sense of depth, guiding the viewer's eye through the image. To enhance this effect, you can adjust your white balance settings to slightly emphasize the cooler tones in the background.
When composing your shots, look for scenes that showcase a range of distances. Include foreground elements with vibrant, warm colors to contrast with the cooler, hazier background. This contrast will accentuate the depth in your image.
You can also use post-processing techniques to subtly enhance these color shifts, but be careful not to overdo it. The goal is to create a natural, believable sense of depth that draws viewers into your aerial landscapes.
Enhancing Depth Perception
Atmospheric haze is a powerful tool for enhancing depth perception in aerial photography. As you capture scenes from above, you'll notice that distant objects appear less distinct and hazier than those closer to the camera. This natural phenomenon can be used to create a sense of depth and dimensionality in your aerial shots.
To effectively utilize atmospheric haze for depth perception:
- Shoot during golden hour or early morning when haze is more pronounced.
- Experiment with different altitudes to vary the amount of visible haze.
- Use a polarizing filter to control the intensity of atmospheric effects.
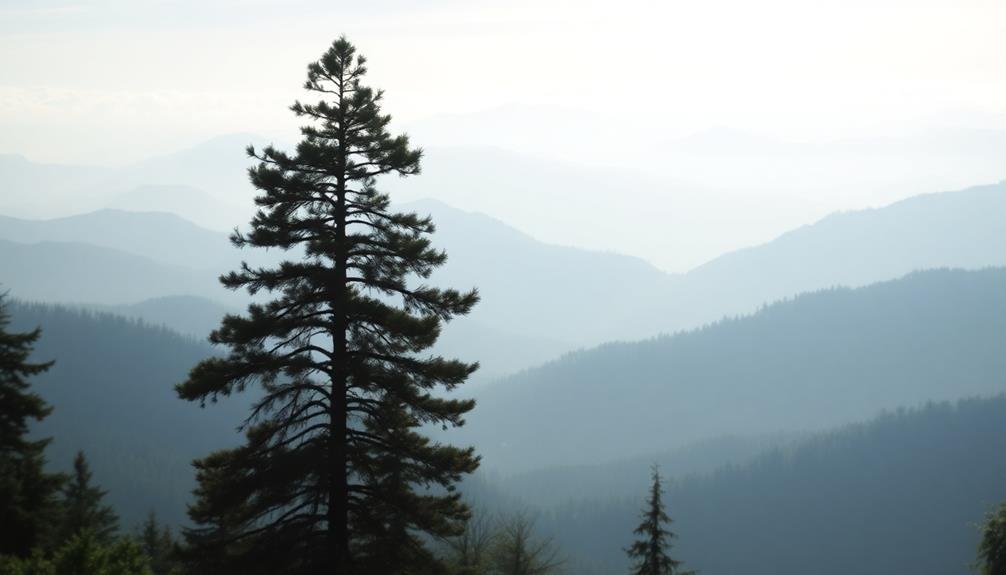
When composing your shots, include elements at varying distances from the camera. Foreground objects will appear sharp and clear, while those in the background will gradually fade into a misty haze. This contrast helps viewers perceive the spatial relationships between different parts of the scene.
You can also enhance depth perception by adjusting your camera settings. A wider aperture will create a shallow depth of field, further emphasizing the separation between near and far objects.
In post-processing, consider slightly reducing contrast and saturation in the background to amplify the hazy effect and reinforce the sense of depth in your aerial photographs.
Color Gradients From Above
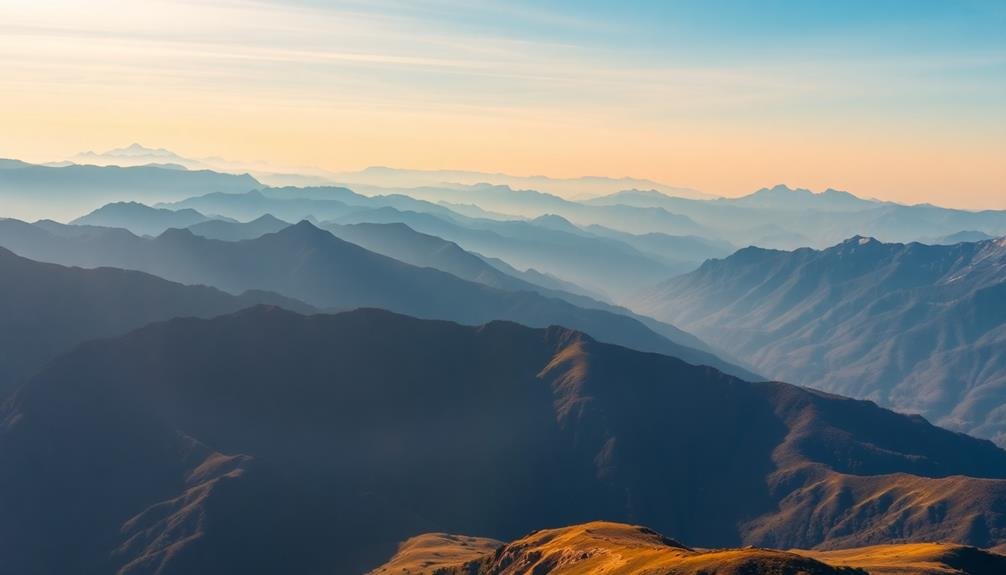
A bird's eye view reveals a fascinating phenomenon: color gradients that stretch across the landscape. As you capture aerial shots, you'll notice how colors shift and blend from one hue to another over vast distances. This natural gradient effect adds depth and visual interest to your photographs.
To maximize the impact of color gradients, time your shoots strategically. Early morning or late afternoon light creates longer shadows and more pronounced color variations. Look for landscapes with diverse elements, such as forests changing into plains or coastal areas where land meets sea. These changes often produce striking color contrasts.
Adjust your camera settings to enhance gradient visibility. Use a polarizing filter to reduce glare and boost color saturation. Experiment with your white balance to accentuate warm or cool tones in the gradient.
When post-processing, subtly increase contrast and vibrance to make color shifts more apparent.
Don't forget to reflect on the direction of your shot. Shooting perpendicular to the gradient line often produces the most dramatic results, while shooting parallel can create a more subtle, layered effect.
Utilizing Natural Light
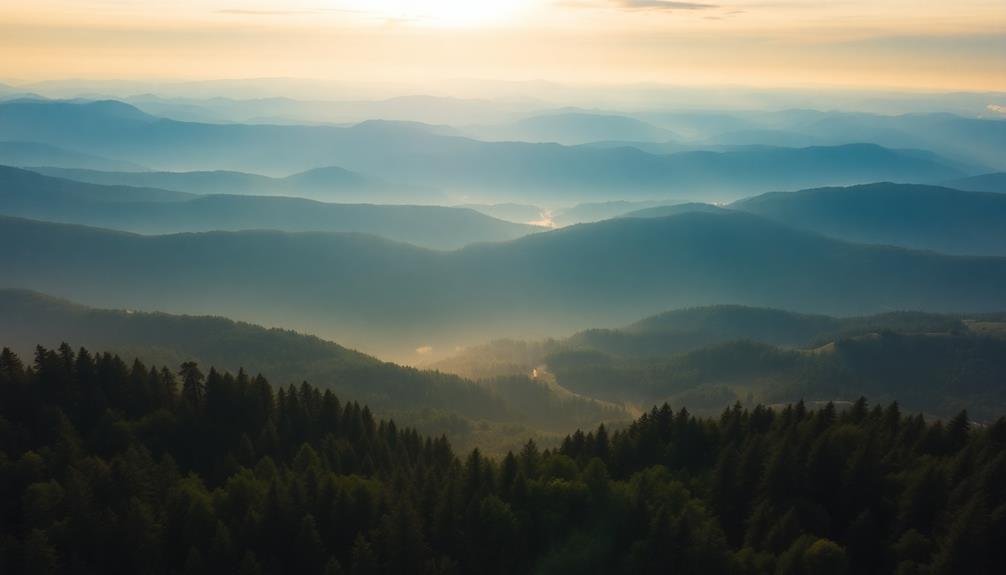
Natural light can transform your aerial shots from ordinary to extraordinary.
You'll capture breathtaking scenes during golden hour, when warm, soft light bathes landscapes in a magical glow.
Golden Hour Magic
During the golden hour, just before sunset or after sunrise, photographers can capture breathtaking aerial shots with unparalleled warmth and depth. This magical time bathes the landscape in a soft, golden light that enhances colors and creates long, dramatic shadows.
To make the most of this fleeting moment, you'll need to plan ahead and be ready to act quickly.
When shooting during the golden hour, consider these key techniques:
- Use a polarizing filter to reduce glare and enhance the rich colors of the sky and landscape.
- Experiment with backlighting to create stunning silhouettes and rim lighting effects.
- Adjust your white balance to capture the warm tones accurately or create a cooler contrast.
You'll find that the low angle of the sun during golden hour adds texture and dimension to your aerial shots. Shadows become longer, creating interesting patterns and revealing the topography of the landscape.
Don't be afraid to play with your camera settings to achieve the desired effect. Underexposing slightly can intensify the warm hues, while overexposing can create a dreamy, ethereal atmosphere.
Shadows for Dimension
Building on the golden hour's dramatic lighting effects, shadows play a pivotal role in creating depth and dimension in aerial photography. You'll find that longer shadows during early morning or late afternoon can transform an ordinary landscape into a visually striking composition. As you're flying, look for opportunities where shadows cast by buildings, trees, or landforms create interesting patterns or lead the viewer's eye through the frame.
To maximize the impact of shadows in your aerial shots, you'll want to:
- Position your drone to capture the longest shadows possible
- Use the rule of thirds to place shadow lines strategically
- Experiment with different altitudes to alter shadow length and direction
- Adjust your camera settings to retain detail in both highlights and shadows
Here's a quick reference guide for using shadows effectively:
| Shadow Type | Effect | Best Time | Technique | Camera Settings |
|---|---|---|---|---|
| Long | Depth | Dawn/Dusk | Side-lighting | Lower exposure |
| Short | Texture | Midday | Top-down view | Increase contrast |
| Dappled | Interest | Partly cloudy | Look for patterns | HDR mode |
| Directional | Leading lines | Morning/Evening | Align with composition | Use graduated filter |
| Soft | Subtle mood | Overcast | Emphasize other elements | Boost saturation |
Backlighting Aerial Subjects
Utilizing natural light to backlight aerial subjects can transform your drone photography, creating stunning silhouettes and ethereal glows. When the sun is low on the horizon, position your drone between the light source and your subject to achieve this dramatic effect.
You'll notice how the rim lighting outlines your subject, separating it from the background and adding depth to your composition.
To master backlighting in aerial photography:
- Adjust your camera settings: Expose for the highlights to maintain detail in the sky, allowing your subject to become a dark silhouette.
- Experiment with different angles: Slight adjustments in your drone's position can dramatically change the interplay of light and shadow.
- Time your shots carefully: The golden hour just after sunrise or before sunset offers the most flattering backlight for aerial subjects.
Don't be afraid to underexpose your shots slightly to enhance the backlit effect.
This technique works particularly well with landscapes featuring distinct shapes, such as mountains, trees, or architectural elements.
Shadows for Depth Perception
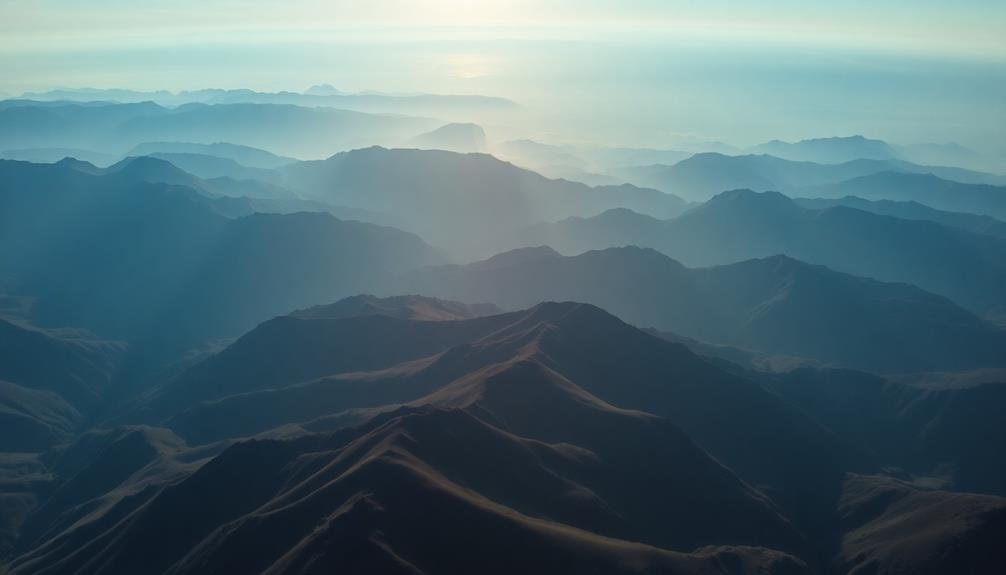
Casting long shadows across the landscape, aerial photography can leverage natural lighting to enhance depth perception in your images. When shooting from above, you'll notice that shadows create a sense of dimensionality, adding visual interest and depth to what might otherwise be flat terrain.
To capitalize on this effect, time your flights for early morning or late afternoon when the sun is low on the horizon. This creates longer shadows that stretch across the land, emphasizing contours and textures.
You'll want to position yourself so that the sun is behind you or to your side, allowing the shadows to fall across your frame. Pay attention to the interplay between light and shadow.
Look for patterns created by buildings, trees, or other structures. These shadow patterns can lead the viewer's eye through the image and create a sense of scale.
Don't forget to adjust your camera settings to maintain detail in both the bright and shadowed areas. By mastering the use of shadows, you'll add a powerful tool to your aerial photography arsenal, creating images with stunning depth and visual impact.
Foreground Elements in Aerial Shots
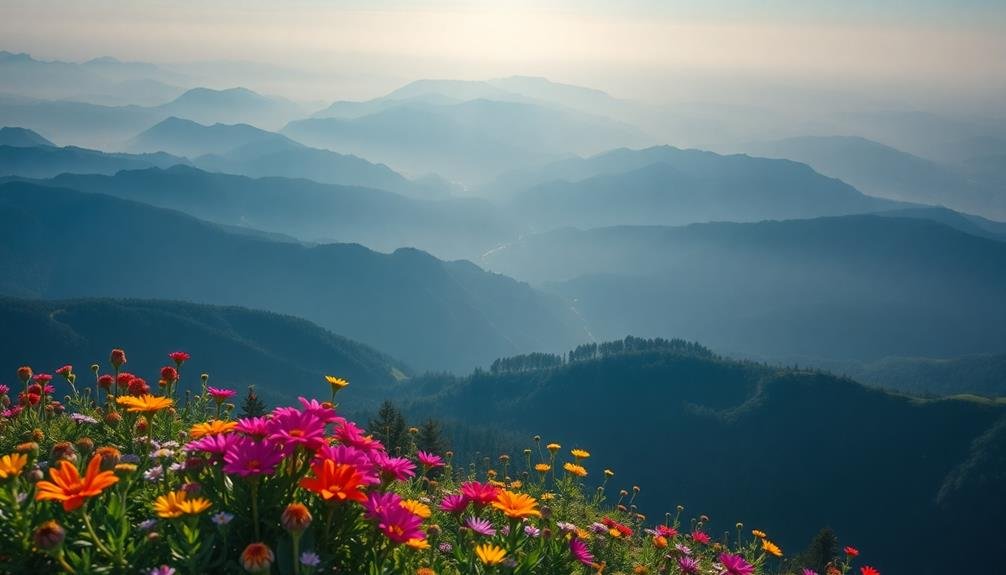
While often overlooked, foreground elements can transform your aerial shots from ordinary to extraordinary. When you're capturing images from above, it's easy to focus solely on the sweeping landscapes or cityscapes below. However, incorporating foreground elements can add depth, context, and intrigue to your aerial photography.
To effectively use foreground elements in your aerial shots:
- Look for natural frames: Use tree branches, clouds, or architectural features to frame your main subject. This technique draws the viewer's eye to the focal point while adding layers to your composition.
- Experiment with partial obstructions: Allow objects to partially block your view, creating a sense of mystery and encouraging viewers to imagine what lies beyond.
- Play with scale: Include recognizable objects in the foreground to provide a sense of scale and perspective to the vast landscapes below.
When you're planning your aerial shoot, scout for potential foreground elements beforehand. Consider the time of day and how light will interact with these elements.
Don't be afraid to adjust your altitude or angle to incorporate compelling foreground objects. Remember, the key is to create a harmonious balance between the foreground and the main subject, enhancing the overall impact of your aerial photograph.
Scale and Distance Relationships
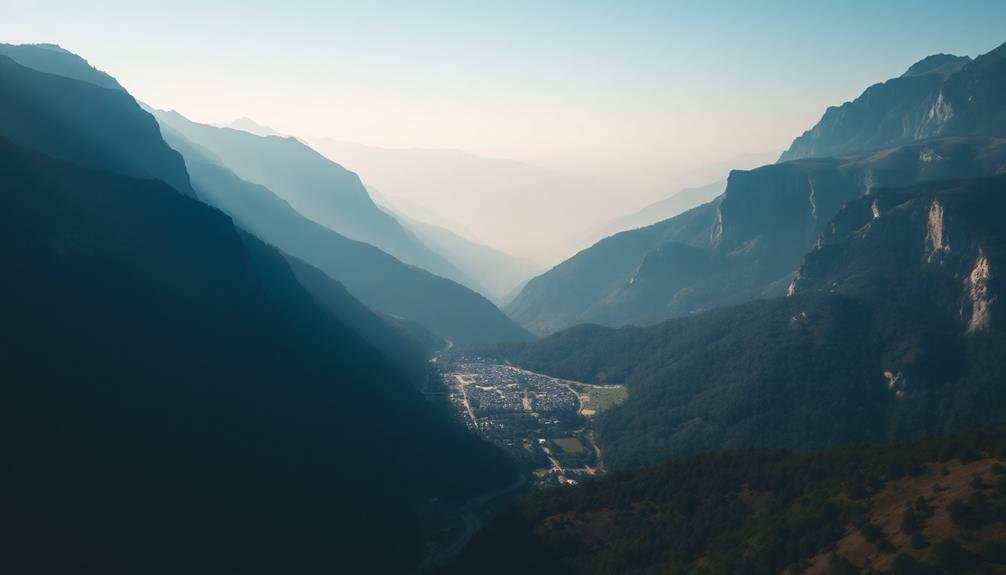
Scale and distance relationships are essential elements in aerial photography that can make or break your shots. When capturing aerial images, you'll need to pay close attention to how objects relate to one another regarding size and spacing. This understanding helps create a sense of depth and perspective in your photographs.
To effectively convey scale, include recognizable objects in your frame. Buildings, vehicles, or people can serve as reference points, allowing viewers to gauge the size of other elements in the image. You can also use natural features like trees, rivers, or mountains to establish scale.
Consider the distance between objects in your composition. Aerial shots often compress distances, making far-apart elements appear closer together. Use this to your advantage by positioning subjects at varying distances to create layers and depth.
Experiment with different altitudes to alter the perceived relationships between objects. Pay attention to patterns and textures created by landscapes or urban environments. These can provide a sense of scale and distance, especially when viewed from above.
Shadows cast by objects can also help define spatial relationships and add dimension to your aerial photographs.
Leading Lines From Above
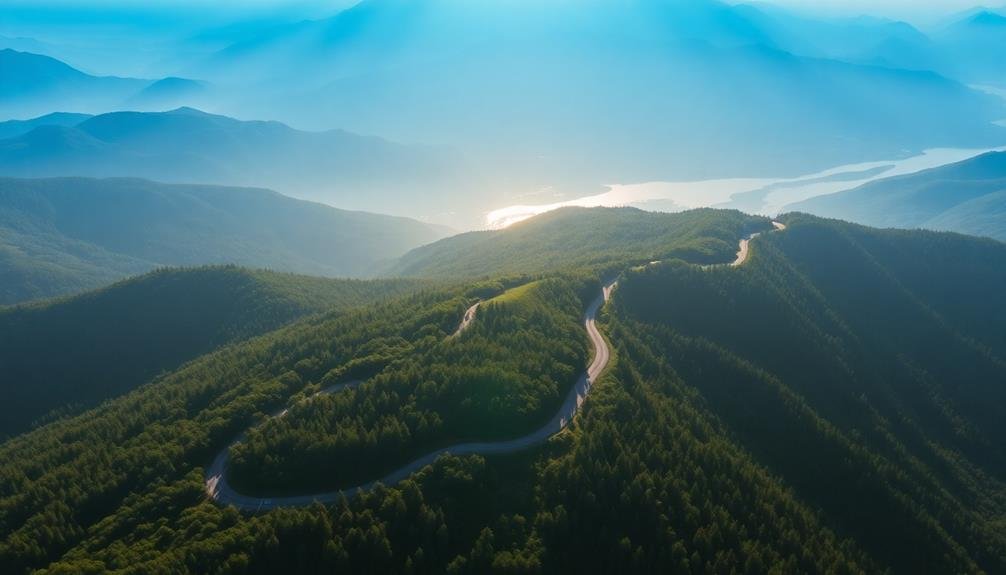
When shooting from above, you'll find that leading lines take on a whole new dimension.
Look for natural pathways like roads, rivers, or even rows of crops that can guide the viewer's eye through your composition.
These lines not only create a strong visual flow but also enhance the perception of depth in your aerial shots, making them more dynamic and engaging.
Identifying Natural Pathways
Nature's artistry often reveals itself in breathtaking patterns when viewed from above. As an aerial photographer, you'll find that identifying natural pathways can elevate your compositions to new heights.
These organic lines guide the viewer's eye through your image, creating a sense of flow and movement that's uniquely enchanting from a bird's-eye perspective.
To spot these natural pathways, keep an eye out for:
- Winding rivers and streams that carve sinuous paths through landscapes
- Mountain ridges and valleys that create dramatic linear formations
- Coastlines with their intricate interplay of land and water
You'll want to position your drone or aircraft to emphasize these natural leading lines. Try aligning them diagonally across your frame for a dynamic composition, or use them to direct attention towards a focal point.
Don't forget to reflect on the interplay of light and shadow, which can further accentuate these pathways. By mastering the art of identifying and showcasing natural pathways in your aerial photography, you'll create images that not only capture the beauty of the landscape but also tell a compelling visual story.
Creating Visual Flow
Leading lines are a powerful tool in aerial photography, guiding the viewer's gaze and creating a sense of depth and movement within your images. From above, you'll find an array of natural and man-made lines to incorporate into your compositions. Rivers, roads, and shorelines can serve as strong leading lines, drawing the eye through the frame.
To create visual flow, position your drone to capture these lines at dynamic angles. Diagonal lines often create more energy and interest than straight horizontal or vertical ones. Look for S-curves in roads or rivers, which can add a sense of graceful movement to your shots.
When photographing urban areas, use rows of buildings, bridges, or highways to create compelling geometric patterns that lead the eye.
Don't forget to reflect on the direction of light when working with leading lines. Side-lighting can enhance the three-dimensional quality of your subjects, making lines more pronounced. Experiment with different altitudes and angles to find the most effective way to showcase your chosen leading lines.
Enhancing Depth Perception
Aerial photography offers a unique opportunity to enhance depth perception through leading lines viewed from above. When capturing images from an elevated position, you'll find that roads, rivers, and other linear elements naturally guide the viewer's eye through the frame, creating a sense of depth and dimension.
To maximize this effect, position your camera to align with these leading lines, allowing them to converge towards a focal point or vanishing point in the distance.
To effectively use leading lines in aerial photography:
- Identify strong linear elements: Look for roads, railways, or coastlines that create clear paths through your composition.
- Experiment with angles: Adjust your drone or aircraft's position to find the most compelling perspective that emphasizes the lines.
- Use complementary elements: Incorporate structures or natural features at the end of the leading lines to create a strong focal point.
Texture and Pattern Variations
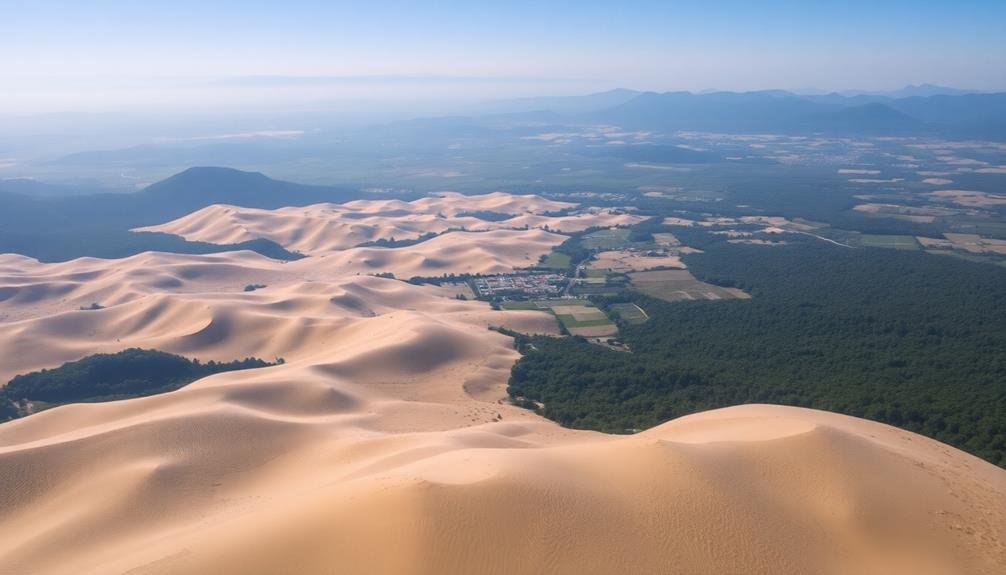
Landscapes from above reveal a tapestry of textures and patterns that often go unnoticed at ground level. As you capture aerial shots, you'll find that texture and pattern variations can greatly enhance the depth and visual interest of your images.
To make the most of these elements, focus on contrasting textures within your frame. You might juxtapose smooth water surfaces against rugged mountain terrain or highlight the intricate patterns of farmland against the organic shapes of forests. Pay attention to how light interacts with different textures, as it can create stunning shadows and highlights that add dimensionality to your shots.
Consider the following texture and pattern combinations for your aerial photography:
| Natural Textures | Man-made Patterns |
|---|---|
| Rippling sand dunes | Urban grid layouts |
| Forest canopies | Agricultural fields |
| Meandering rivers | Highway intersections |
| Rocky coastlines | Industrial complexes |
Aerial Composition Rules
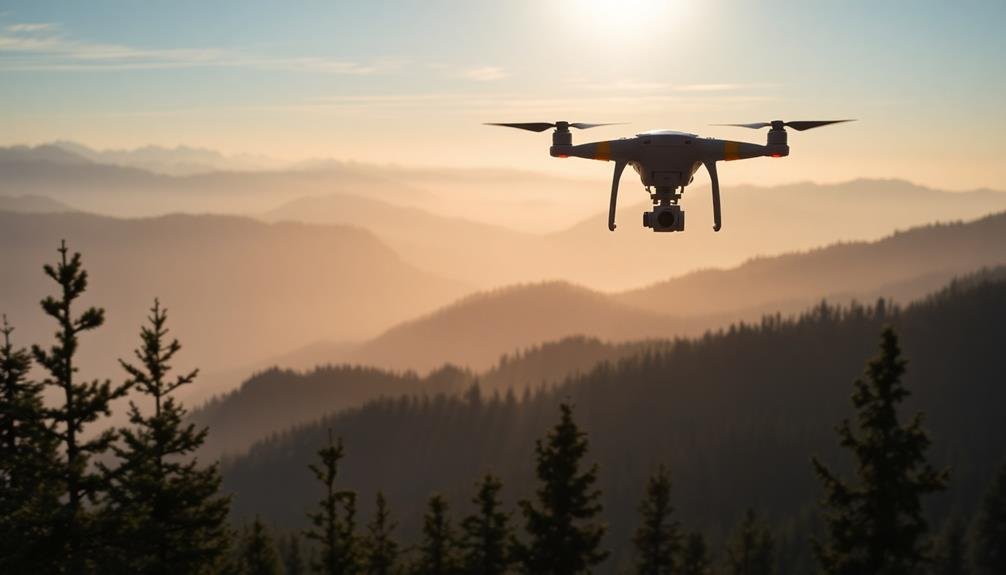
While textures and patterns provide enchanting subject matter, mastering aerial composition rules will elevate your shots from interesting to extraordinary.
When shooting from above, you'll need to adapt traditional composition techniques to suit this unique perspective. The rule of thirds still applies, but you'll want to reflect on how it works with the bird's-eye view.
Leading lines take on new significance in aerial photography. Roads, rivers, and shorelines can guide the viewer's eye through your image, creating depth and interest.
Don't forget to use natural frames, such as clouds or tree canopies, to add dimension to your shots.
To create truly mesmerizing aerial compositions:
- Balance your frame by placing larger elements off-center
- Use symmetry and repetition to create visually pleasing patterns
- Incorporate negative space to highlight your main subject
Weather Effects on Depth
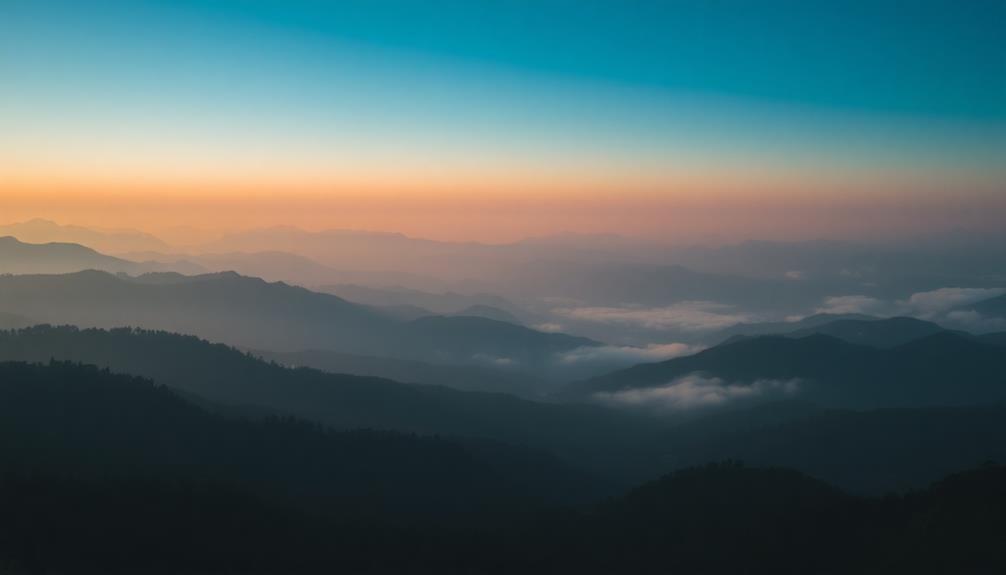
Weather conditions play an essential role in shaping the depth and atmosphere of your aerial shots. Fog and mist can create a mesmerizing sense of mystery, adding layers to your composition and enhancing the perception of distance.
As you frame your shot, look for areas where fog settles between hills or buildings, creating a natural separation of planes.
Haze and pollution, while often unwanted, can actually work in your favor for aerial photography. They scatter light and soften distant objects, reinforcing the illusion of depth.
You'll notice that faraway elements appear lighter and less saturated, a phenomenon known as atmospheric perspective.
Rain and snow can dramatically alter the mood of your aerial images. Raindrops on your lens or drone camera can add texture and create interesting bokeh effects.
Snowfall can simplify complex landscapes, highlighting shapes and silhouettes. When shooting in these conditions, adjust your exposure to capture the subtle tones and textures.
Sunlight's angle and intensity also impact depth perception. Golden hour light can cast long shadows, emphasizing terrain features and creating a three-dimensional effect.
Conversely, harsh midday sun flattens landscapes, reducing depth cues. Time your flights accordingly to maximize the visual impact of weather on your aerial shots.
Post-Processing for Enhanced Depth
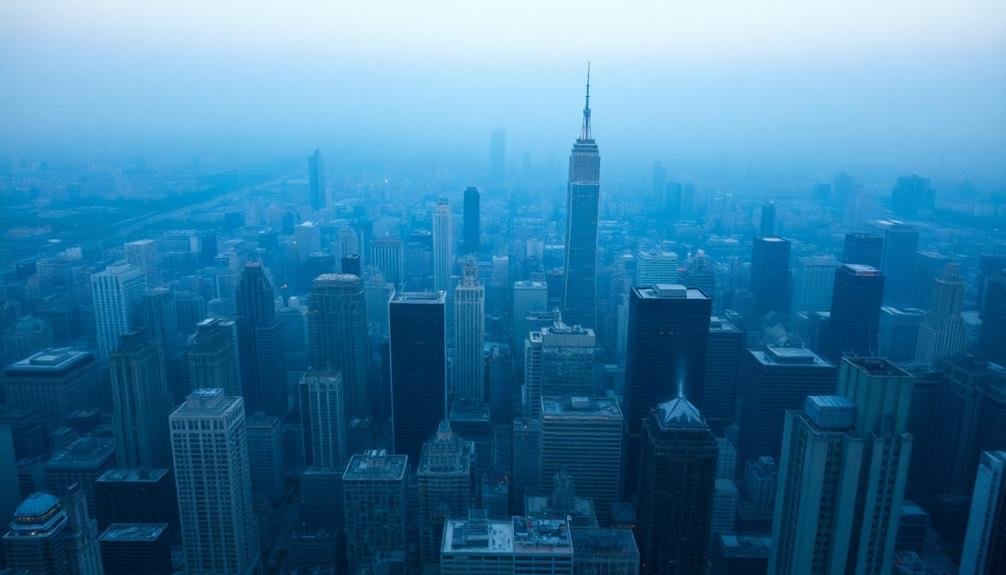
Post-processing is an essential step in bringing out the depth in your aerial photographs. It allows you to enhance the atmospheric perspective and create a stronger sense of distance in your images.
When working on your aerial shots, focus on adjusting contrast, color, and sharpness to emphasize the layers of depth.
Start by enhancing the contrast between foreground and background elements. Increase the clarity and sharpness of objects in the foreground while slightly reducing the contrast in distant areas. This technique mimics the natural atmospheric haze that occurs in real-life views.
Next, consider color grading to reinforce depth perception:
- Warm up the foreground colors to make them appear closer
- Cool down the background hues to push them further away
- Gradually desaturate colors as they recede into the distance
Frequently Asked Questions
What Drone Models Are Best for Capturing Aerial Perspective Shots?
You'll find the DJI Mavic 3, Autel EVO II Pro, and Skydio 2+ are excellent for aerial perspective shots. They offer high-quality cameras, long flight times, and advanced features. Don't forget to contemplate your budget and skill level when choosing.
How Do Different Seasons Affect Aerial Perspective Photography?
Seasons greatly impact your aerial perspective shots. In spring and summer, you'll capture lush greenery. Fall offers vibrant foliage colors. Winter brings stark landscapes and snow-covered scenery. Each season provides unique lighting conditions and atmospheric effects.
Are There Legal Restrictions for Drone Photography in Certain Areas?
Yes, there are legal restrictions for drone photography in many areas. You'll need to check local regulations, as they vary by location. Don't fly near airports, over crowds, or in restricted airspace without proper permissions.
Can Aerial Perspective Techniques Be Applied to Indoor or Studio Photography?
You can apply aerial perspective techniques indoors and in studios. Use layered compositions, play with lighting to create depth, and arrange objects at varying distances. You'll create a sense of depth even without vast outdoor spaces.
What Safety Precautions Should Be Taken When Flying Drones for Photography?
When flying drones for photography, you'll need to follow local regulations, maintain visual line of sight, avoid restricted areas, and check weather conditions. Don't forget to register your drone and get proper insurance coverage.
In Summary
You've learned powerful techniques to create stunning aerial shots with incredible depth. By mastering layers, haze, color gradients, and composition, you'll transform your drone photography. Remember to harness natural light, weather effects, and texture variations. Don't forget post-processing to enhance depth further. As you apply these skills, you'll capture breathtaking images that draw viewers in and showcase the beauty of our world from above. Keep practicing, and watch your aerial photography soar to new heights.

As educators and advocates for responsible drone use, we’re committed to sharing our knowledge and expertise with aspiring aerial photographers.


Leave a Reply