Elevate your drone cinematography with these aerial pedestal moves for jaw-dropping sky shots. You'll master the smooth ascent technique for gradual disclosures and perfect the dramatic pedestal to reveal breathtaking vistas. Try orbiting pedestals to showcase landmarks, or reverse pedestals for unique perspective shifts. Spiral ascents add dynamic flair, while panning combinations create fluid motion. Slow-motion vertical glides and diagonal movements offer cinematic magic. For a dizzying effect, attempt the vertigo pedestal shot. Each move requires practice, but mastering them will transform your aerial footage from ordinary to extraordinary. Discover how these techniques can revolutionize your sky cinematography.
Key Takeaways
- Smooth Ascent Technique requires precise control over altitude and speed, starting low and gradually increasing throttle.
- Dramatic Reveal Pedestal creates powerful visual impact by starting low and steadily ascending to reveal vistas.
- Orbiting Pedestal Motion combines circular flight path with steady ascent or descent, showcasing landmarks effectively.
- Spiral Ascent Maneuver involves smooth circular flight while increasing altitude, adjusting speed for tighter or wider spirals.
- Slow Motion Vertical Glide adds cinematic magic through smooth ascending or descending at reduced speed.
Smooth Ascent Technique
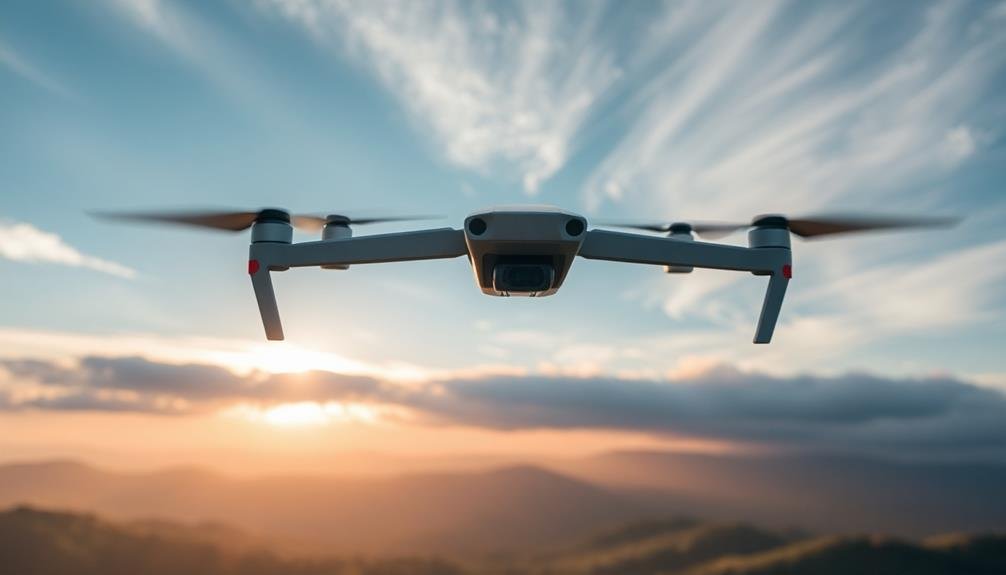
Mastering the smooth ascent technique is essential for capturing stunning aerial shots. To execute this move, you'll need to have precise control over your drone's altitude and speed.
Start by positioning your drone at a low altitude, ensuring it's stable and level. Gradually increase the throttle, maintaining a consistent upward motion. It's vital to keep the ascent slow and steady, avoiding any sudden jerks or accelerations.
As you rise, focus on your composition. You'll want to frame your subject carefully, considering how it changes as your perspective shifts. Pay attention to the horizon line and any foreground elements that may enter or exit the frame. Use the rule of thirds to create a balanced and visually appealing shot.
While ascending, make small adjustments to your drone's position to maintain the desired framing. If you're tracking a subject, use gentle yaw movements to keep it centered.
Remember to monitor your drone's battery life and altitude restrictions throughout the move. Practice this technique in various locations and lighting conditions to perfect your control and timing, resulting in smooth, professional-looking aerial pedestal shots.
Dramatic Reveal Pedestal
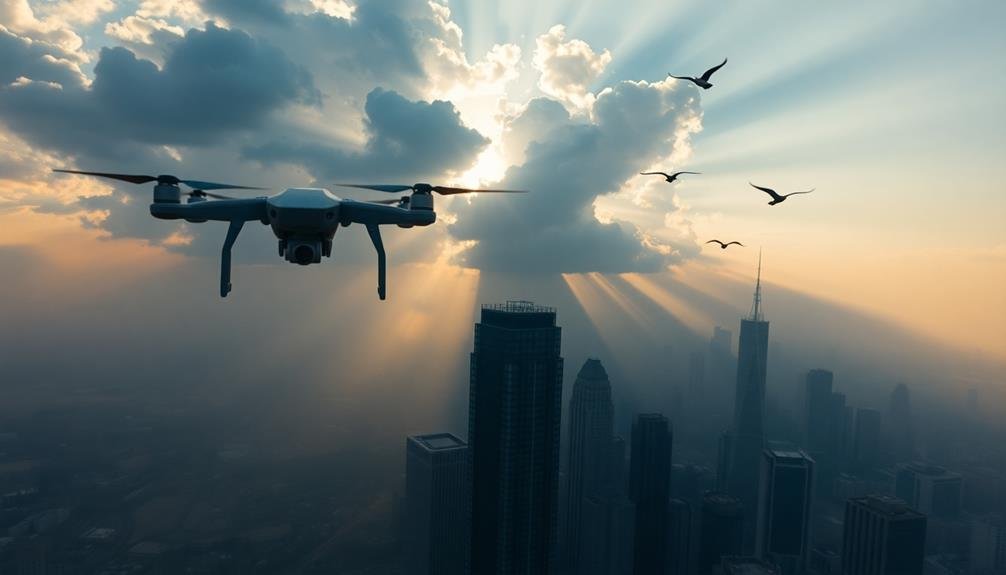
The dramatic reveal pedestal takes the smooth ascent technique to new heights, creating a powerful visual impact. You'll start with your drone low, often behind an obstacle, then slowly ascend to reveal a breathtaking vista. This move builds anticipation and delivers a wow factor that'll captivate your audience.
To execute this technique, you'll need to scout your location carefully. Look for natural barriers like trees, buildings, or hills that can obscure your initial shot. As you rise, maintain a steady ascent rate to keep the movement smooth. You'll want to time your reveal perfectly, ensuring the most impressive elements of your scene appear at just the right moment.
Here's a quick guide to perfecting your dramatic reveal pedestal:
| Step | Action | Key Consideration |
|---|---|---|
| 1 | Choose location | Find suitable obstacle |
| 2 | Set start position | Frame initial shot carefully |
| 3 | Plan ascent path | Avoid obstacles during rise |
| 4 | Time the reveal | Coordinate with scene elements |
| 5 | Maintain smooth motion | Use consistent ascent speed |
Practice this technique in various settings to master its nuances. You'll soon be creating jaw-dropping aerial reveals that'll elevate your drone cinematography to new heights.
Orbiting Pedestal Motion
Drones soaring in graceful circles create the mesmerizing orbiting pedestal motion. This technique combines a circular flight path with a steady ascent or descent, resulting in a dynamic and enchanting aerial shot. You'll find this move particularly effective when showcasing landmarks, landscapes, or architectural features from multiple angles.
To execute an orbiting pedestal, you'll need to master simultaneous control of your drone's altitude, yaw, and lateral movement. Start by positioning your drone at the desired height and distance from your subject. As you begin the circular flight path, gradually adjust the altitude.
For an ascending orbit, slowly increase elevation while maintaining the circular motion. Conversely, for a descending orbit, gently lower the drone's altitude throughout the maneuver.
The orbiting pedestal motion creates a sense of depth and dimensionality in your footage. It's especially impactful when shifting between scenes or revealing expansive vistas. You can vary the speed and radius of the orbit to achieve different effects, from sweeping panoramas to intimate close-ups.
Remember to maintain a consistent speed and smooth shifts for professional-looking results.
Reverse Pedestal for Perspective Shift
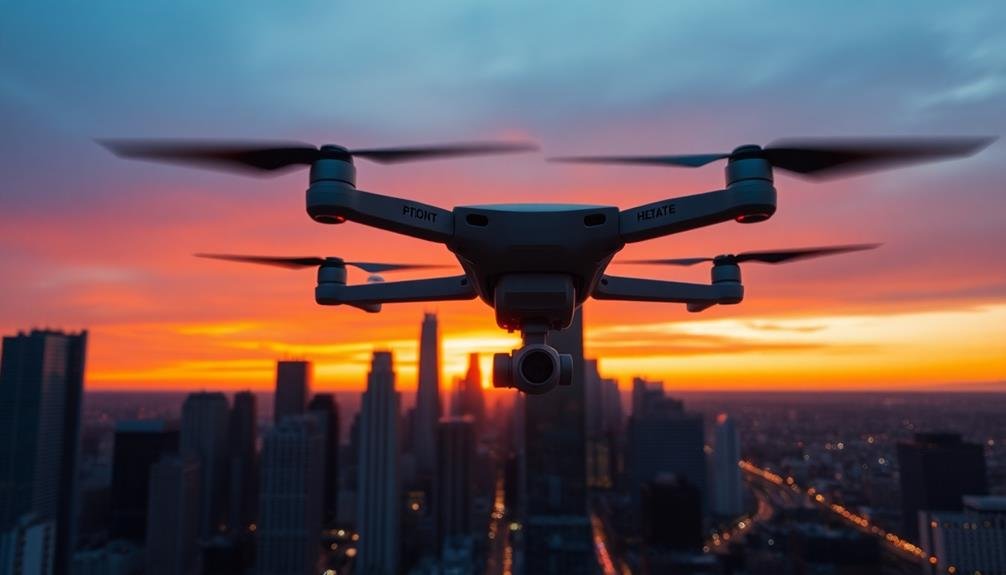
While orbiting pedestals create a sense of expansion, reverse pedestals offer a unique perspective shift. This aerial move involves descending your drone while simultaneously moving it backward. As you execute this maneuver, you'll notice the foreground elements in your frame growing larger while the background shrinks, creating a dramatic change in perspective.
To perform a reverse pedestal, start with your drone at a higher altitude and gradually lower it while flying backward. Maintain a consistent speed for both the descent and backward motion to achieve a smooth, cinematic effect. You'll want to practice this move several times to perfect the timing and coordination.
Reverse pedestals work exceptionally well when you're shooting landscapes with interesting foreground elements. As your drone descends, these elements will become more prominent, adding depth and dimension to your shot. This technique is particularly effective for revealing hidden details or creating a sense of discovery in your footage.
When planning your reverse pedestal, consider the composition carefully. Choose a starting point that allows for an interesting reveal as you descend and move backward. Pay attention to the relative sizes of objects in your frame and how they change throughout the move.
Spiral Ascent Maneuver
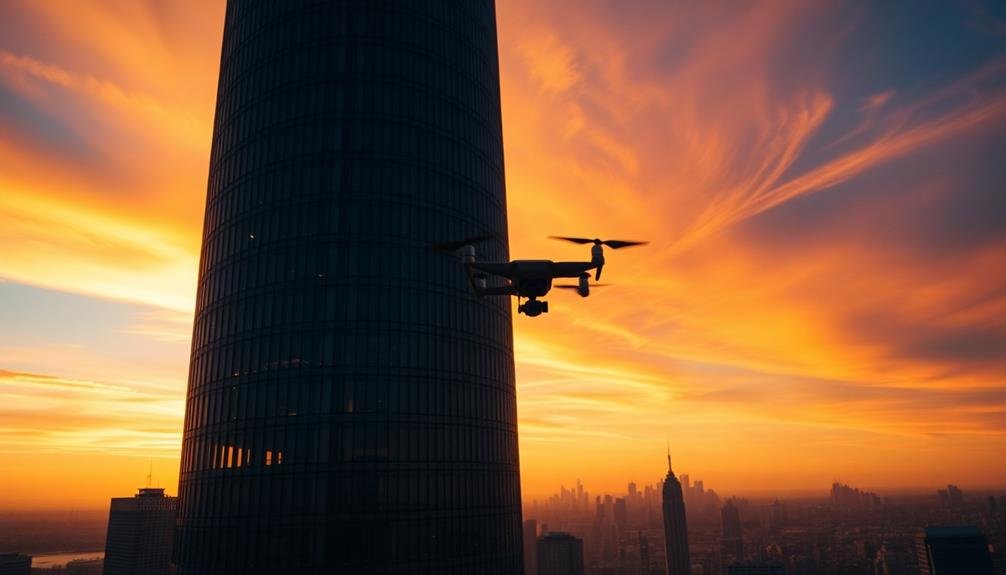
To execute a spiral ascent, you'll need to master a smooth, circular flight path while gradually increasing altitude.
You can adjust your speed and altitude to create tighter or wider spirals, depending on your desired shot composition.
For the best results, set your camera to a slightly slower shutter speed to capture motion blur, and experiment with different focal lengths to vary the perspective as you ascend.
Executing the Spiral Pattern
The spiral ascent maneuver is a dynamic aerial technique that adds depth and visual interest to your sky shots. To execute this pattern effectively, you'll need to master smooth control of your drone's altitude, yaw, and lateral movement simultaneously.
Begin by positioning your drone at a low altitude, then gradually increase its height while rotating it clockwise or counterclockwise. As you ascend, move the drone outward in a circular motion to create the spiral effect. Maintain a consistent speed for both the ascent and rotation to achieve a uniform spiral pattern.
Focus on keeping your camera aimed at the center point of the spiral throughout the maneuver. This will create a mesmerizing swirling effect in your footage. Adjust your drone's settings to capture the scene at an appropriate frame rate and shutter speed, ensuring smooth motion blur.
Practice varying the spiral's tightness by adjusting the rate of ascent and outward movement. Experiment with different altitudes and spiral sizes to find the most visually appealing results for your specific location and subject matter.
Remember to take into account wind conditions and obstacle clearance as you perform this maneuver.
Adjusting Altitude and Speed
Mastering altitude and speed adjustments is essential for perfecting the spiral ascent maneuver. As you execute this move, you'll need to carefully control your drone's vertical climb rate and horizontal rotation speed.
Start by setting a slow, steady ascent rate of about 1-2 meters per second. This gradual climb allows you to maintain smooth, consistent footage throughout the spiral.
Simultaneously, adjust your drone's yaw to create the circular motion. Aim for a rotation speed of approximately 10-15 degrees per second. This pace guarantees your spiral isn't too tight or too wide. As you gain altitude, you may need to increase your rotation speed slightly to maintain the spiral's shape.
Keep an eye on your drone's position relative to the subject. If you're spiraling around a tall structure, you might need to adjust your climb rate to match its height. Use your controller's altitude hold feature to maintain a consistent vertical speed.
Remember, smoother movements result in more cinematic footage. Practice varying your altitude and rotation speeds to achieve different effects. You can create tighter spirals by increasing rotation speed or wider arcs by slowing it down.
Experiment with these adjustments to find the perfect balance for your shot.
Camera Settings for Spirals
While executing a spiral ascent maneuver, your camera settings play an essential role in capturing stunning footage. Start by setting your camera to manual mode for full control.
Opt for a shutter speed between 1/60 and 1/120 to maintain smooth motion. Adjust your aperture to f/5.6 or f/8 for a balanced depth of field, ensuring both foreground and background elements remain sharp.
Choose a lower ISO, ideally 100 or 200, to minimize noise in your sky shots. If light conditions are challenging, don't hesitate to increase ISO, but try to stay below 800. Set your white balance to "daylight" or "cloudy" depending on the weather conditions.
For focus, switch to continuous autofocus (AF-C) mode to track moving subjects effectively. Select a picture profile that offers a flat color profile, allowing for greater flexibility in post-production.
Enable image stabilization if your camera has this feature. Consider shooting in 4K resolution to provide more options for cropping and reframing in post-production.
Timed Interval Pedestal
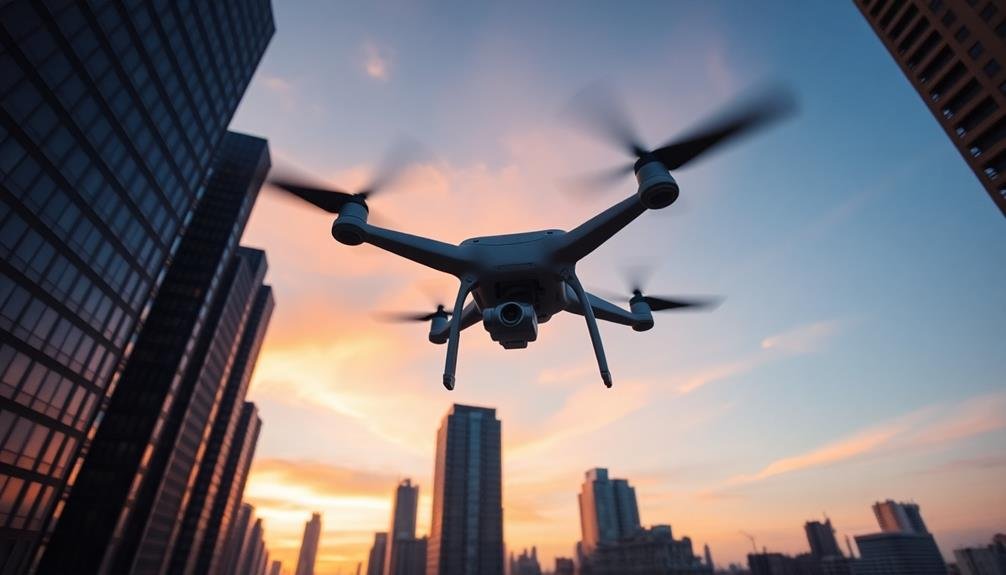
You'll need to master precise timing techniques to execute a Timed Interval Pedestal effectively.
Start by establishing a consistent interval for your ascent, typically every few seconds or based on specific shot requirements.
As you rise, maintain a steady upward motion, ensuring each pause aligns perfectly with your predetermined timing to capture the desired sky composition.
Precise Timing Techniques
Precision is key when executing timed interval pedestal moves for aerial shots. You'll need to master the art of timing to create smooth, consistent movements that capture the sky's ever-changing beauty.
Start by setting your camera's interval timer to match your desired shot frequency. This could range from a few seconds for fast-moving clouds to several minutes for slower celestial movements.
Next, calculate the total duration of your shoot and divide it by the number of intervals. This gives you the time available for each pedestal movement. Practice moving your camera at a steady pace within this timeframe, ensuring you reach your end position exactly as the next shot is taken.
Use visual markers or a smartphone app to track your progress and maintain consistency. Pay attention to your surroundings, as wind or other environmental factors can affect your timing. You might need to adjust your movements slightly to compensate.
For more complex shots, consider using motorized sliders or programmable motion control systems. These tools can help you achieve ultra-precise movements, allowing for stunning time-lapse sequences that showcase the sky's dynamic nature.
Gradual Ascent Strategies
For capturing the sky's gradual changes, mastering timed interval pedestal moves with a smooth ascent is essential. You'll need to program your camera or motion control system to gradually rise over an extended period, often spanning several hours.
Start by setting your initial composition at the lowest point, confirming you've framed your shot to accommodate the full vertical movement.
Next, calculate the total distance your camera needs to travel and divide it by the number of frames you'll capture. This will determine the incremental movement between each shot. You'll want to set your intervalometer to trigger the camera at regular intervals, typically every 10 to 30 seconds, depending on the speed of the sky's transformation.
To achieve a smooth ascent, verify your motion control system is capable of micro-adjustments. Lubricate all moving parts and balance your camera setup to minimize vibrations. If you're manually operating the pedestal, practice fluid, consistent movements.
During the shoot, monitor your progress to verify you're maintaining the correct pace. Adjust your ascent speed if necessary, but aim for consistency to avoid jerky shifts in your final time-lapse.
Pedestal With Panning Combination
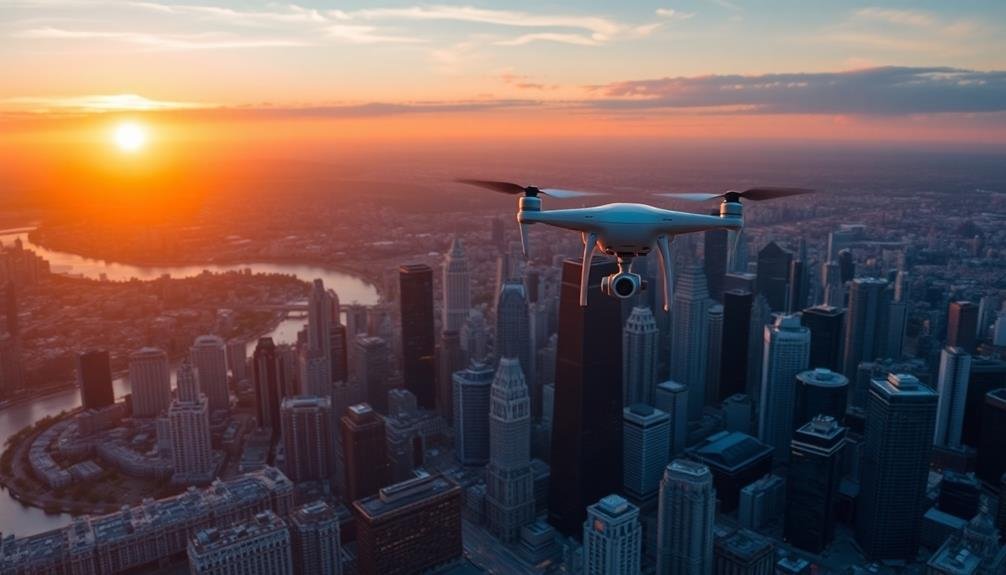
A powerful combination in aerial cinematography, the pedestal with panning technique allows you to capture dynamic and visually striking shots. By combining vertical movement with horizontal rotation, you'll create a sense of depth and dimension that's hard to achieve with a single motion.
To execute this move effectively, start by ascending or descending your drone steadily while simultaneously rotating the camera horizontally. The key is to maintain a smooth, controlled motion throughout the shot. You'll want to practice coordinating your throttle control with your yaw input to guarantee fluid movement.
This technique is particularly effective for:
- Revealing expansive landscapes
- Showcasing architectural features
- Shifting between subjects in a scene
When planning your shot, consider the speed of both the pedestal and panning movements. A slower, more deliberate pace can create a sense of grandeur, while faster movements can add energy and excitement to your footage.
Remember to keep your subject in frame throughout the move. It's easy to lose track of your focal point when combining movements, so use your drone's telemetry data and on-screen guides to maintain proper framing.
With practice, you'll master this technique and add a professional touch to your aerial cinematography.
Slow Motion Vertical Glide
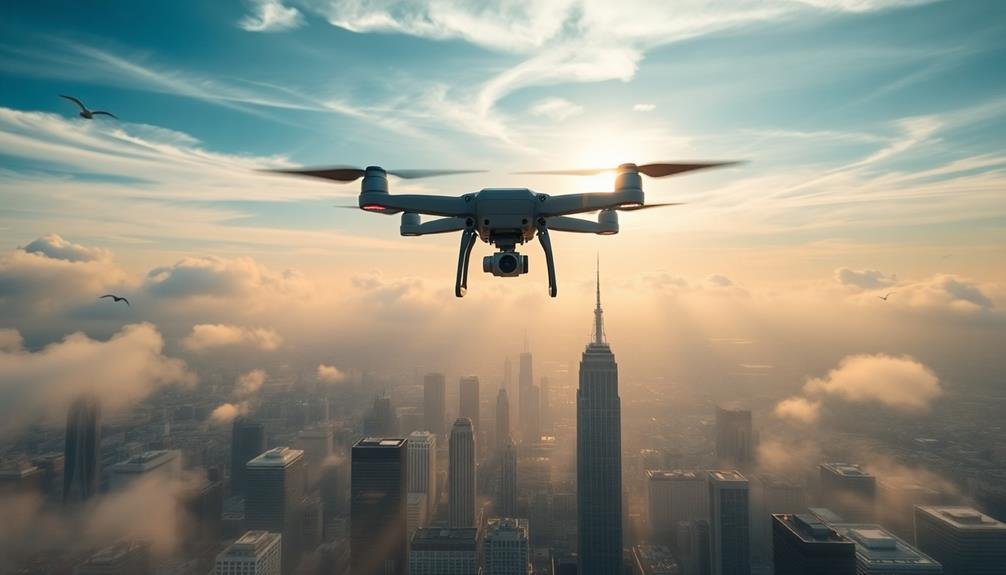
With grace and elegance, the slow motion vertical glide adds a touch of cinematic magic to your aerial footage. This technique involves smoothly ascending or descending your drone at a reduced speed, creating a mesmerizing effect that draws viewers into the scene.
To execute a perfect slow motion vertical glide, you'll need to master your drone's controls and understand its capabilities. Start by setting your drone's speed to its lowest setting and gradually increase the throttle. Maintain a steady hand and consistent pressure to guarantee a smooth ascent or descent.
Here's a quick reference guide for slow motion vertical glides:
| Speed | Ascent Time | Descent Time | Best For | Challenges |
|---|---|---|---|---|
| Slow | 30-60 sec | 20-40 sec | Revealing | Wind drift |
| Medium | 15-30 sec | 10-20 sec | Dramatic | Stability |
| Fast | 5-15 sec | 3-10 sec | Dynamic | Control |
Remember to take into account your surroundings and potential obstacles. Practice in open areas before attempting more complex shots. By mastering the slow motion vertical glide, you'll add a powerful tool to your aerial cinematography arsenal, creating stunning sky shots that captivate your audience.
Diagonal Pedestal Movement
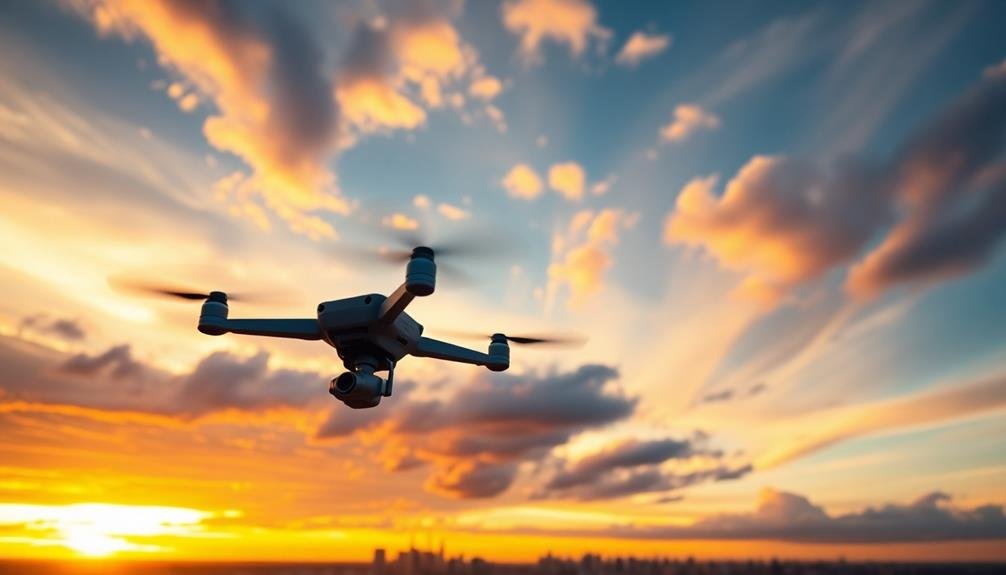
When executing a diagonal pedestal move, you'll need to carefully consider your camera angle to maintain visual interest throughout the ascent or descent.
Control your speed and trajectory precisely to achieve smooth, cinematic motion that enhances your sky shots.
As you move, pay close attention to your composition, adjusting framing and focal length to capture the most compelling elements of the sky and landscape.
Camera Angle Considerations
Diagonal pedestal movements offer a dynamic way to capture unique aerial perspectives. When executing these moves, you'll need to evaluate camera angles carefully to maximize the visual impact.
As you ascend or descend diagonally, adjust your camera's tilt to maintain proper framing and composition. This might involve gradually changing the angle to keep your subject centered or intentionally shifting the perspective for dramatic effect.
Pay attention to the following camera angle evaluations:
- Horizon line: Keep it level unless you're deliberately creating a tilted shot for artistic purposes.
- Foreground elements: Use them to add depth and context to your sky shots, adjusting your angle to incorporate interesting features.
- Light direction: Assess how the sun's position affects your shot, and adjust your camera angle to capture the best lighting on your subject.
Remember that different camera angles can evoke various emotions and tell different stories. Experiment with low-angle shots for a sense of power or high-angle views for a more vulnerable perspective.
Speed and Trajectory Control
Mastering speed and trajectory control is essential for executing smooth diagonal pedestal movements. As you operate your camera, maintain a consistent speed throughout the shot to avoid jarring shifts.
Start slowly and gradually increase your pace, ensuring the movement remains fluid.
To control your trajectory, use visual markers or reference points in the frame. This will help you maintain a straight diagonal line as you move.
Practice following imaginary lines in the sky to improve your precision.
Adjust your speed based on the subject matter and desired effect. Slower movements create a sense of calm and allow viewers to absorb more detail, while faster movements add dynamism and excitement.
Consider using a remote-controlled drone or a motorized slider for more precise control. These tools can help you achieve smoother, more consistent movements, especially for longer shots.
Experiment with different angles and speeds to find the perfect combination for your scene.
Remember that the direction of your diagonal movement can greatly impact the viewer's perception of the landscape or skyscape you're capturing.
Composition During Ascent/Descent
As you execute diagonal pedestal movements, composition becomes a dynamic element of your shot. You'll need to constantly adjust your framing to maintain visual interest throughout the ascent or descent. Keep your subject centered or use the rule of thirds to create a balanced composition. Pay attention to leading lines and how they change as you move, using them to guide the viewer's eye through the frame.
During your diagonal pedestal, consider these key compositional elements:
- Foreground elements: Incorporate objects in the foreground to add depth and create a sense of movement as they shift in relation to your subject.
- Background changes: Be aware of how the background transforms as you move, potentially revealing new elements or altering the overall mood of the shot.
- Negative space: Utilize the sky or other open areas to create breathing room in your composition, especially as you gain altitude.
Remember to anticipate your end frame and plan your movement accordingly. Smooth, controlled motion is essential for maintaining a professional look.
Practice your diagonal pedestals to refine your ability to adjust composition on the fly, ensuring engaging sky shots that capture viewers' attention throughout the movement.
Vertigo Effect Pedestal Shot
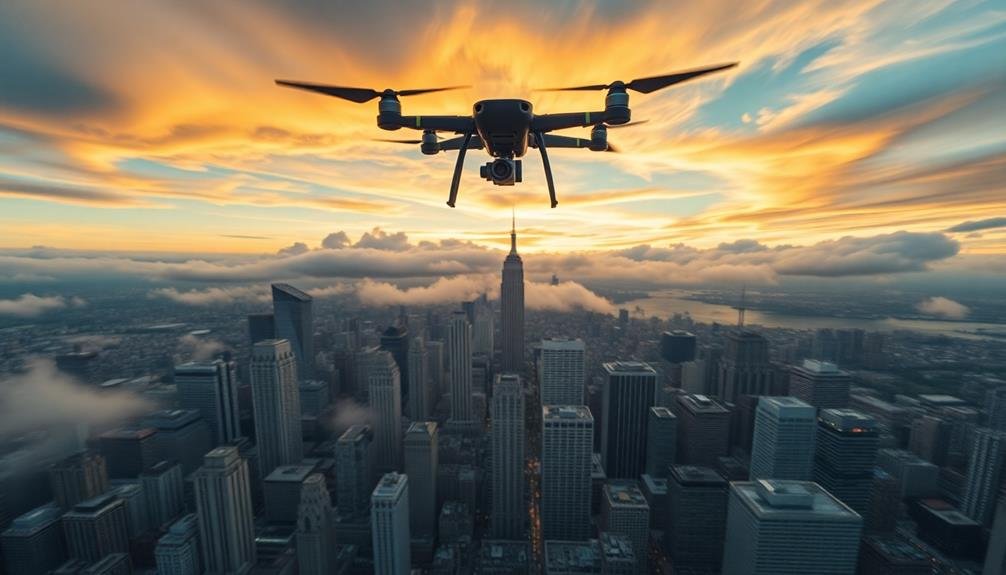
Creating a vertigo effect with a pedestal shot adds a powerful dimension to aerial cinematography. You'll achieve this by combining a vertical camera movement with a simultaneous zoom, creating a disorienting visual effect. As you ascend or descend, zoom out or in respectively to maintain the subject's size while the background appears to expand or contract.
To execute this technique effectively, you'll need:
| Equipment | Technique |
|---|---|
| Drone | Smooth vertical movement |
| Camera w/ zoom | Coordinated zoom |
| ND filters | Exposure control |
| Remote monitor | Precise framing |
Start by identifying a strong focal point and plan your move carefully. You'll want to maintain a consistent speed for both the pedestal and zoom movements. Practice the coordination between these two actions to achieve a seamless effect.
Consider the emotional impact you're aiming for. A vertigo effect can create feelings of unease, excitement, or revelation. Use it sparingly for maximum impact, and guarantee it serves the story you're telling. Remember, this technique can be disorienting for viewers, so use it judiciously to enhance your narrative without overwhelming your audience.
Frequently Asked Questions
What Drone Models Are Best Suited for Aerial Pedestal Moves?
You'll find DJI's Mavic and Phantom series excellent for aerial pedestal moves. They're stable, easy to control, and have great cameras. The Autel EVO II and Skydio 2+ are also top choices for smooth, precise vertical movements.
How Do Weather Conditions Affect the Execution of Pedestal Shots?
You'll find that wind's your biggest challenge for pedestal shots. It'll affect your drone's stability and movement. Rain can obscure your lens, while extreme temperatures may impact battery life. Always check conditions before flying.
Are There Legal Restrictions on Performing Aerial Pedestal Moves in Urban Areas?
You'll face legal restrictions for aerial shots in urban areas. Check local laws, obtain necessary permits, and respect no-fly zones. Don't forget privacy concerns and airspace regulations. Always prioritize safety and follow FAA guidelines.
What Post-Processing Techniques Enhance the Impact of Pedestal Move Footage?
You can enhance pedestal move footage with color grading, stabilization, and slow motion. Try adding dynamic shifts, adjusting exposure, and applying subtle zoom effects. Don't overdo it – maintain the natural flow of the movement.
How Can Beginners Practice Pedestal Moves Safely Without Risking Equipment Damage?
You can practice pedestal moves safely by starting low and slow. Use a lightweight tripod or monopod, and try indoor shots first. Don't rush; gradually increase height and speed as you gain confidence and control.
In Summary
You've now got a powerful toolkit of aerial pedestal moves to elevate your sky shots. Don't be afraid to experiment and combine these techniques for truly unique perspectives. Remember, practice makes perfect, so get out there and start flying! With these moves in your arsenal, you'll be capturing stunning aerial footage that'll make your viewers feel like they're soaring through the clouds. Keep pushing your creative boundaries and watch your aerial cinematography soar to new heights.

As educators and advocates for responsible drone use, we’re committed to sharing our knowledge and expertise with aspiring aerial photographers.

Leave a Reply