To capture cinematic aerial footage, try these three stunning establishing shots. First, the Sweeping Panoramic Reveal starts focused on a specific point, then pans and tilts to disclose the surroundings dramatically. Next, the Gradual Altitude Descent begins high and slowly lowers, drawing viewers into the scene while revealing intricate details. Finally, the Orbiting Point of Interest creates dynamic footage by circling a central subject at a consistent altitude and distance. Each technique offers unique perspectives and visual impact, transforming ordinary landscapes into breathtaking narratives. By mastering these shots, you'll elevate your aerial cinematography to new heights.
Key Takeaways
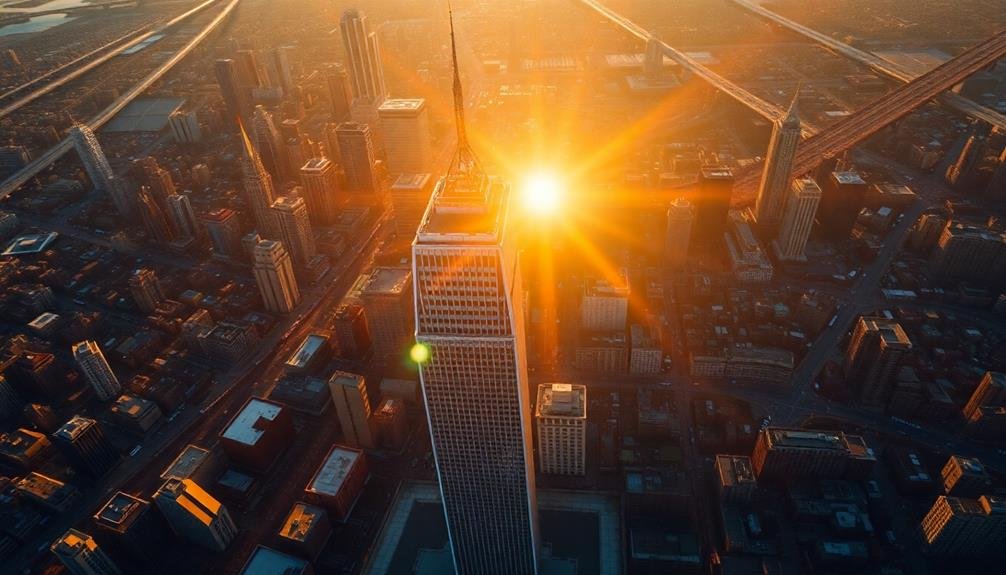
- Sweeping Panoramic Reveal offers a dramatic way to showcase vast landscapes or cityscapes with a gradual tilt and pan.
- Gradual Altitude Descent draws viewers into the scene by slowly lowering from high altitude to reveal intricate details.
- Orbiting Point of Interest creates dynamic footage by circling a central subject, maintaining consistent altitude and distance.
- Optimal timing during golden hour enhances visuals with warm hues and long shadows for all three shot types.
- Smooth, controlled drone movements and appropriate speed adjustments are crucial for achieving cinematic quality in aerial shots.
Sweeping Panoramic Reveal
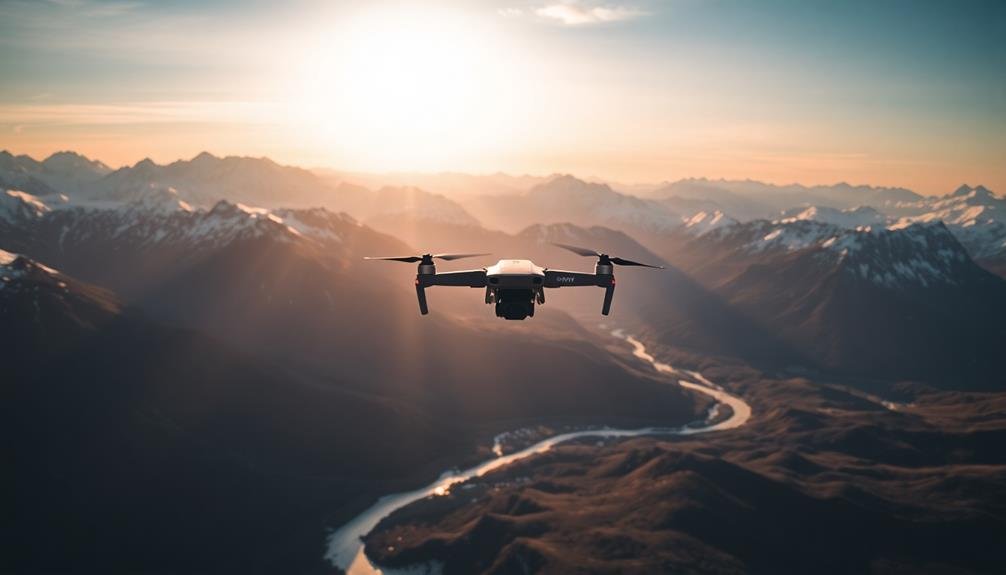
A sweeping panoramic disclosure is one of the most powerful aerial establishing shots you can use. It's perfect for introducing a vast landscape, cityscape, or any expansive setting. To execute this shot, start with your drone camera focused on a specific point of interest, then slowly pan and tilt to disclose the broader scene.
Begin by positioning your drone high above the location. Aim the camera downward at a 45-degree angle, focusing on a key element like a landmark or natural feature. As you start recording, gradually tilt the camera upward while simultaneously panning horizontally. This motion creates a dramatic disclosure of the surrounding area.
For maximum impact, consider the time of day and lighting conditions. Golden hour often provides the most stunning visuals, with long shadows and warm hues enhancing the depth and texture of the landscape.
Pay attention to your flight path, ensuring a smooth, steady movement throughout the shot. Experiment with different speeds and altitudes to find the perfect balance between revealing details and showcasing the overall scale of the scene.
Remember to maintain proper drone regulations and safety protocols while capturing your sweeping panoramic disclosure.
Gradual Altitude Descent
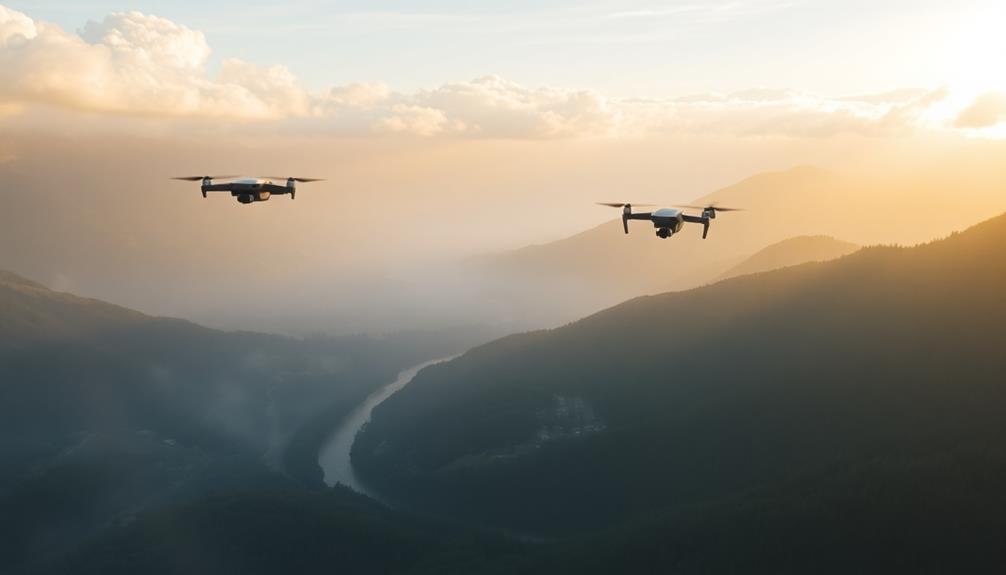
While sweeping panoramas offer a broad view, gradual altitude descent shots provide a unique perspective that draws viewers into the scene. This technique slowly lowers the camera from a high altitude to a closer view of the subject, creating a sense of anticipation and revealing intricate details as you approach.
To execute this shot, start with your drone at a high altitude, capturing the expansive landscape. Then, slowly descend while maintaining focus on your main subject. As you lower the camera, you'll notice how the scene changes, exposing new layers and textures. This gradual reveal can be particularly effective when showcasing cities, landmarks, or natural wonders.
Pay attention to your descent speed; it should be smooth and steady to avoid jarring changes. You can enhance the shot by incorporating subtle camera movements like gentle pans or tilts during the descent. This adds dynamism to the footage and helps maintain viewer interest throughout the shot.
Remember to reflect on your end point carefully. You might choose to conclude the descent by focusing on a specific detail or by shifting seamlessly into a ground-level shot, creating a powerful visual journey for your audience.
Orbiting Point of Interest
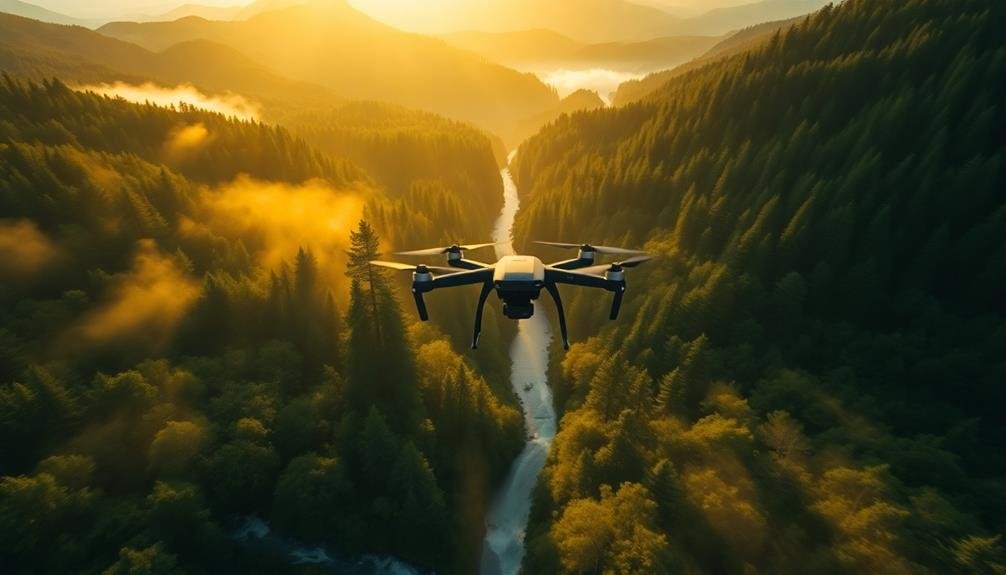
Orbiting shots create dynamic and immersive footage by circling a central point of interest. To execute this technique, you'll need to maintain a consistent altitude and distance from your subject while smoothly moving your drone in a circular path. This motion adds depth and perspective to your establishing shot, revealing different angles of the scene.
When planning your orbit, consider these key factors:
| Factor | Importance | Tips |
|---|---|---|
| Radius | High | Wider for landscapes, tighter for buildings |
| Speed | Medium | Slower for dramatic effect, faster for energy |
| Direction | Low | Clockwise or counterclockwise, be consistent |
| Duration | Medium | 10-30 seconds, depending on scene complexity |
Start by selecting your point of interest and setting your drone's orbit function if available. If manually controlling, practice smooth stick movements to maintain a steady circular path. Adjust your camera angle to keep the subject centered throughout the orbit. Experiment with different altitudes and distances to find the most compelling composition. Remember to comply with local drone regulations and respect privacy concerns when orbiting populated areas or private property.
Frequently Asked Questions
What Drone Regulations Should I Be Aware of When Filming Aerial Shots?
You'll need to register your drone and follow local airspace rules. Don't fly over people or restricted areas. Check height limits, maintain visual line of sight, and respect privacy. Always prioritize safety and get necessary permits.
How Do I Stabilize My Camera for Smooth Aerial Footage?
You'll want to use a gimbal for your drone camera. It'll counteract movements and vibrations, giving you smooth footage. Also, fly slowly and steadily, avoid sudden movements, and use your drone's built-in stabilization features for best results.
What Weather Conditions Are Ideal for Capturing Cinematic Aerial Shots?
You'll want calm, clear days with soft light for cinematic aerial shots. Aim for early morning or late afternoon when the sun's low. Avoid strong winds, rain, or harsh midday sunlight that can create unflattering shadows.
Which Drone Models Are Best Suited for Professional Aerial Cinematography?
You'll want to contemplate high-end drones like the DJI Inspire 2, Mavic 3 Cine, or Autel EVO II Pro. They offer excellent camera quality, stability, and flight performance for professional aerial cinematography. Don't forget to factor in your specific needs and budget.
How Can I Plan My Flight Path to Capture the Most Dynamic Shots?
To plan your flight path for dynamic shots, you'll want to scout locations beforehand. Map out key points of interest, consider lighting conditions, and plan varied movements like sweeping arcs, reveals, and altitude changes. Practice your route before filming.
In Summary
You've now got three powerful aerial shots in your cinematic toolkit. Whether you're revealing a landscape, descending into a scene, or orbiting a focal point, these techniques will elevate your footage. Don't be afraid to experiment and combine these shots for maximum impact. Remember, practice makes perfect, so get out there and start flying. With these aerial establishing shots, you'll captivate your audience and bring a cinematic flair to your productions.
As educators and advocates for responsible drone use, we’re committed to sharing our knowledge and expertise with aspiring aerial photographers.


Leave a Reply